Hello. This is my first post. I am trying to figure out the laser using a trial version of Lightburn.
I have a Creality Ender 3 Pro with Creality 1.6w laser attached.
I searched the forums and online, but I can’t find a similar problem.
I would like to make something like luggage tags for my kids, nieces, and nephews. I have been at this off and on since before Christmas and my trial is alsomot up. I should have found this forum and posted sooner.
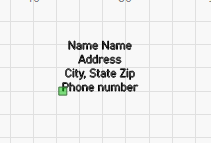
Attacehd is a screenshot from Literoom of what I am trying to do. It is just simple text.
Unfortunately, when Lightburn goes to cut, the text is all over the place. It does not stay in a line. I tried to cut this three times. They are the the blue, red, and green boxes in the second attachment. I tried this with my son’s actual info, and it was better, but not good. I just didn’t want to post his info. The blue and red are the same. For the green, I welded the letters (something I saw in the forum to try.)
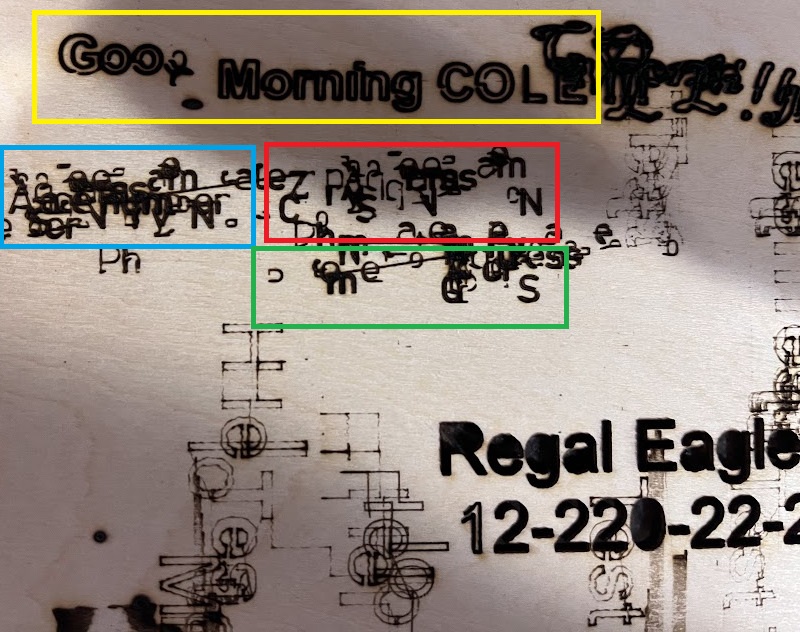
You can see in the yellow box a simpler version of the problem. That is just supposed to say “Good Morning Cole”
This is my practice piece of birch ply and you can see all kinds of attempts on it. The very clear “Regal Eagles” was cut by my friend on a different laser.
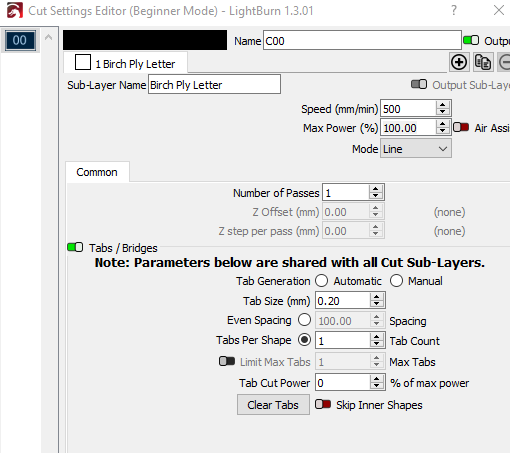
I’m not sure what to share for settings. I used 500 mm/sec and 100% power. I framed the cuts so they weren’t supposed to overlap, but they did. (I learned how to have the laser display during framing in the forum today. Thanks)
I would appreciate any help you can provide or things to try.
FYI - this printer has been giving me trouble with actual print quality for a while and I have a different printer on order. I haven’t seen any motion issues, but I want to be fully transparent.
Thank you.