We’ve just recently installed Light burn and having a couple dramas.
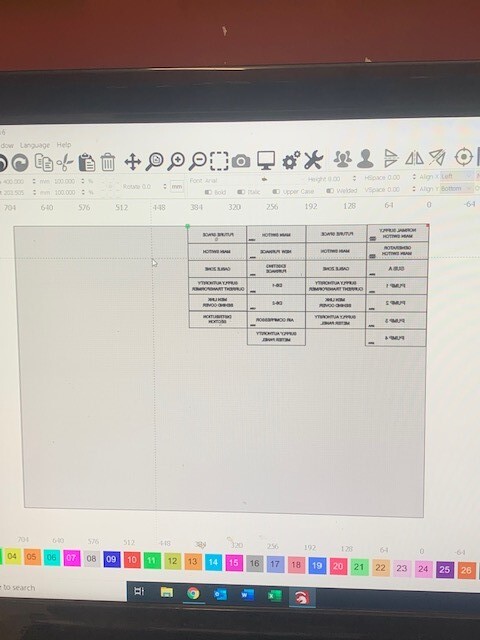
Majority of what we do is very basic rectangle boxes with text inside, labels if you will.
I’ve set the origin of my laser as the back right hand side but I would much prefer to work back left to right hand side. As you would read text on a page.
Unfortunately my scale on the left hand side starts a 700mm I would like that to be 0,0 working from the back of the machine to the front.
I’m sure this is a very basic question. Any assistance would be greatly appreciated
What controller is used to drive this laser? Which corner does the system ‘Home’ to when you first turn it on? This is where the system considers being X,0 Y,0.
We’re using a Rudida 644XG
The system home is the back right hand side of the machine.
We have set this up correctly in our devices settings.
It would be great if we could somehow get our X,0 & Y,0 in the back left of the machine so that we can print labels left to right as you would usually read text.
We need to find very specific points to drop text boxes in.
Currently we have to set our user origin back left and then minus our values from 700 to find the spot to drop our text. Does that make sense?
I can flick through some photos if you would prefer.
Why is it necessary that you do this? I’m not understanding the need.
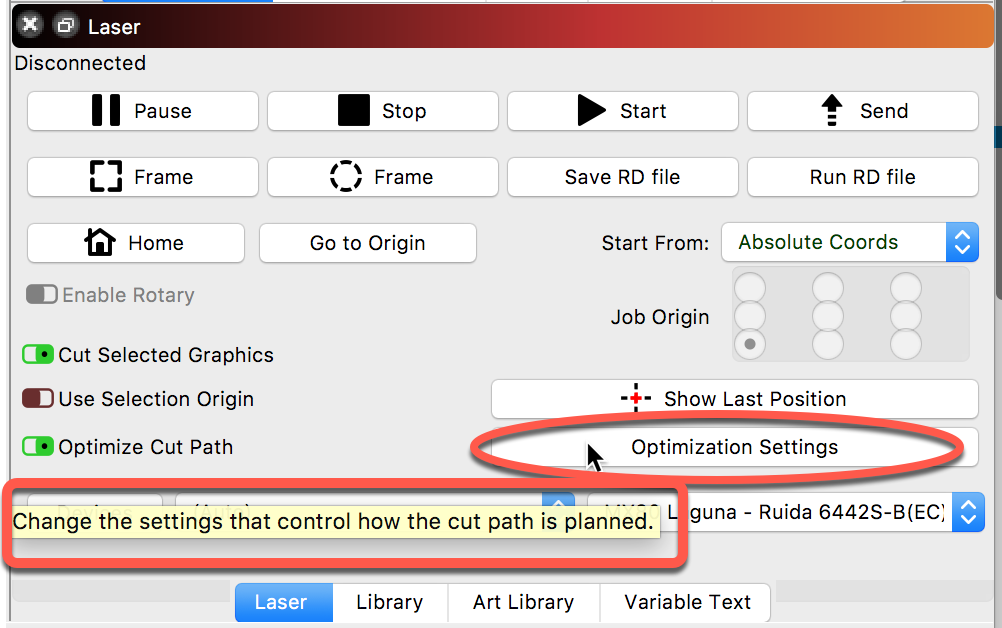
More generally, on a Ruida controller, the machine zero point is dictated by the position of the homing switches. You can very easily place artwork in LightBurn relative to other things though, so if, for example, you know you need to be 300mm from that corner, you could enter “700-300” into the X Position for the shape and LightBurn will do that math for you.
You could also draw a shape centered at the point you need, set it on its own layer with the output toggle off, save that as a template, and then just drag-snap the text to it when you need to. There are a variety of other ways to position things, but explaining what it is you’re trying to achieve (not just this very narrow thing you’re trying to do) will help us point you in the right direction.
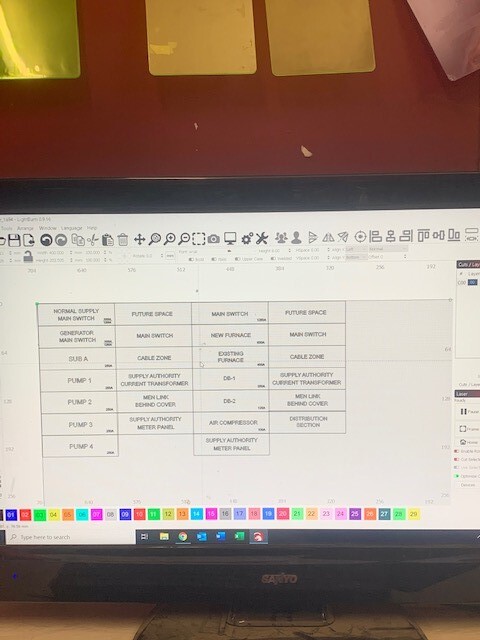
Ideally I would like to work like this. I just need my 0,0 in the top left, this will allow me to accurately find points on my label without using a calculator to work back from 700
Rick I think your earlier point about changing the location of our limit switches is what I need to change.
Lightburn is following the parameters correctly.