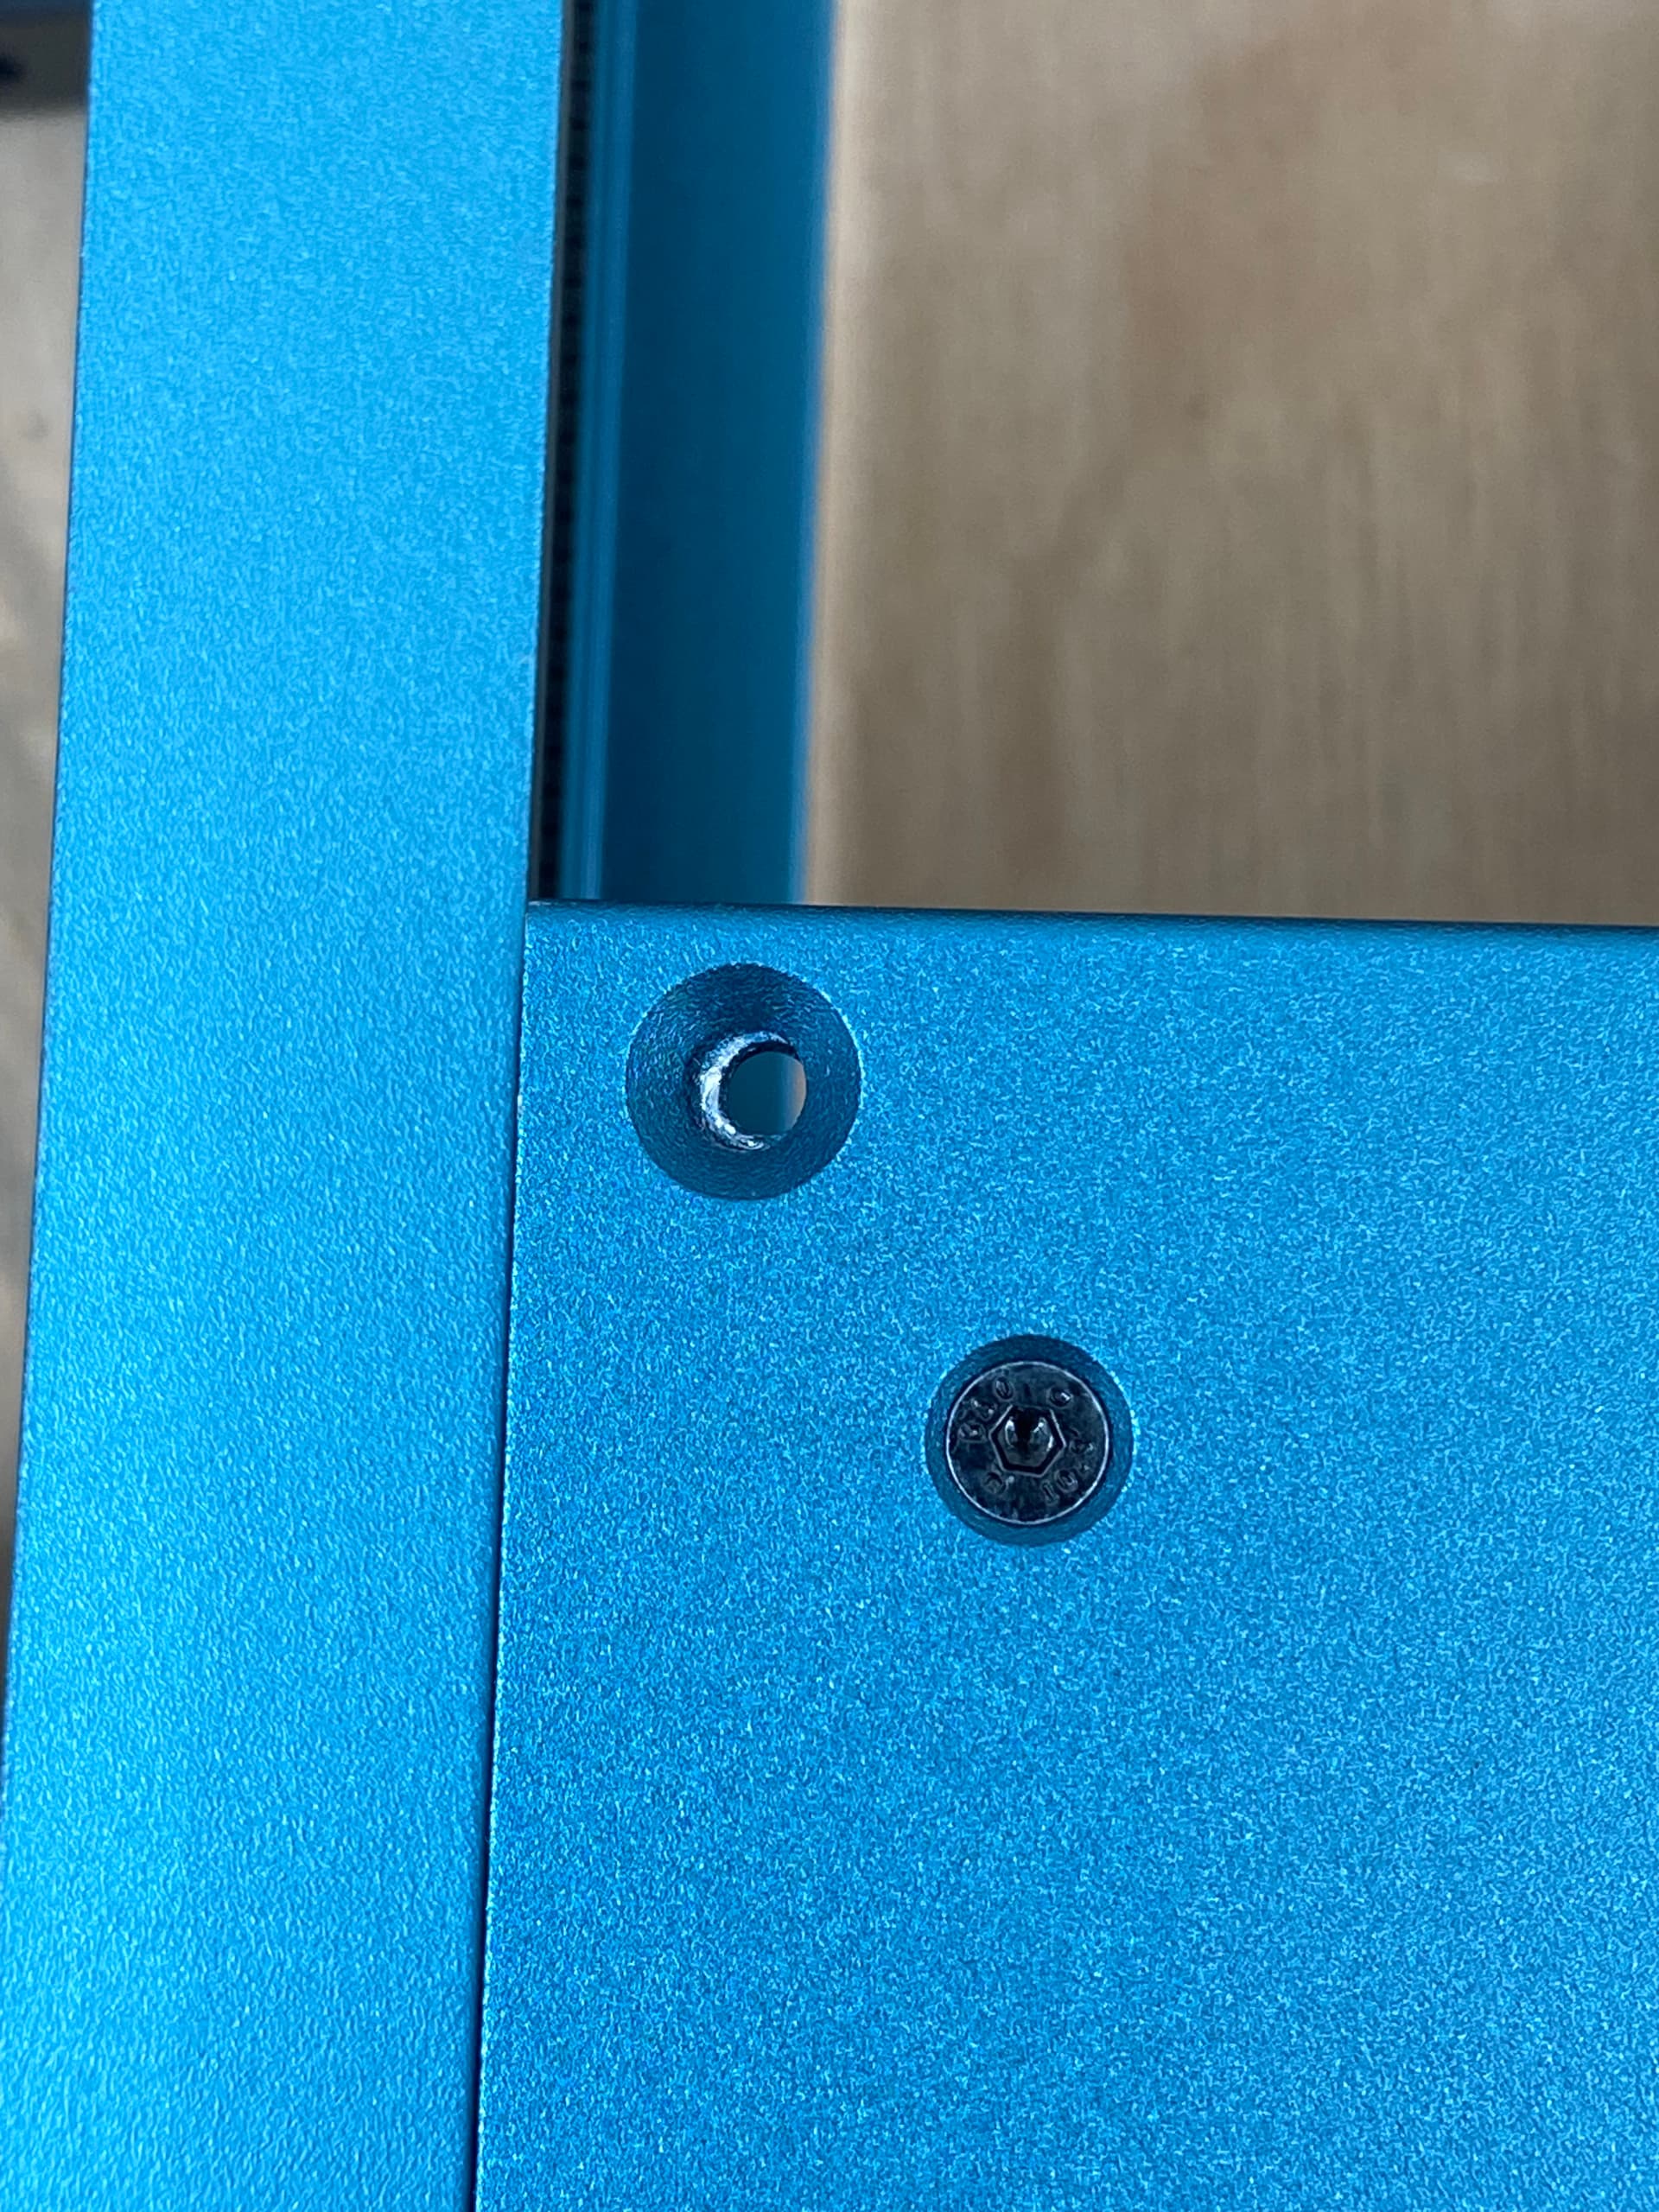
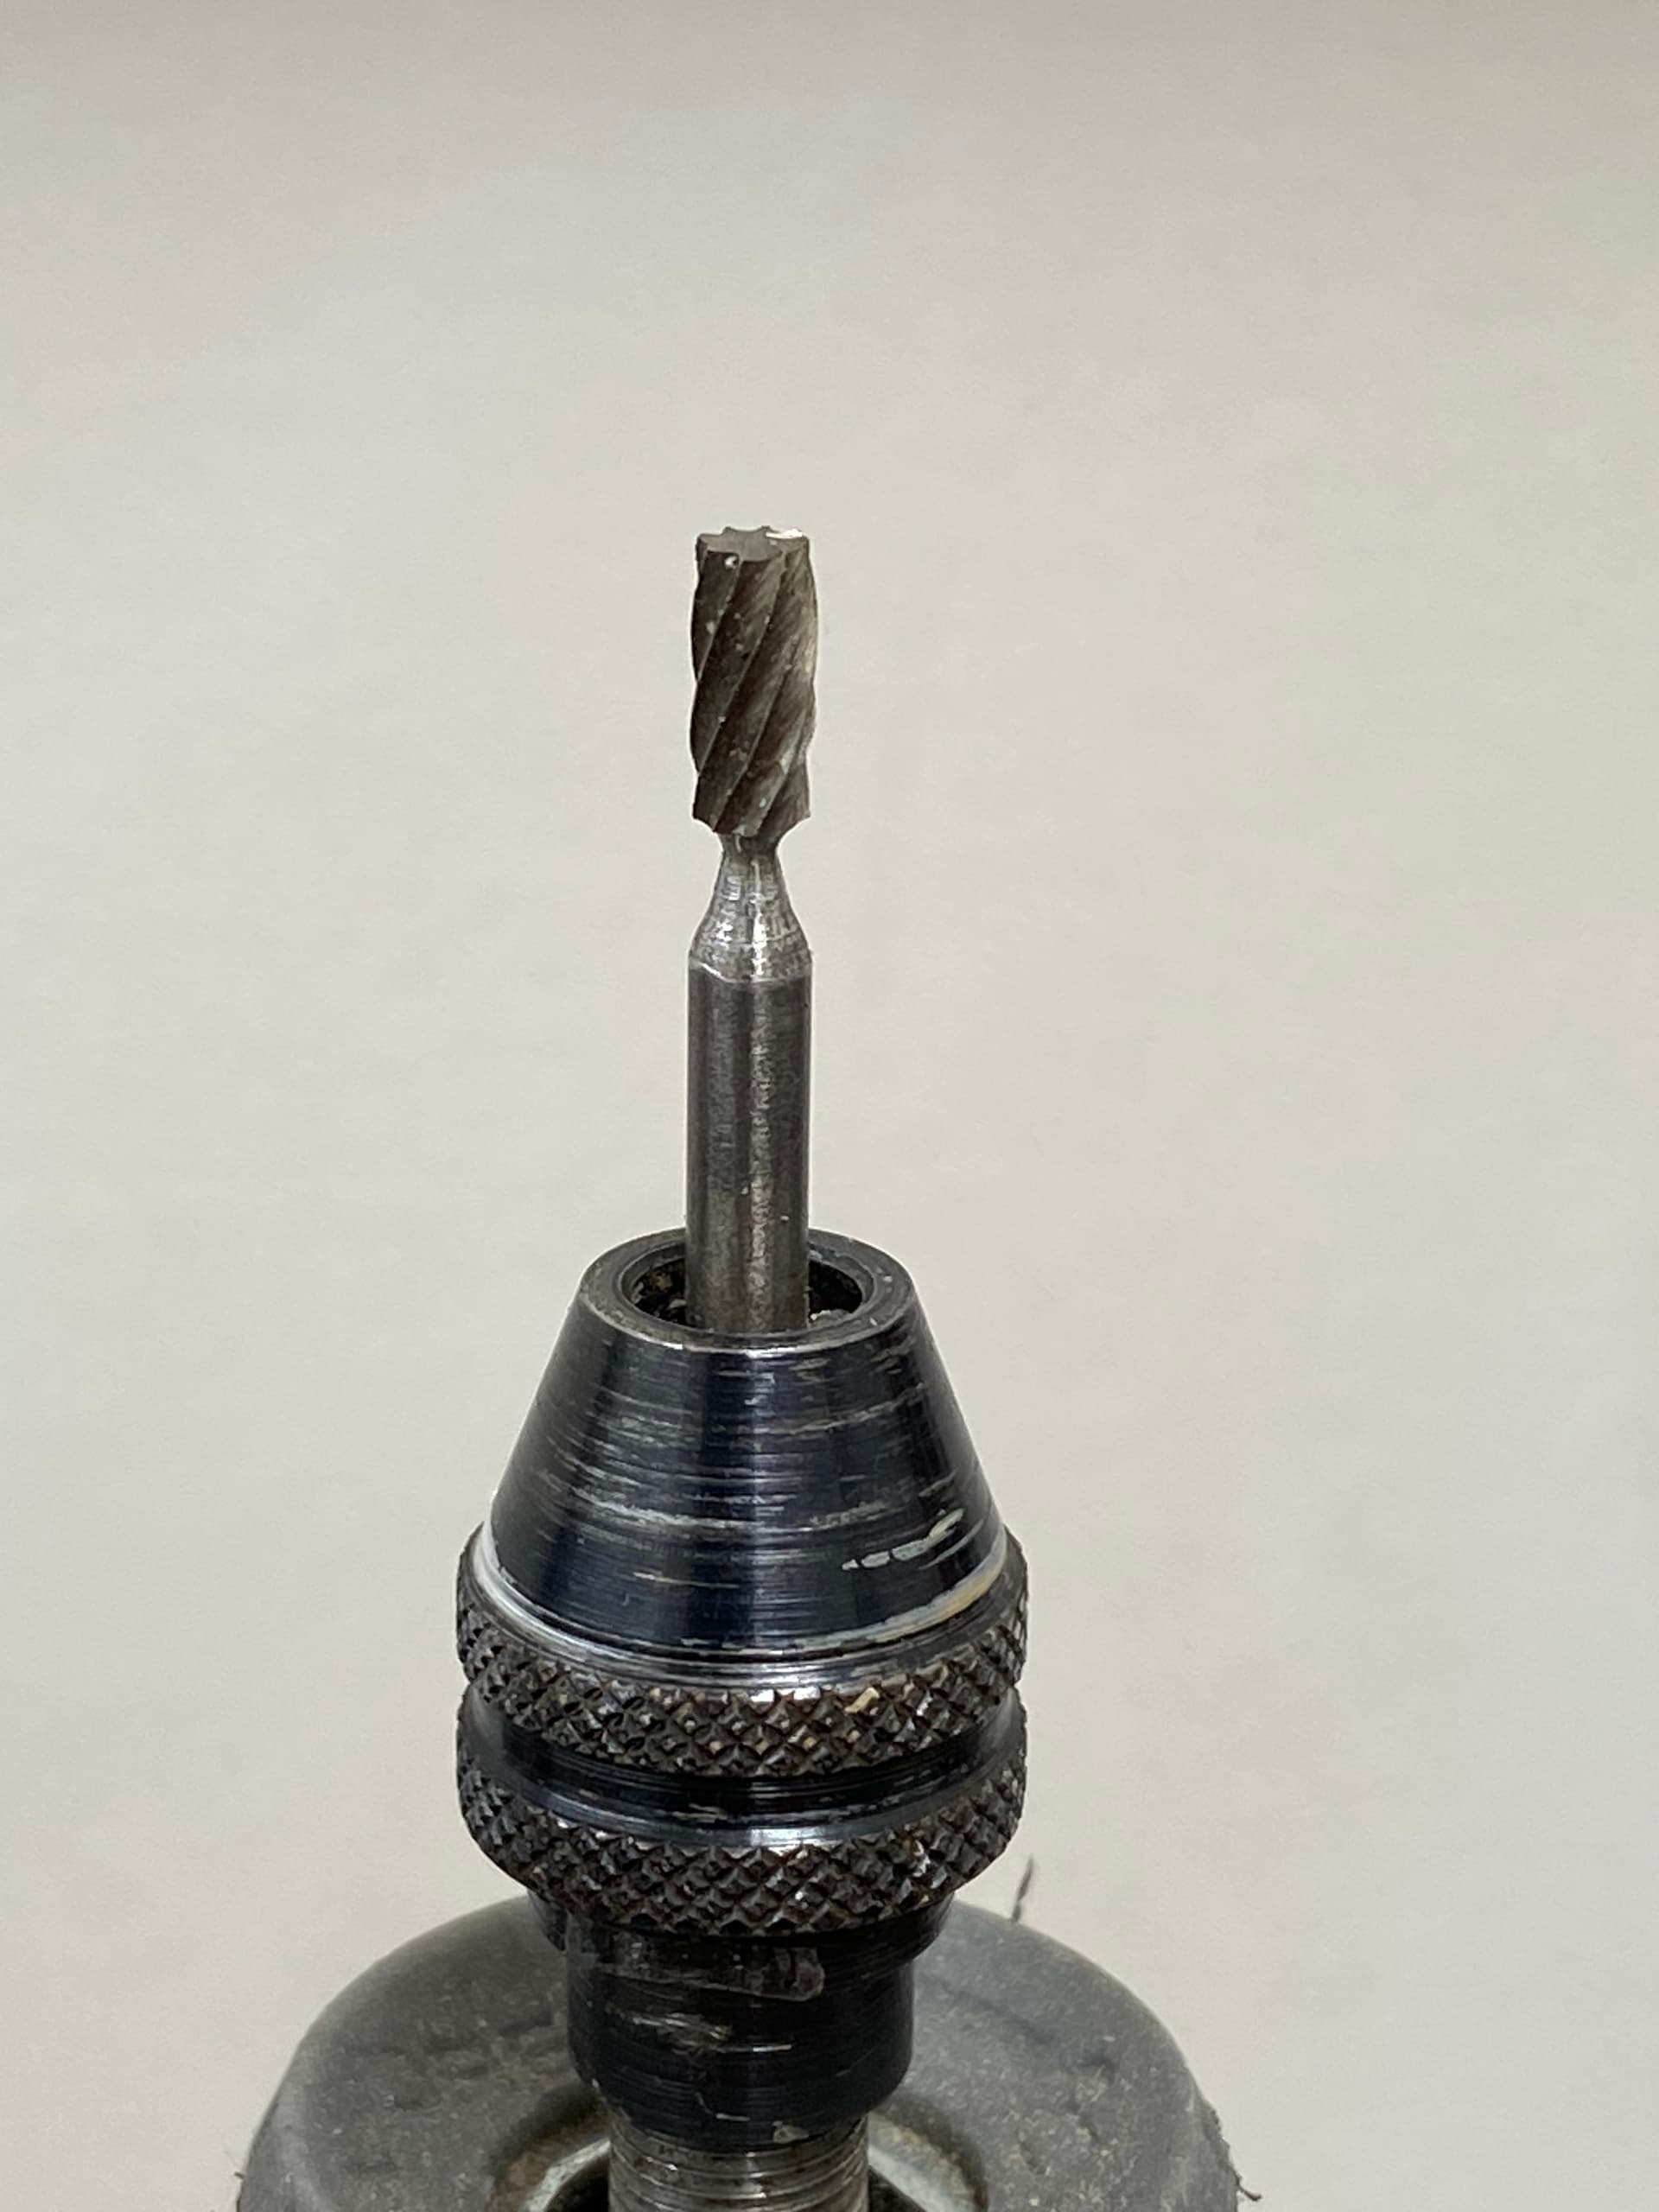
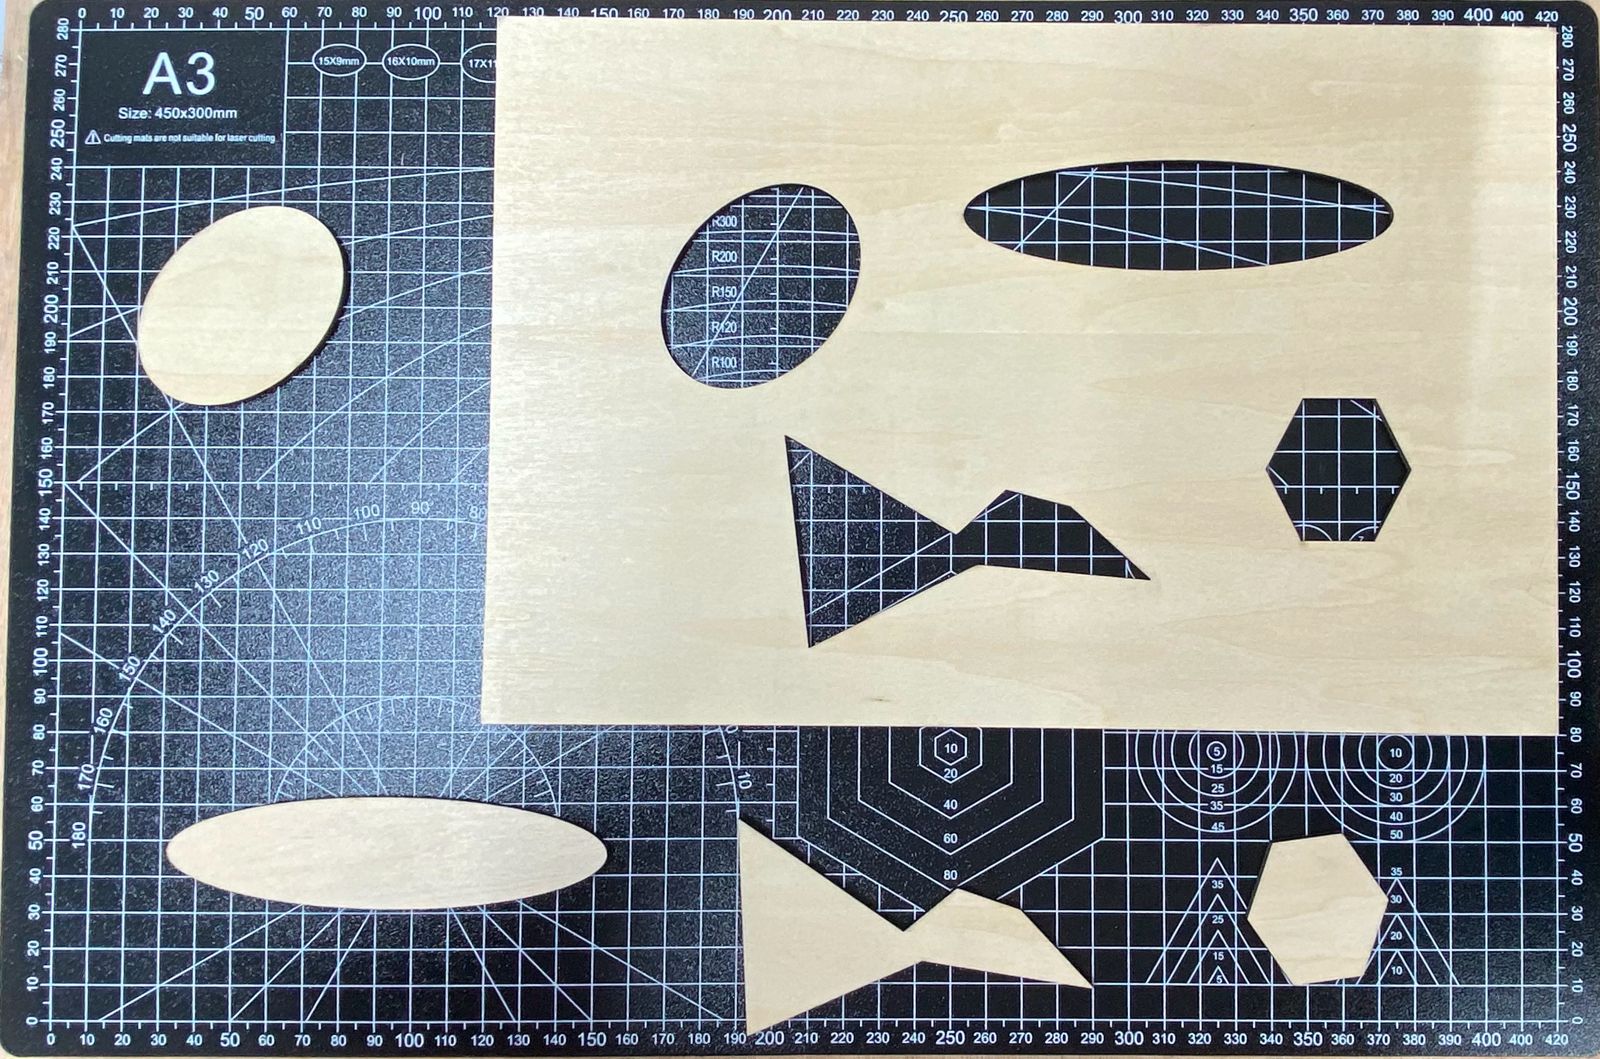
The new Sculpfun SF-A9 40W machine arrived today. I spent a short time (40 minutes) completing the assembly. My first impression was that Manufacturers in China have upped their game quite a bit since I first purchased my original series one Snapmaker. The fit and the finish have improved considerably and mostly… the assembly went without a hitch. On of the screw holes on the X axis would not let the screw enter the screw hole because it was displaced by about 1mm (see image). Four countersunk screws are required, arranged in pairs at each end of the X axis, to fix the X axis rigidly to the carriage of the Y rails. I used a Dremel tool with a small parallel-sided carbide burr to enlarge the countersunk hole by removing 0.7mm on one side.
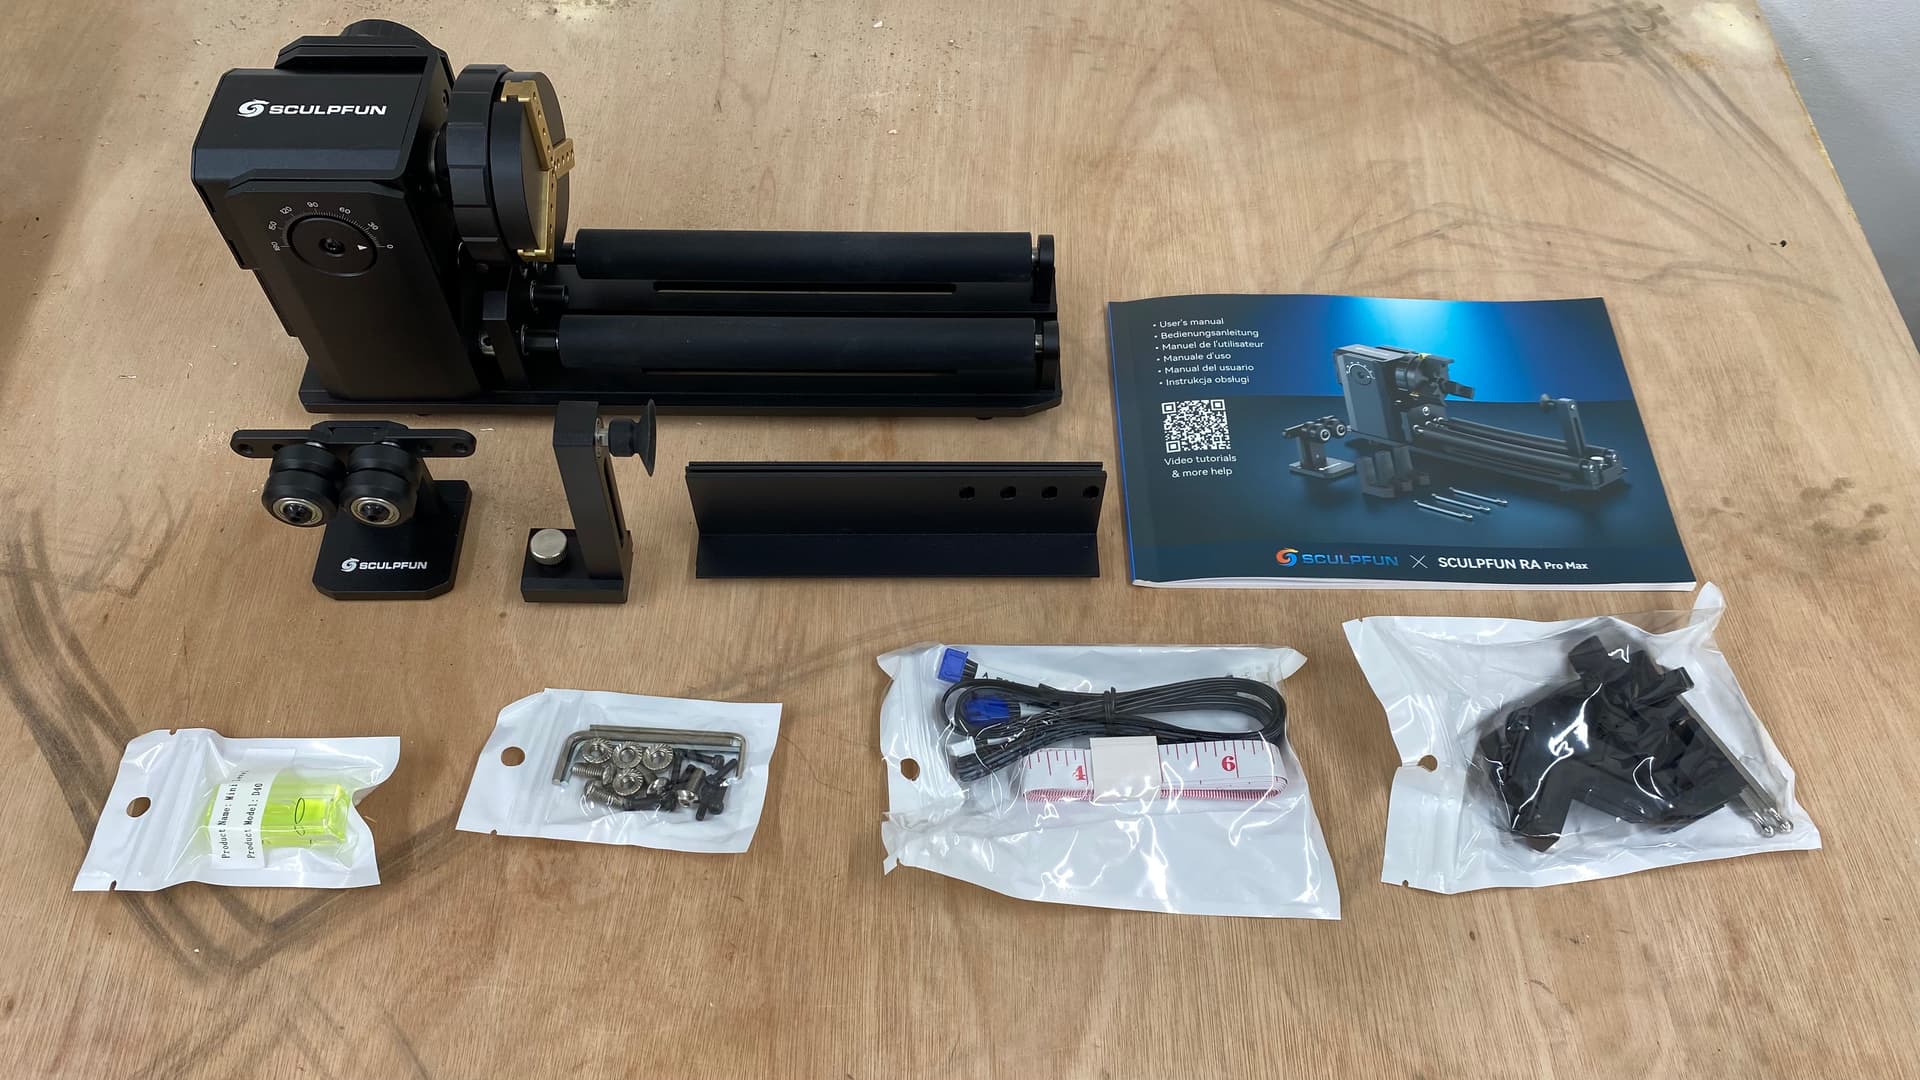
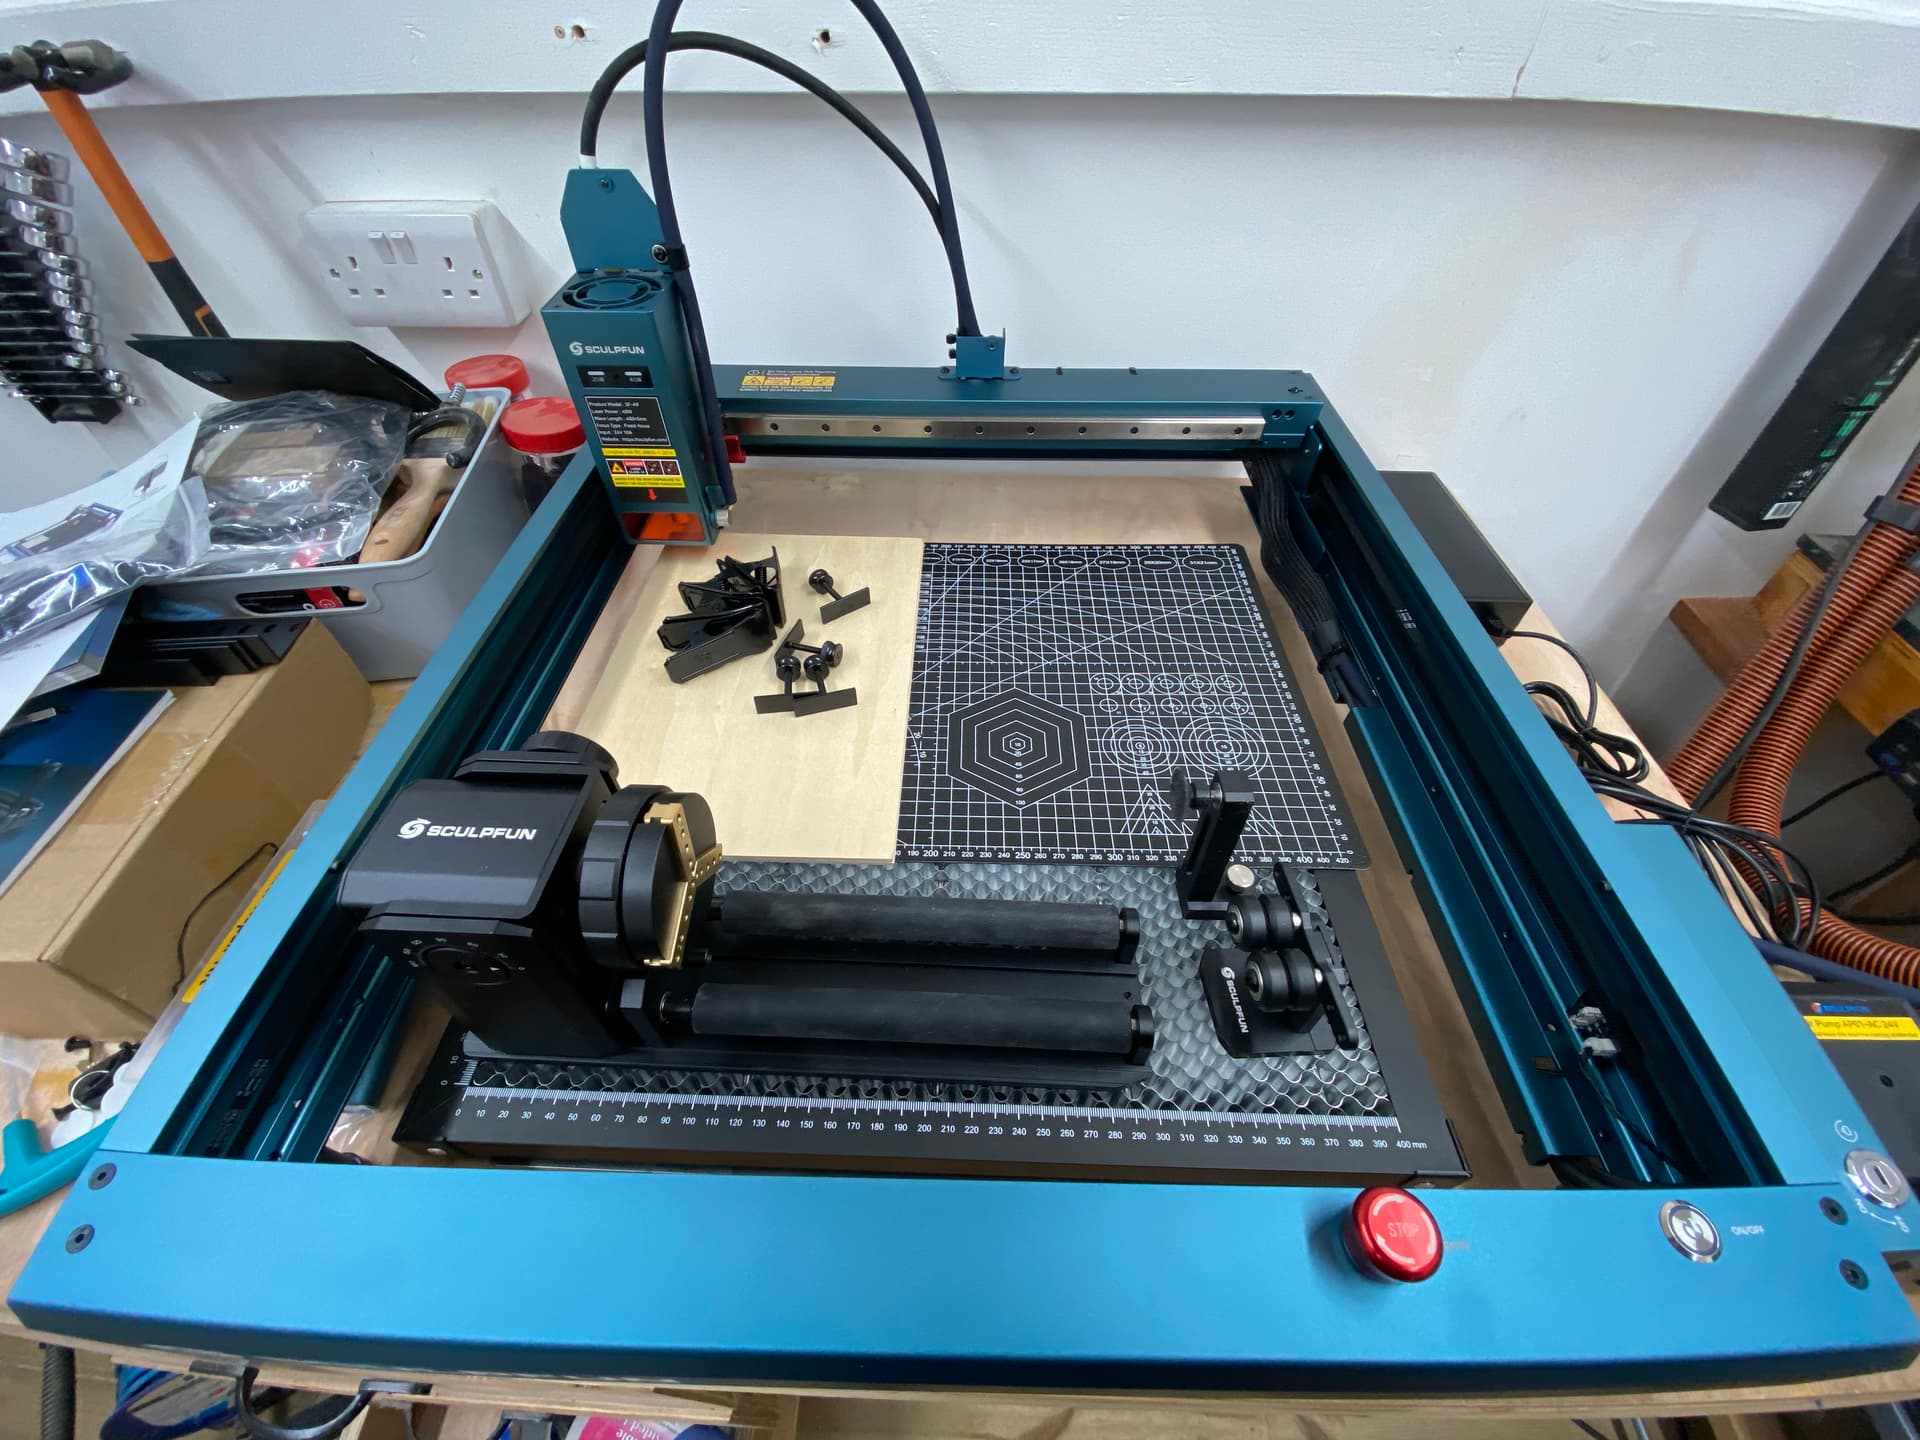
As well as the laser machine, I received a 2W 1064nm infrared head. I also received a RA4 Pro Max 4 in 1 rotary attachment and a Sculpfun 400 x 400mm honeycomb. The honeycomb came with some additional clips and briquets as well as another aluminium base and an A3 cutting mat. The only niggle I had with this was the double-sided sticky pads for the feet of the honeycomb were easy to take off the packaging but it proved difficult to separate the double-sided protector from the very sticky pads.
I will set it up for use tomorrow. All in all, the equipment looks to be well designed and well made.
It’s a great bit of kit, I have the same setup with the exception that my honeycomb is made of steel - way better than aluminium because hold-down magnets adhere to it directly. I didn’t have issues with misaligned screws though. Enjoy.
Hi Pete,
Thanks. I am not sure what happened. Everything worked as expected when cutting the ply. I am connecting directly with USB. I had to download the lastest CH340 driver and all appeared to be normal. The machine homed correctly and moved in the direction of the arrows when they were pressed. I do have high hopes for the Cleaview Plastics Enclosure. Those guys look like they really understand the needs of laser users.
I only have the one machine in devices. I scrubbed off the JTech laser and my Shapeoko because my intention was only to use that machine for CNC carves now. I cannot connect to COM port 4 unless the machine is switched on, otherwise it looks for COM port 1. I also noted that the head wanted to move in the opposite direction to the arrow keys today, despite being right yesyerday.
You can do this by going to ‘Edit > Device Settings’ in the top menu of LightBurn, or clicking the wrench icon in your top menu bar.
The ‘Origin’ setting controls the orientation of what gets sent to your laser. For example, if you have the origin for the device set incorrectly, your output will be mirrored or upside down when run.
Thank you for your kind assistance, Jeremy. I should get the opportunity to make that change in around an hour when I get home. The origin you are showing (rear right) is what I had used for my JTech/Shapapeoko combination. I believed that the Sculpfum had its origin set to front left. The head first traversed to that position when I first connected it to the computer after downloading the latest CH340 driver. Is there some reason LightBurn favours they rear right position of which I’m not aware?
I will try the origin change and let you know if I am still getting the fault.
Thanks for your patience, Jeremy. I checked all of the settings and switched everything off… unplugged it all and started the connection process from scratch. Now everything seems to be working correctly. I am not able to pin down what was wrong. The Sculpfun was correctly specified in the devices window.
My work method is to centre the image in the LightBurn window. The job origin is then set to the centre and the start position is set to current position. I find the centre of my workpiece (I am using 6 inch tiles) which I have placed at bottom left of the baseboard. Moving just 3 inches in both the plus X direction and the plus Y direction then locates the laser head at the mathematical centre of the tile.
Starting the laser head from the home position moves it 3 inches in from both the X & Y borders. I had previously moved the baseboard so that the laser head starts exactly at 0,0 at the bottom left hand corner of the baseboard. I then start the burn from the current position where I have set the laser head.
Does that look like it is a reasonable way to locate and burn an image in software and on the workpiece?