I recently purchased a laser table equipped with a Ruida 6332M controller and a Yongli DLT-40Z 300w CO2 laser. It’s my first time using a laser cutter, so I have no prior experience to guide me. This and other forums have been quite helpful in getting it set up.
I’ve gone through the steps of aligning the beam and setting the focus, and am satisfied it’s ‘close enough’, and I’ve dialed in the power supplies to deliver the manufacturer’s recommended working current at 100% controller output.
I’m looking for some tips on improving my results on air-assisted cutting of sheet metal. I’m pretty happy with what I’ve achieved so far, but there is room for improvement. I do have a bottle of nitrogen and a small bottle of oxygen, but I’m waiting on regulators and various fittings to hook them up. I’d like to focus on getting the best results I can with compressed air, first.
Here are some pictures of some test squares on a piece of 18ga stainless. Specifically I’d like to address the overburn/larger hole at the punch-through site, and the slag and dross on the underside of the cuts.
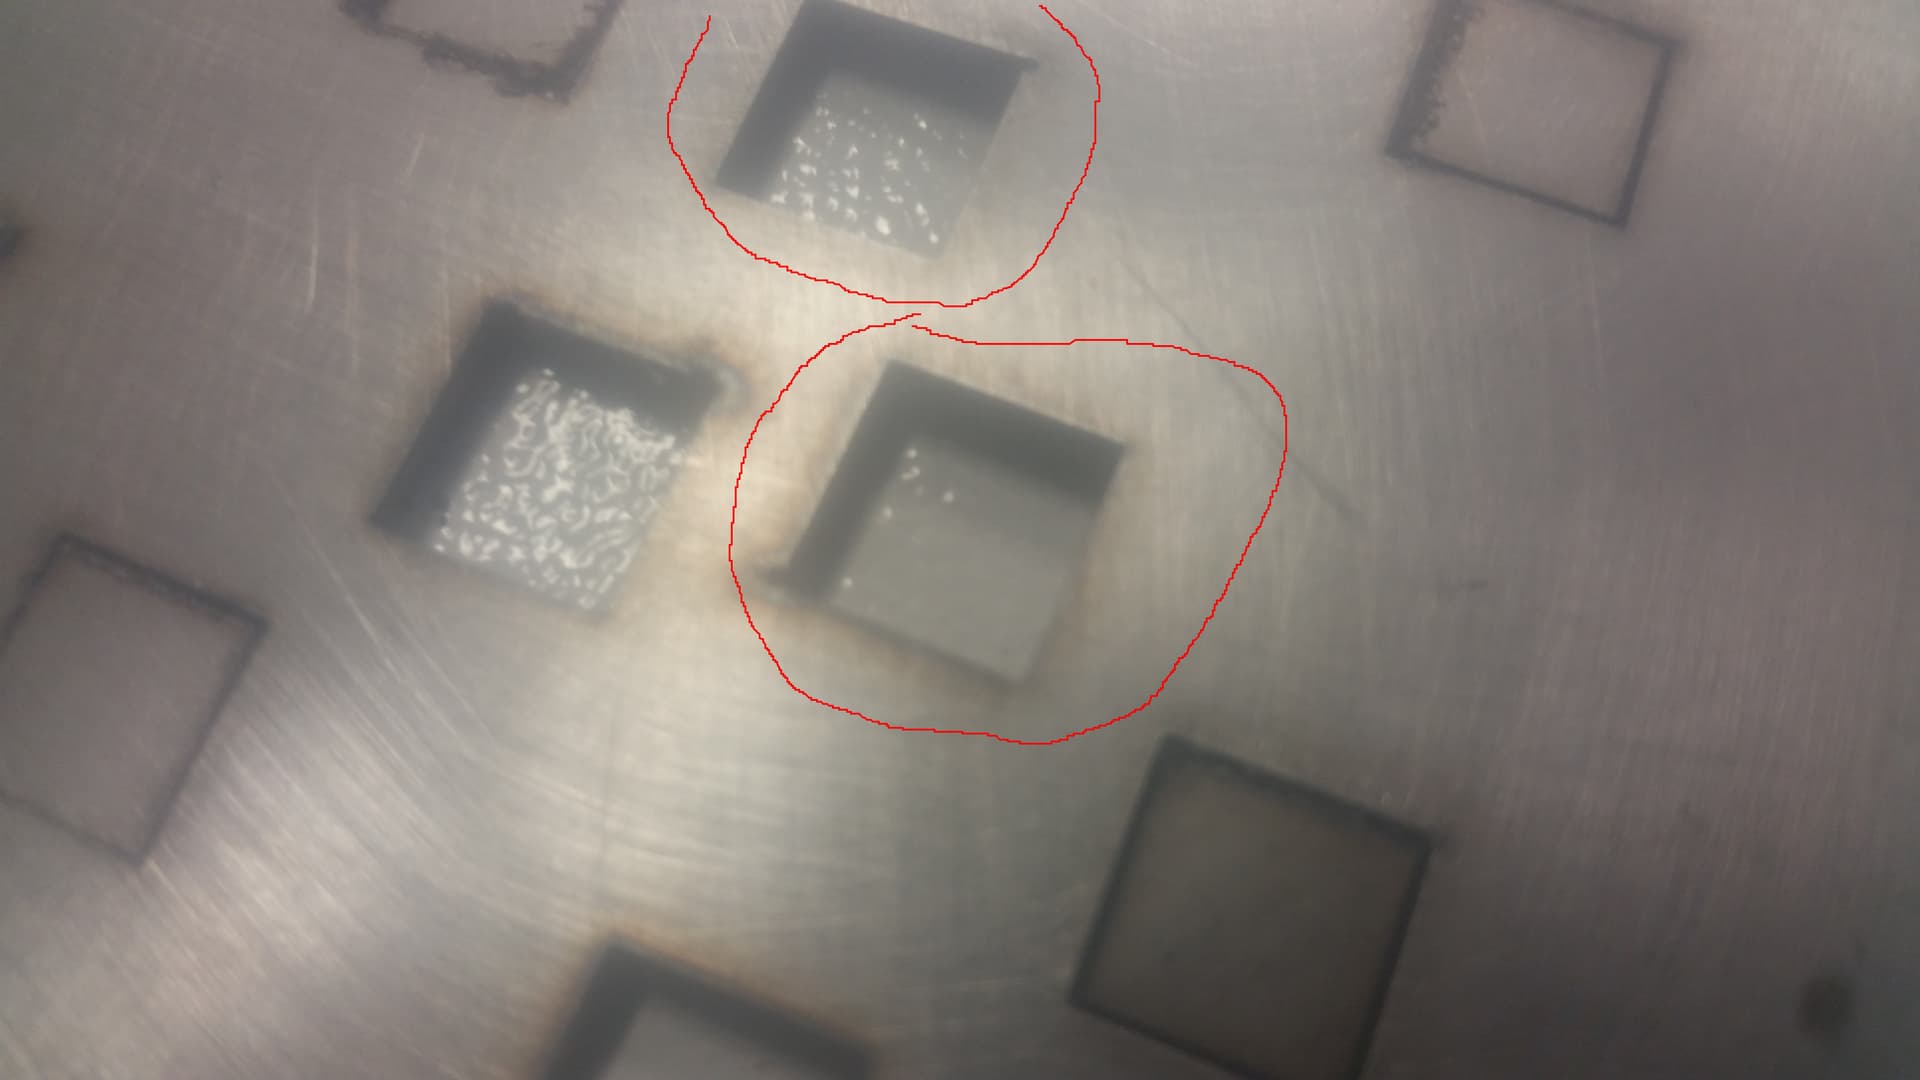

The two circled in red were cut at 5mm/s, 100% power, with a punch-through time of 1500ms at 75% power, air at ~75psi, and a metal-cutting nozzle with a 1.5 hole. Nozzle cutting height is 0.8mm. The rest pictured (and many more not pictured) are variations of cutting speed, air pressure, and punch-through time and power. Cutting power I’ve kept at 100% for all tests.
Some notes I’ve made after various tries and playing with settings:
- Air under ~60psi and it doesn’t cut through consistently. Air higher than 75psi doesn’t make any difference that I can see. I’ve had it up to 110 psi.
- Slower than 5mm/s doesn’t change the result. Any faster than ~7mm/s and it does not punch through or cut consistently and repeatably.
- Longer start pause times or higher power increase the size of the punch hole a bit, but reducing time, power or both can’t eliminate it entirely, just switches the result from ‘it punches through with overburn and starts cutting’ to ‘it doesn’t punch through and starts moving, punching through somewhere along the cut line’.
- Nothing I do can affect the dross on the underside, for better or worse.
The table is set up with a high and low pressure gas line, I believe the low pressure line is used for punch-through with a switch to the high line once movement starts, however I have the ~75 psi supply going to both at the moment, again waiting on fittings.
From what I’ve read, using the ‘Add lead-in’ option is one solution to the punch-through overburn, at the cost of micromanaging every shape and cut to make use of it. Using nitrogen as an assist-gas should eliminate the excessive slag and crap under the cut, while oxygen may increase it but allow much faster mm/s cutting speeds.
Am I right in that? If so, can anyone share some tips for improving the results without using lead-in or switching away from air?
