Hello everyone. Not sure if I am posting in right area.
I recently upgraded from a cheap diy laser setup to a Ortur Laser Master 2 20w.
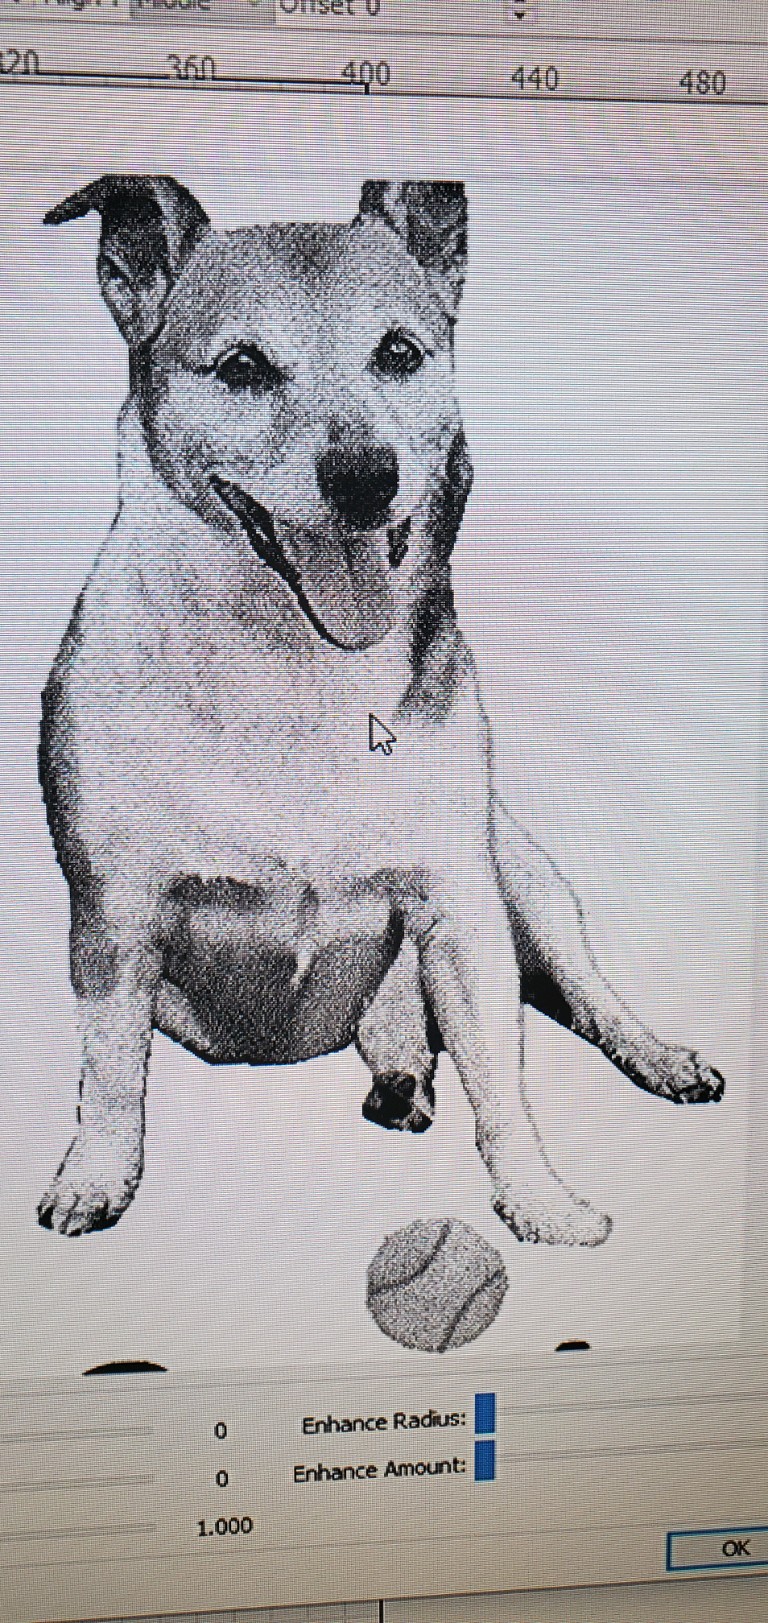
My Uncle and Aunts dog recently passed away and I am trying to burn an image of there dog and its name. I have tried everything I’m comfortable with changing as far as settings but just can’t seem to figure it out.
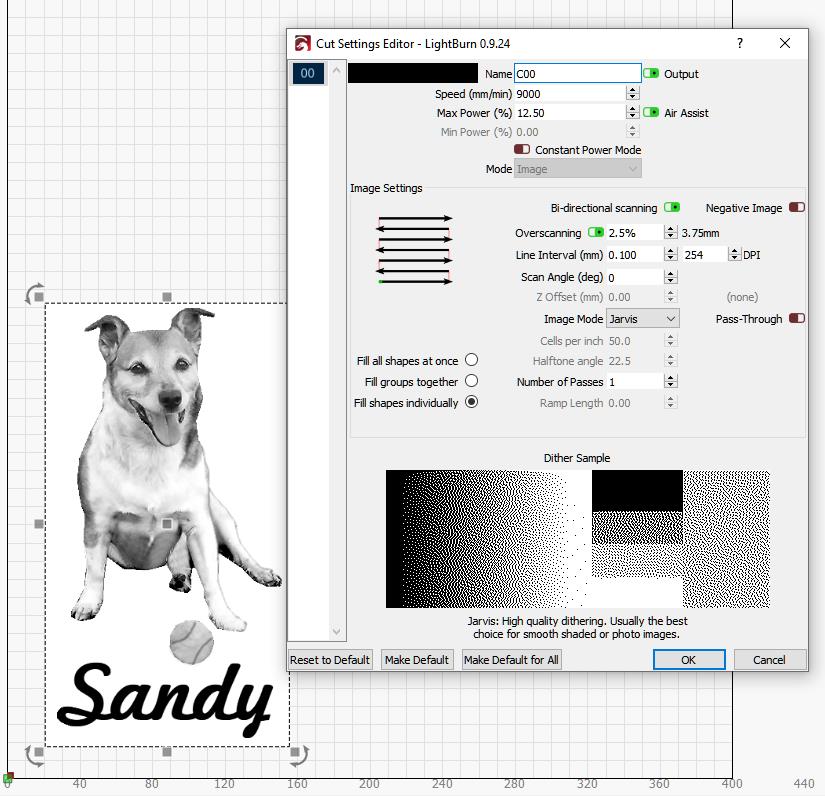
My problem is I import the image,I have it on Jarvis and preview looks fine.
Though I have attempted to burn this image several times and messing with power settings,contrast,brightness,speed and no luck.
I actually first tried using LaserGRBL(What I have always used) but had the same issue,thinking it was that I looked and found Lightburn to try.
Its either the image is burned too dark and there is no lighter tones,or the image is too light and barely burns and ALSO several times the black lettering is just outlined and not burned at all. I have even tried calibration test burns and there is no gradients.
Hi Dan, If you set the settings in ‘shape properties’ back to zero and set ‘gamma’ to ‘0.650’ That’s usually a pretty good start. (going higher is darker, lower lighter).
Start the contrast about ‘+6’.
Use a piece of waste wood for testing, small adjustments if needed.
If it starts burning too dark, stop, adjust the power down and start again, you’ll see within a minute or so.(save a lot of time and material that way)
I used to get decent results with ‘Greyscale’ if Dither doesn’t work for you.
Good luck… Making mistakes is all part of the learning
Thankyou so much! Your suggested setting helped alot! Question though. What are the differences between the power settings within the actual images “shape properties” menu and the the “cuts/layers” layers. Which one should i be concerned with changing how dark the burn?
If you go to the ‘help’ tab at the top of Lightburn and ‘Lightburn software documentation’ and search ‘power settings’ there’s good info in there to explain it
Hi Dan, Jack is right, you should only have one power setting.
There may be a min setting showing on the ‘cuts/layers’ panel but should be grey so not usable.
Oh yeah I saw that but I was actually talking about something else. Like if you double click on the image it brings up an additional power setting control but I have since then seen it changes both no matter where you adjust. Thanks for the help!