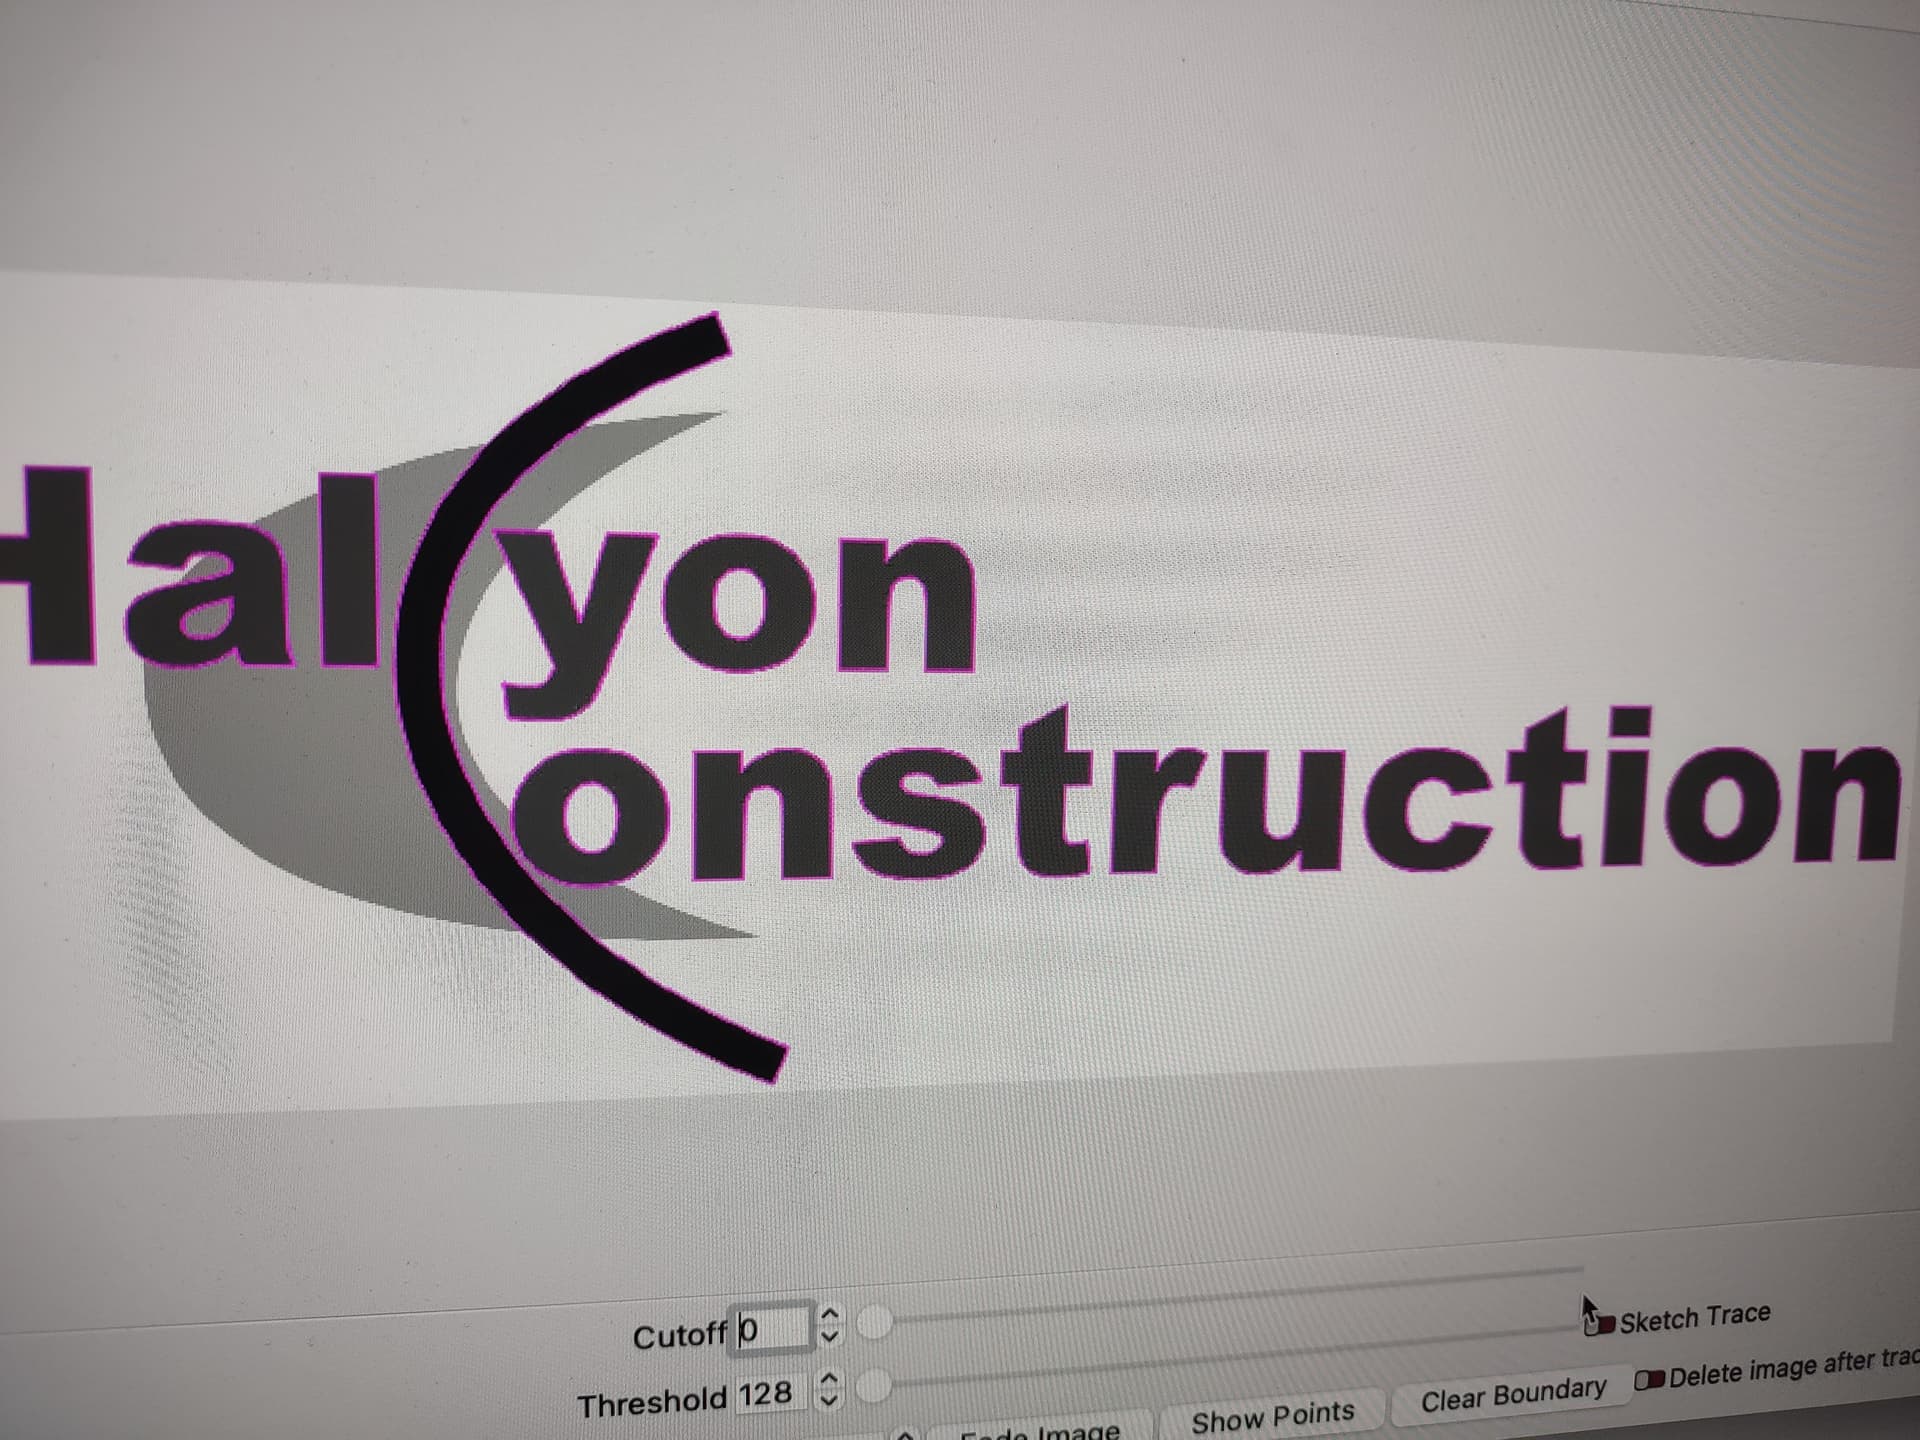
I have a customer that’s wants his company logo engraved on some Yeti tumblers. I have done quite a few trace images before, but this one has me stumped. It’s not picking up the half mooned grayed out image in the background. Is there a specific way to get this image to trace with the rest of the logo? Here’s the logo I’m working with.
Did you try moving the slider on Threshold?
FWIW - I believe your moon will not work out on a tumbler. On wood, you could adjust the power and interval to make a differentiation on the layers. With the powder coat and the metal background on the Yeti… you wont get that effect as easily.
I am wrong 2x a day…and it is early still
Yes they only chance of doing this MIGHT be running the grey shape as a separate layer that discolours coating without burning all the way through.
1 Like
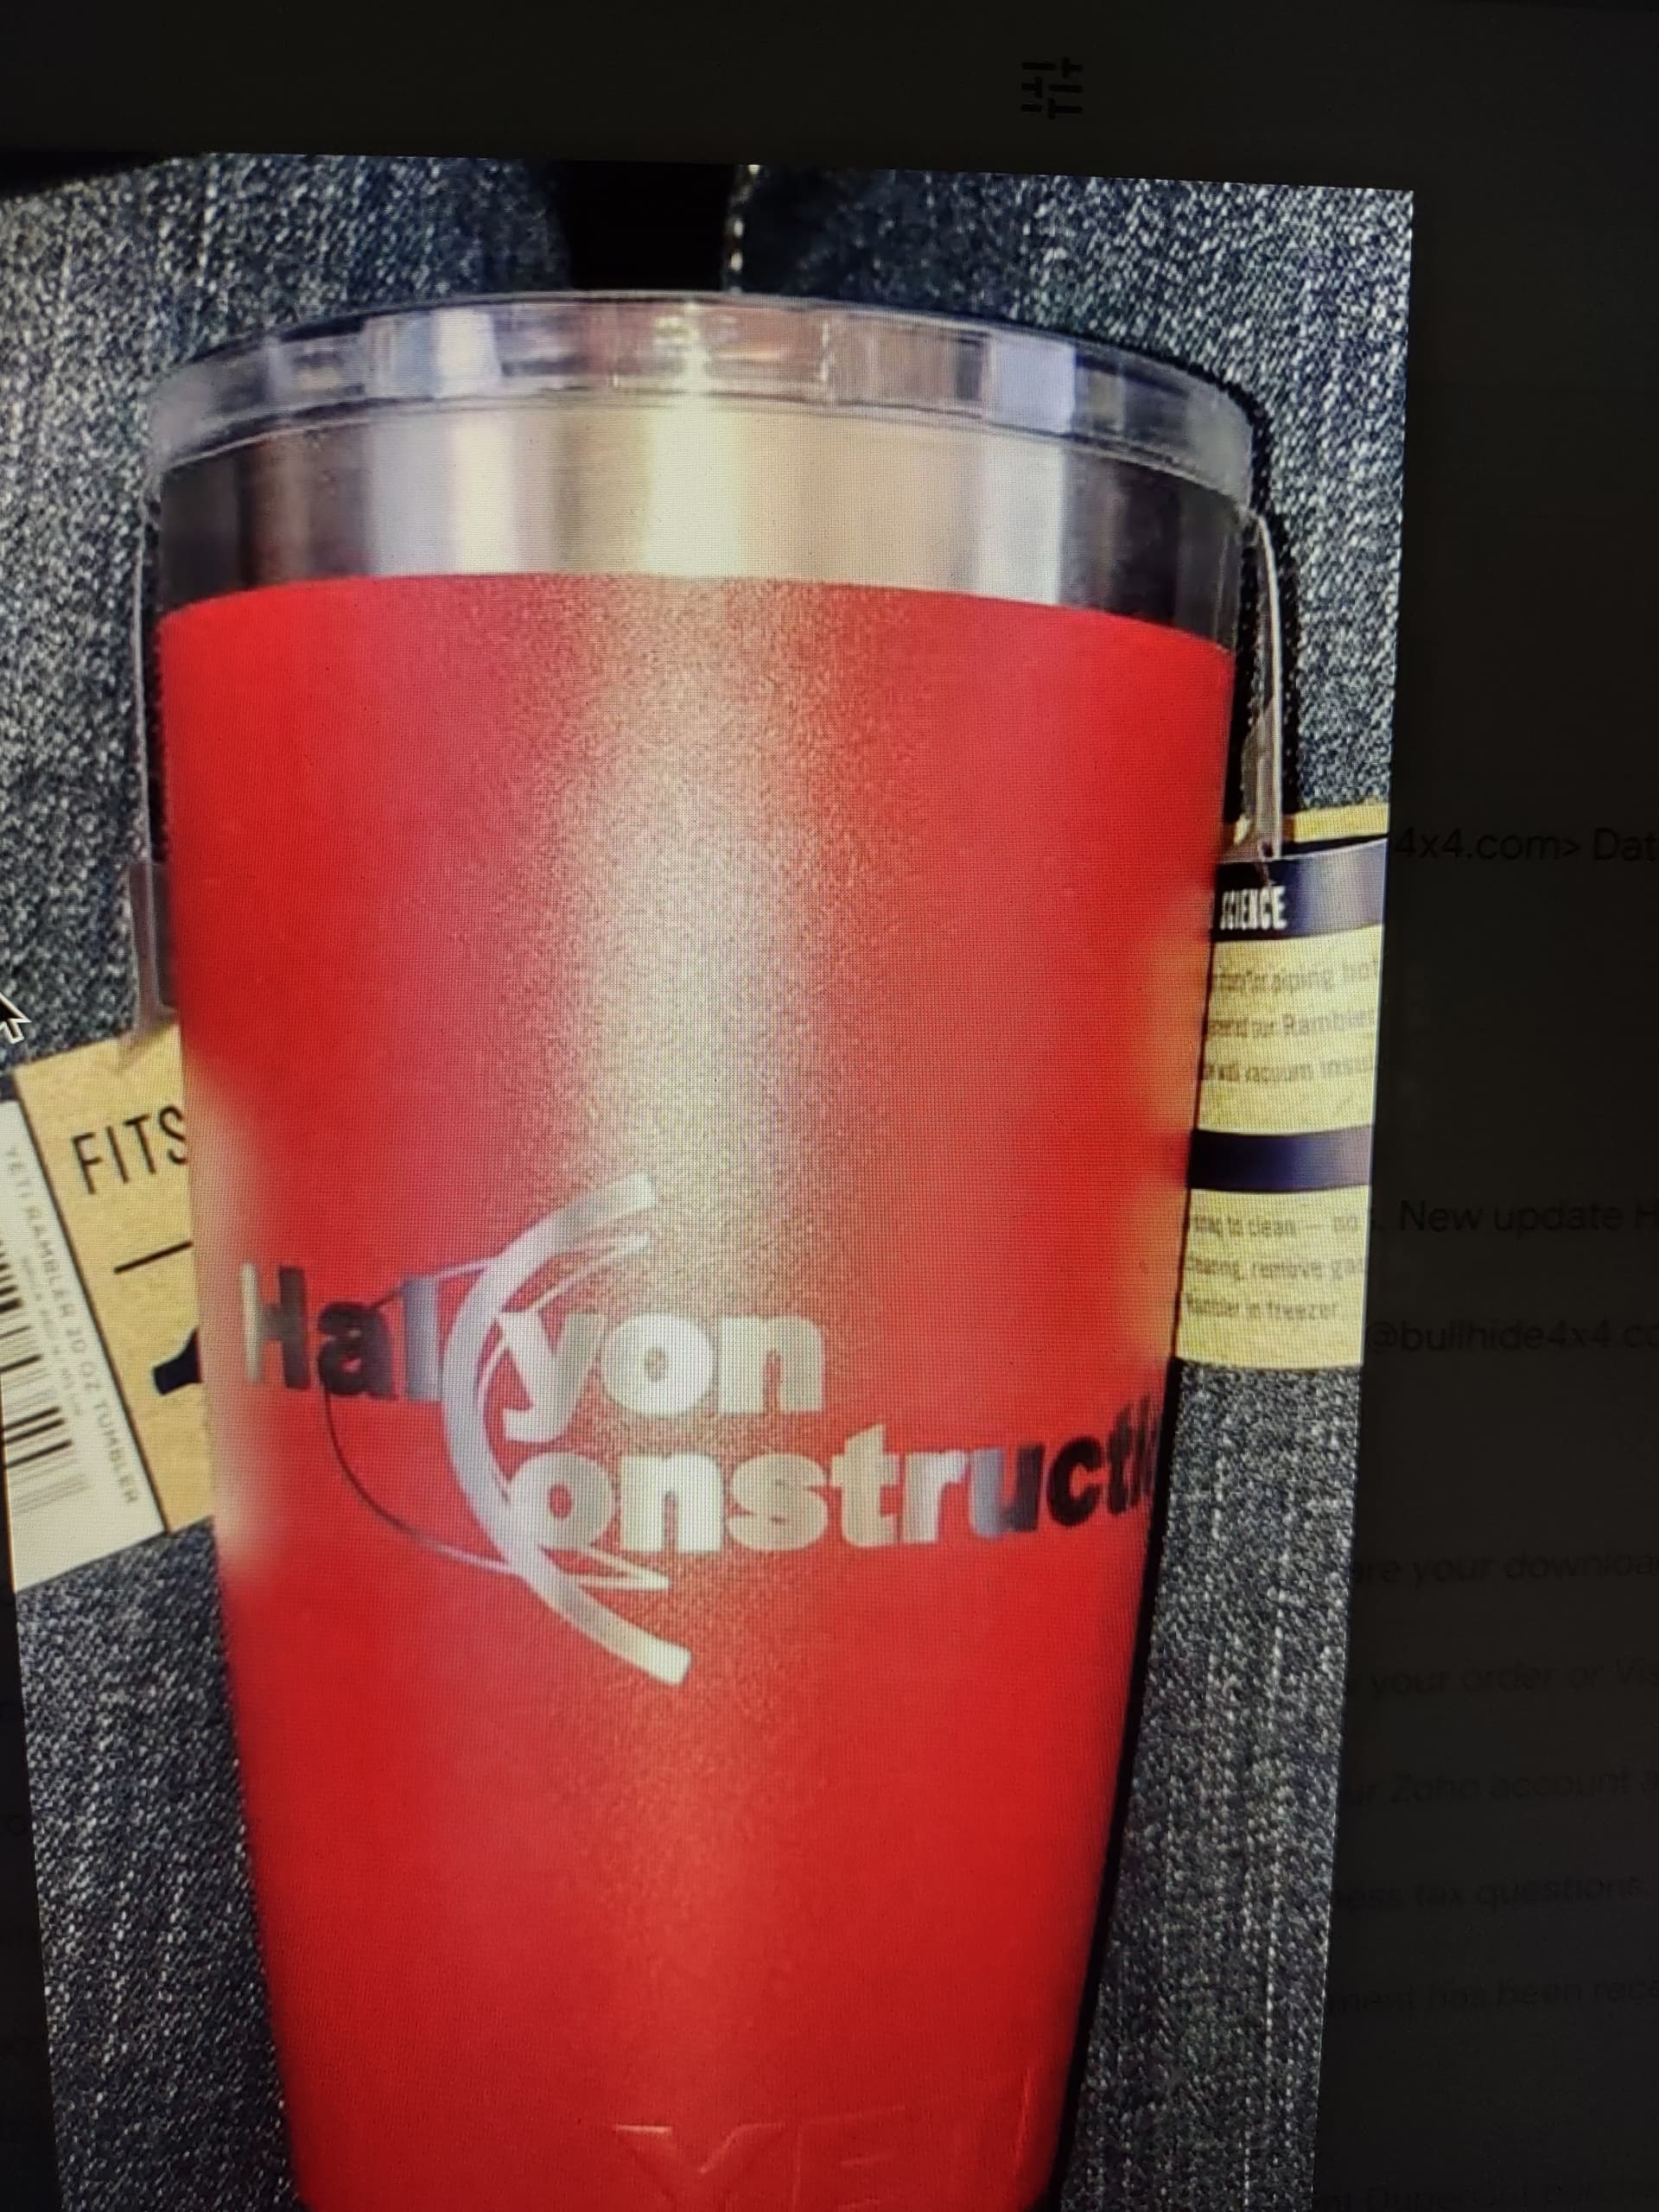
I haven’t played around with the slider yet. I found that information out after I posted. Here is a cup with the same logo that someone else did. The other thought is to recreate the half moon skate by drawing it.
You can trace something multiple times and dial it into what part of the image you want. Takes a bit of effort, but works quite well.
If you trace it and do not delete the original, you can re-trace it and dial in the half moon part with the sliders… separately…
You can put it on a separate layer if you wish, but you would only need to get rid of the stuff not in the moon area on the 2nd trace. It will take some work since the moon is under the other stuff…
If you want some type of gray scale type output in the moon, you will have to dither the internals of the moon shape to get this… it will be tough to dial in, but doable…
It appears not to be a design that is proprietary, you could post it here and see how people handle it…
Good luck
![]()
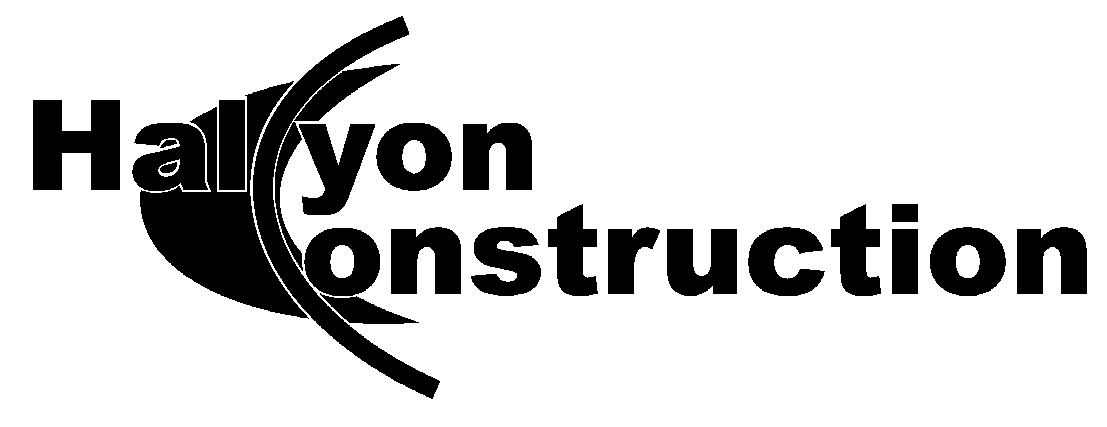
I’ll try doing some of the techniques you have suggested. I have attached the logo I am working with from my customer.

Neat idea to use multiple passes of the trace command! That never occurred to me. THANK YOU for sharing your methods. I gotta go try that, right now.
Here is a quick and dirty toss at the project. A lot of node editing. The “a” is too rough for me, but it gives an idea of outline on the moon.
halcyon rough.lbrn2 (35.2 KB)

Here is a link to their website for the SVG file - https://halcyon.construction/wp-content/uploads/2021/03/halcyon-construction_logo.svg?fsum=ae0f7b5a02cb
Here is a LBRN file that is similar to the tumbler you referenced.
halcyon-construction_logo.lbrn (65.3 KB)
1 Like
This is seperated by layer for each color…
The vector file and the .lbrn2 file…
logo.lbrn2 (46.1 KB)
Might have duplicated @RalphU work… let us know what works for you…
Good luck
![]()
1 Like
My wife and I were messing with the file tonight and thought we got it figured out, but after engraving on a tumbler, this is what we got. The outline of letters around the half moon shape are off. This cut time was about 6:30 each cup. The file that you all helped me out with was around 22 minutes. We now think we’re going to have to draw the have moon shape and place it in the image. We’re just at a lasd right now.

Looks like you timing / delay is off. Here is the YouTube link:

1 Like
I didn’t think it was a galvo…?
![]()
halyon construction.lbrn2 (77.0 KB)
I thought you might like this… the grey in the background was done in halftone.

1 Like
One trick I’ve used is to add the entire image as a layer and burn it at low power to “dent” the coating. Then add a copy image as a second layer minus the 1/2 moon at normal power. Lining up is impotant of course. This means editing a second logo to remove the 1/2 moon. I did an owl this way on a Yeti with 6 layers. Took forever and looks great. Would I do it again?
If I remember correctly, I put the moon, bar through it and the lettering on different layers… All that would need to be done is set the moons output to off…
Since it’s a vector you can fill any layer with anything you want…
![]()
Import into free Inkscape
With this image, what can inkscape do that Lightburn cannot?
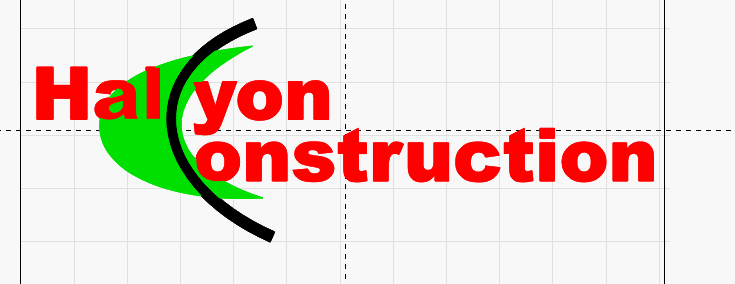
We have easily separated out all 3 of the pieces… it’s really up to them how they want each piece done.
![]()