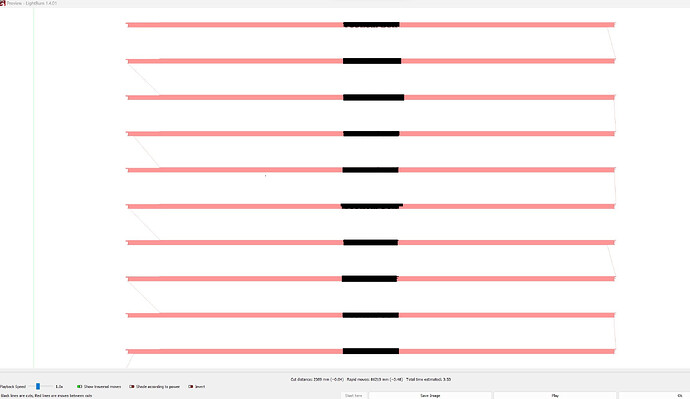
I’m engraving some Golf Tees. 10 at once. Positions are set. I pasted 10 small .jpg images of my lettering into the very tight tolerances of the thin tees. All set. Then when the burn started, the laser went way out of the printing zone, with long filled traversal areas on both sides of the lettering. See picture attached. what do I need to do for lightburn to just engrave the black areas and not travel the extra path?
Thanks for your help!
I’m assuming you’re using a GRBL controller based on your profile.
A few options:
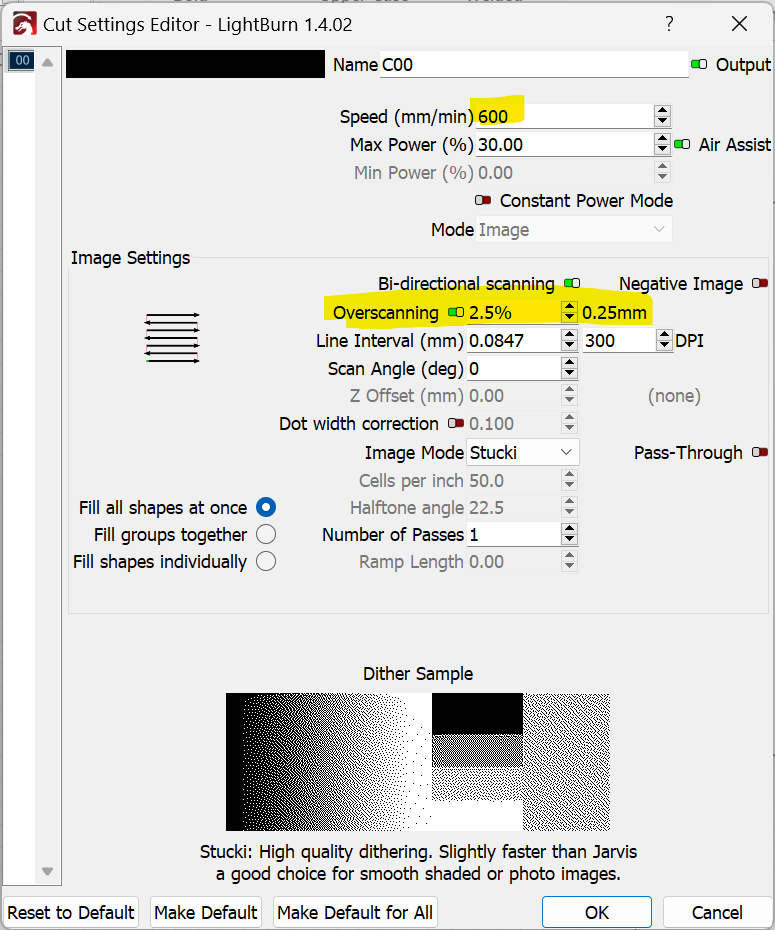
- Disable overscan in Cut settings
- Reduce overscan in Cut settings
- Reduce speed in Cut settings so that overscan gets reduced
- Increase the acceleration of your machine to decrease required overscan distance. This would require more careful tuning of your machine settings.
Note that all of these options would potentially affect the quality of the burn so be aware.
Thank you for the fast reply berainlb!
I’m somewhat new to this, so it might be a while before a reply with my solution based on your recommendations.
Back soon, I hope!
I’m such a nube! I can’t find any of the settings you’re recommending. Please show me where. Maybe because I need to be connected to the controller? (I’m in my office now trying to play with the file in a cooler environment.)
1-3 are in your Cut Settings. Open the settings for that layer.
Change for the 4th will be in Edit->Machine Settings and will require you to be connected to the controller. However, if you are new to this I’d suggest holding off on any such changes.
Thank you for your previous help. That problem is solved for images. I’ve learned. Now the issue is with Line cuts. In the Cut settings editor, The Mode only shows “Image” and it’s greyed-out, so I can’t change it to “Line” cut. Frustrating trying to find a solution for this. Maybe it’s my file.
OK, I found that when using multiple repeating .JPG images, they cannot be grouped and used as is. Each image needs to be separately converted to line, then grouped before the line function will work. Otherwise, the file will only read as “image”.
I’m not following you and can’t quite tell if there’s a fundamental misunderstanding of the Cuts/Layers types or if I’m just misinterpreting.
Raster images are never eligible to have anything other than “Image” Cut type.
Raster graphics are treated separately from vector graphics.
Only vector graphics can have Line or Fill mode cut layer.
You can trace a raster graphic to create a vector representation of the shapes.
Grouping of graphics of either type has nothing to do with how this works.
Are you trying to trace text in Jpeg images?
It might be simpler (and more accurate) to use the text feature of LB, if you have the font installed on your computer, no?
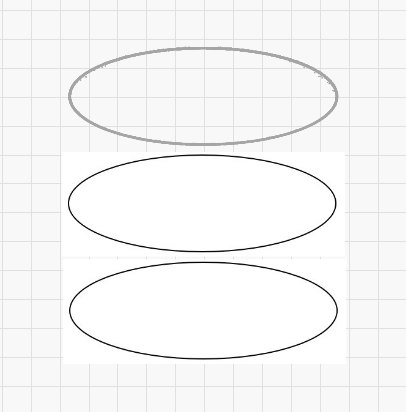
This issue had everything to do with grouping. To simplify the issue, I had one unique oval shape that I created in powerpoint. I saved it as a .jpg. I wanted to cut out three ovals perfectly aligned. I pasted three copies into lightburn and grouped them to create a single image. Lightburn would only recognize the ovals as images and would not cut the ovals or even allow a cut setting. Lightburn wouldn’t let me do anything with the image to allow cut lines. I found that ungrouping the three images and converting each of them separately to line images allowed me to change the setting to cut lines.
How are you doing this?
Hi berainlb Thanks for the continued support.
I was starting with .JPG outline shapes that I wanted to cut out (I often did this process in Laser GRBL). I’m using these ovals for purposes of demonstration. I made 3 copies and grouped them. A preview showed this:

When trying to do the cut, it was scanning the traversal lines and took forever!. “Mode” in the Cut Settings Editor was fixed on “Image” and was greyed-out. Not allowing me to change it to Cut Lines.

So, I go to the EDIT tab and at the bottom is “Convert to cut (debug)”, Intuitively thinking I’d found the solution. But, the traversal fill continued. Then I went to the TOOLS tab and tried Trace Image. But, it was greyed out also!
That is when I Ungrouped the three shapes. If you select all the images at once, Trace Image will still be grey-out. But selecting the Oval images one at a time, Trace Image was no longer greyed out and worked. A separate window pops up with your drawing and a colored tracing. Flip on the switch for Delete Image after trace.

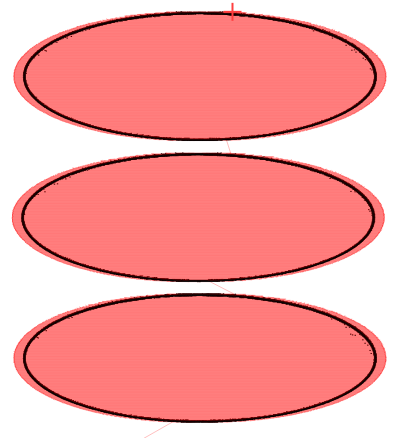
Here you can see the process worked for the top drawing. I did the same for the other two.
The Cut Settings Editor now showed Mode=Line and I was able to cut my Job on the lines without all the traversals.
From now, on I’m doing all my drawings in native Lightburn. Or use the above process If it’s too complex. Note: The lines are not very clean when doing this.
How should I save my drawings from another Draw/Paint application, if I only want to import the lines?
Thanks! Have a good Labor Day.
The only reason grouping was a factor was specifically because you were trying to do this with multiple images.
As you’ve discovered, this is not the ideal way to design cut shapes. Ideally you’d start and continue with vector graphics, not raster graphics.
Note that with a trace that you’ll get a line for both the inside and outside of the traced image. So this is likely not ideal for what you’re trying to do.
2 betteroptions:
- Create the shape directly in LightBurn
- Create the shape in a vector drawing application such as Inkscape, AI, Corel Draw, and many others, export as SVG, AI, PDF, or DXF, and import into LightBurn.
Paint (raster) applications are good for touching up photo style images that you want to engrave but are otherwise not well suited for cutting or engraving with sharp detailed outlines.
This topic was automatically closed 30 days after the last reply. New replies are no longer allowed.

