Hello. So I had to change software from ezcad to lightburn to do tumblers. I had boss laser remote into my computer because I was having driver issues. He reinstalled lightburn to fix the drivers then imported the machine specs from ezcad. Now when I do any type of engraving I have to turn the graphic/text on the grid to have it burn the opposite direction on the material. It works on flat surfaces but when I do a tumbler the graphics is stretched. I tried all the different settings for the tumbler and nothing works. But when I turn the chuck/tumbler on the other axis it burns fine. But! My work space is very limited and I can’t fit the chuck and tumbler on the x axis to burn the full tumbler. I am using a galvo boss laser, 30 watts. The bed is 400 mm on the y and 320 on the x. I figured that if I change the x and y in the software then that should do the trick. But I really don’t want to delete the machine and reinstall a new one if I don’t have to. Thanks and have a great day!
Hi @Chriswoodywoods
You don’t need to delete and recreate the machine but simply swapping X/Y sizes in the device settings won’t fix this. What you’re describing is almost certainly a galvo-axis/rotation mismatch, not a workspace-size issue.
On galvo lasers, the workspace size is virtual. The “bed” values are a scale reference. If your engraving only comes out correct when you rotate the artwork, that means the galvo X/Y axes are effectively swapped or mirrored relative to LightBurn’s expectations.
When you then enable rotary, LightBurn applies rotary maths on top of the mismatch, which is why the tumbler engraves in a distorted way. Flipping the physical rotary orientation, “fixing it” is the clue: you’re compensating physically for a software axis problem.
Check the following:
Laser Tools → Rotary Setup, which galvo axis is assigned to the rotary (X vs Y). This must match the axis that physically rotates the chuck.
Device Settings → Galvo & Basic Settings: try Reverse Direction (Negate) if it is already toggled; if not, try turning it off (share a screenshot if unsure).
To test it, engrave a simple square with text on a flat plate without rotating the artwork. If it isn’t correct as drawn, the axes still aren’t right.
Thanks. That was very informative. I will try these settings…again. I have already switched the axis on the rotary and nothing has changed but it will engrave in a straight line now. Not the actual engrave but literally a straight line as it is not wanting to move in the other axis. I also have the same problem when doing flat surfaces. I have to rotate the text in the opposite direction. This isn’t a huge problem and the engrave comes out really nice. Just got to tilt your head when typing in the text lol
Ok so I have tried so many settings and nothing works. I will add pics of what I am seeing. Maybe something will trigger someone’s kind on why this setup isn’t working.
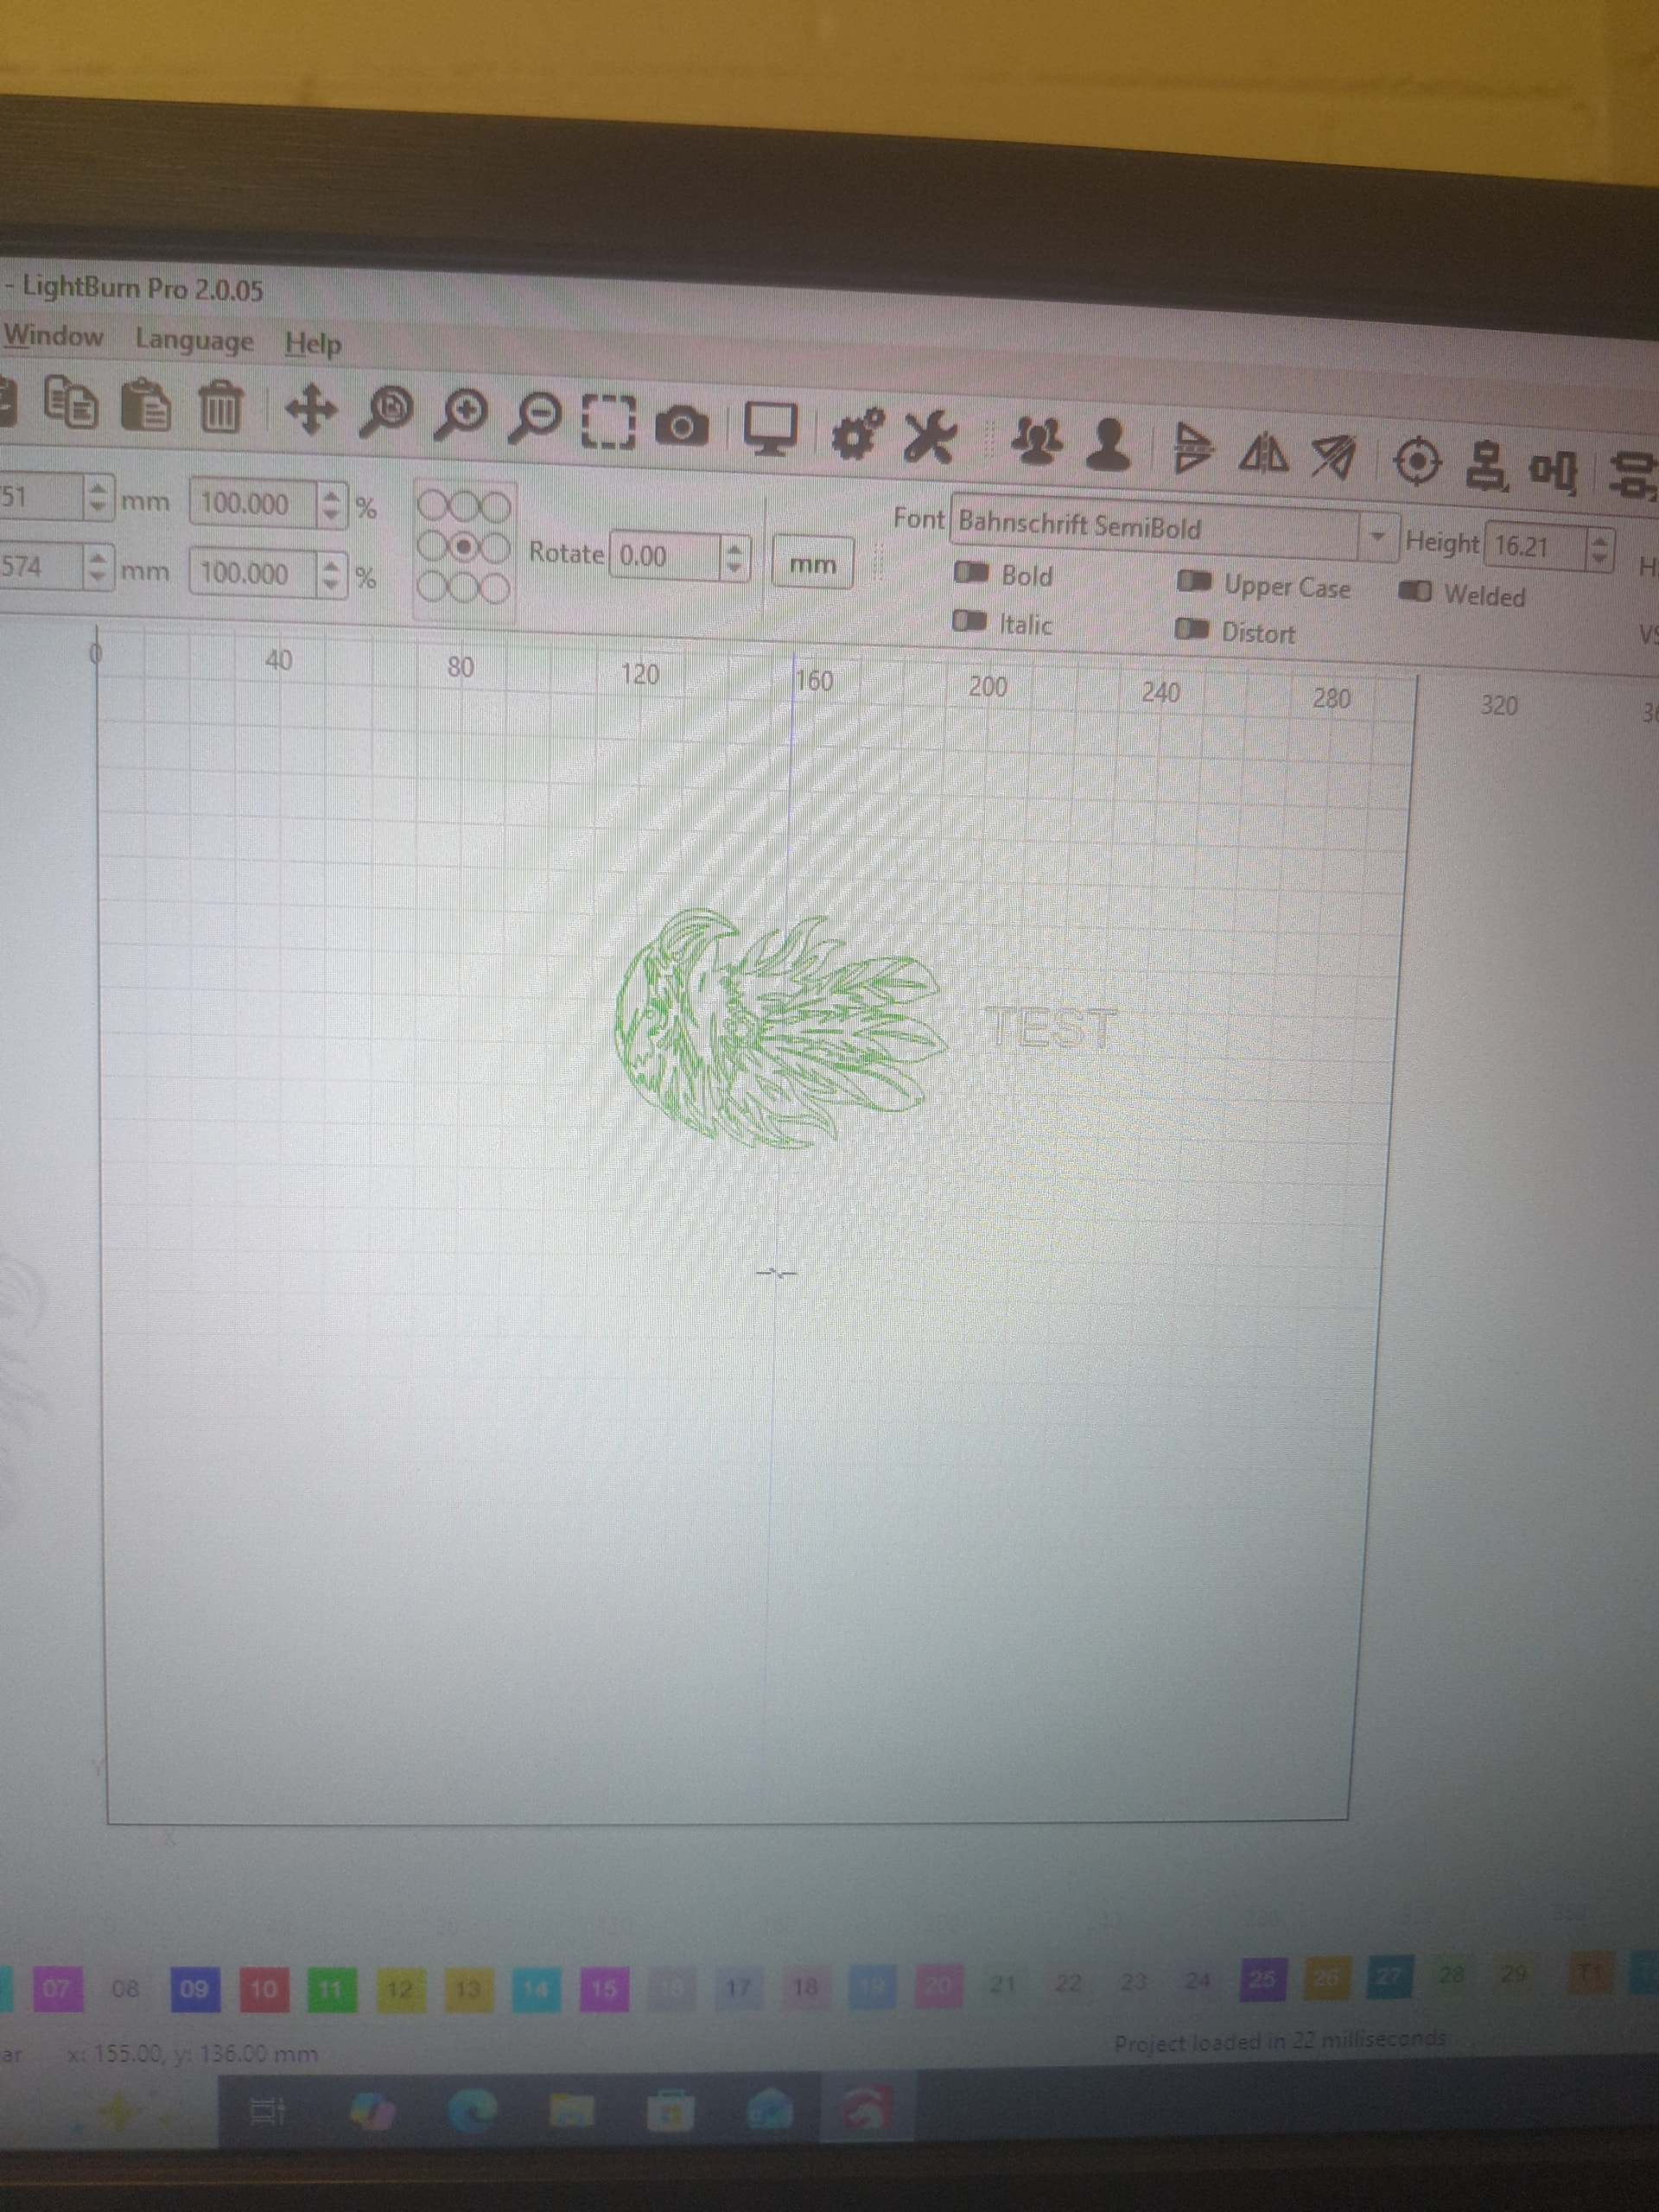
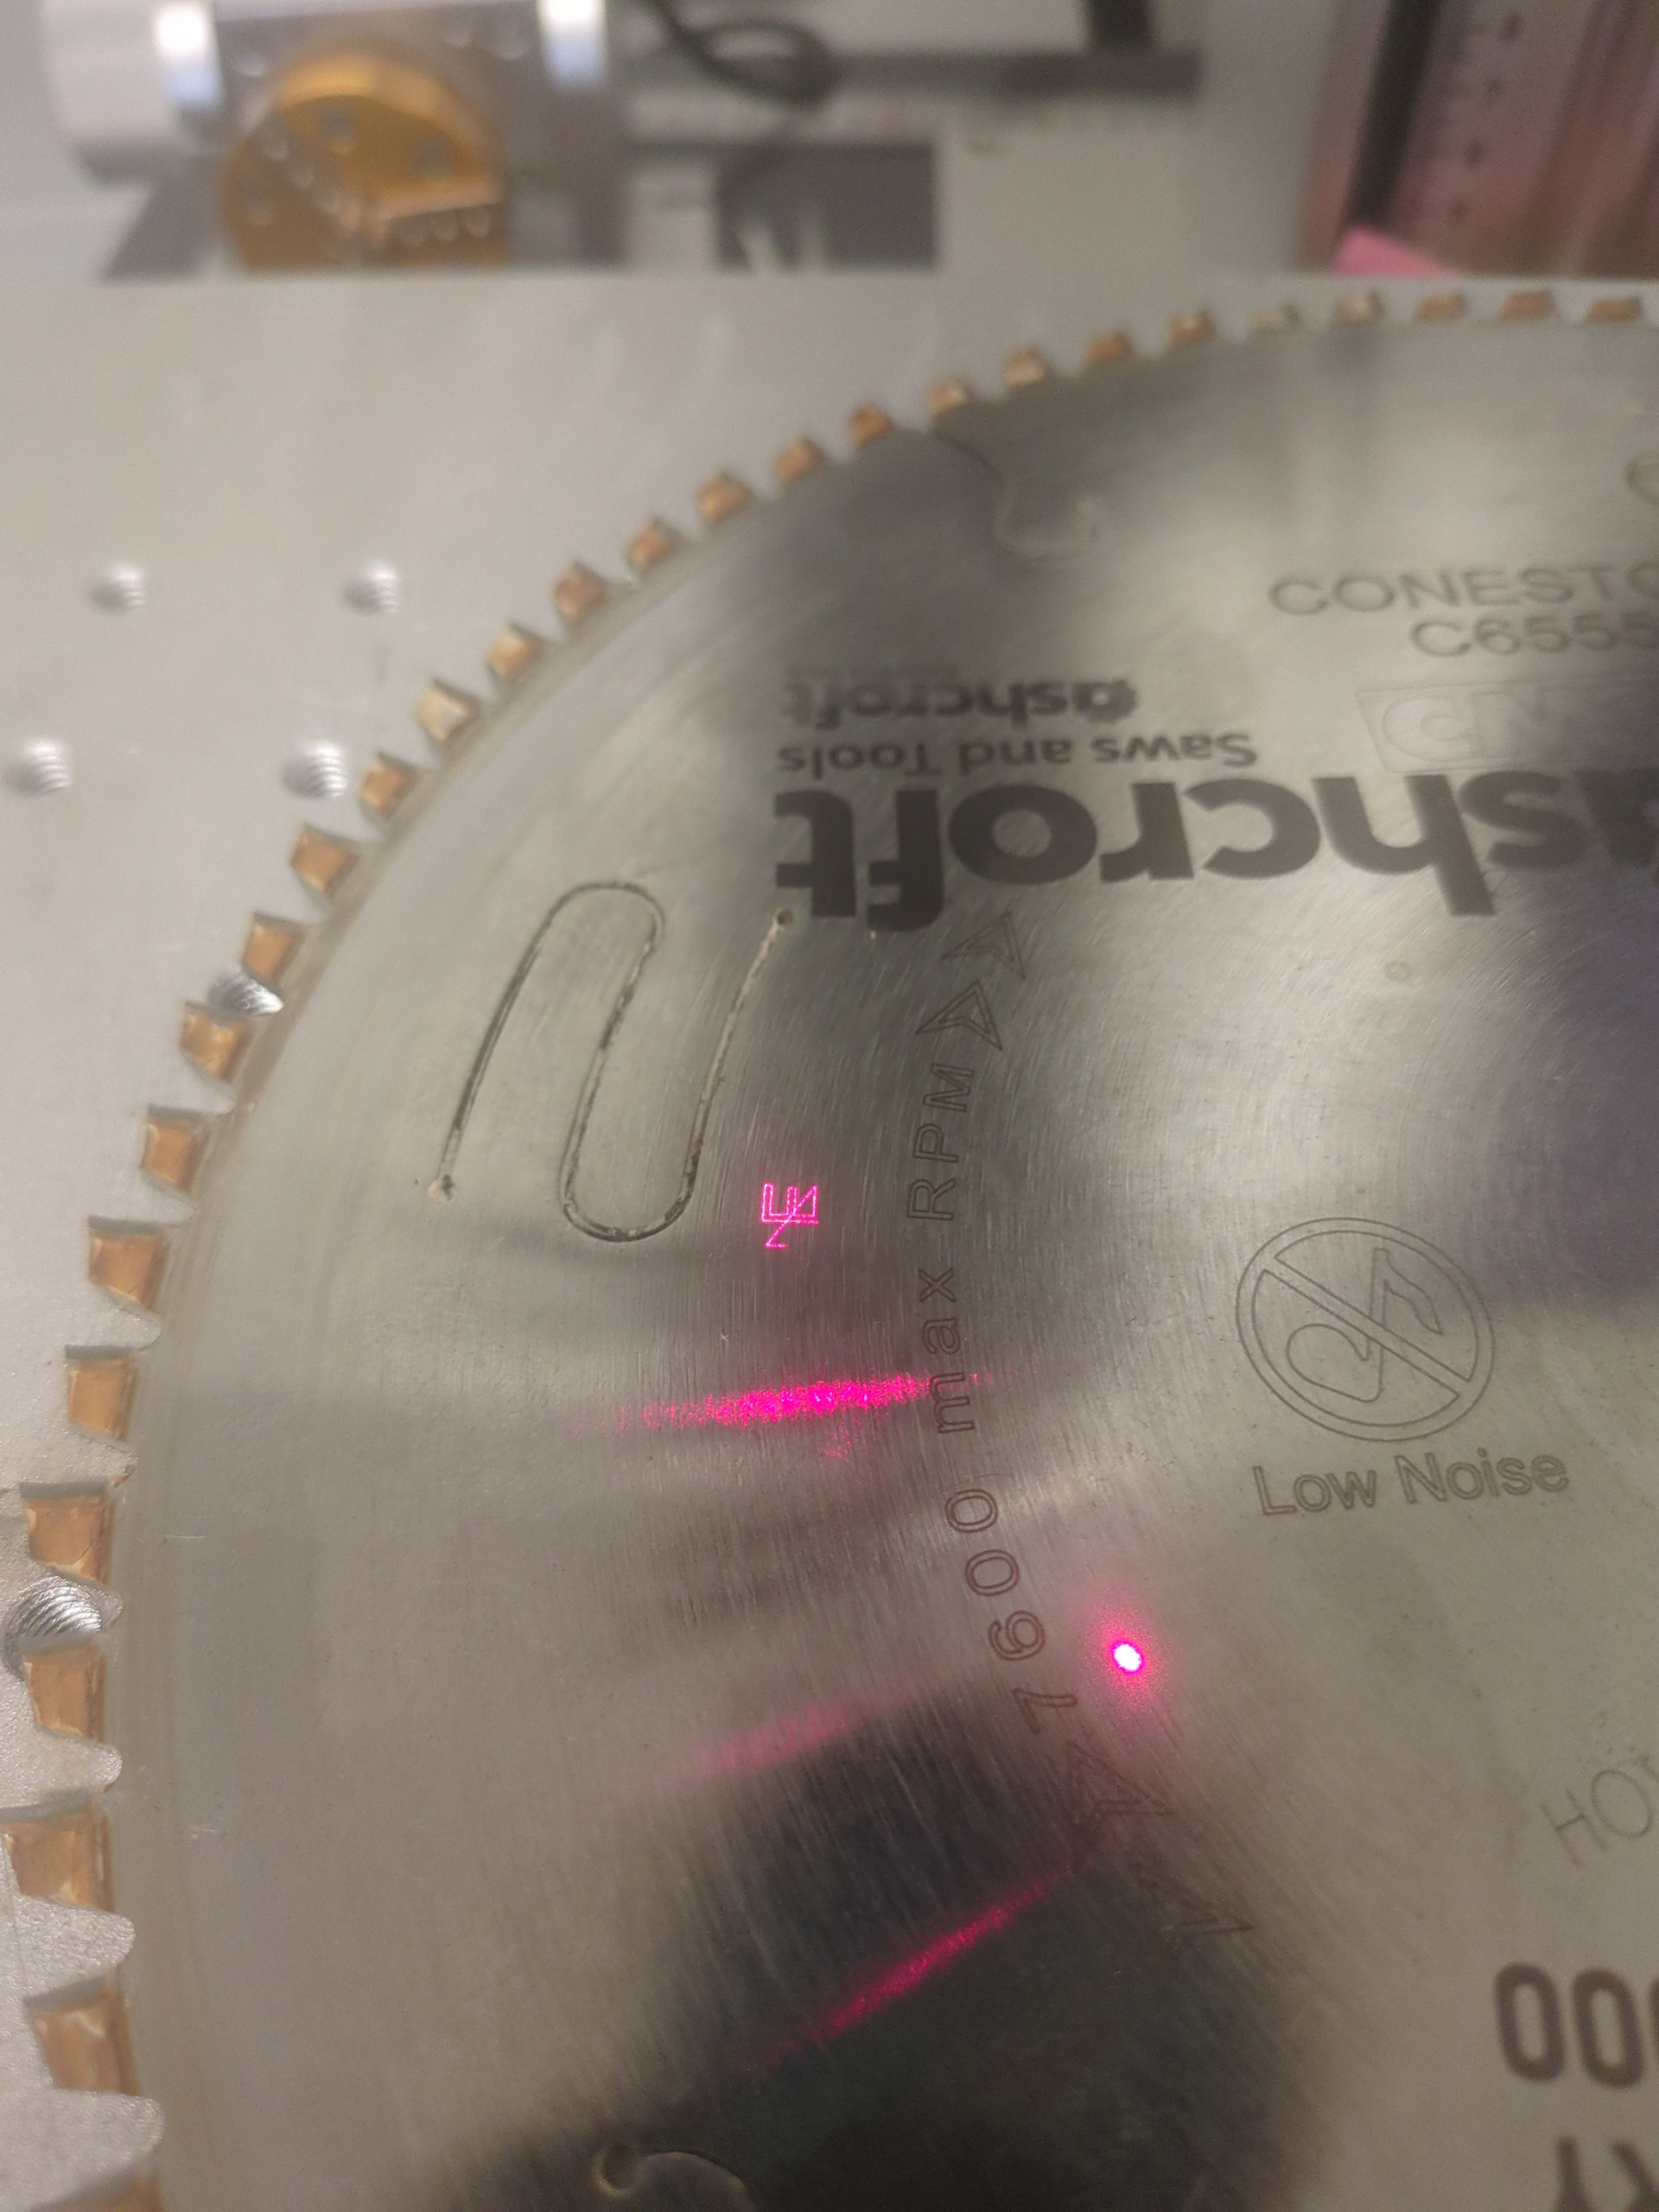
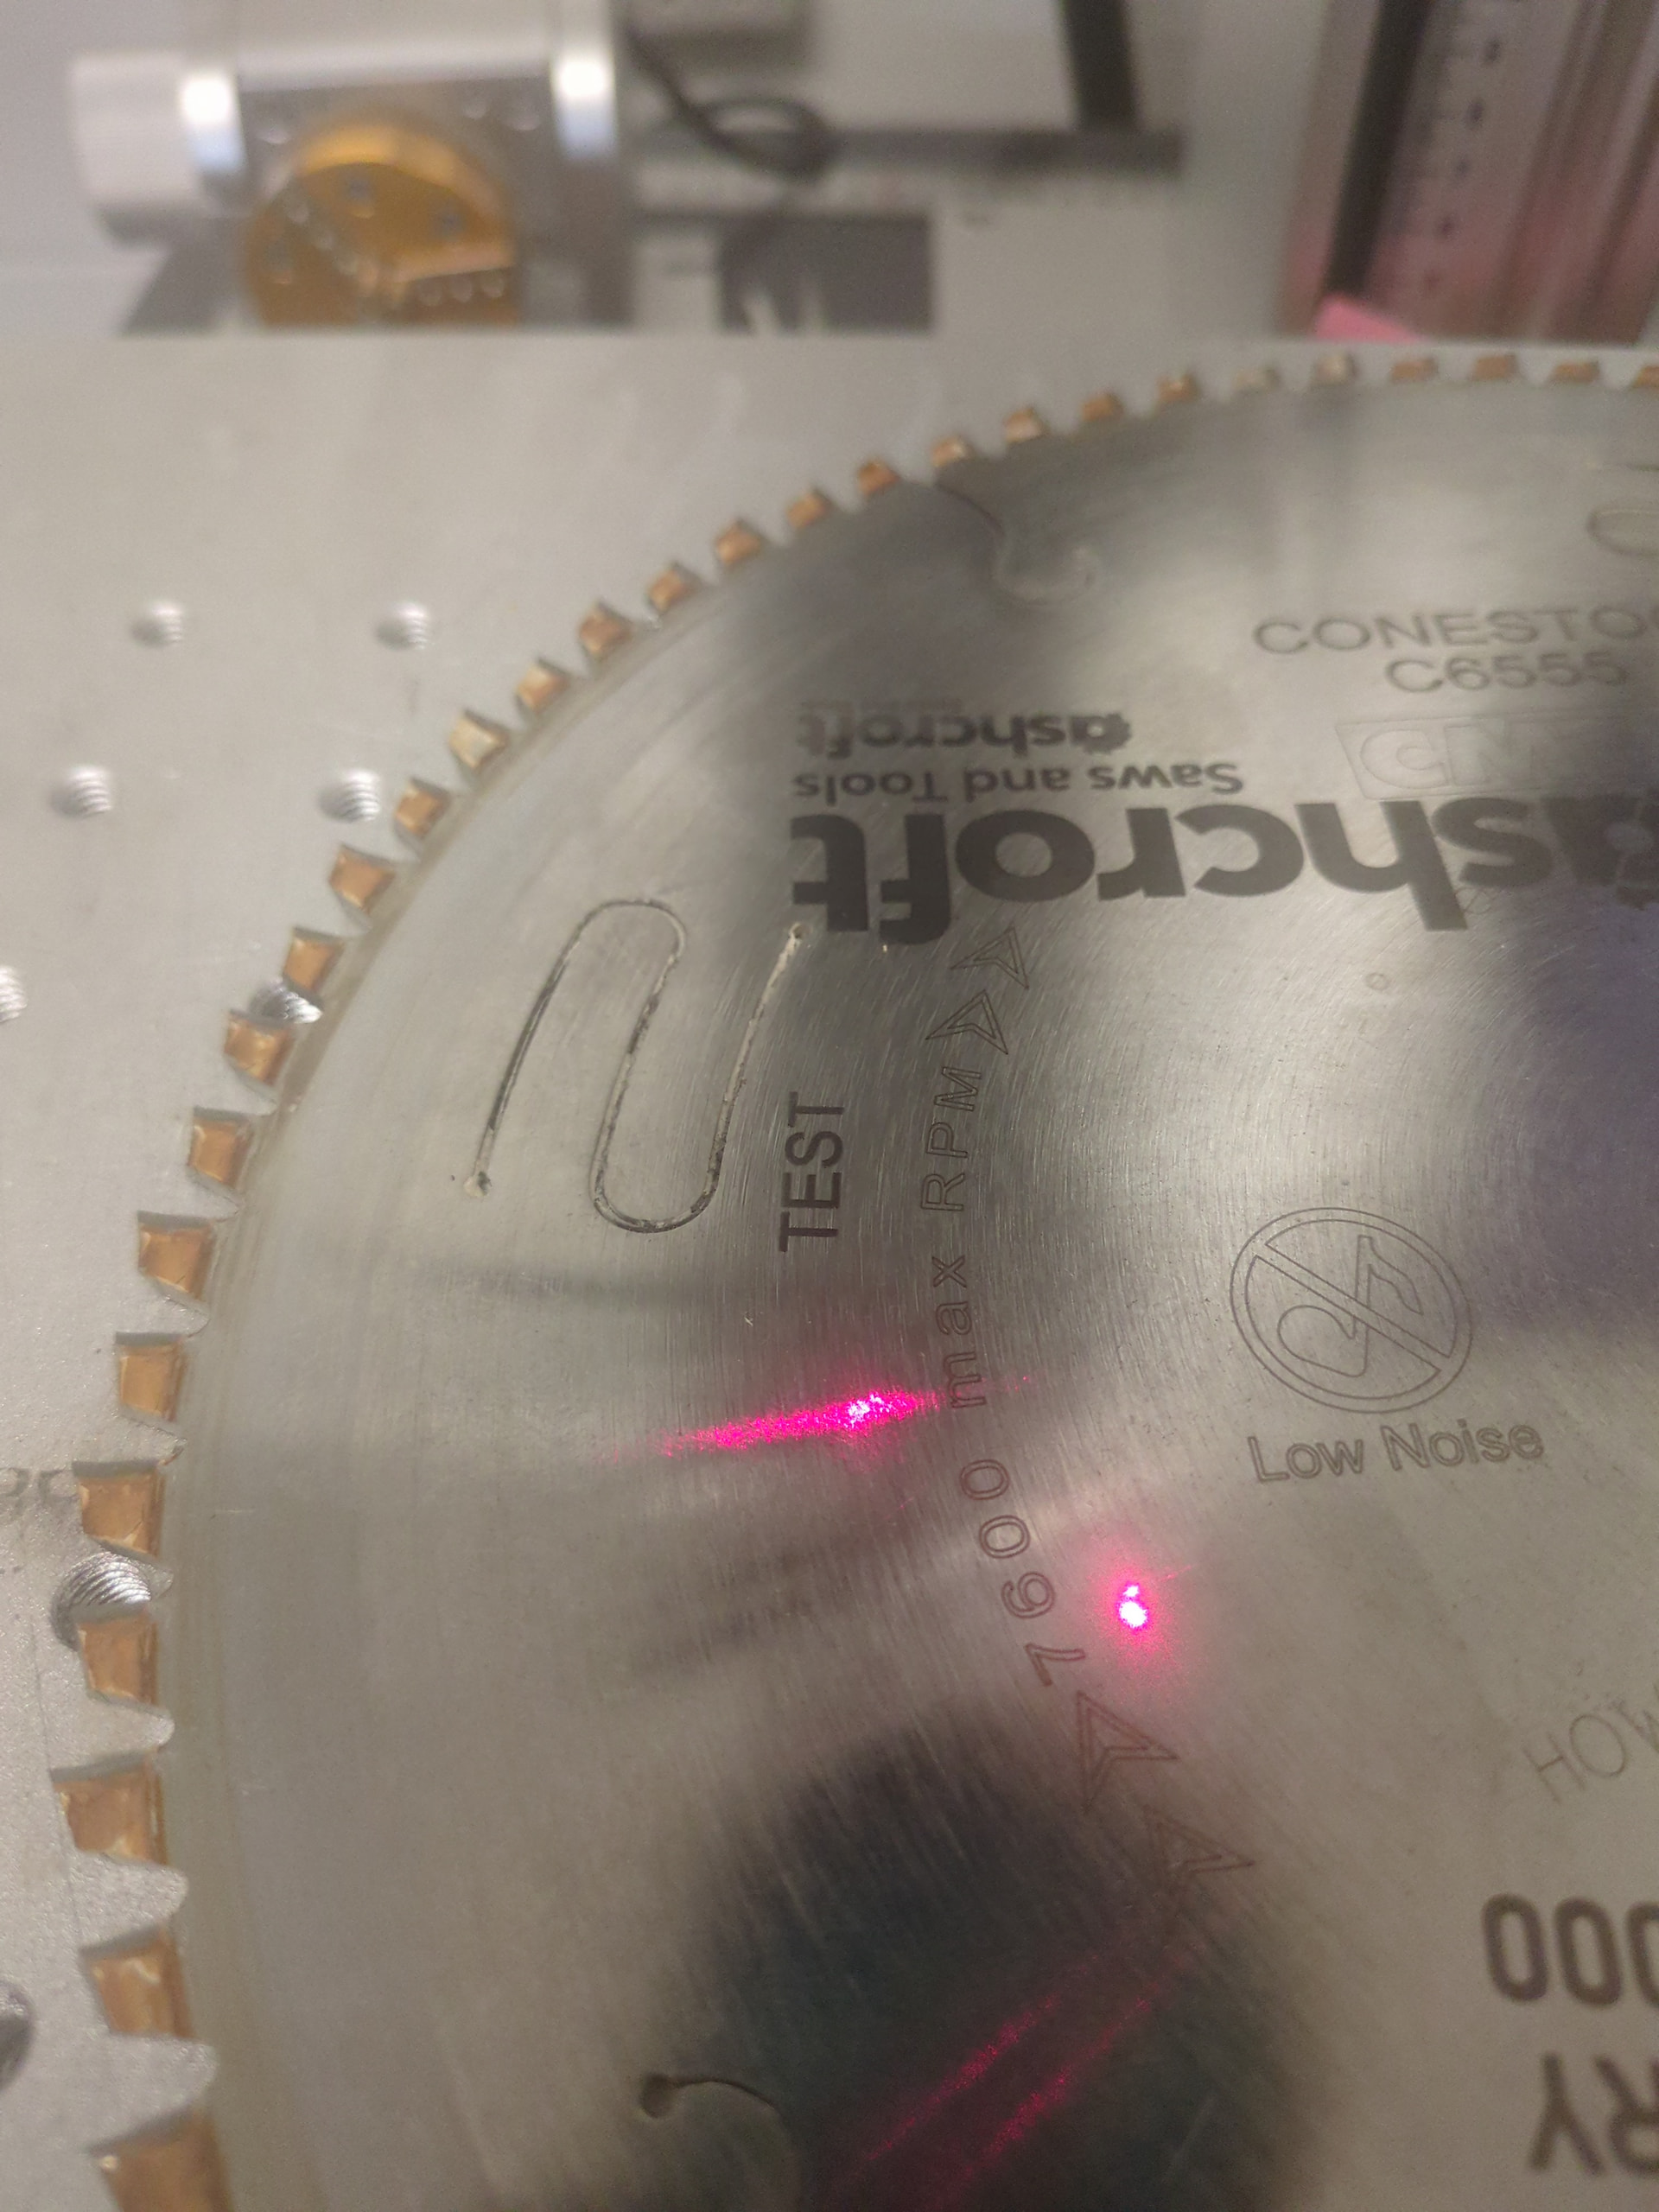

These are the only settings I can get to work close enough. I know I didn’t do the box like you asked but I figured this was close enough
“Close enough” only works in horse shoes, hand grenades, and atom bombs. Computers prefer “really close enough”. ![]() .
.
I figured drawing a “box” wasn’t going to help as much. All my other machines I have no problem with, be it diode or CO2 but galvos are kicking my butt!