I bought the Acmer P3 48w to upgrade from my Atomstack A5 Pro and I just can’t get clean results like I can with the Atomstack. The Acmer can be run in 24w mode which gives it a spot size smaller than the 5.5W Atomstack apparently. As you can see, I just can’t get it to resolve as much detail.
I am pretty sure this is not true. I have a 10w Sculpfun and a 40w/20w machine. A 5w laser has one diode. The rest have 2, 4, and 8 diodes respectively. You are saying 4 diodes can be aligned to a smaller dot than a single diode. Not going to happen with Chinese lasers.
If you need precision, use the 5w laser.
To put this in perspective, I call my S30 Pro the Scalpel and the SF-A9 the Chainsaw.
My snapmaker ray 20w has a spot size 0.08x0.1 which may show us that focusing lenses can make a difference.
The wall test should prove a lot and it might be fun to gradually scale up the piece made by the Acmer to where you do reach the same quality you would then know the cutoff point where one machine is more suitable than the other for a given task.
You didnt mention Settings, so I take for granted you have optimised for your comparison.
Im just about a week into enraving practice and only made my first cut yesterday and I’m suprised by slight changes in settings making big differences in outcomes.
This is likely why some people think their laser or software is defective. They are making large changes (like 5%-10% instead of 0.5% to 1%) and going back and forth over the Goldilocks zone.
Thanks for the response. Your projects looks great. I have tried to get the settings dialled in but I’m not sure what I should be tweaking to get the results I’m after. I’m running it in 24w, 6000mm/m (as opposed to the 20 odd thousand recommended by Acmer), 0.08 interval, threshold mode as the image is just black and white, over-scanning on.
What else I should be looking at? Or do you think it’s just not possible with the more powerful module?
Hi Dan
I got better results when I dropped my speed to 3000 with power at 15%.
My dpu/lpi matched to the size of my dot..but no overlap, and remember that adding more power will create burn overlap.
It really doesnt matter what the manufacturers state but more about how you use it and on what materials.
My big leap was dropping power, using Newsprint mode and comparing it to Halftone mode.
I use 95% power to cut through 5.5mm hardwood ply..at 5 or 6 passes, Thats what all the power is for.
The engraving is much more subtle in power and speed…anyway too much speed has major drawbacks of its own.
More diodes definitely means more power and bigger beam and only a super dooper focus lense could change that.
Really appreciate that Pete thank you. 3000mm/m 80% is what I used to run my Atomstack 5W at. Any faster and I used to notice to the mechanical limitations of the gantry!
What DPI are you running your 20W module at? Did you just use the Lightburn interval test to best guage what was the best settings?
I’m using 254dpi and 0.01lpi. It came set like that but I also did the calculations and found that close enough. I could tweek the dpi by a fraction to match the 0.08 width of dot on the x-axis (0.1 on the y-axis) but it wont matter until I have mastered the power/speed..and other variables.
I have done the line interval test but again, power/speed…I think comes first, just in case I’m adjusting to get the right lpi but focus/power etc are really the problem.
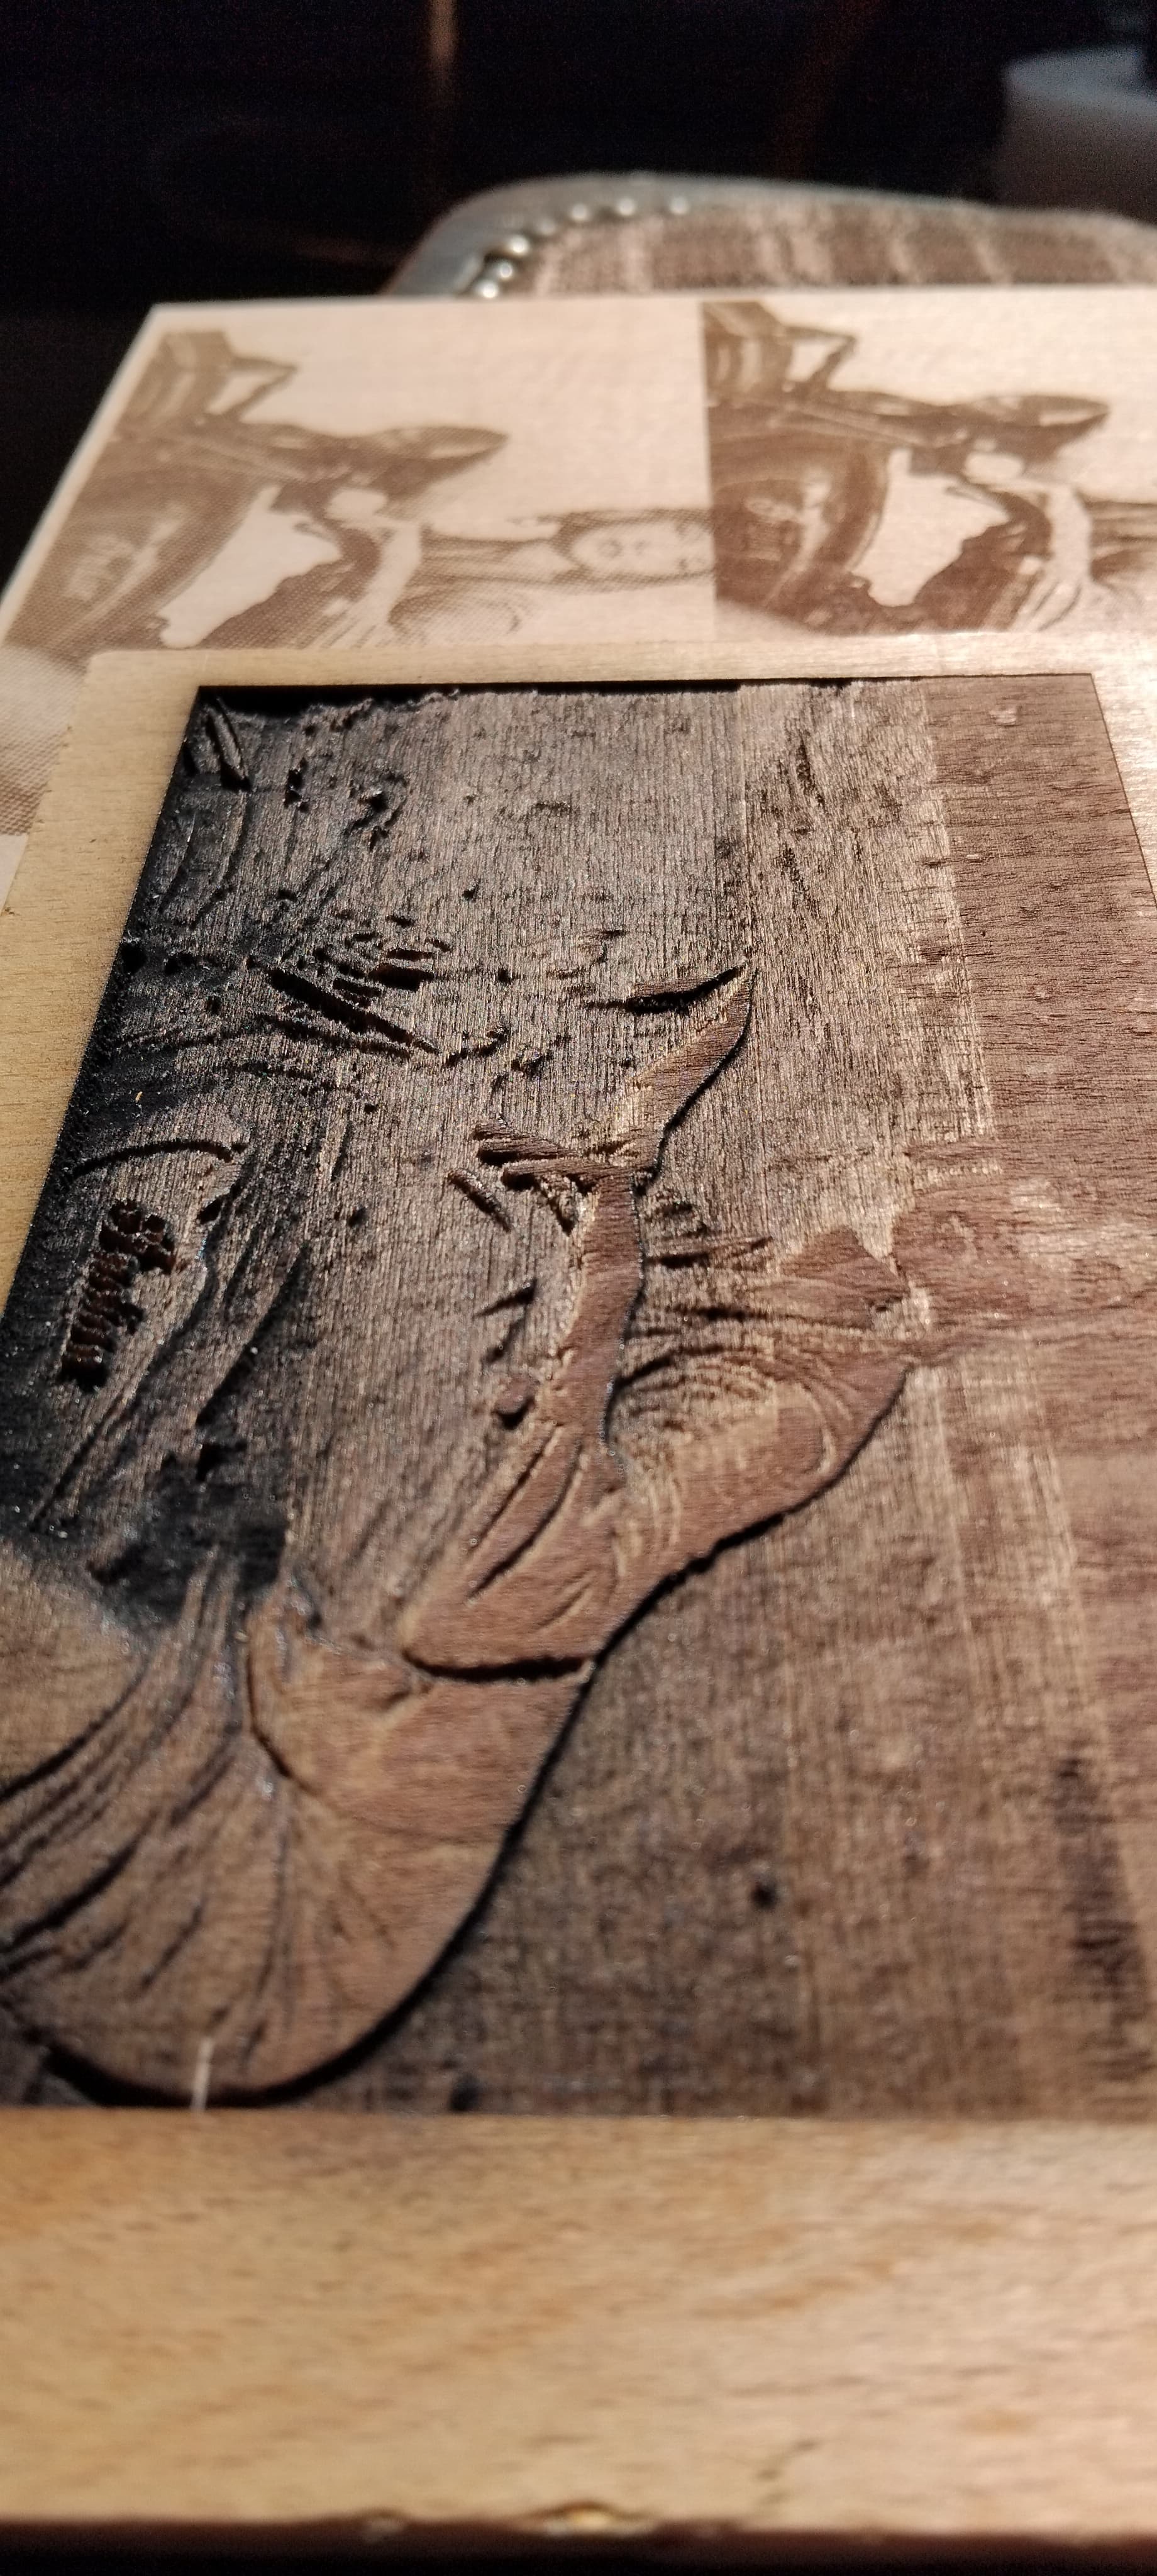
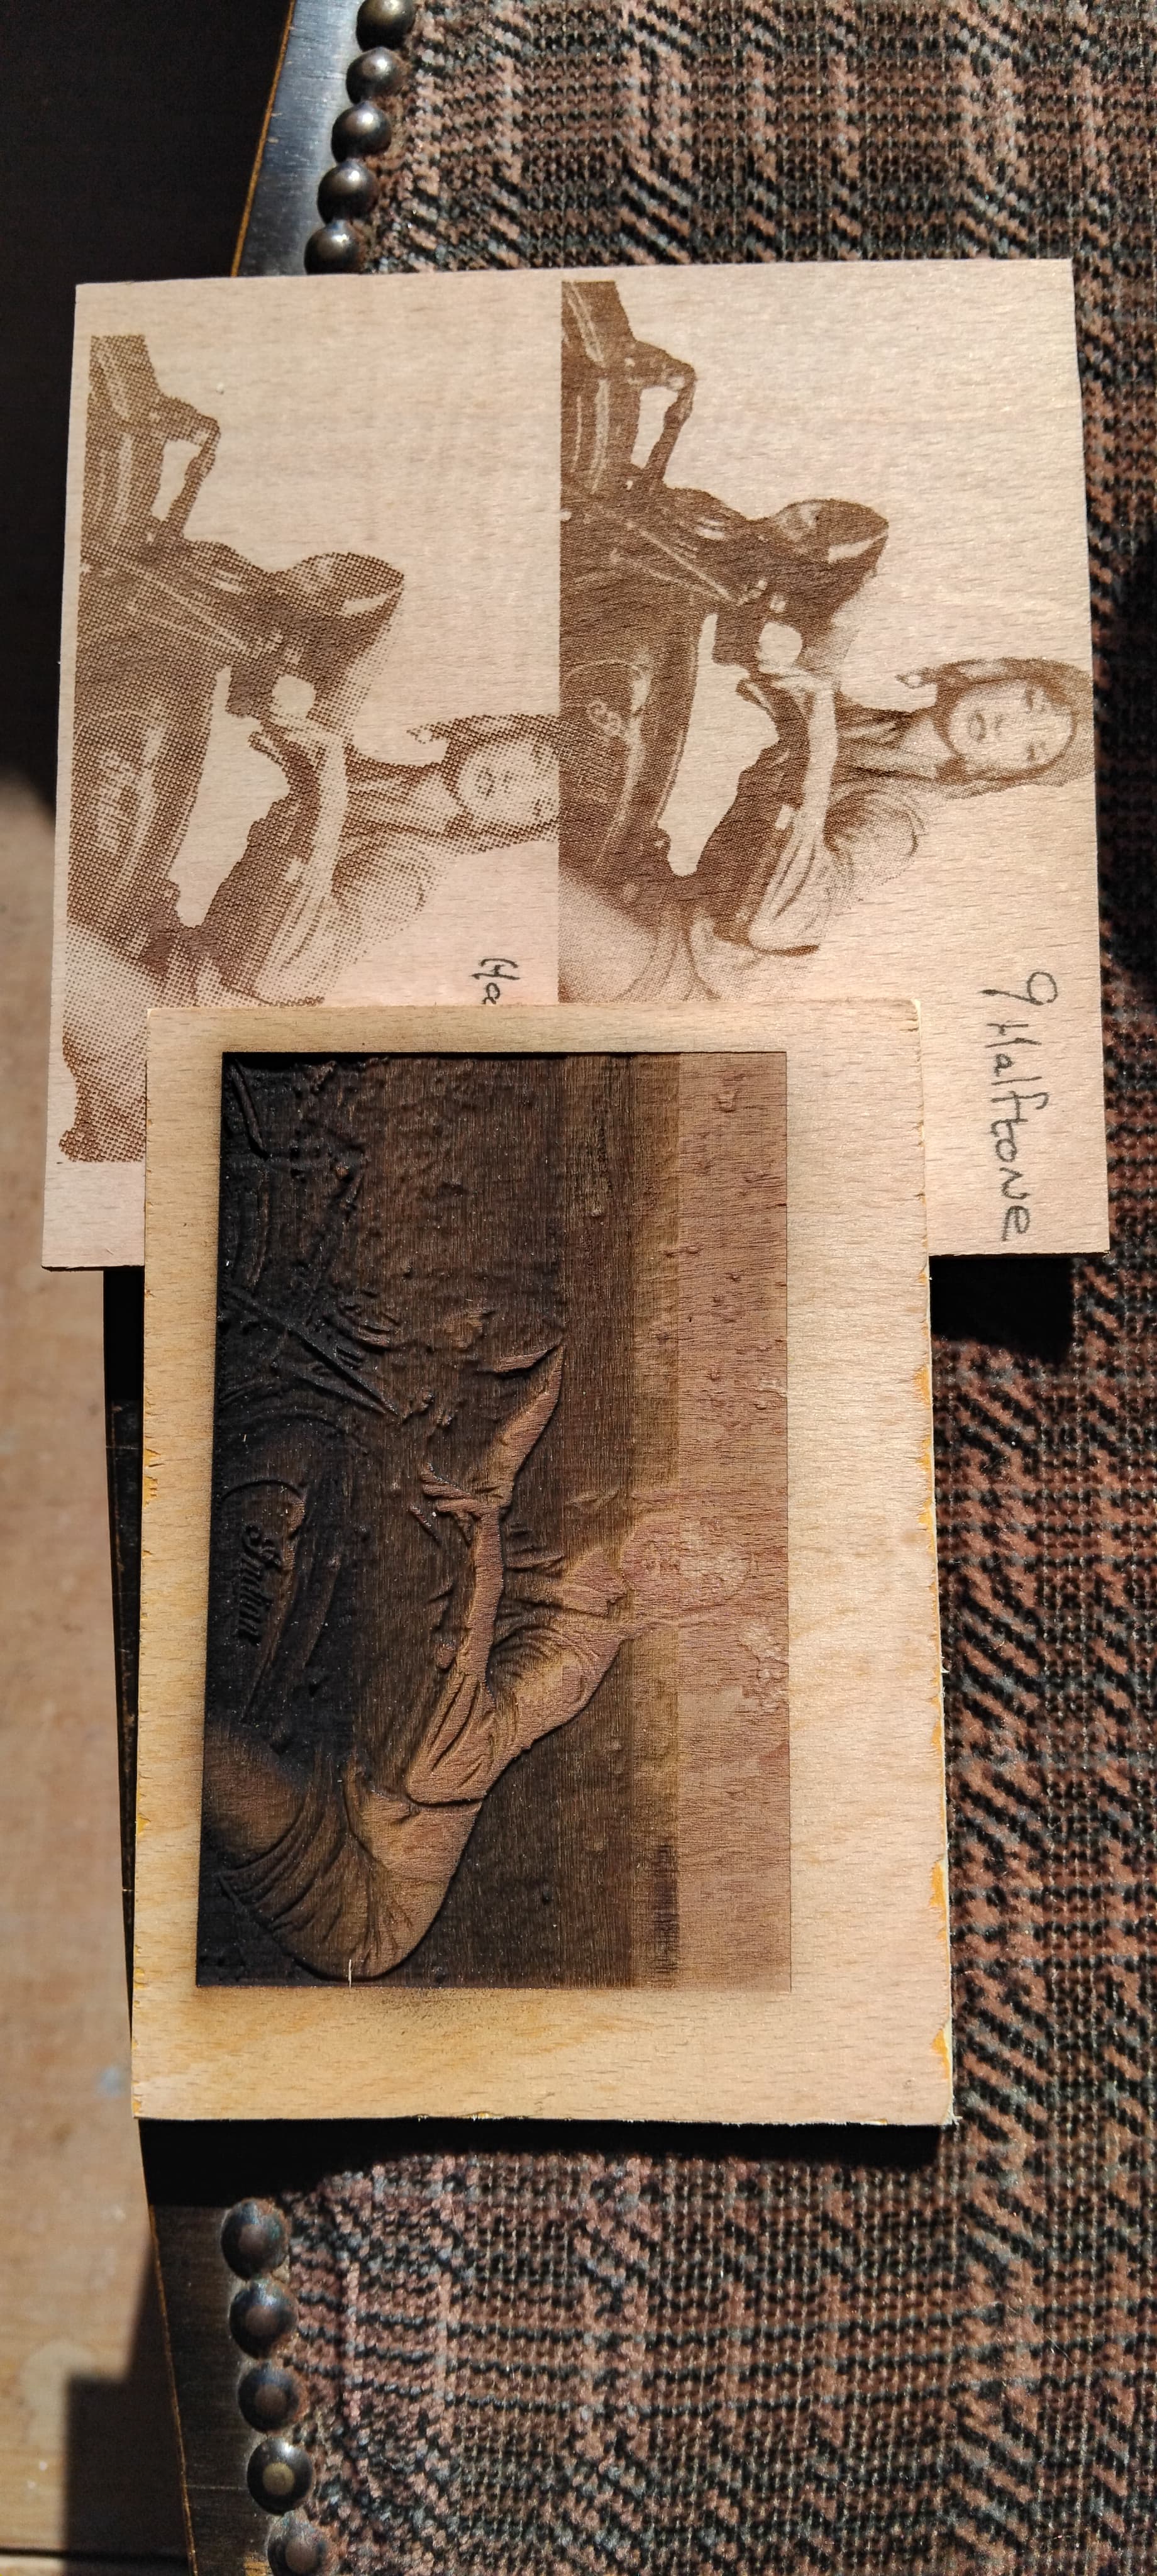
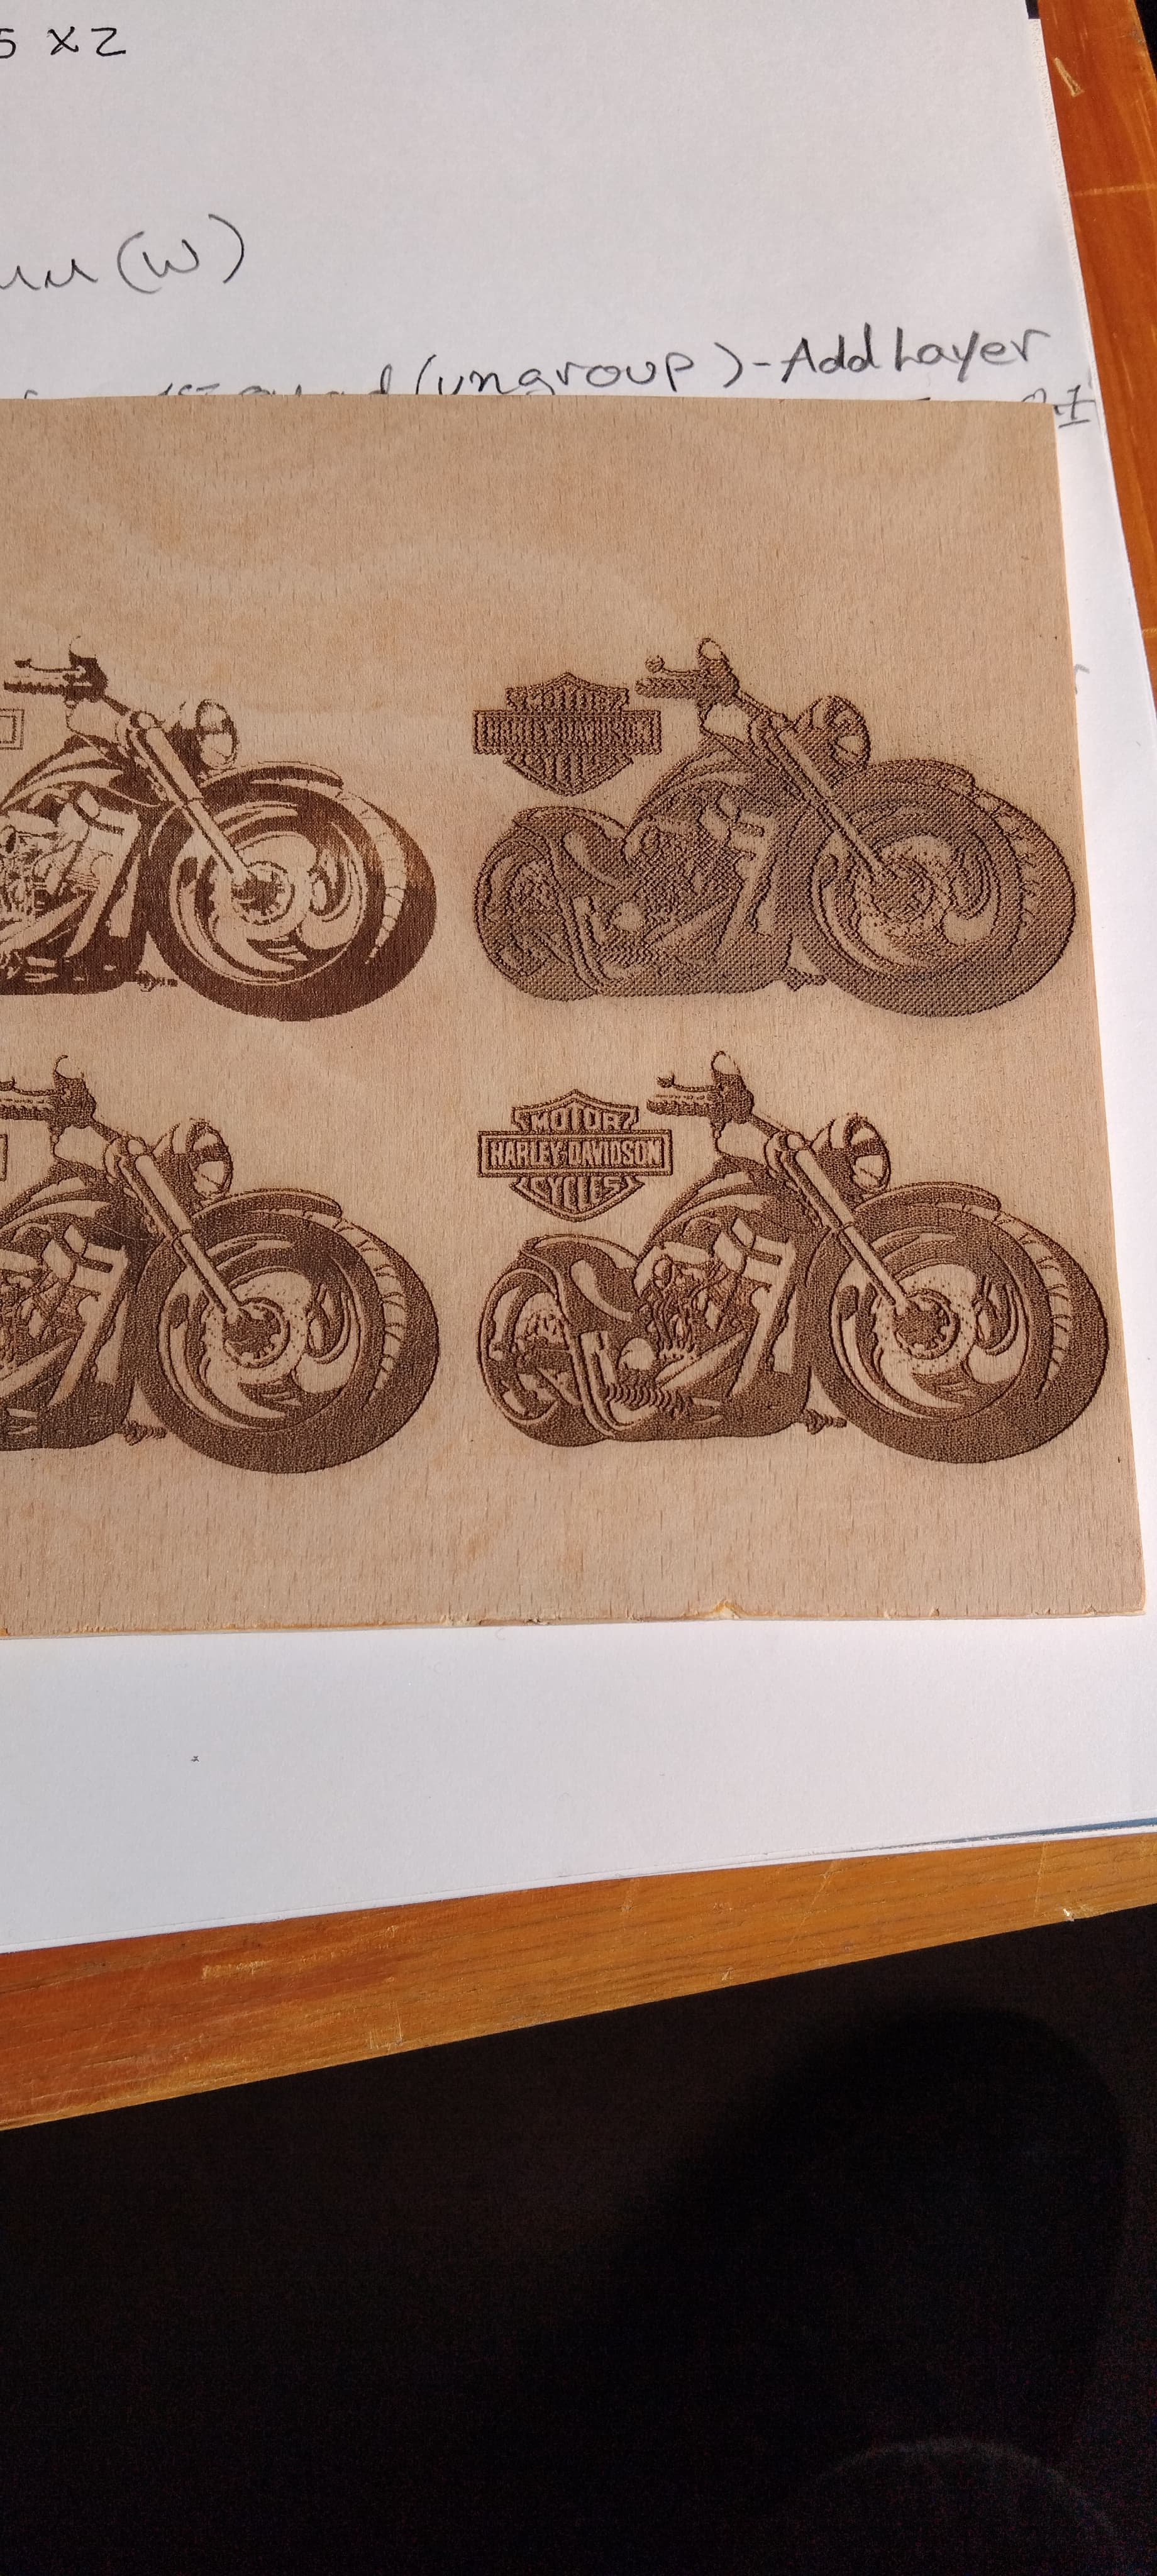
I photo’d a piece I did to show you the gouging done at 80% this was also de-focused by 2-3mm. look at the depth around the perimiter. I then reduced the power by 10% increments as it moved up the material. I was done in greyscale with no background removed from original pic.
The farthest back piece was where I got to using Halftone and 3000/15%.
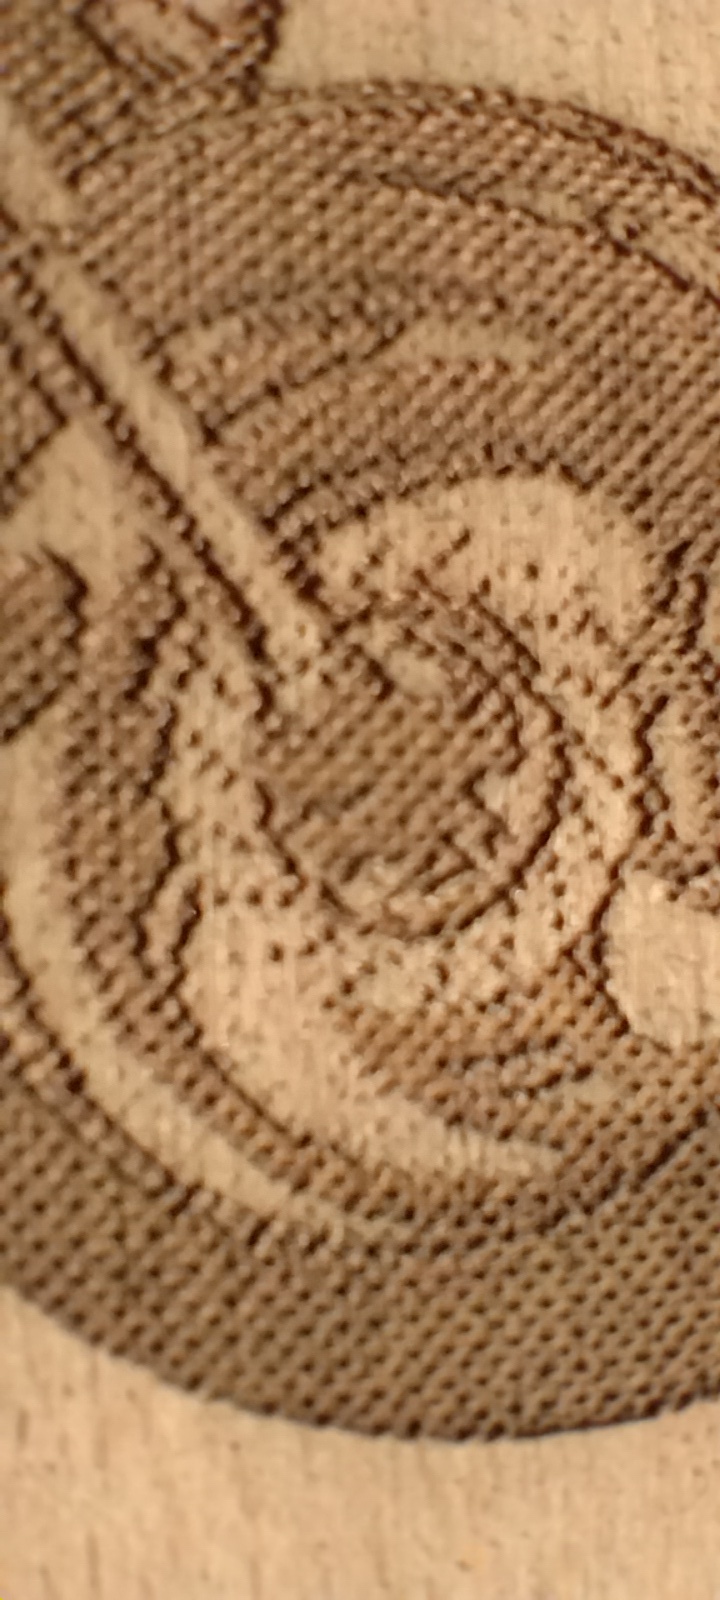
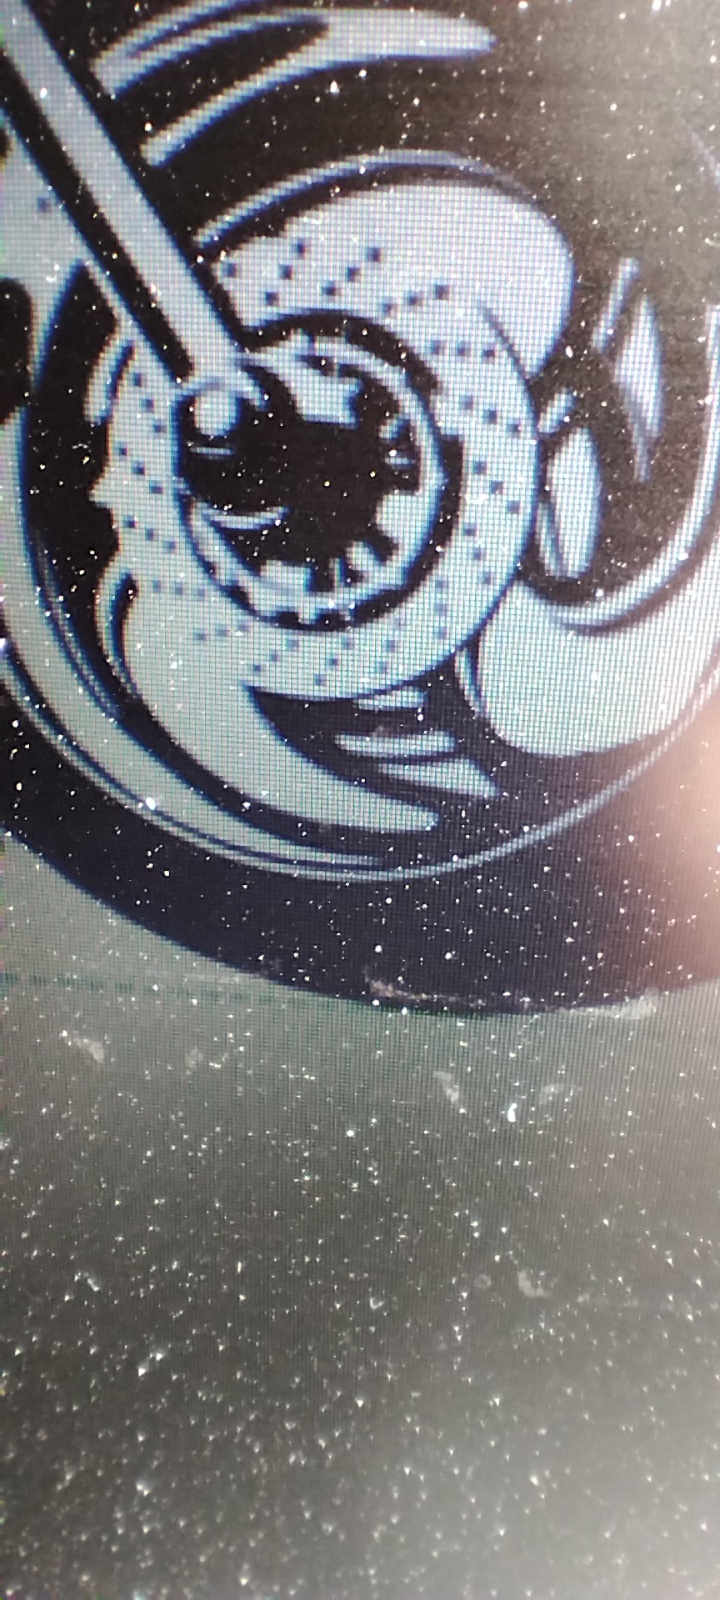
I hope the pic shows the different qualities in the Logo’s and the front brake disc and overall definition.
Each has its qualities, the Newsprint one has great definition in the brake disk but best overall is Bottom right…They all look different this evening as to how they looked in the bright sunshine at the workshop earlier today.
So very true. I too own a chainsaw and a scalpel (but my scalpel is an S10 and my chainsaw is the SF-A9) I’ve just about given up trying to engrave with the chainsaw.
All of those are very likely not correct. And the Acmer values, I’m pretty sure. I think you can at least double those values. Lasers above 20W barely have a spot size below 0.12, only really good ones.
You can simply do an interval test or cut test to get closer to the actual values.
As the others already stated, for high-quality engraving, a 10W module is the best option. Above 10W, precision is reduced and in most cases drastically reduced. 20W and more only excel in cutting, but not engraving. (As usual, it depends on type, brand, material, project, requirements… so no general answer can be given)
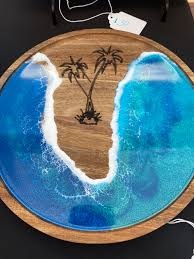
If you are talking about images, yes stick with the S10. But there is still a lot you can do with the SF-A9 at 20w. I engraved this (LB file) on an olive wood board that a customer added resin for her customer. Another sample of her work and mine is the image.
Not doing images much lately, so the SF-A9 is getting more use than the S30 machine.