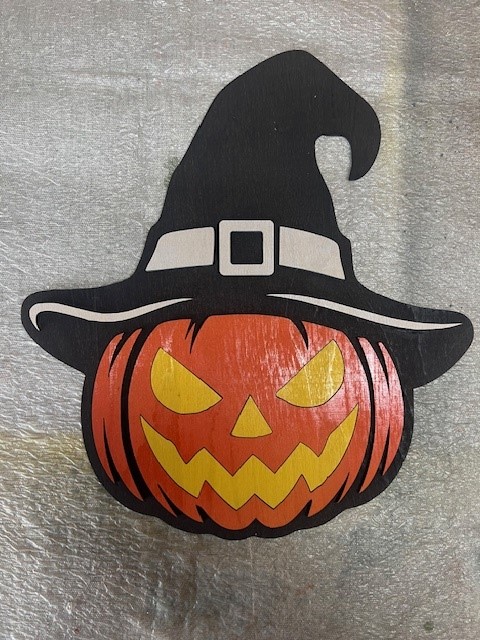
Still have a little work to do on this one. Would like to figure out how to cut the Eyes, and mouth out separately then paint them yellow and glue back into the design. The nose is fine. Maybe add some connector lines and weld all the orange shapes together and cut as one piece.
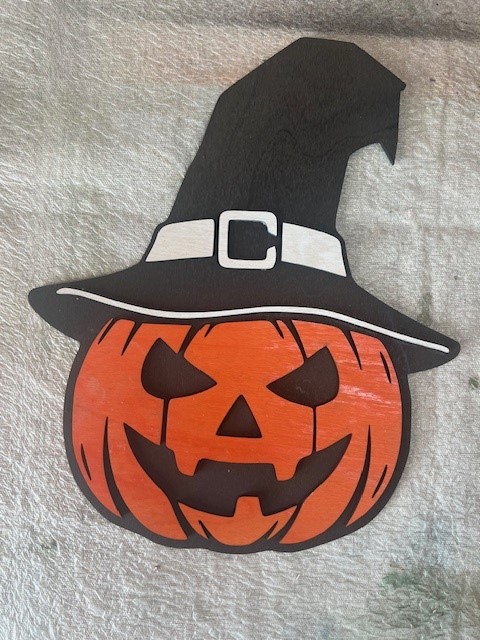
Easy to make. Just run the file as is. Then turn off the red layer and change the speed and power on the black layer to cut out the parts. Paint the backer black and the face orange. Paint the hat band/buckle and stripe white and glue everything together. Use the guide lines on the backer to place the parts
Updated file if you would like to cut out the Eyes and Mouth to paint Yellow and insert back into backing. Nose will already cut out.
If you do this. When you glue the parts on to the backing. First glue the top center orange face piece . Then glue the eyes, mouth and nose. Then glue the bottom face piece. Then the two left and right side face pieces. Test everything before gluing because it is a tight fit. And if you dont get the face pieces in the correct position the eyes, and mouth will not fit
If i can figure out how to cut all the orange face pieces as one unit that would make things easier.
I did a survey of a few people and everyone i talked to said they liked the first one with the black eyes, nose, and mouth better. I agree. If i did the second one again I would not paint and insert the nose, mouth, and eyes.
 Thanks for sharing.