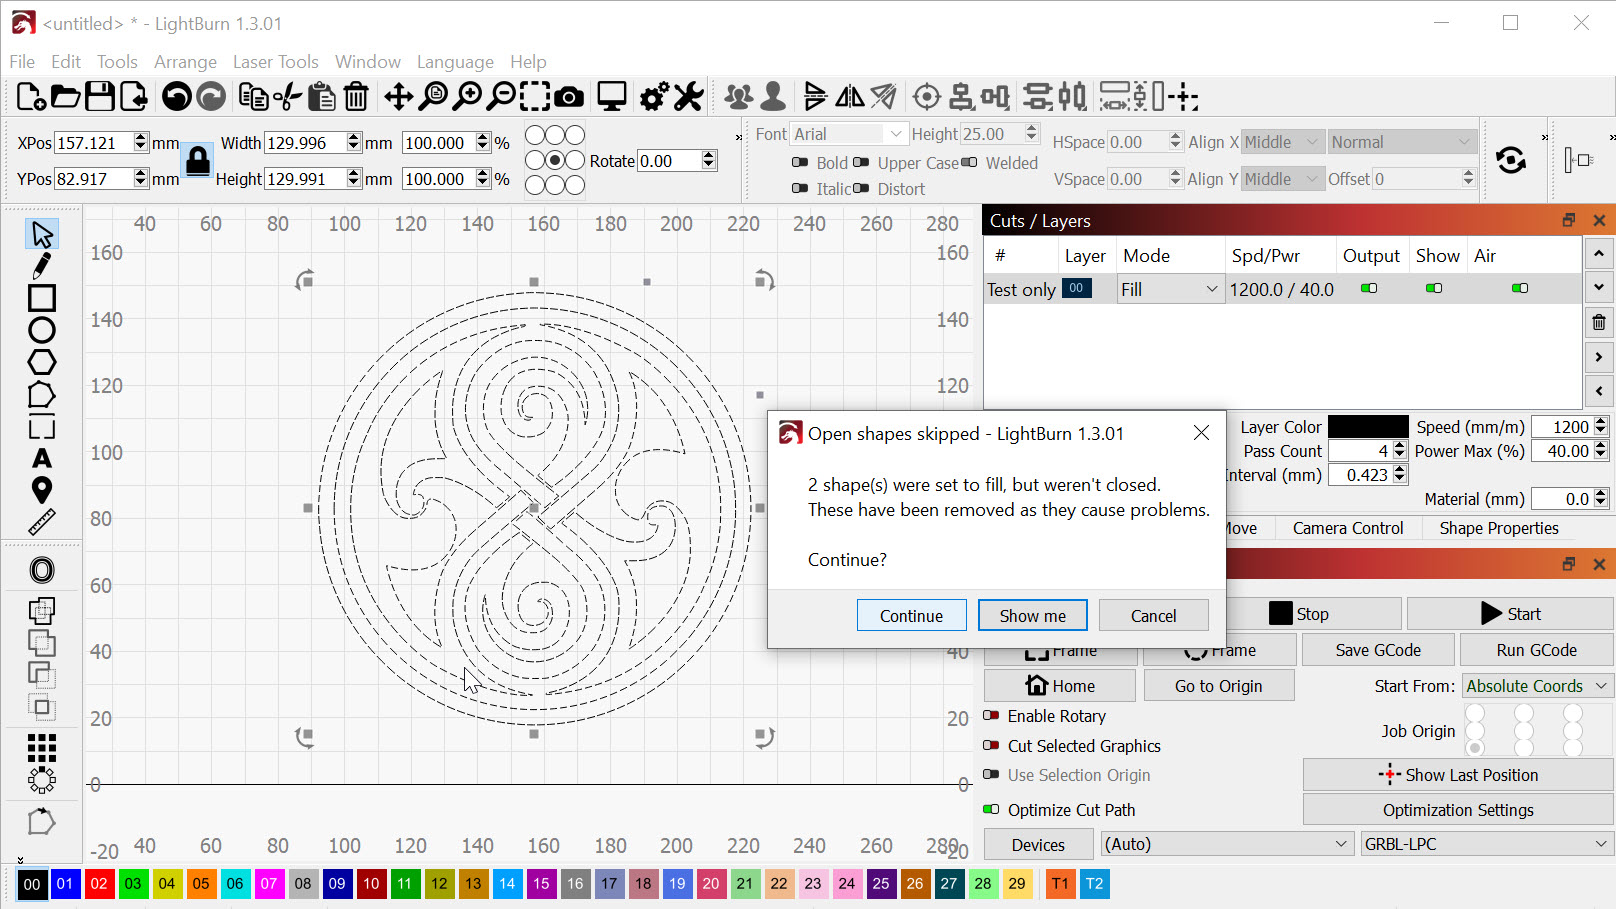
Similar problems here when trying to etch a ceramic tile…
Attached the project file, gcode and photo of result.
The extra thick lines near the centre were where the laser stopped the first time.
rasilon.lbrn2 (73.3 KB)
rasilon_gcode.txt (55.4 KB)
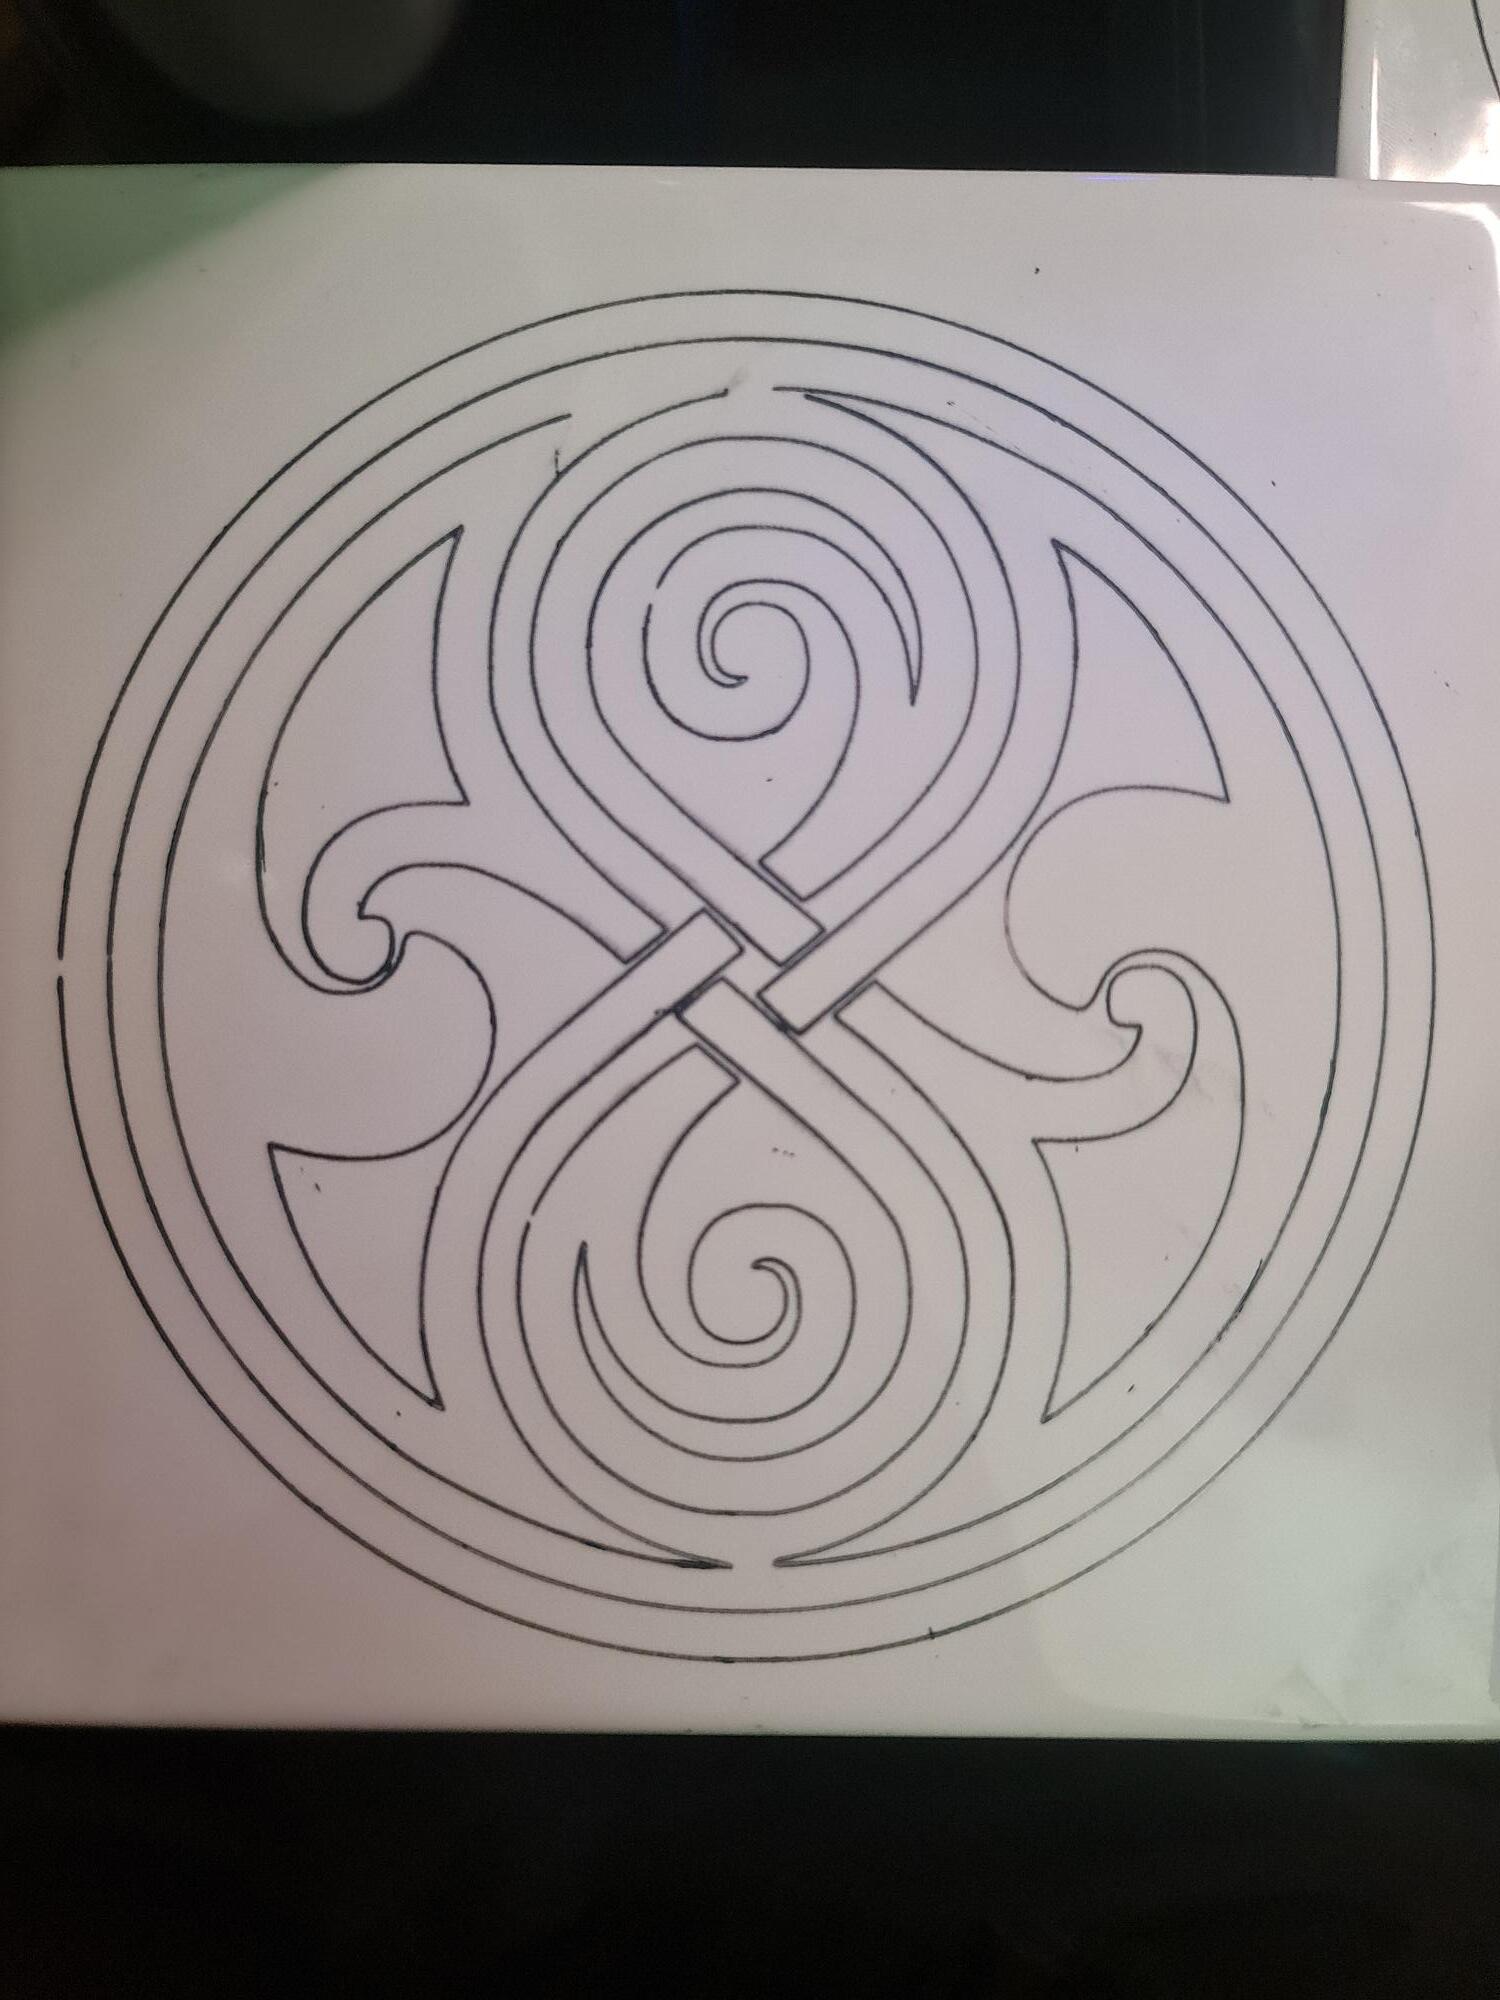
Similar problems here when trying to etch a ceramic tile…
Attached the project file, gcode and photo of result.
The extra thick lines near the centre were where the laser stopped the first time.
I imported the gcode file you shared into LightBurn by changing the file extension back to .gcode then clicking File, then - Import and the breaks are not present in the imported file.
The missing engraving is an artifact of the engraver not a result of unanticipated code generated by LightBurn.
Engravers do not proceed with a job if they drop information. Typically with missing data, the job ‘stops’ because there’s no way to catch up or resume within the job. There’s no position storage or buffered recovery to refer back to. It’s incredibly unlikely to be communication related either.
Does the laser light go dim where the engraving is incomplete?
There are a couple of possible causes.
I’m assuming that the shown engraving is oriented with the x-Axis Left-Right and the Y-axis Up-down on my screen.
Most of the missing engraving is along the Y-axis and with complex arcs.
This gives me three remaining ideas to test:
Cornering algorithm, Broken control wiring, and edge-case
The Cornering algorithm will reduce power when corners or complex curves exceed the allowed speed. To verify this we need the maximum speeds out of the machine settings report, and the speed and power the engraving was commanded at.
From the GCode you shared, the engrave speed is 700mm/min and you’re engraving at 100% power.
700mm/minute should be well within the range of the allowable speed on even the slowest machines.
From the Console window, please request the settings report by typing $$ and pressing enter.
Please copy the part of the report with $110, $111, $112 in it.
Please repeat the job, but reduce the engrave speed by 20%. This has a similar effect as increasing laser power and if it completes it shows the settings were on the edge. Slowing may also overcome the cornering algorithm but It doesn’t seem to be the likely cause.
Finally, while it’s engraving, very carefully wiggle both ends of the wiring that carries the power and signal to the engrave head. It’s not uncommon for a broken wire to be intermittent and to open the circuit when the engrave head is changing direction. If you do this while the outer circles are engraving, you’ll know if the gaps were being generated by a bad connection opening and closing during rapid direction changes.
Whatever it is, you’ve almost got this beat.
Console output:
$110=10000.000
$111=10000.000
$112=8000.000
Here is another example of a failed etch, all the areas should be solid…
I’ll try another rasilon at 560/min tonight and post the results.
Offset fill follows the outer perimeter of the area, so it cannot fill regions that cannot be reached by parallel-ish lines from the perimeter. It’s intended for relatively simple areas bounded by relatively simple perimeters:
You’ll get better results with standard fill.
I’ve moved your thread off the Marlin thread that the OP marked as resolved and into your own thread in the Two-Trees channel.
I look forward to seeing if this is a speed related issue.
When using Offset-fill, the insides of complex shapes won’t have time to return to the engrave speed when accelerating and decelerating and changing direction.
The cornering algorithm in GRBL will reduce power based on the reduced speed.
It’s interesting how symmetrical the ‘error’ is. It seems very predictable.
A left-right raster engrave as an image or a filled close shape would probably solve this.
Problem found. Turns out it was hardware not software. The connector in the top of the laser module is faulty. I removed the module to clean it, when I carefully pulled out the white plug and moved the wire out of the way the white plug fell off, probably because only the wire was clamped and not the wire cover which causes the wires to break over time.
Verily it is written: Hell hath no fury like that of an unjustified assumption.
![]()
Glad you found it!
This topic was automatically closed 30 days after the last reply. New replies are no longer allowed.