Hi all, sorry to bring this up again, but I’ve done all the troubleshooting I can from this end and come up short.
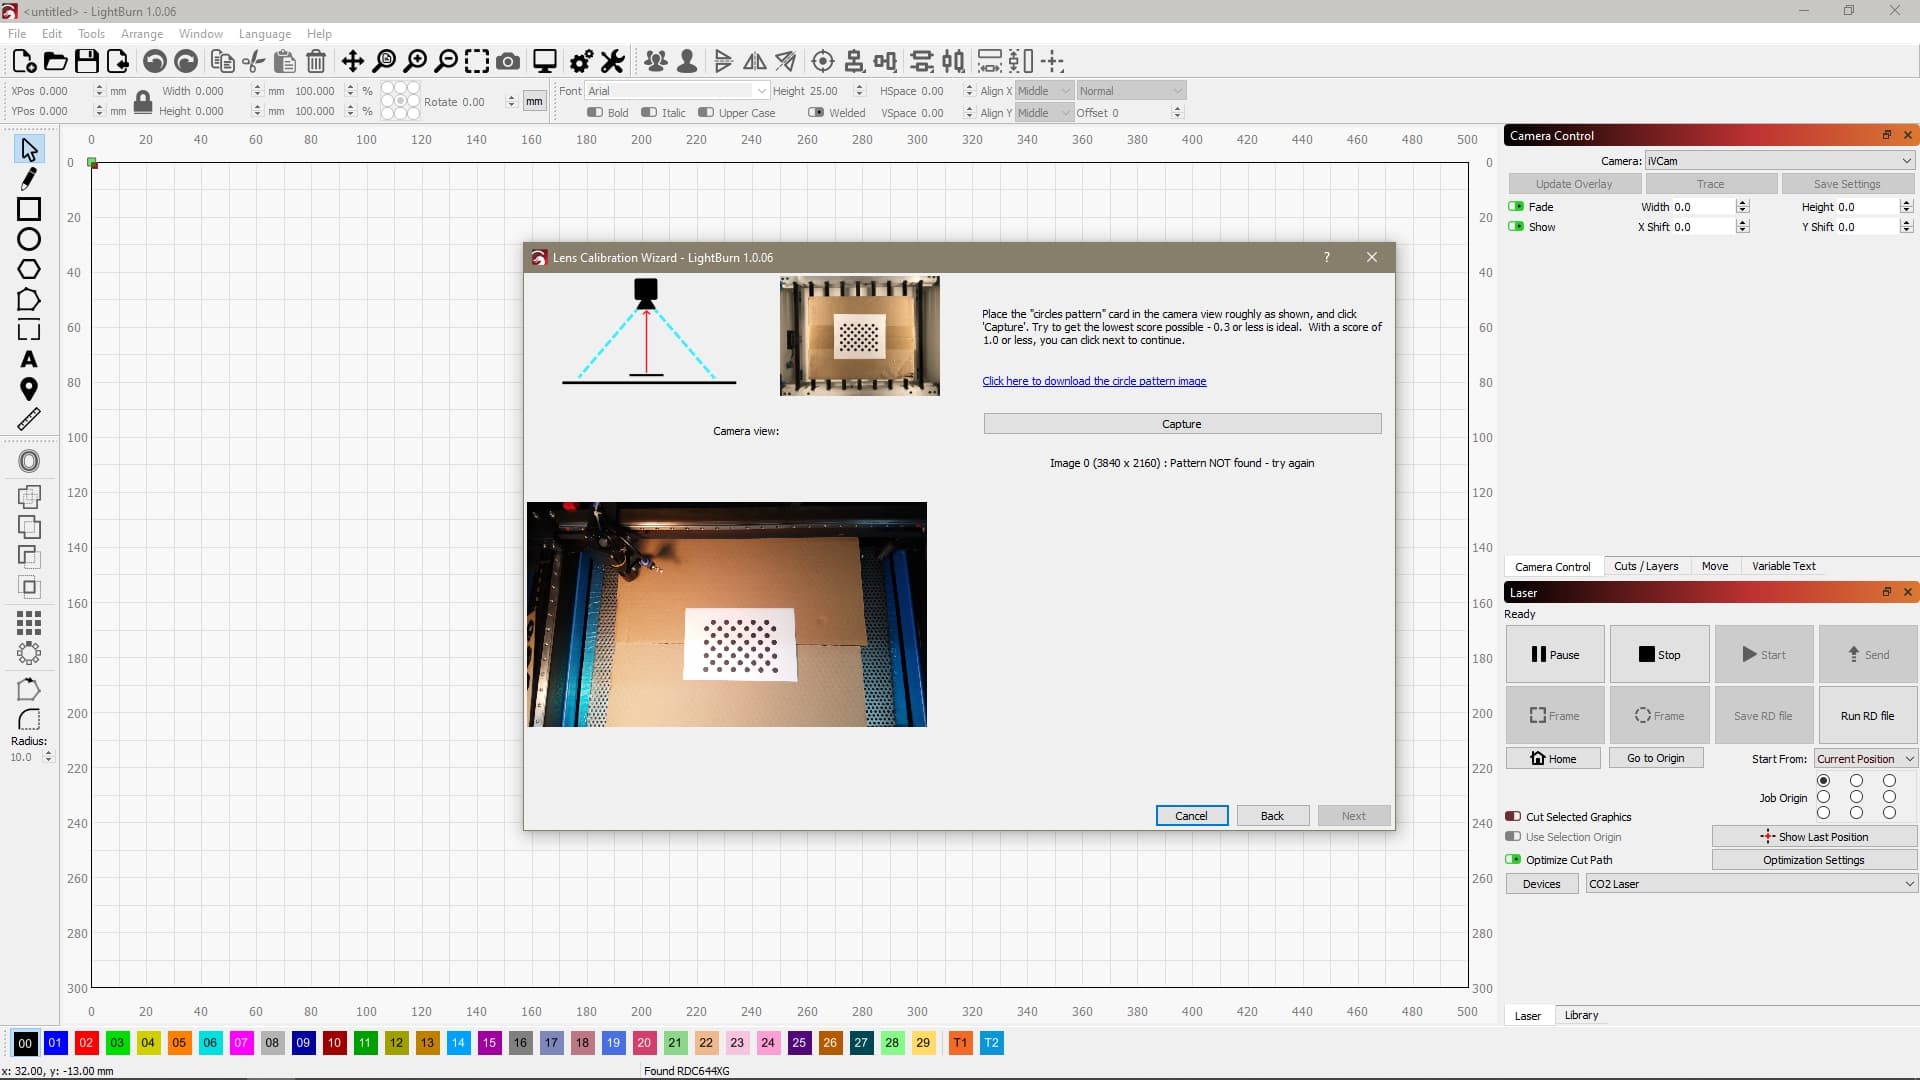
When I try to calibrate my lens, I get the dreaded “Pattern NOT found - try again”.
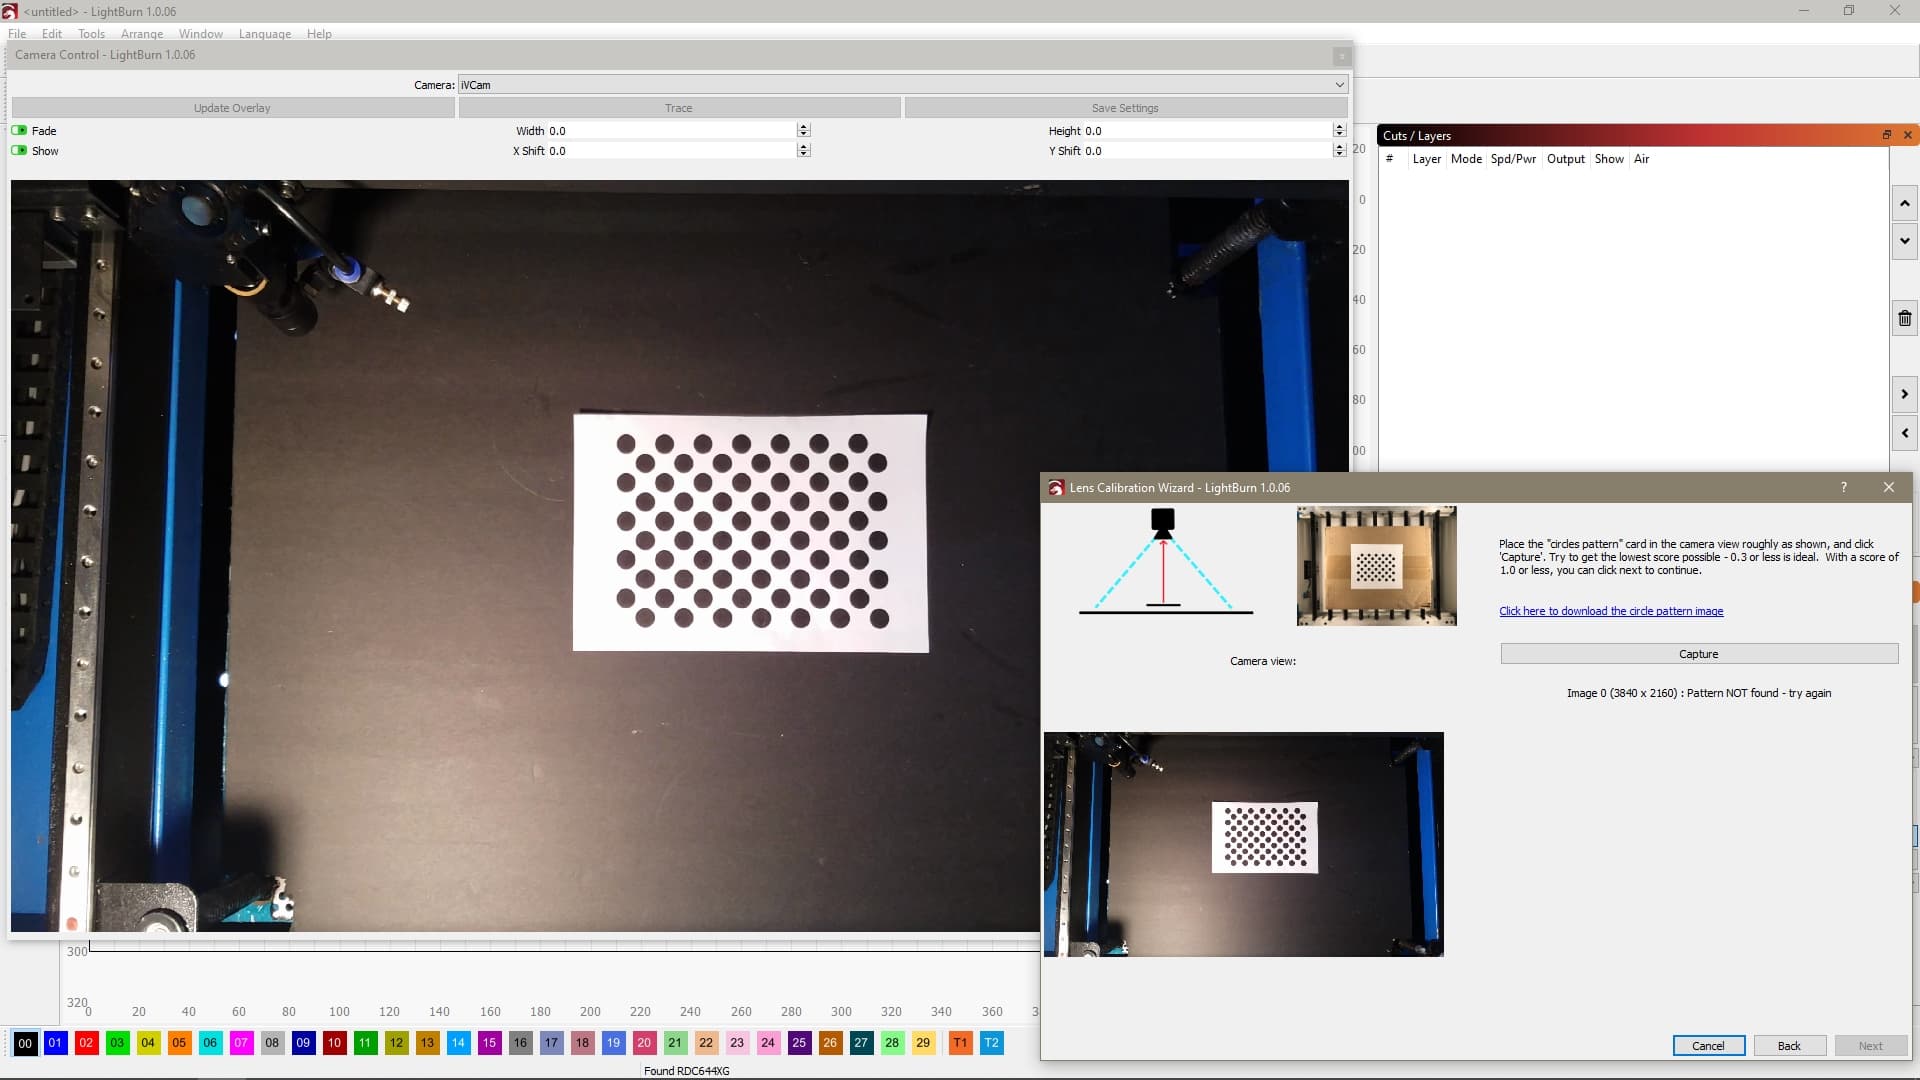
My image is reasonably high-res (3840x2160) and in sharp focus. I have verified this by using the advice from another thread to pull out the camera window and blow it up larger for inspection.
My setup looks (I think) pretty much exactly like the example shown in the software.
I did notice that when I used the “custom camera system” option, the image from cam control looked kinda fuzzy, and didn’t maintain its aspect ratio, so I switched it back to “default capture system”, and now it looks good, and maintains aspect. The calibration still doesn’t work, though.
Fully cover your bed so that absolutey no holes are showing. Reorient the camera so that the pattern is at a right angle to the camera. Fully glue down the pattern to a stiff card so that there’s no distortion along the entire plane.
Had similar problem doing mine a while back, was struggling to get a pass on the captures.
Turned out i was trying to calibrate a fish-eye lens when mine was the standard.
worked great once i realised.
My other problem was too much light
Thanks guys! Sorry for the delay, I didn’t get the notification of the replies.
I’ll try to cover everything. I was just going by the example from the company. What do you mean about reorienting to a right angle? I’m already parallel to the image…
So it’s either not enough light or too much light…right. O.o
Maybe this software needs a little rework on the calibration code? It seems like there are an awful lot of posts about this issue. For as much as we pay for it, I really don’t think it’s too much to expect for all the major features (and yes, the camera is a major feature) to work without too much drama.
Don’t get me wrong, this software is amazing, and SO much better than the other 3-4 things I’ve used to drive my laser, but I’ve wasted so much time (and time is $$$) trying to get the one primary feature working that was the reason I bought this software in the first place. It’s just frustrating. Sorry, rant over.
Well I’m on wireless and it seems to be working perfectly. At least it’s showing and capturing a full resolution image, so beyond that, I don’t really know what else it could want.
I hope someone will be able to jump in with some specific troubleshooting steps, beyond what’s already been suggested. I’ll try to tack down the image a bit better, and cover a little more of the bed, but other than that I can’t imagine what it’s complaining about.
No cables involved, fully wireless. Well, it’s powered by USB, but I don’t think that’s what you meant.
My laser is in my shop, and connects over my network via gigabit ethernet. The camera communicates over wifi, same LAN.
The elimination of holes is critically important as those are easily confused for the calibration pattern. That’s one of the most common reasons for issues.
From the picture it appeared that the pattern (and the camera as a whole) was slightly askew… angled slightly up so that the top of the card was wider than the bottom. I was suggesting removing the angle.
So this is getting a bit silly. I’ve done everything I can think of to get this thing to calibrate, and it’s having none of it. Take a look at the attached image, and please tell me how I could possibly improve the conditions? I just don’t get what else it could want. I’m so discouraged…
It looks like you’re using the wrong calibration pattern. Notice how it doesn’t match the sample.
Also, I’m noticing a curl in the paper. You really want to paste this down onto a flat substrate. Any slight curvature will be interpreted as camera distortion.
Eureka! It’s alive! I can’t believe the issue all this time was a stupid wrong pattern.
What’s baffling is that I’m fairly sure I got the “wrong” one from the Lightburn docs page on GitHub. I mean, where else would it have come from? In any case, I finally got it calibrated, and the camera is aligned. I have a working camera system!
At some point, I may share how I did it over wireless/ethernet, without a bridge device.
It’s working flawlessly so far, but I want to be sure there are no unexpected bugs before I say too much. Besides, lots of others may have done this already.
I think what happens is that people print the GitHub page directly, instead of downloading the image and printing that. The GitHub page shows a preview of it, that’s cut off on one side, so it doesn’t format correctly. I don’t know how to make it not do that, unfortunately.
Oddly enough, I don’t think that was the issue Oz. It wasn’t cut off on the side, it just appeared to be the entirely wrong pattern. I can’t fathom how that could be, but regardless, it’s working now!
BTW, this is some pretty amazing software you guys have written, thanks!!
Are there any plans to incorporate Z-axis movement?
I don’t mean manual bed adjustments through the GUI, but rather full 3D engraving. Or does it do that already, and I’ve missed it?!
With your Ruida controller it simply isn’t possible - they have no commands for moving the Z in combination with another axis. You can use grayscale height / relief maps to accomplish 3D depth-based engraving though.