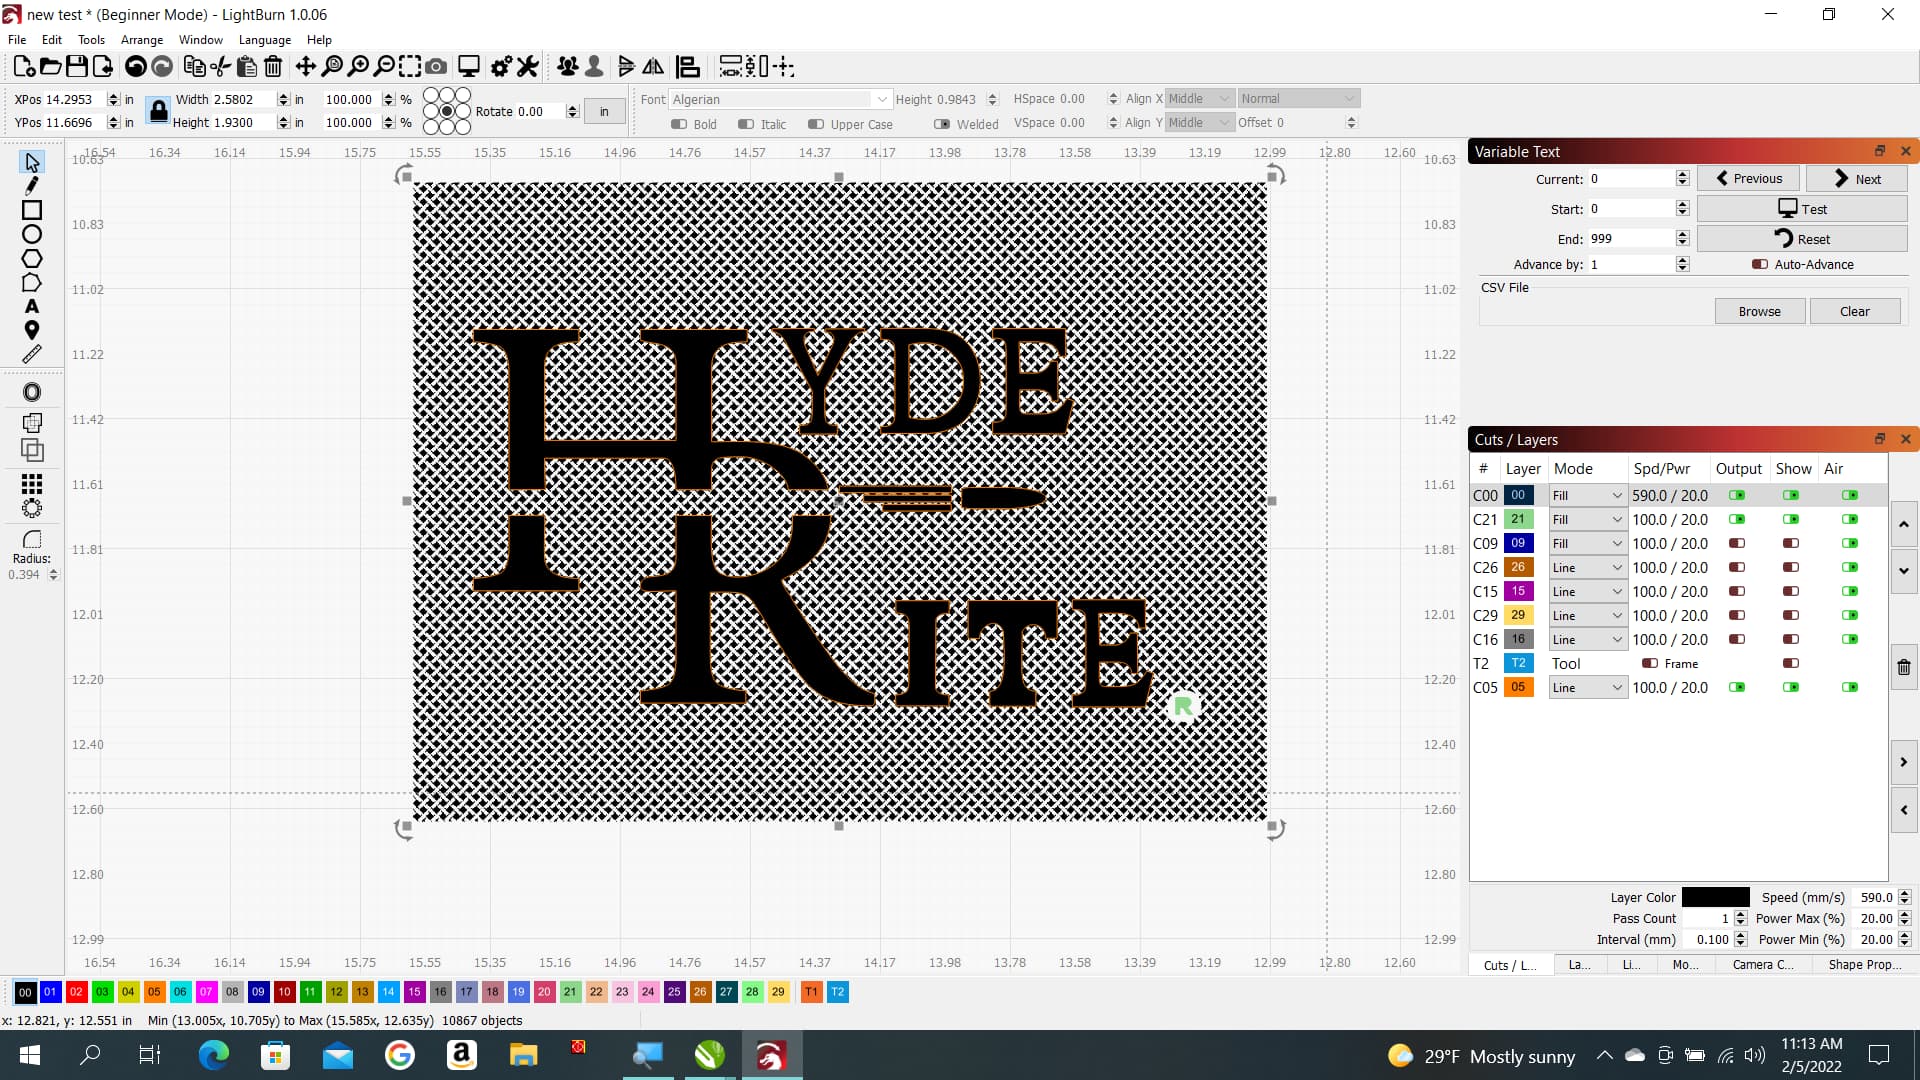
I’m trying to get a pattern to cover the background and leave the logo in front of it smoothe with no engraving. I can get the background to print just fine but the areas that I don’t want to print ( the logo) are being printed with the background pattern too. What I would like is for the logo to be left unprinted but the background to have a pattern printed all around it and in the open spaces in the letters and open spaces of the logo.
The screen shot is showing that the logo will be engraved, and the preview also shows the loge to be engraved. All of the color buttons that are turned off are different ways that I have tried and failed to achieve the un-engraved logo.
What I am trying to get is the background texture to print leaving the Hyde Rite logo unprinted and shiny with the exception of an outline that defines the words and evens out the edges where the textured background meets the logo.
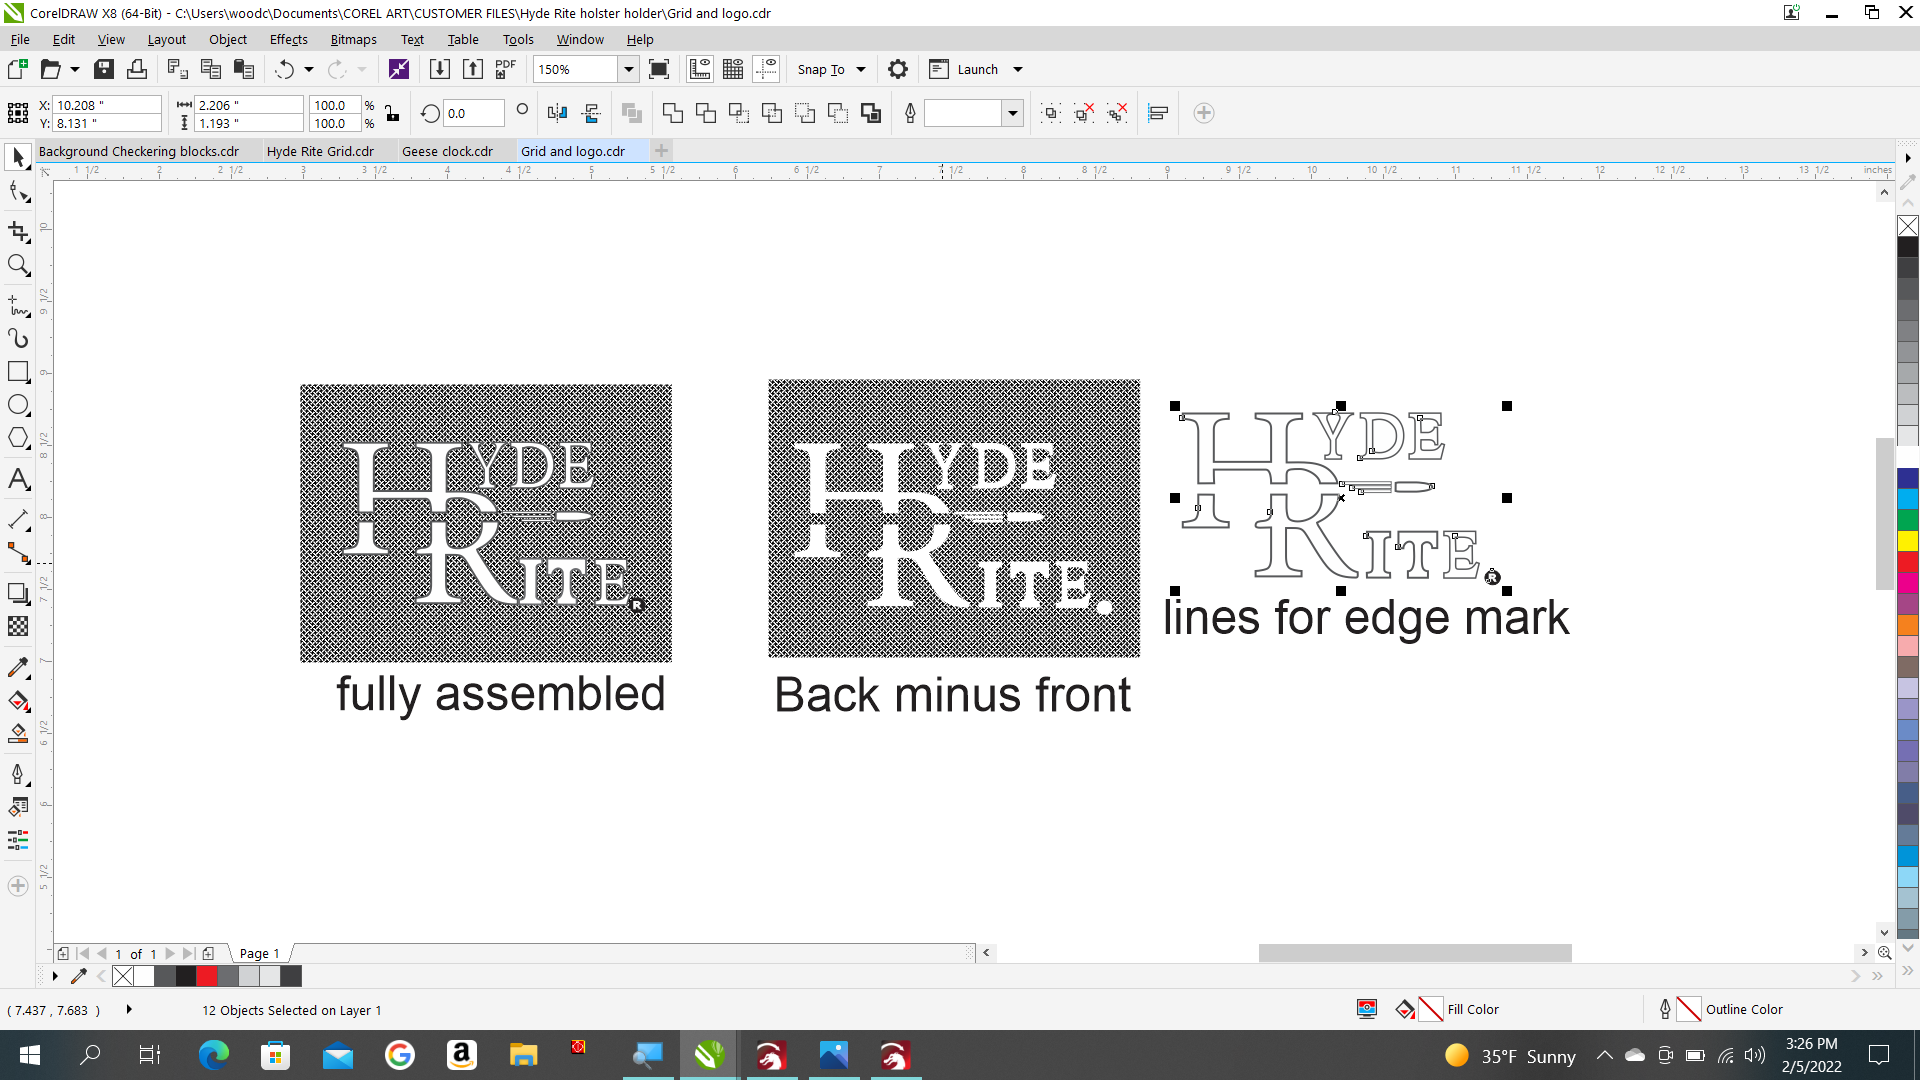
I’ve had Lightburn for a while, but I don’t use it a lot, so I’m really a Nube on this program. I use Corel 8 most of the time and this file is imported from my Corel original file on a DXF format. In Corel I cut away the logo leaving a blank space. I need the outline to define and smooth the edges where the texture meets it.
Does the design look correct in CorelDraw with the logo as a cutout in negative space? If so, this might be artifact of the DXF export/import process. Suggest you avoid DXF entirely if you’re using CorelDraw. Export as SVG or AI format.
Try that first.
If that doesn’t do it it’s hard to tell from the screenshot but a few possible remedies.
if the logo portion is a separate object from the background, can you switch that to a separate line layer so that it’s not filled?
separate the logo from the background. Group to make it one object. Separately make sure the background is all grouped to a single object. You may need to first ungroup every component and regroup one time for this to work. Then first select background, then add logo to selection, then Tools->Boolean difference.
If this looks correct in CorelDraw can you include a screenshot from there?
This comes strait off of the graphic I’ve been using to engrave these on my small laser. I have a Universal VLS230 30-watt that I have been using for about 12 years now. I never considered that DXF would be a problem. I’ll definitely try some of the other extensions next.
I’ve tried a bunch of scenario’s as far as in front or back, with and without fill, line only, etc. Thats what all of the turned off colors are from in the box to the right.
Here’s the Corel file. The first is the fully assembled ready to burn graphic. The next is the background that I cut the logo out of to keep it from being printed but it has to have the edge lines to smooth and define the edges of the logo.
I recommend avoiding DXF for CorelDraw because you’re going through an unnecessary Bezier (corel)->line segment (dxf)->Bezier (LightBurn) conversion of the path data. This is unnecessary and potentially error-prone. You’re more likely to have predictable results preserving the original bezier curves.
This isn’t an option for many CAD type software that is not natively bezier.