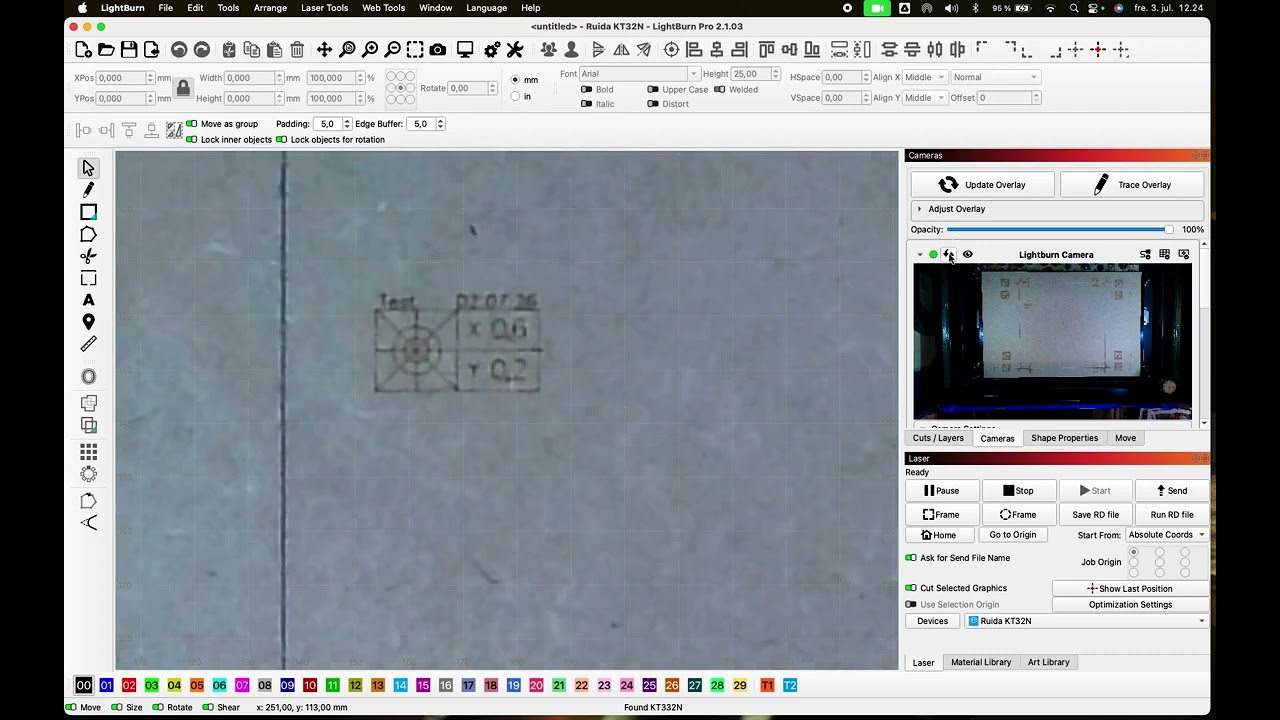
After a few hours of working with the LB camera, the update overlay no longer works as expected.
The update is displayed with much lower resolution than it should, while the 4th option shows the correct image, see the video.
I have reset the LB and the computer without it having fixed the error.
I saw the DPM control but was not sure how it affected the camera operation..
assuming it should be set to MAX, but does it slow down the camera or affect anything else ?
Let’s put it this way, if you don’t use max resolution, the image will be pixelated. So much so that it’s useless for LB tasks, in my opinion. If you have a computer that can’t handle the maximum camera resolution, there’s no point in installing a camera either. My Mac Book Pro from 2014 handles the task without any problems, I haven’t tried my Windows 10 computer with the new camera setup yet.
I installed the 100deg 16mp camera today, with little success…
I think the fact that my bed size is 1300 x900 is a big factor,
asking too much to capture with any real accuracy across the entire bed…
BUT. my biggest factor is the lighting, seems I have to turn off the room lights to get any real good pictures…
Not sure why these cameras dont like the ‘laser bed’ area, ie. honeycomb problems…whatever..
I’ve decided that spending a few minutes here and there trying to run calibrations etc aren’t working…
I need to attack this as a full project…
First I have a question for the folks with a photograghy background..
I am going to cut a piece of acrylic to fit over the entire honeycomb area..
I have colors to choose from. Yellow, Red, Blue, Green, White, Black, Orange…
Q: which would be best for doing the calibration tag testing for lighting, contrast etc…
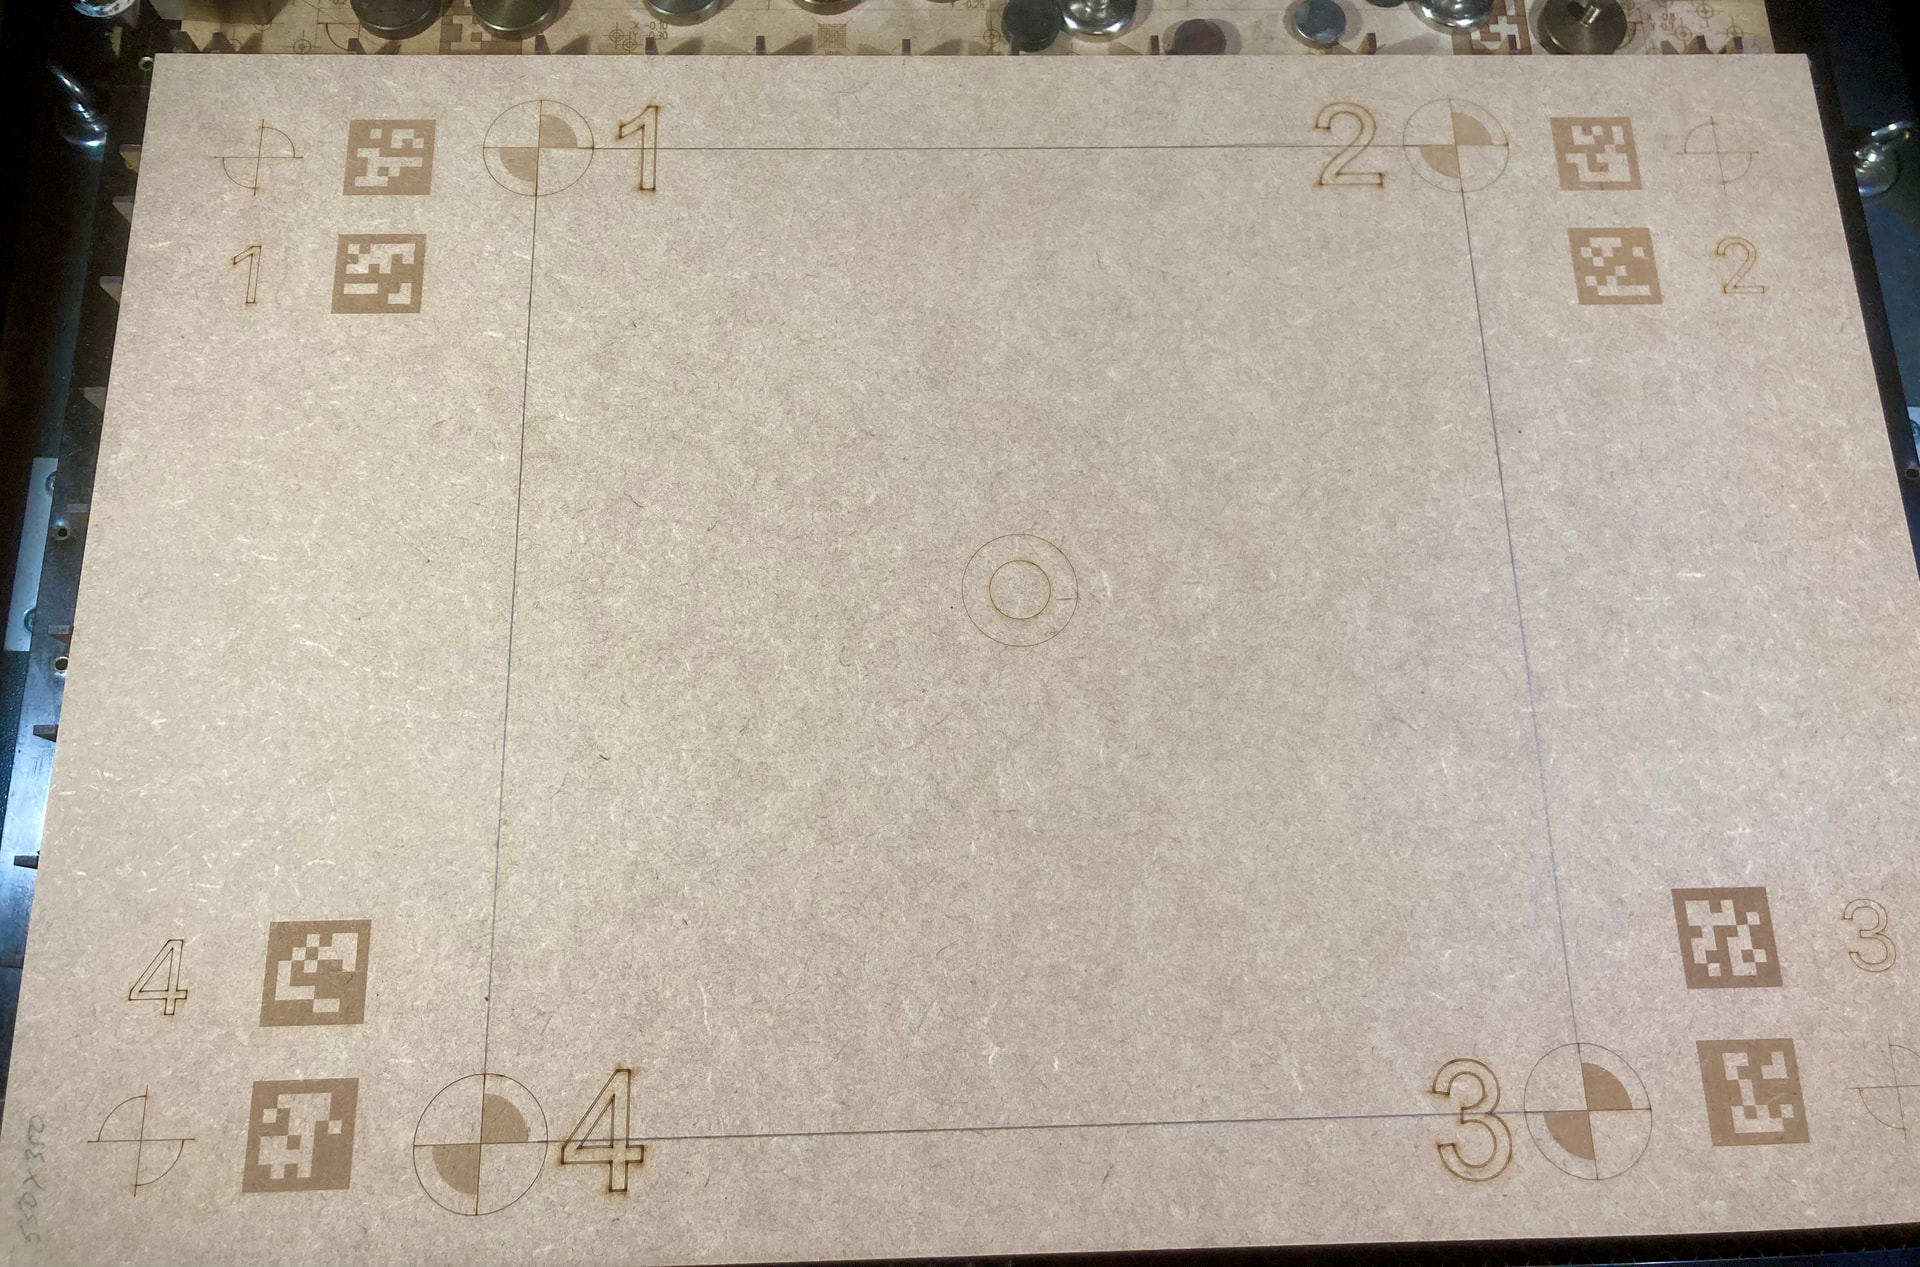
I disabled auto exposure and used very low values manually, under “normal” circumstances the image would be judged too dark, but that’s what worked best for me. Of course I also turned off autofocus, LB cameras are manually focused. The rest is a little fine-tuning of contrast etc.
When conditions are not optimal, calibrating the camera and aligning it afterwards is a serious project in itself, but it pays off.
Chuck, can you keep us informed on a new thread, this one is marked as resolved, that would be more correct.
Bernd… I don’t have any MDF on hand…and the Acrylic will only be a cover for the honeycomb…
I’ll play with the Exposure setting and also turn off the autofocus…
Looking forward to some camera playing…
I ordered two more cameras 67Deg and 78Deg
I plan on using the center of the bed for the camera a smaller area maybe 800 x 700
but will still try to get the full 1300 x 900 if that is possible…
ah more playtime,
And I will keep you posted as I make some progress…At least hope too !


 , but that’s overkill.