I just completed the same upgrade and it worked very well. I upgraded from from a 50 W tube to 90W. I had to add a 14” extension to the side of the machine. I think the key points are all mentioned above. I had to expand the tube from 50 to 80mm while not changing the beam plane. This tube shows two mounting locations and one of the mounts are in the 14” extension.
Burnt thru my glass mirrors so I moved to SI. Even though the beam diameter doubled my 20mm mirrors are big enough.
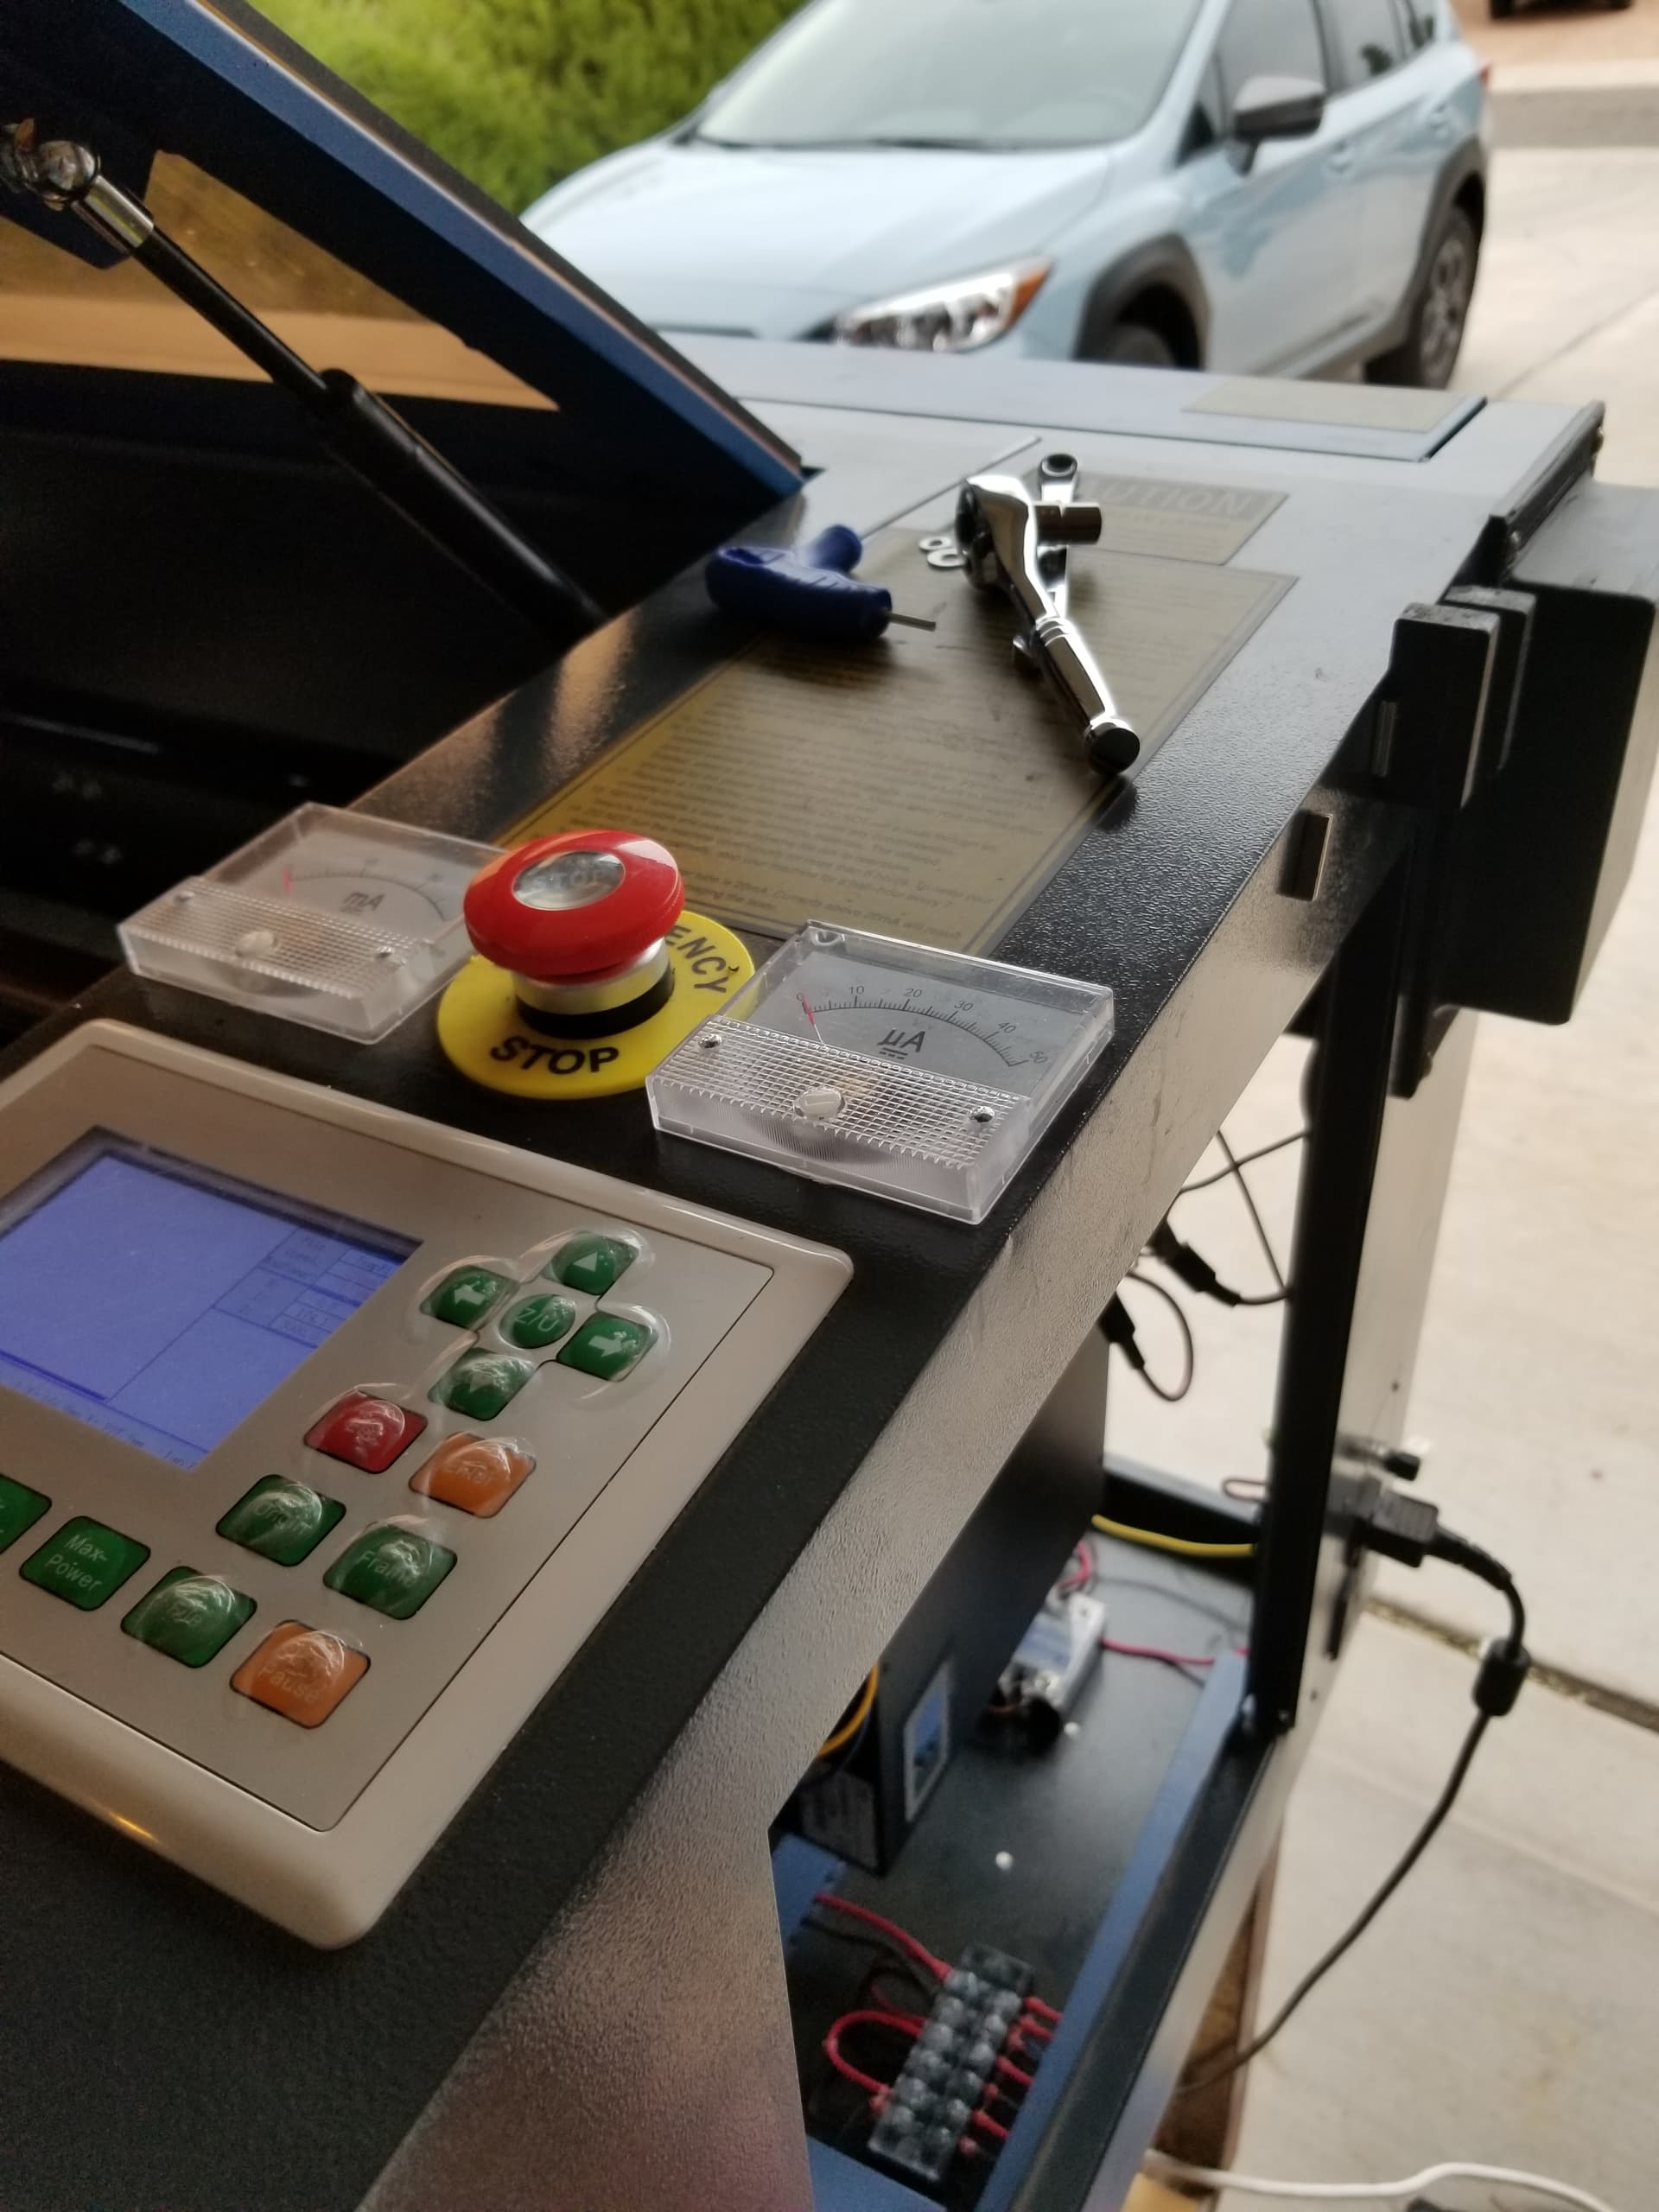
I didn’t upgrade my 60W power supply because it has plenty of power for materials I cut.
I have always had issues cutting completely thru a favorite plywood and this tube cuts it no problem.
I’d recommend doing it as long as you can get it to fit. Use the same power supply as you can always upgrade that another day.
Just a comment for those interested in doing this. You might have been able to get by with a fan based cooling system like CW3000 for your 40W tube. These tubes require a compressor style chiller.
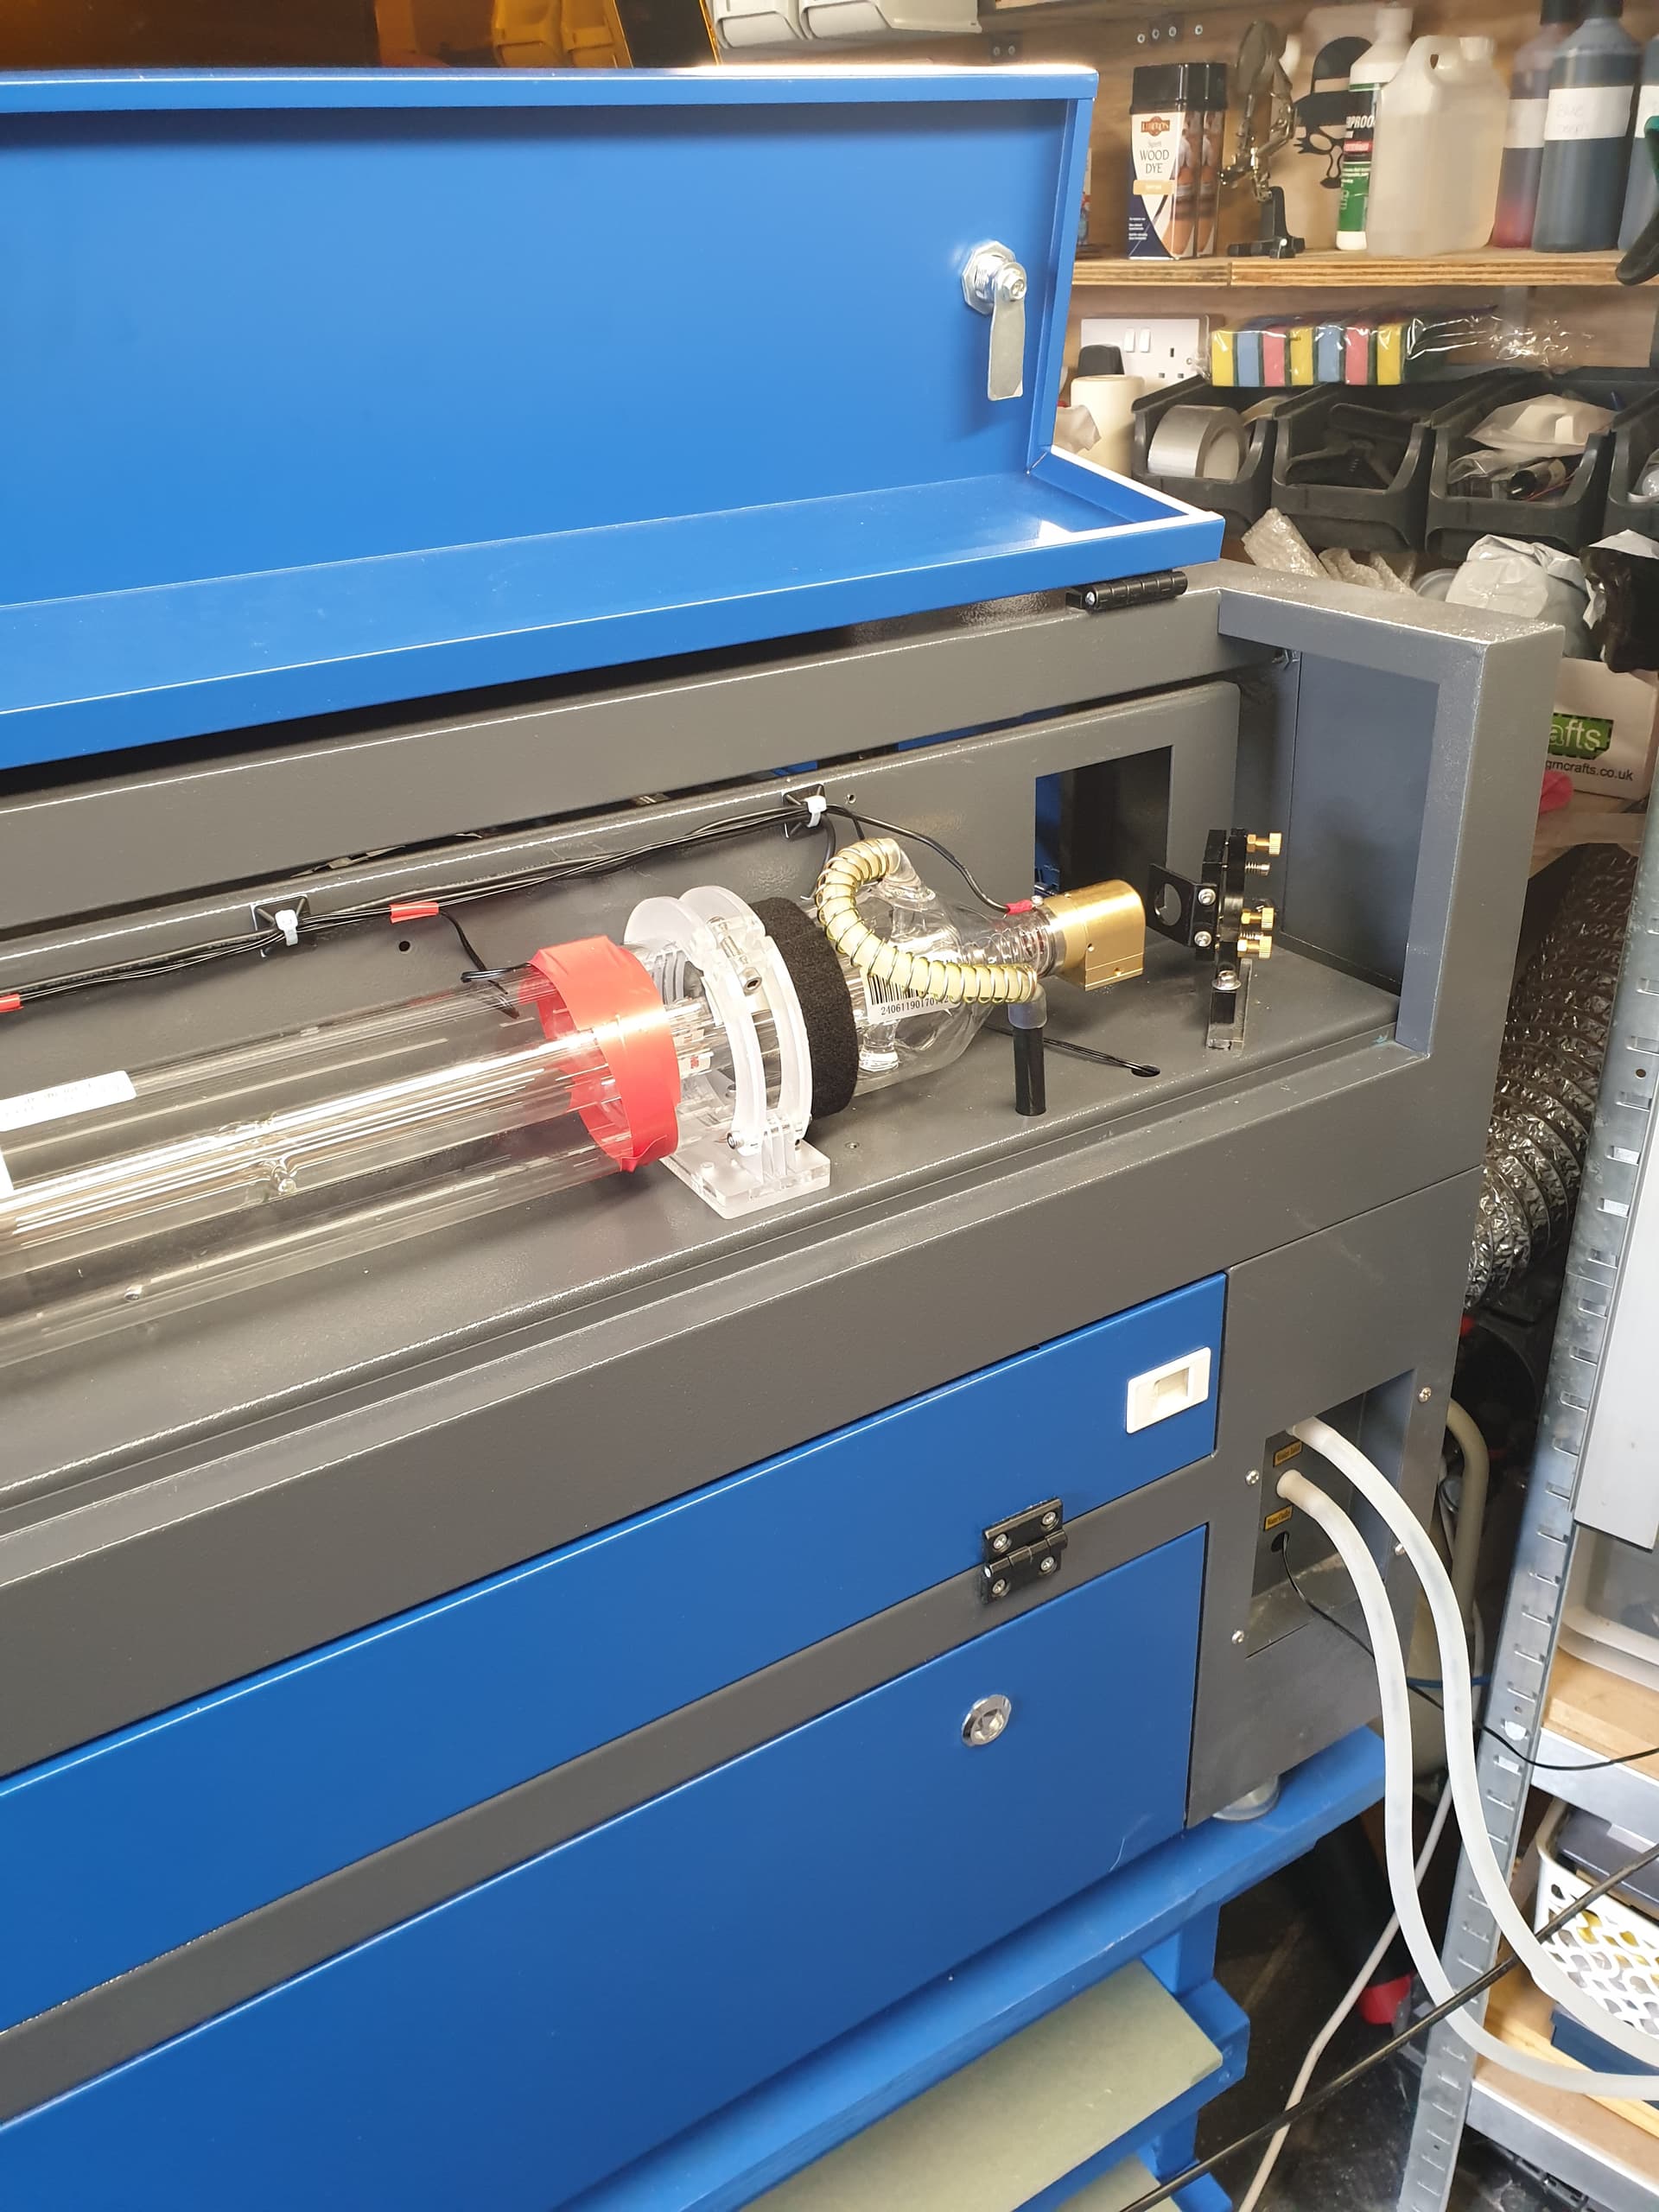
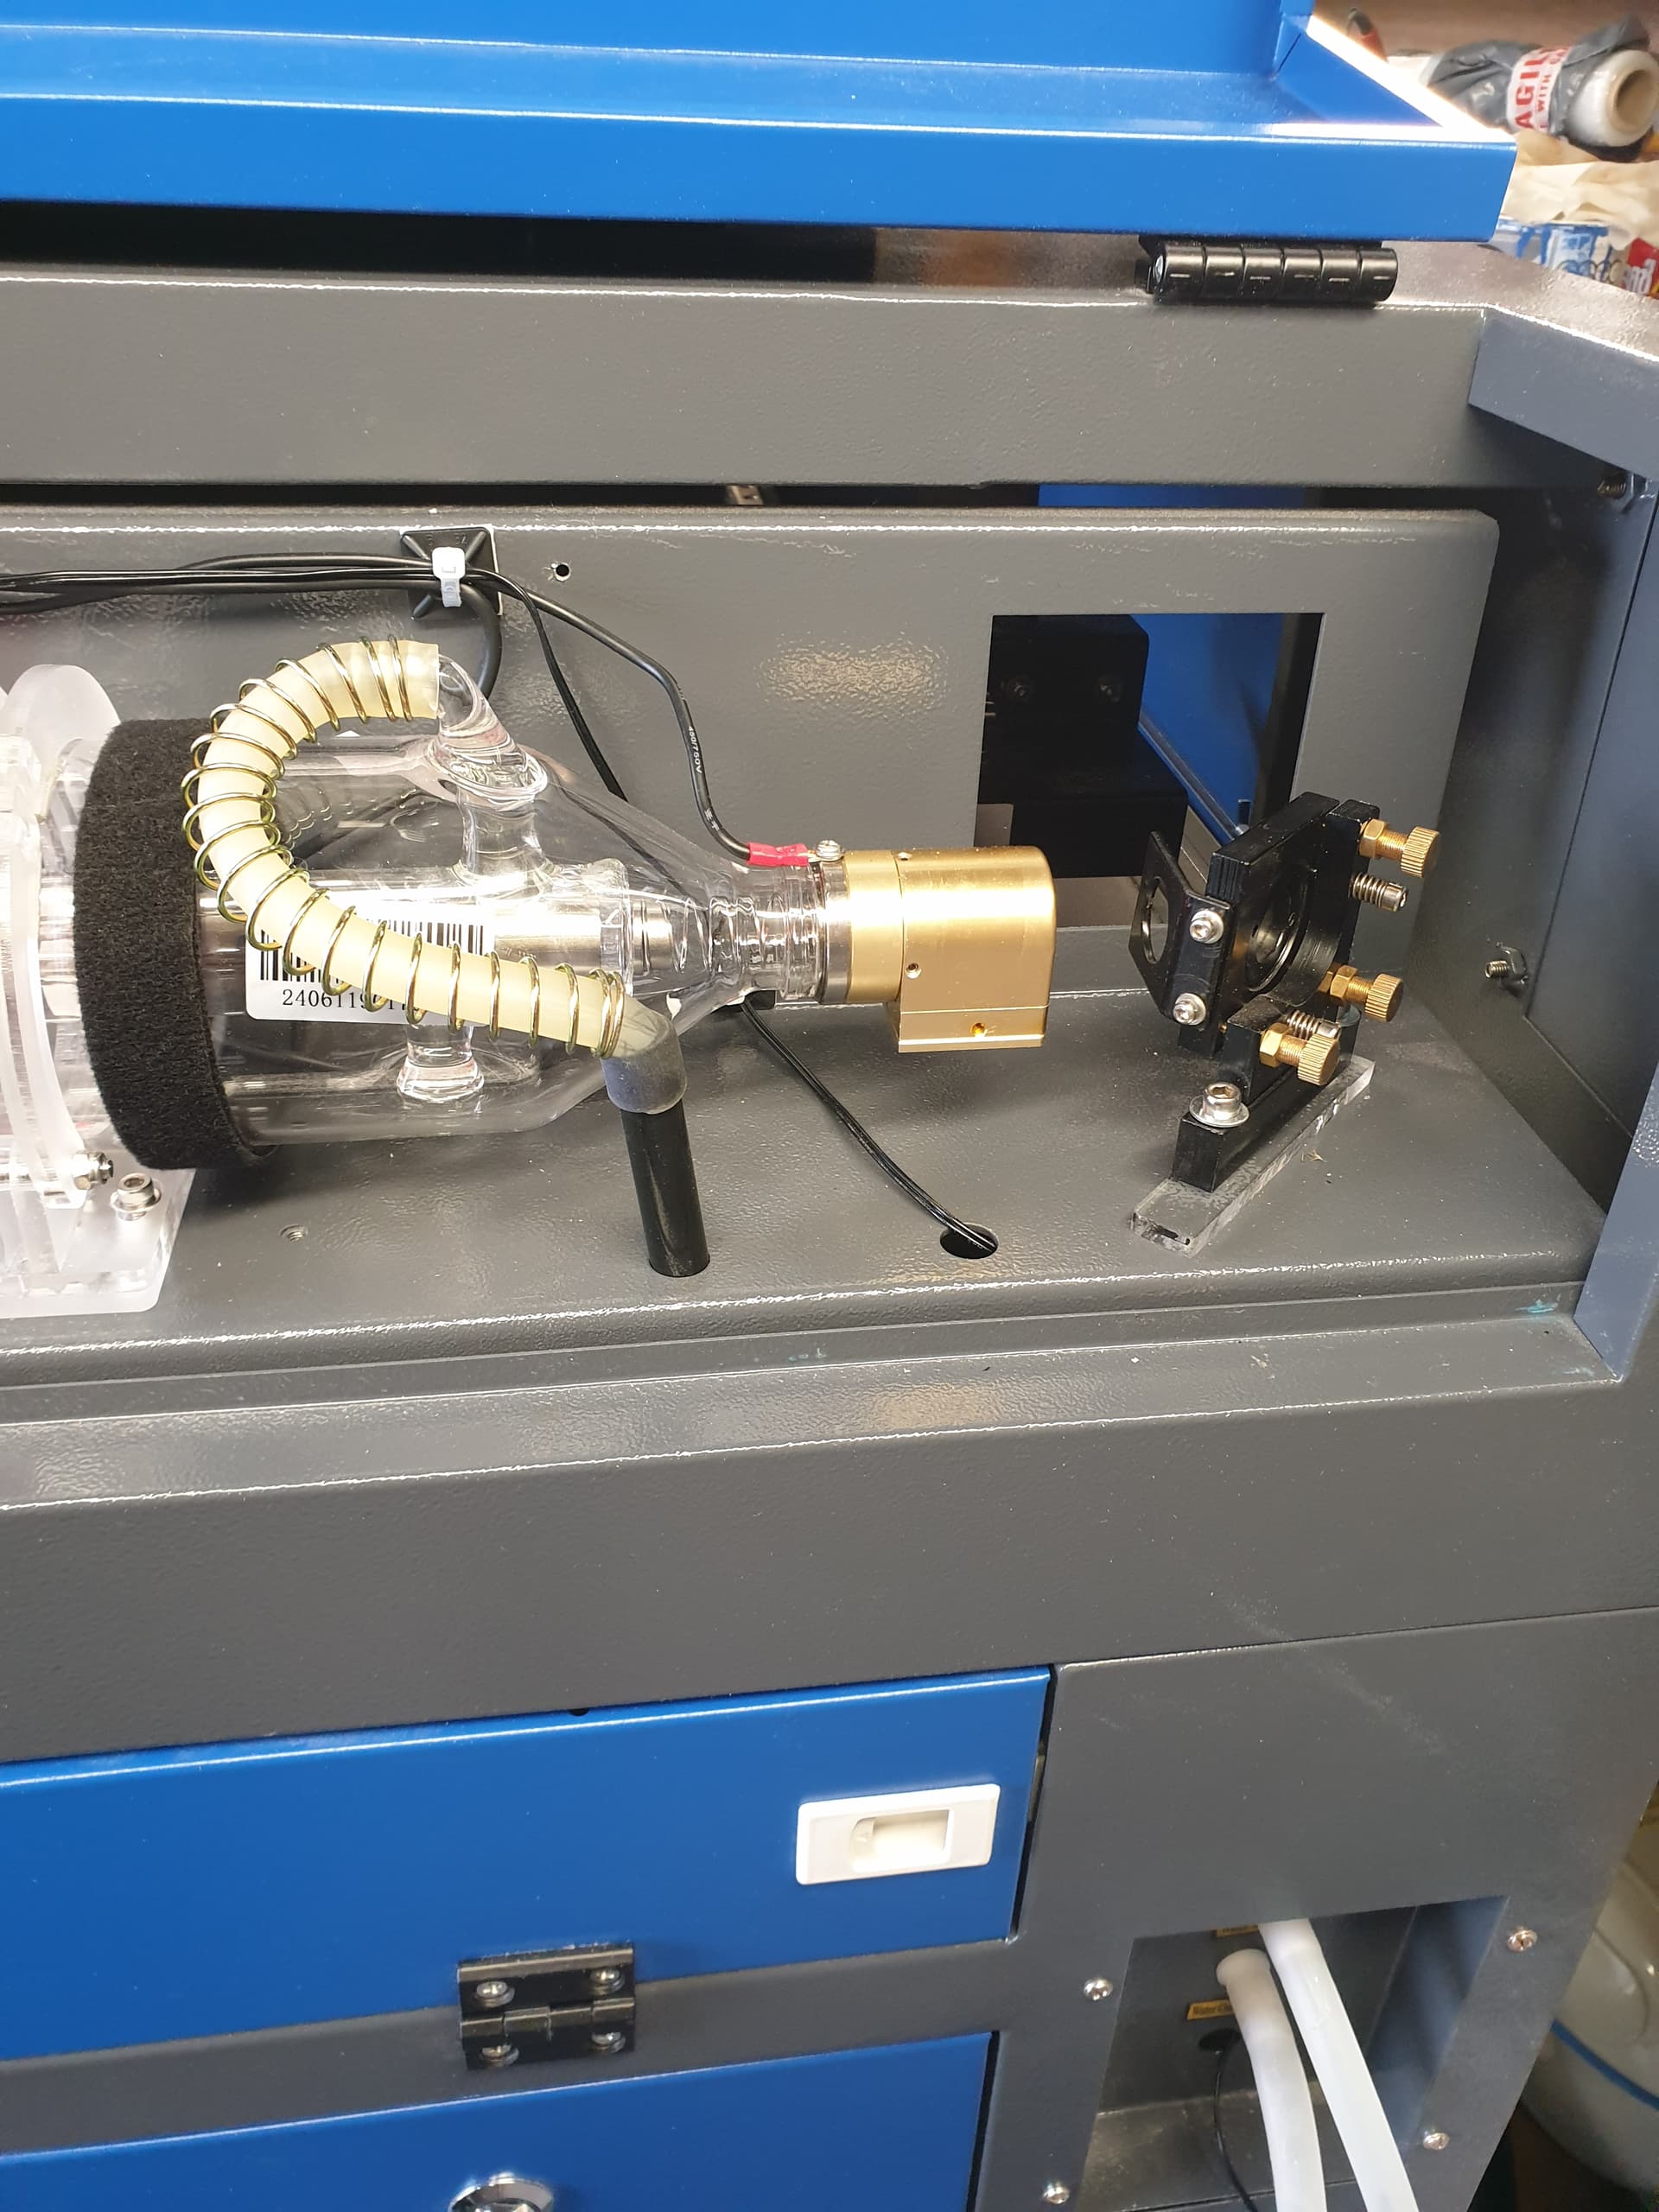
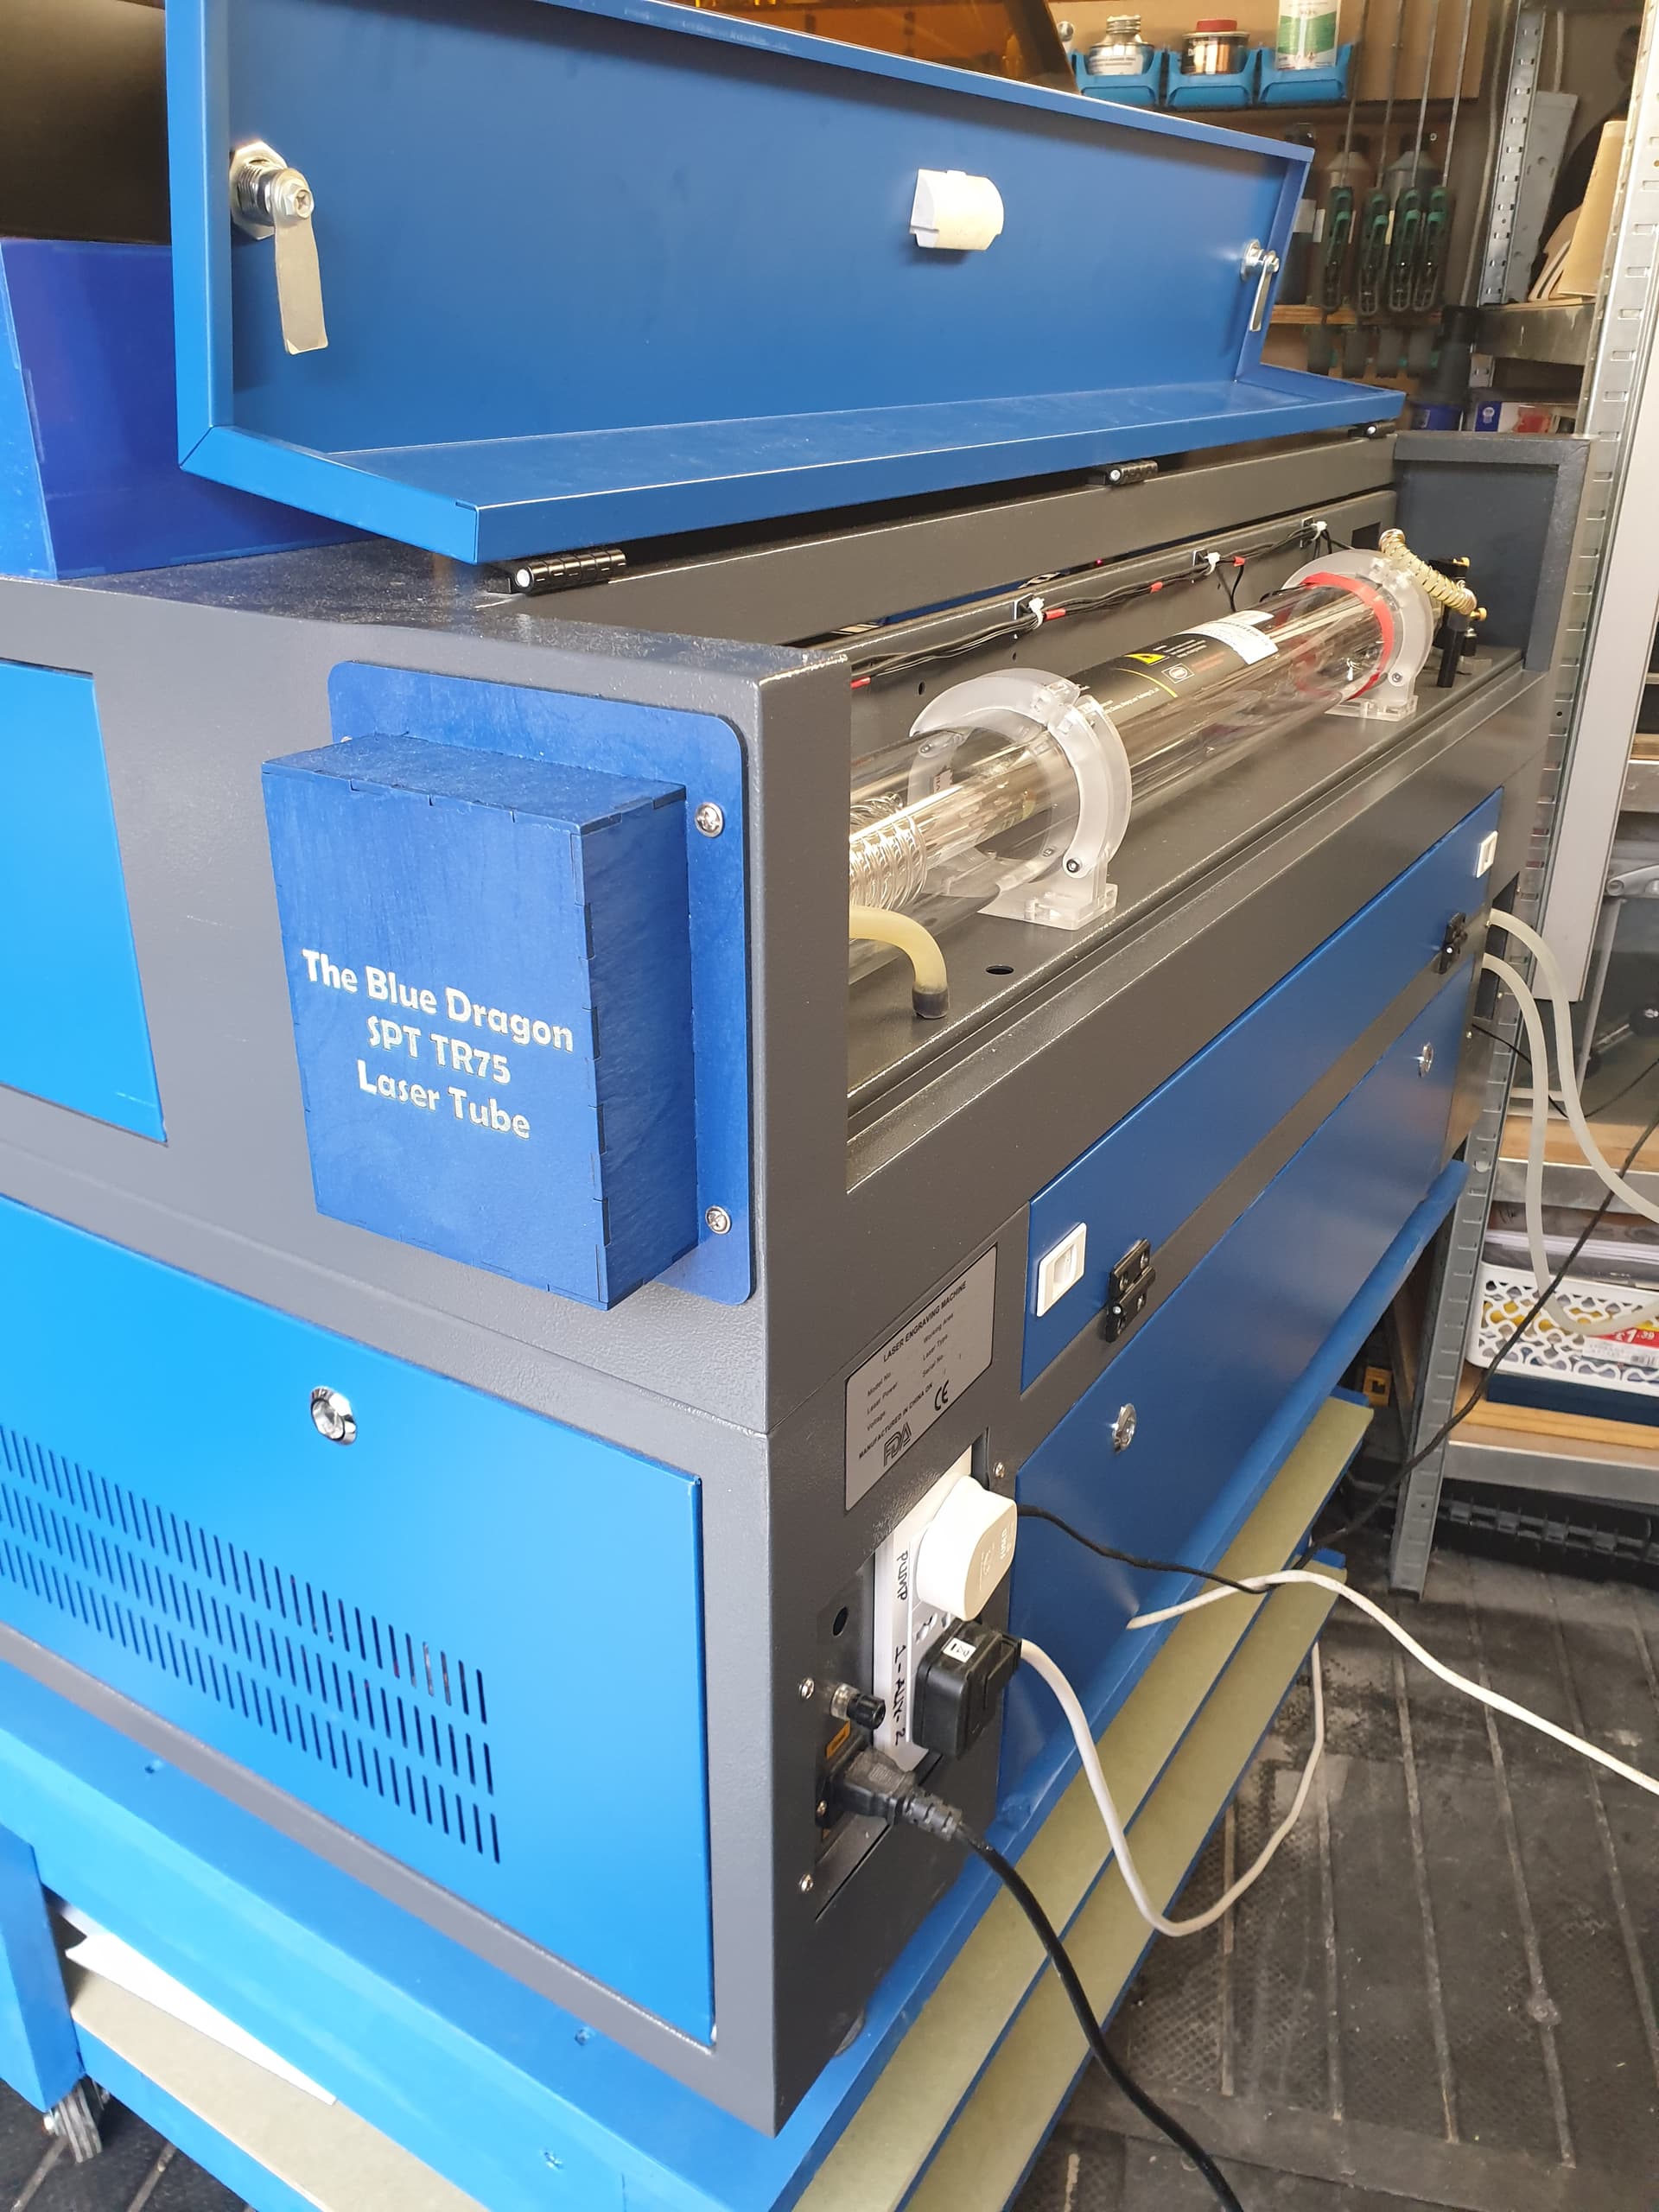
I have an unbranded 700 x 500 60W which I believe is the same machine as the OMT one. It came with a 50mm 60W (50W) tube. I wanted to upgrade and purchased the SPT TR75 tube. It is also a 80mm tube but is only 1080mm long. I did have to put an extension on to cover the protruding tube but only 50mm so made one from 3mm birch ply. Although not measured according to STP 60W pulls 20ma. I kept my original 60W PSU and it handles it just fine.
The issue I thought I would have was minimising the height of the tube clamps. On the 50mm tube the distance from the mounting surface to the centre of mirror 1 was 52mm. I was able to consult with Russ Sadler about his one piece tube/mirror mount but unfortunately it couldn’t take an 80mm tube. However, he did kindly share his design for some acrylic clamps (made from 5mm acrylic) which allowed me to maintain the 52mm to the centre of mirror 1.
I have been really happy with the tubes performance. It’s perfect for my needs and the cherry on the top is the built in red laser pointer. Mirrors so easy to set up and material placement is a breeze.
Next upgrade will be the CW5002 chiller due to the operating temperature range of 15 - 25C.
I made a number of Russ’s upgrades on mine. He is a treasure when you have questions. Especially when he just cuts it out for you and it shows up in the post. Quite a guy.
Like the springs on your coolant hoses, might give that a try myself. They are a pain.
I’ve looked at that type of tube with the factory aligned laser pointer. I replaced the head on my machine within a few weeks of it arriving, so the led pointer went with it. I have never really used one before, but the idea is likeable.
I purchased a 5202 type chiller. It has a secondary loop for cooling other machines in series. First one was DOA, but finally got it up and working. What a nice move from the water/ice/headaches of the bucket method.
Russ advised that these are a ‘generic’ Chinese government design, so they all ‘look’ alike. He also stated that some of them he’s dealt with have parts that are 10mm off another one that looks identical. I bet most of the junk coming out of there is some kind of Chines Government design.
How long is your tube?
Along with a diameter of 80mm?
I too have the lightweight head and drive belt mod. It was also one of the first mods I made. The advantage for me was that the motor for the x-axis is on the right side of the bed and so that is where the bearing rollers for the belt are. It also means I have no drag chain on the left side so no possibility of anything affecting mirror 2.
Thanks for the info on the chiller. I am still on the tank and pond pump right now. It’s into winter here in the UK now so its heating I need right now. I have a 60W fish tank heater in the water tank which helps a lot to keep the cooling water temp up to 15C although today after an hour or so engraving it was still down at 13C. Mat have to look at one of those units that has a built in heater as well. I saw a thread on here for one somewhere.
Would you be able to send me the file for Russ’s tube mounts? I’ve emailed him but I know he’s a busy guy. If the mounts I’m having machined (still waiting for them to catch up from Thanksgiving) don’t work out I would like to have a backup plan. I had the file before and know they’ll work but lost it. My email address is marklvarner56@gmail.com
I’ll be forever thankful to have it even if I don’t need it
Thank you, Mark
Sorry to reply to an old Thread but I have this same laser and I am upgrading to this exact tube. Would you be willing to share the tube mount design? I would be very grateful. woodruffmills@gmail.com