I will say the white tile method using a CO2 laser has been a lesson in patience on a totally different level. Probably the toughest method I have tried in ten plus years of engraving…at least to get consistent results.
I will say thanks to Oz for pointing out, to another post, to double check the parallel of the tile across the entire laser bed. Never double checked this and found out that even just a 1mm difference causes those very annoying streaks that just pop up. Should have figured that one out as I knew even just a very small change in power density per CM squared makes a huge difference in the burn image.
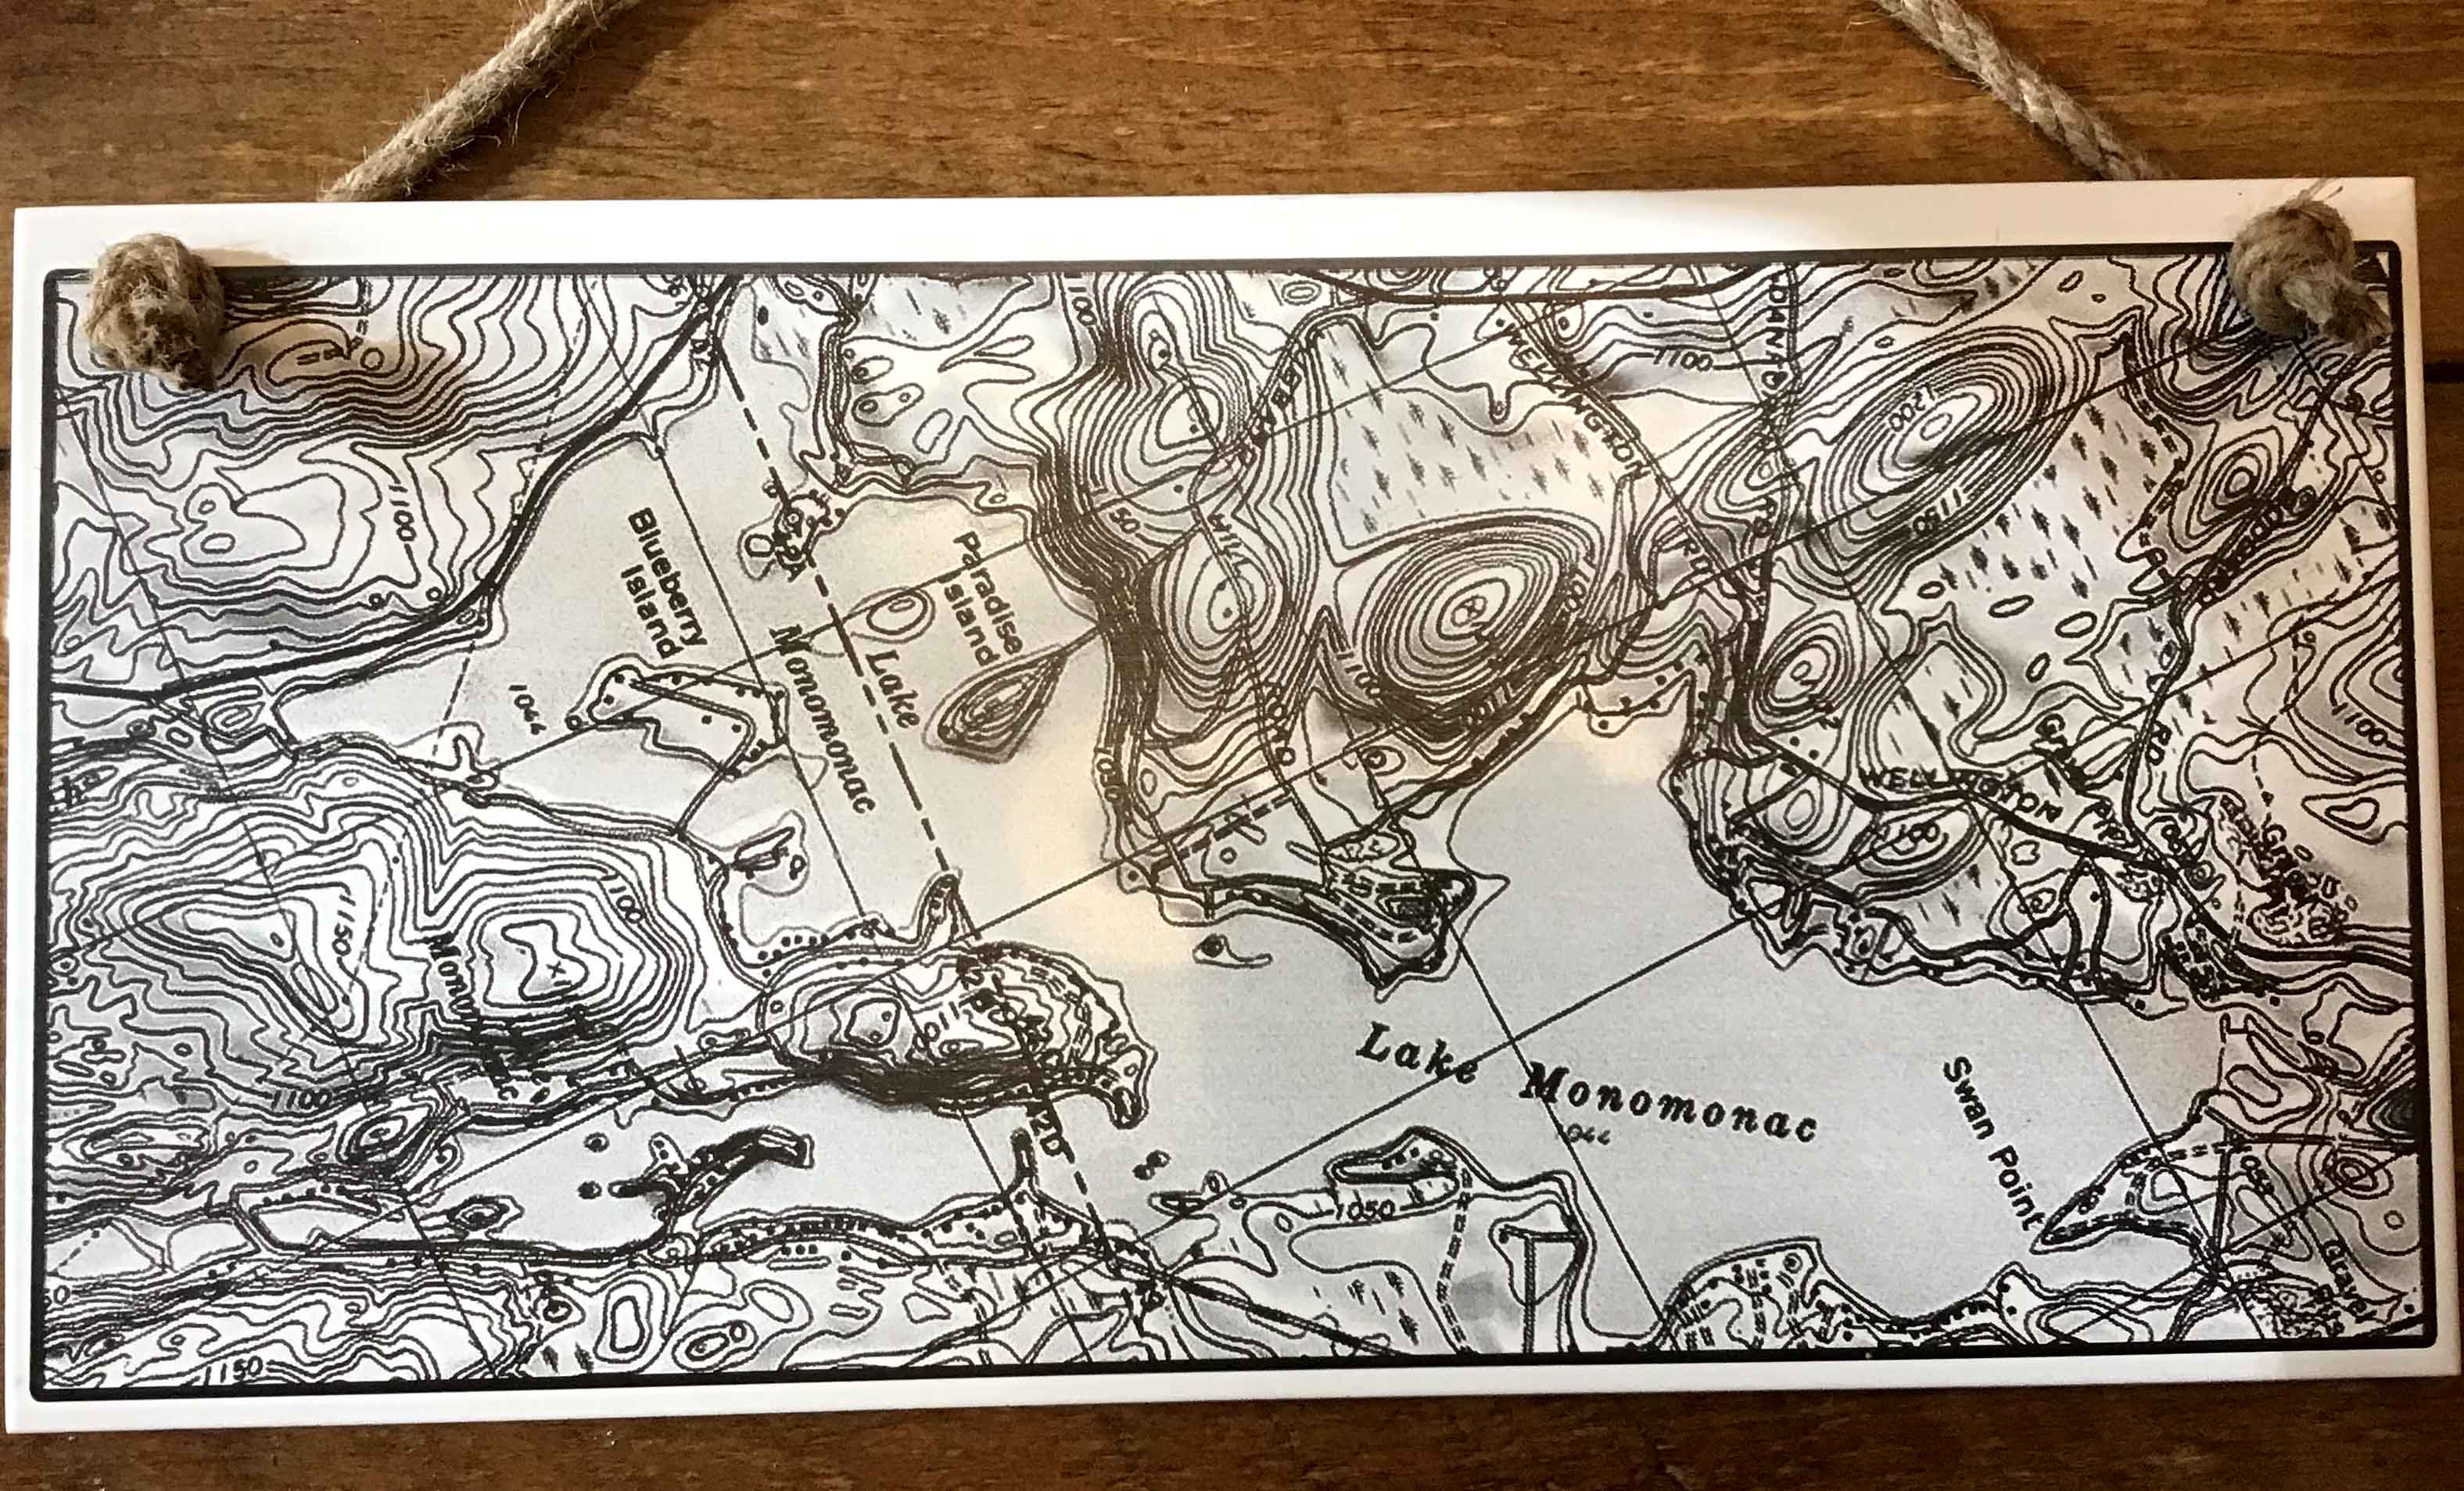
Anyway I do sell the tiles and have sold quite a few in different styles not just maps. I try to stay in images with limited shading and simple vector stuff is easy. This map was for a local customer and is on an 8x14 inch white tile. Yep…6 hours to burn it in. Such a long time to wait and keep looking going…no streaks…no streaks…no streaks. Hey…no streaks…Oz was right…go figure.
Obviously the yellow in the center is just reflection. The customer loved it. I was glad it was done.
Seems right now on my 50 watt Orion Tech laser that I can get good results at 40-50mm a sec at 14.5%-15.5% power. I have run as slow as 30 mm sec but the time it takes…oh man.
Great work 
This looks really nice but seems slower than necessary. Have you tried faster scan at higher power?
PS: Thanks to @Kris1 for waking up a 10 month old thread! 
When i have a little time to spare i scan through the threads to see what i’ve been missing 
Doing the white tile method requires the laser to run low and slow because you are more or less cladding the titanium dioxide in the paint to or even into the tile. Any time you are trying to clad anything with a laser it takes a slower speed. If you just up the power and up the speed the laser does not have enough time over substrate to get the titanium to bond or burn into the tile. What happens is you just burn the paint off of the tile. this can be seen when you remove the paint with lacquer thinner and most of the black comes off.
An interesting example of this is this. I spent about 4years as an laser engineering tech in aerospace engine repairs. Even using a 3Killowat C02 laser, with all that power, ended up about 900 watts @ 18-21 inches a MINUTE was max speed we could run, regardless of how high we cranked it.,…in order to get enough depth of penetration to allow the sintered Inconel powder to clad to the parts surface.
Yah maybe unglazed tile can run faster…the glazing definitely affects time to bond verses raw tiile
Well, I can’t argue with success. The tile looks nice.
What I’ve found in my case is there is a very wide tolerance of exposure using this method and I tend toward faster up to 60% power, which is generally my limit to try to extend laser life.
I’ve only used unglazed tile so far so maybe glazed requires higher power to bond…???
 time needed to sinter… fantastic visual. Have to go back & try cold galv spray on steel again. Thank you!
Hiya! I’m curious about how people source maps for burning pieces like this… any advice? Thanks!
I use online map services….one most of all is my go to as you can choose the overlays and also type of map. This is a usgs topo map.https://apps.nationalmap.gov/viewer/
Now here is my method to get detailed maps.
Just above the map on the green toolbar and just right of center is the map overlay tool bar. First option for layers is map style…usually one of the Topo map options is what I use. try them as each has different details. Next to that option is the overlay option where you can add shaded reliefs…topographic elevation lines etc. You can adjust the visibility of this overlay…works great but takes some learning.
Now you will not usually be able to just zoom to a level where you can both fit the area you want in the screen AND get good detail. So…I zoom in until I get the image detail I want…you’ll see when you use certain maps the detail of elevation lines and shaded relief gets nice.
Now you will need to take screenshots and move around taking individual screenshots of the area until you have the whole area. Usually I start in say upper left corner and then move down then once at the bottom go to upper right.
Then you have to open all screenshots in Photoshop and cut out just the section of the map you need (you dont want the whole screenshot)…and stitch them all together.
I know…sounds like a lot of work but…once you have done it a few times I can take 8 screen shots of an area…manually stitch them together…adjust the image then for contrast and detail and be done in less than an hour.!
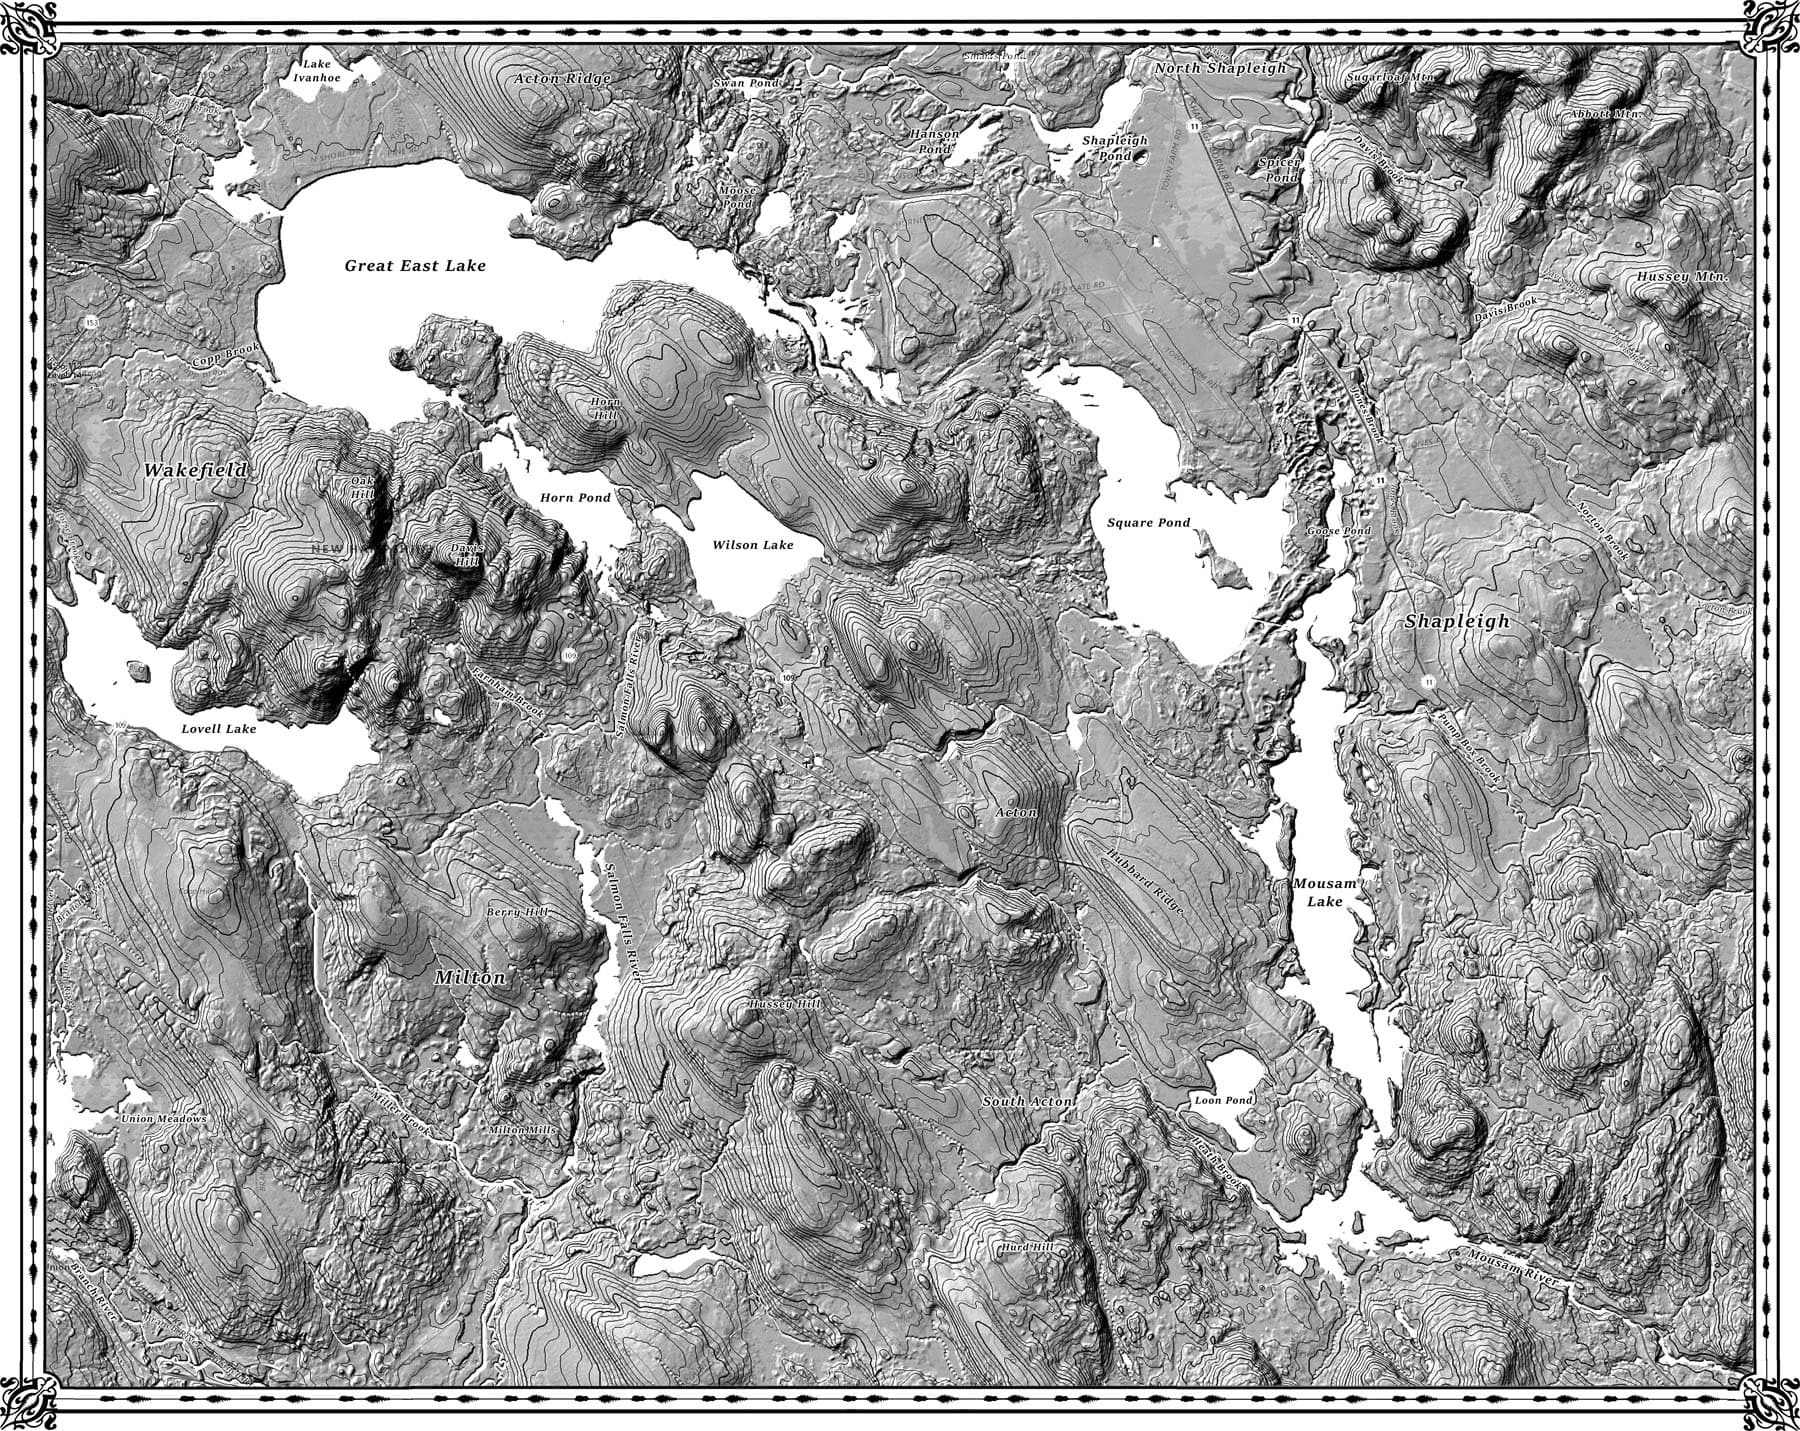
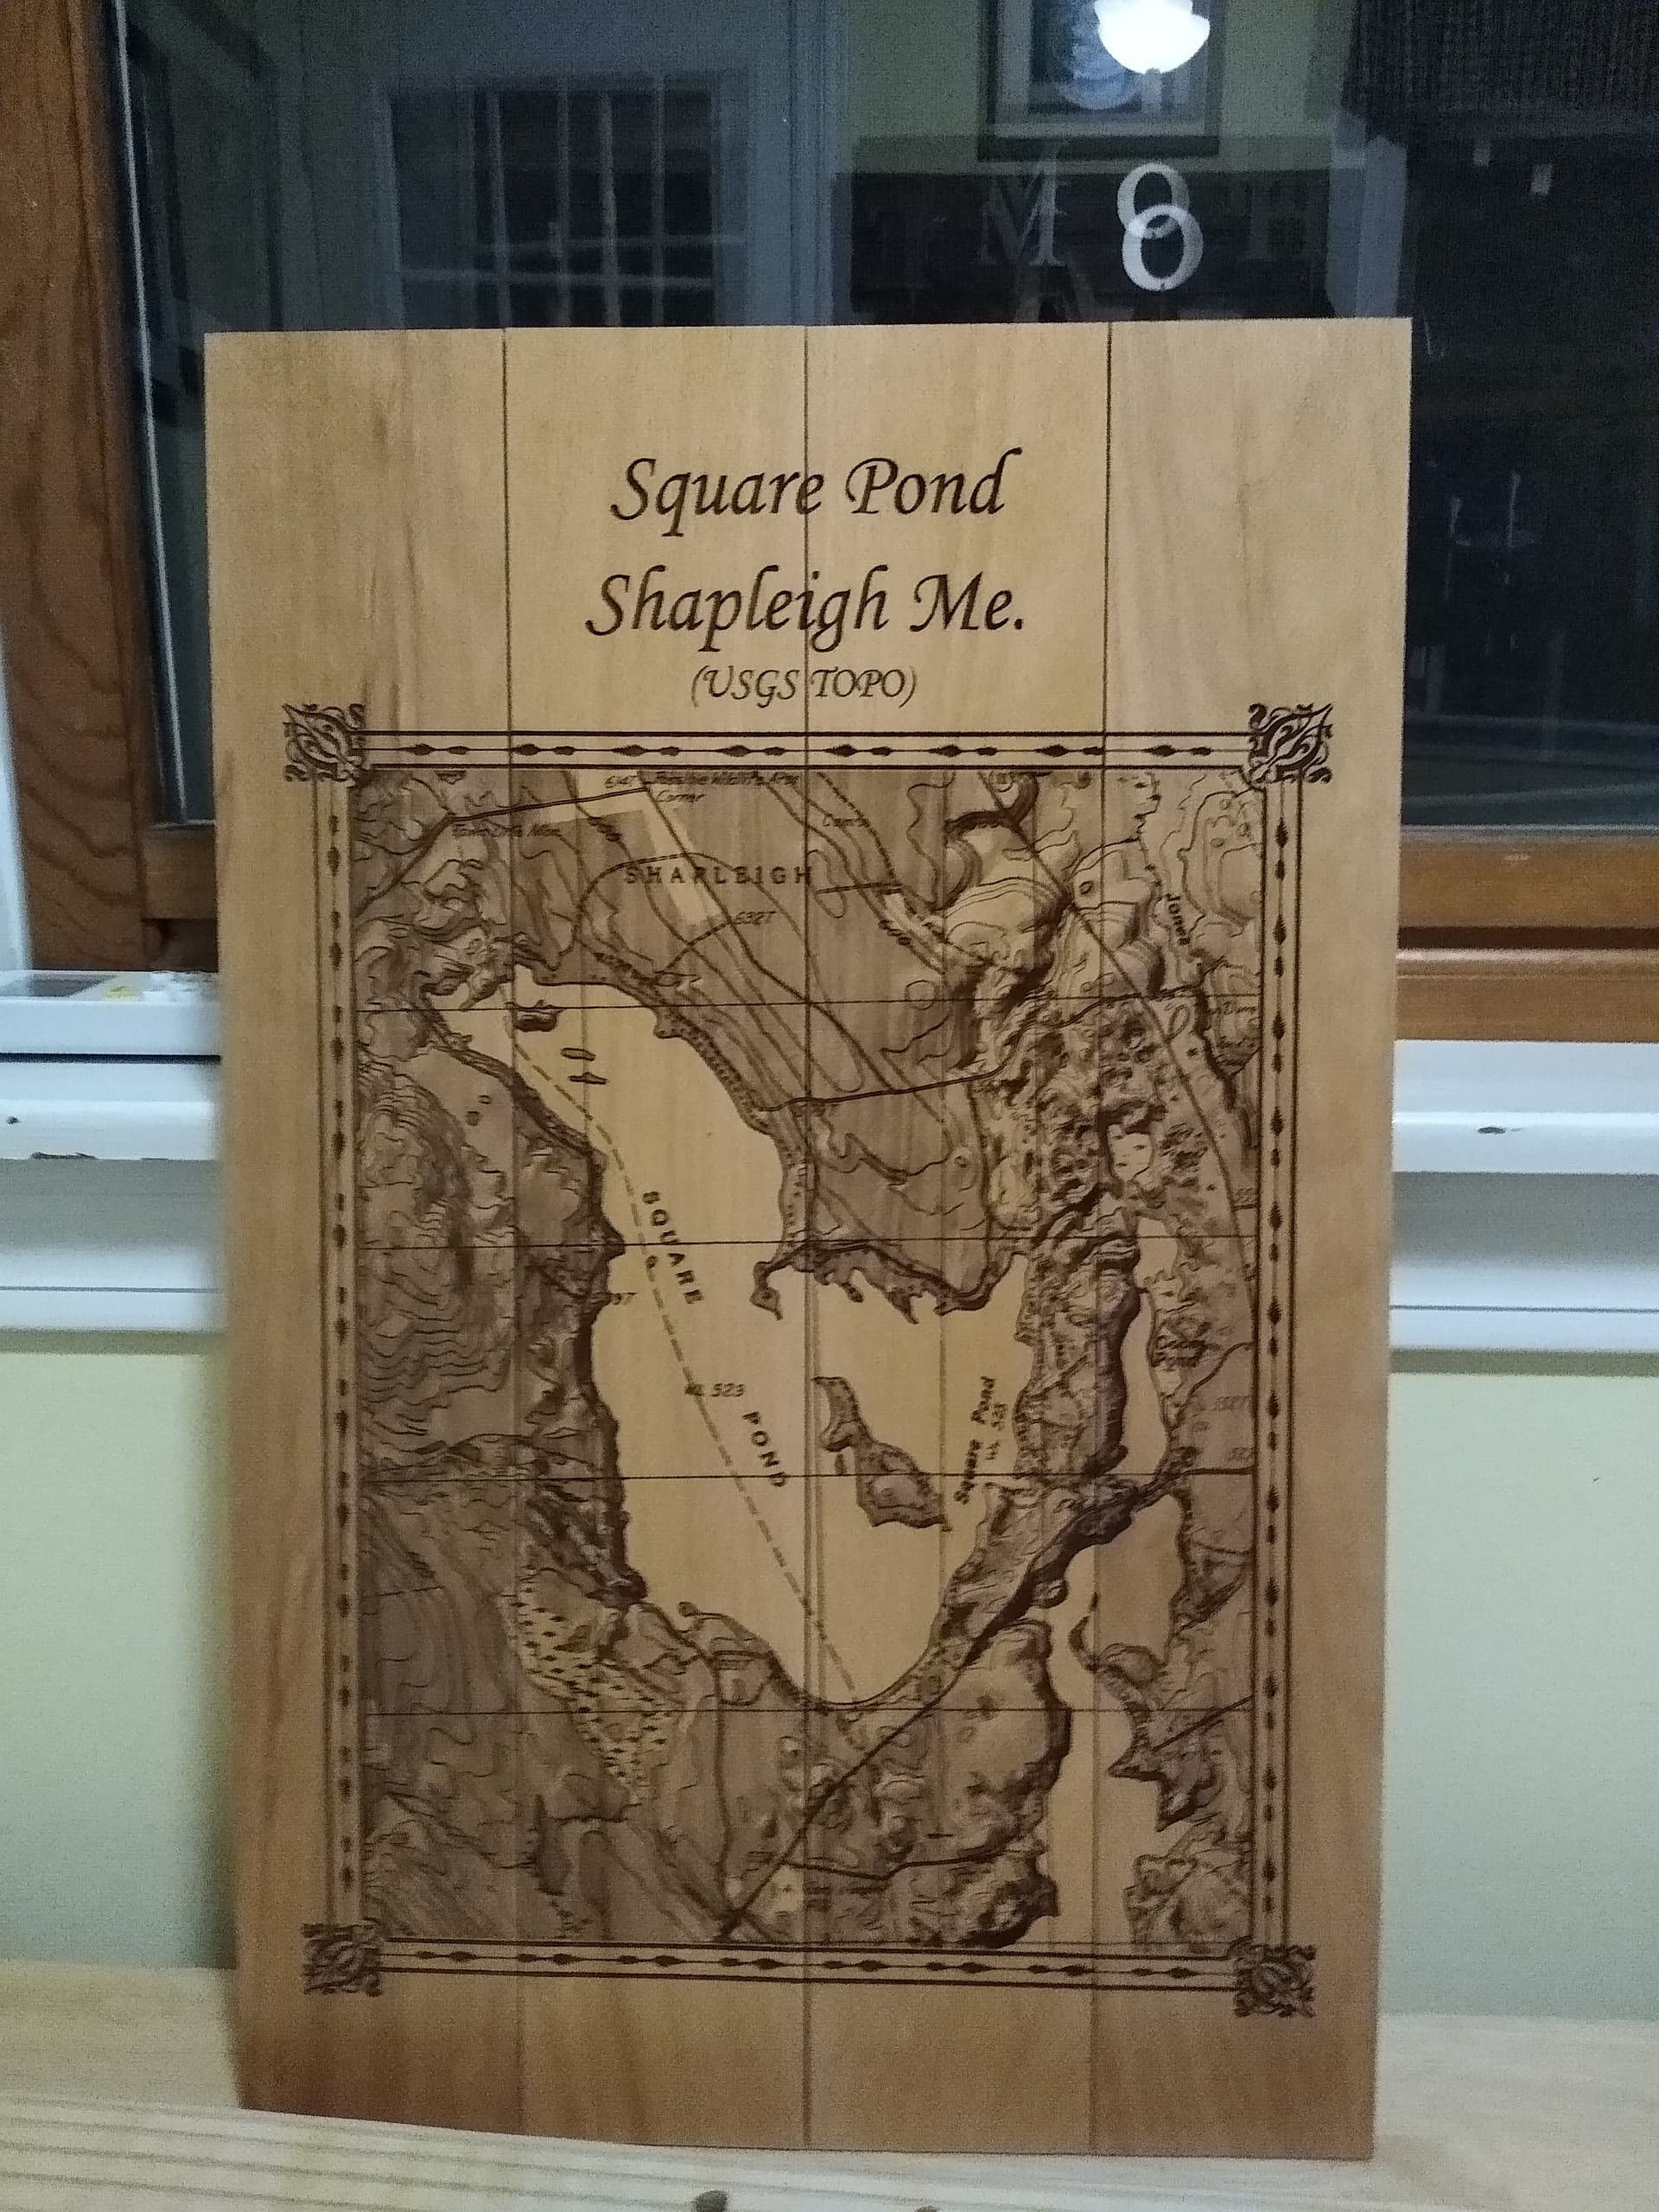
The two greyscale maps below are actual end result files I use to engrave with great detail when burned on beech. This is the final art with contrast and light levels set for engraving. The larger map used 10 separate screenshots stitched together
IMG_20201103_180828227|375x500
A|385x500


Beautiful work.
Good description of your process! Thanks!
Very cool, thank you!
I wonder if the Photo Merge feature in Photoshop could speed up the stitching for an even quicker turnaround on the screenshots.
I am not sure it is in Elements albeit I never looked…would be nice but I have it down to a fairly quick time by just using the cut tool to cut out the section of the map I need then pasting it into a new file that is large enough to fit all projected sections…not sure if I had that option it would speed it up…but never tried.
Used to take me several hours but now about an hour or 1.5 from start to finished map ready to burn.