You guys were so fast and knowledgeable in the last question I asked, I just have to throw this out there.
First off, background. Sorry if this goes in to way too much detail - I expect to solve a problem you need as much info as possible if for no other reason than to make sure you don’t over-fix it. ![]()
I run a fairly small (4 employees) laser cut and hand painted/assembled gaming accessories shop based in a remote part of Thailand. We manufacture and ship our products from here to the USA for sale and distribution via a friend of mine who lives there.
All of that is to say the stuff we make are hardly ever one off’s … we make hundreds of everything we make for the most part, excepting custom orders and very expensive items.
All of our products (currently anyway) are made with 3mm acrylic and/or 3mm wood, with the vast majority of them being made with both wood and acrylic, usually with a highly detailed (engraved) and hand painted inner acrylic shell and a heavily engraved and cut wood outer shell.
When we first started this process we would engrave + cut the acrylic, box them up and shoot them to an employee who would first clean then hand paint each one, then clean off the excess paint. We use what amounts to a “Permanent Paint Marker” with a large felt head to paint the engraved areas of the acrylic, then let it dry for just a few seconds before cleaning the excess off with a soft towel that has been sprayed with a bit of isopropyl alcohol. This process is very time consuming as the pieces are kinda small and they must be rubbed pretty strongly even after just a few seconds to get the excess paint off - it takes a good amount of force, and thereby an equal amount of force to hold the piece still when cleaning it. The pieces are no larger than 90 x 115 mm. This process worked and resulted in great results, but it would take 1 employee an entire day to paint the acrylic for 18 boxes, which is very inefficient.
So I created my first jig, which essentially was a piece of wood frame to hold our material on a specific part of the laser bed, so that if we recorded what the origin was we could return to that origin and theoretically work with the same material over more than one cutting session - the idea being to engrave first, remove the sheet and paint it (takes 1 hour to paint what is essentially 8 boxes of parts), and then return it to the laser and cut the pieces out. This took 2 cut files - one to engrave, one to cut - using a tool layer frame around the parts to keep everything lined up. Now… this worked… except when it didnt. IN sort, it sped up the painting process by 80%, but we ended up with more failed cuts than good ones. Even 1mm off and a piece is ruined, since the engravings on the acrylic need to line up with the cutouts in the wood outer shell.
Now all of that was with material sheets that were 1231 x 800mm - or exactly 1/3rd of a full sheet of material.
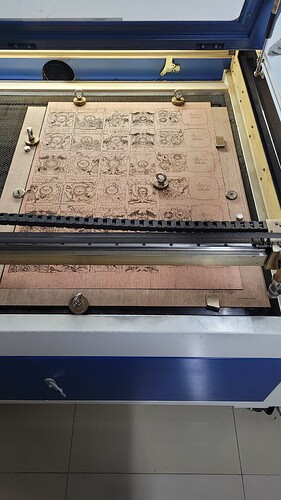
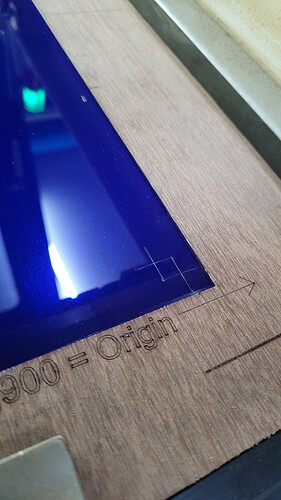
So, in came jig #2 - the one I am using now. Pictured below somewhere (if I dont forget to upload the damn pic by the time I finish writing this), is the current jig. It sits at the very edge of the laser bed, which I have to settle far right and down by grabbing the bed and pulling it toward those edges before each cut to make sure it hadn’t moved.
On the pic I just took you can see the wood sheet that just cut - the acrylic is the same size - for simplicity I cut all my material now down to 600x800mm and we cut everything using this same jig. We set the origin to 0,900 and we have a tool layer jig inside lightburn that handles the alignment for us - we make all of our cut files inside a 600x800 tool frame, then once ready we drag that frame in to our cut frame which allows origin to stay at 0,900 for simplicity.
In addition to all that we leave a small area of the acrylic on the right bottom part of the sheet unused, and I have a separate cut file on the laser called “mark acrylic”, which will create 2 plus marks touching on the corners. We cut that first, then our engrave layer… then after the sheet is painted (which is usually at least 1 day later), we replace it on the laser and run the mark acrylic cut again, and since that engraving has been painted, it is very easy to see if the laser is on top of that cut mark or not… if so, then you should be lined up. I say should… because it turns out its not that simple. We have lost sheets because the top is not quite aligned… the bottom pieces on the sheet cut fine, but it keeps getting worse and worse as you go higher up the sheet… resulting in half the sheet wasted. I still do not know how or why yet - likely whoever started the laser job failed to pull the bed tight to the right and bottom before cutting. In any case, it is this reason I am writing this 50000 word essay - to see if there is a easy solution to this mess that I’m overlooking. I think I already mentioned that painting the whole sheet at one time cuts painting time by like 80%, so we do NOT want to go back to cutting and engraving all at the same time.
I should also mention that we usually cut many things between the time we engrave and the time we cut the freshly painted pieces… usually because here in Thailand it is HOT in the daytime, and the laser sometimes messes up acrylic cuts when the temp is over 30 - its like the acrylic melts and just stays liquid for a bit and then just melds together screwing everything up… so I end up doing all the acrylic cutting at night and the staff during the day will paint those pieces and ill cut them the next night, rinse and repeat.
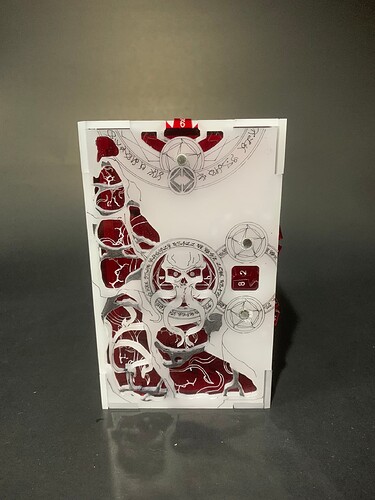
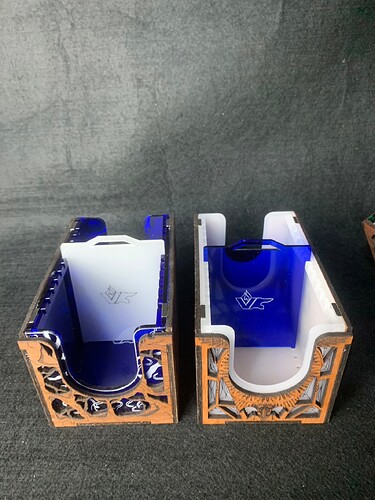
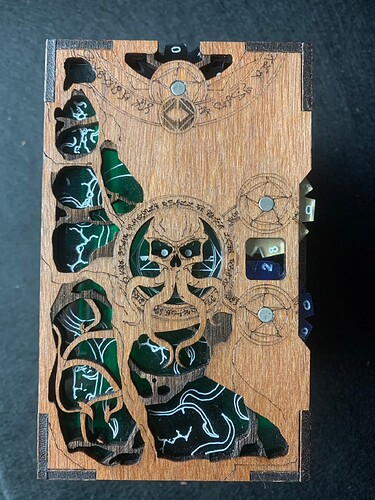
Sooooo… any ideas would be most welcome! As a thank you in advance, ill include a couple pics of our latest products ![]() … pictured are Deck Boxes for a game called Magic the Gathering.
… pictured are Deck Boxes for a game called Magic the Gathering.
TIA - Frosty
