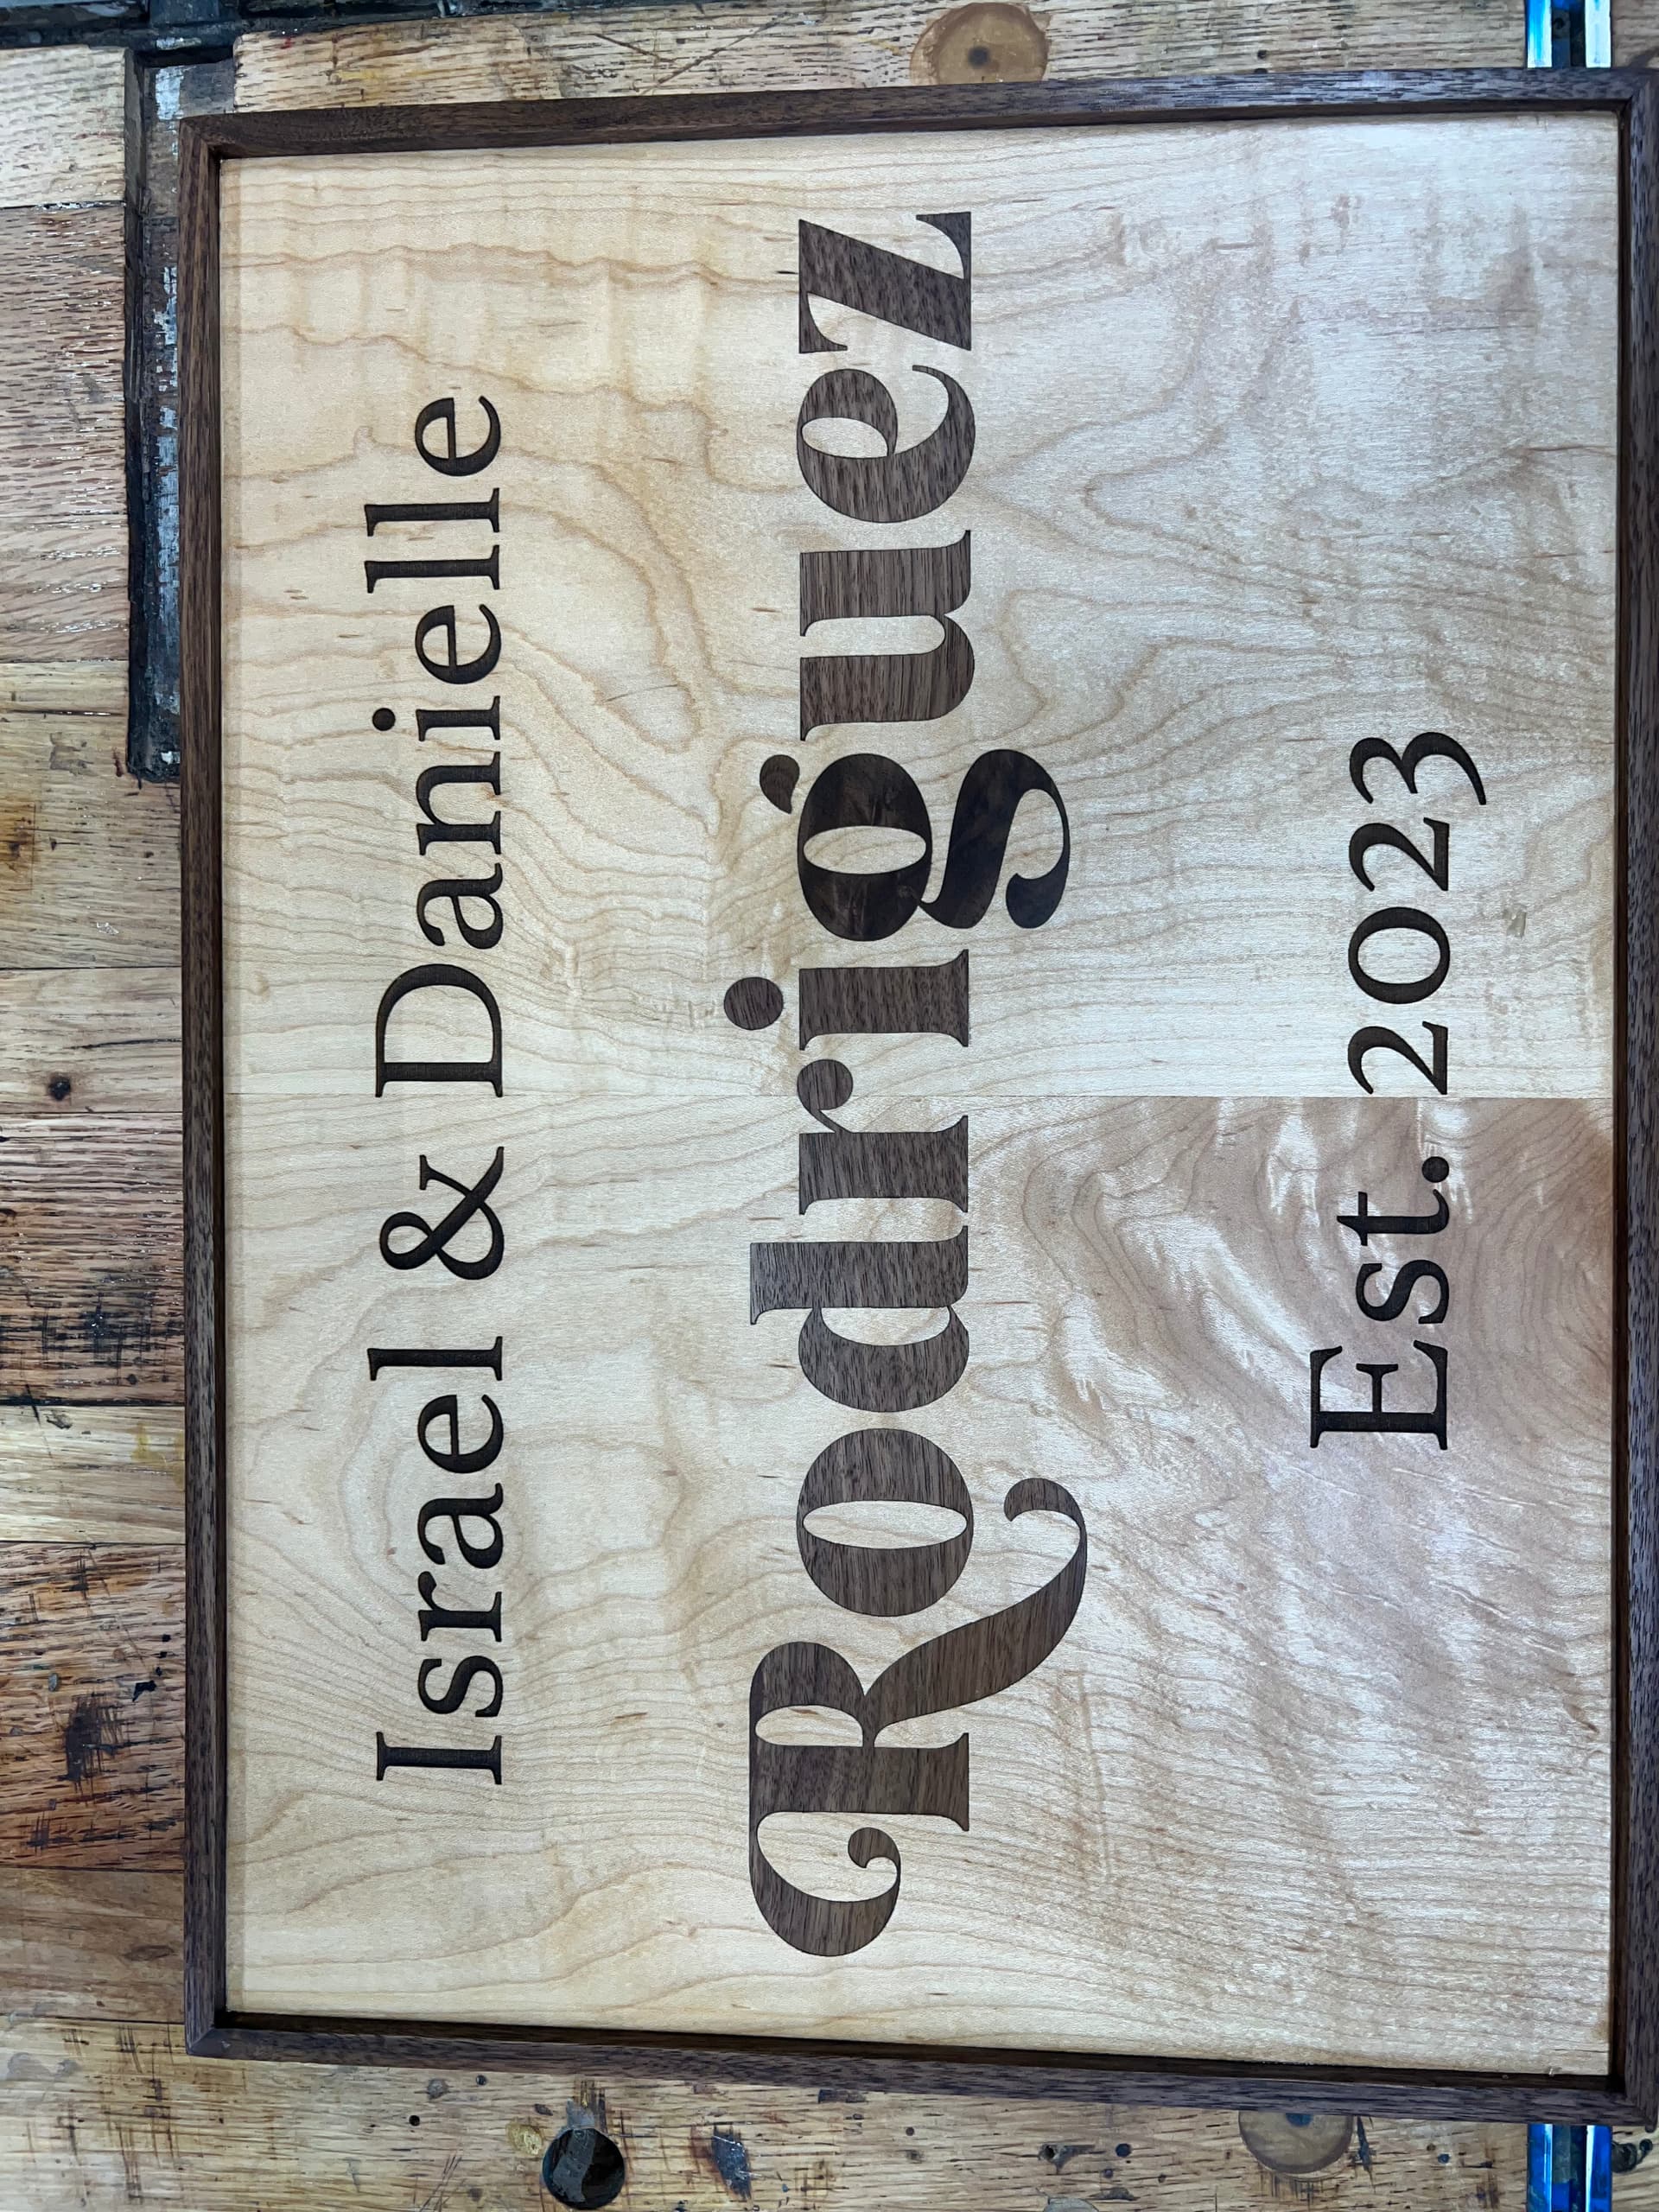
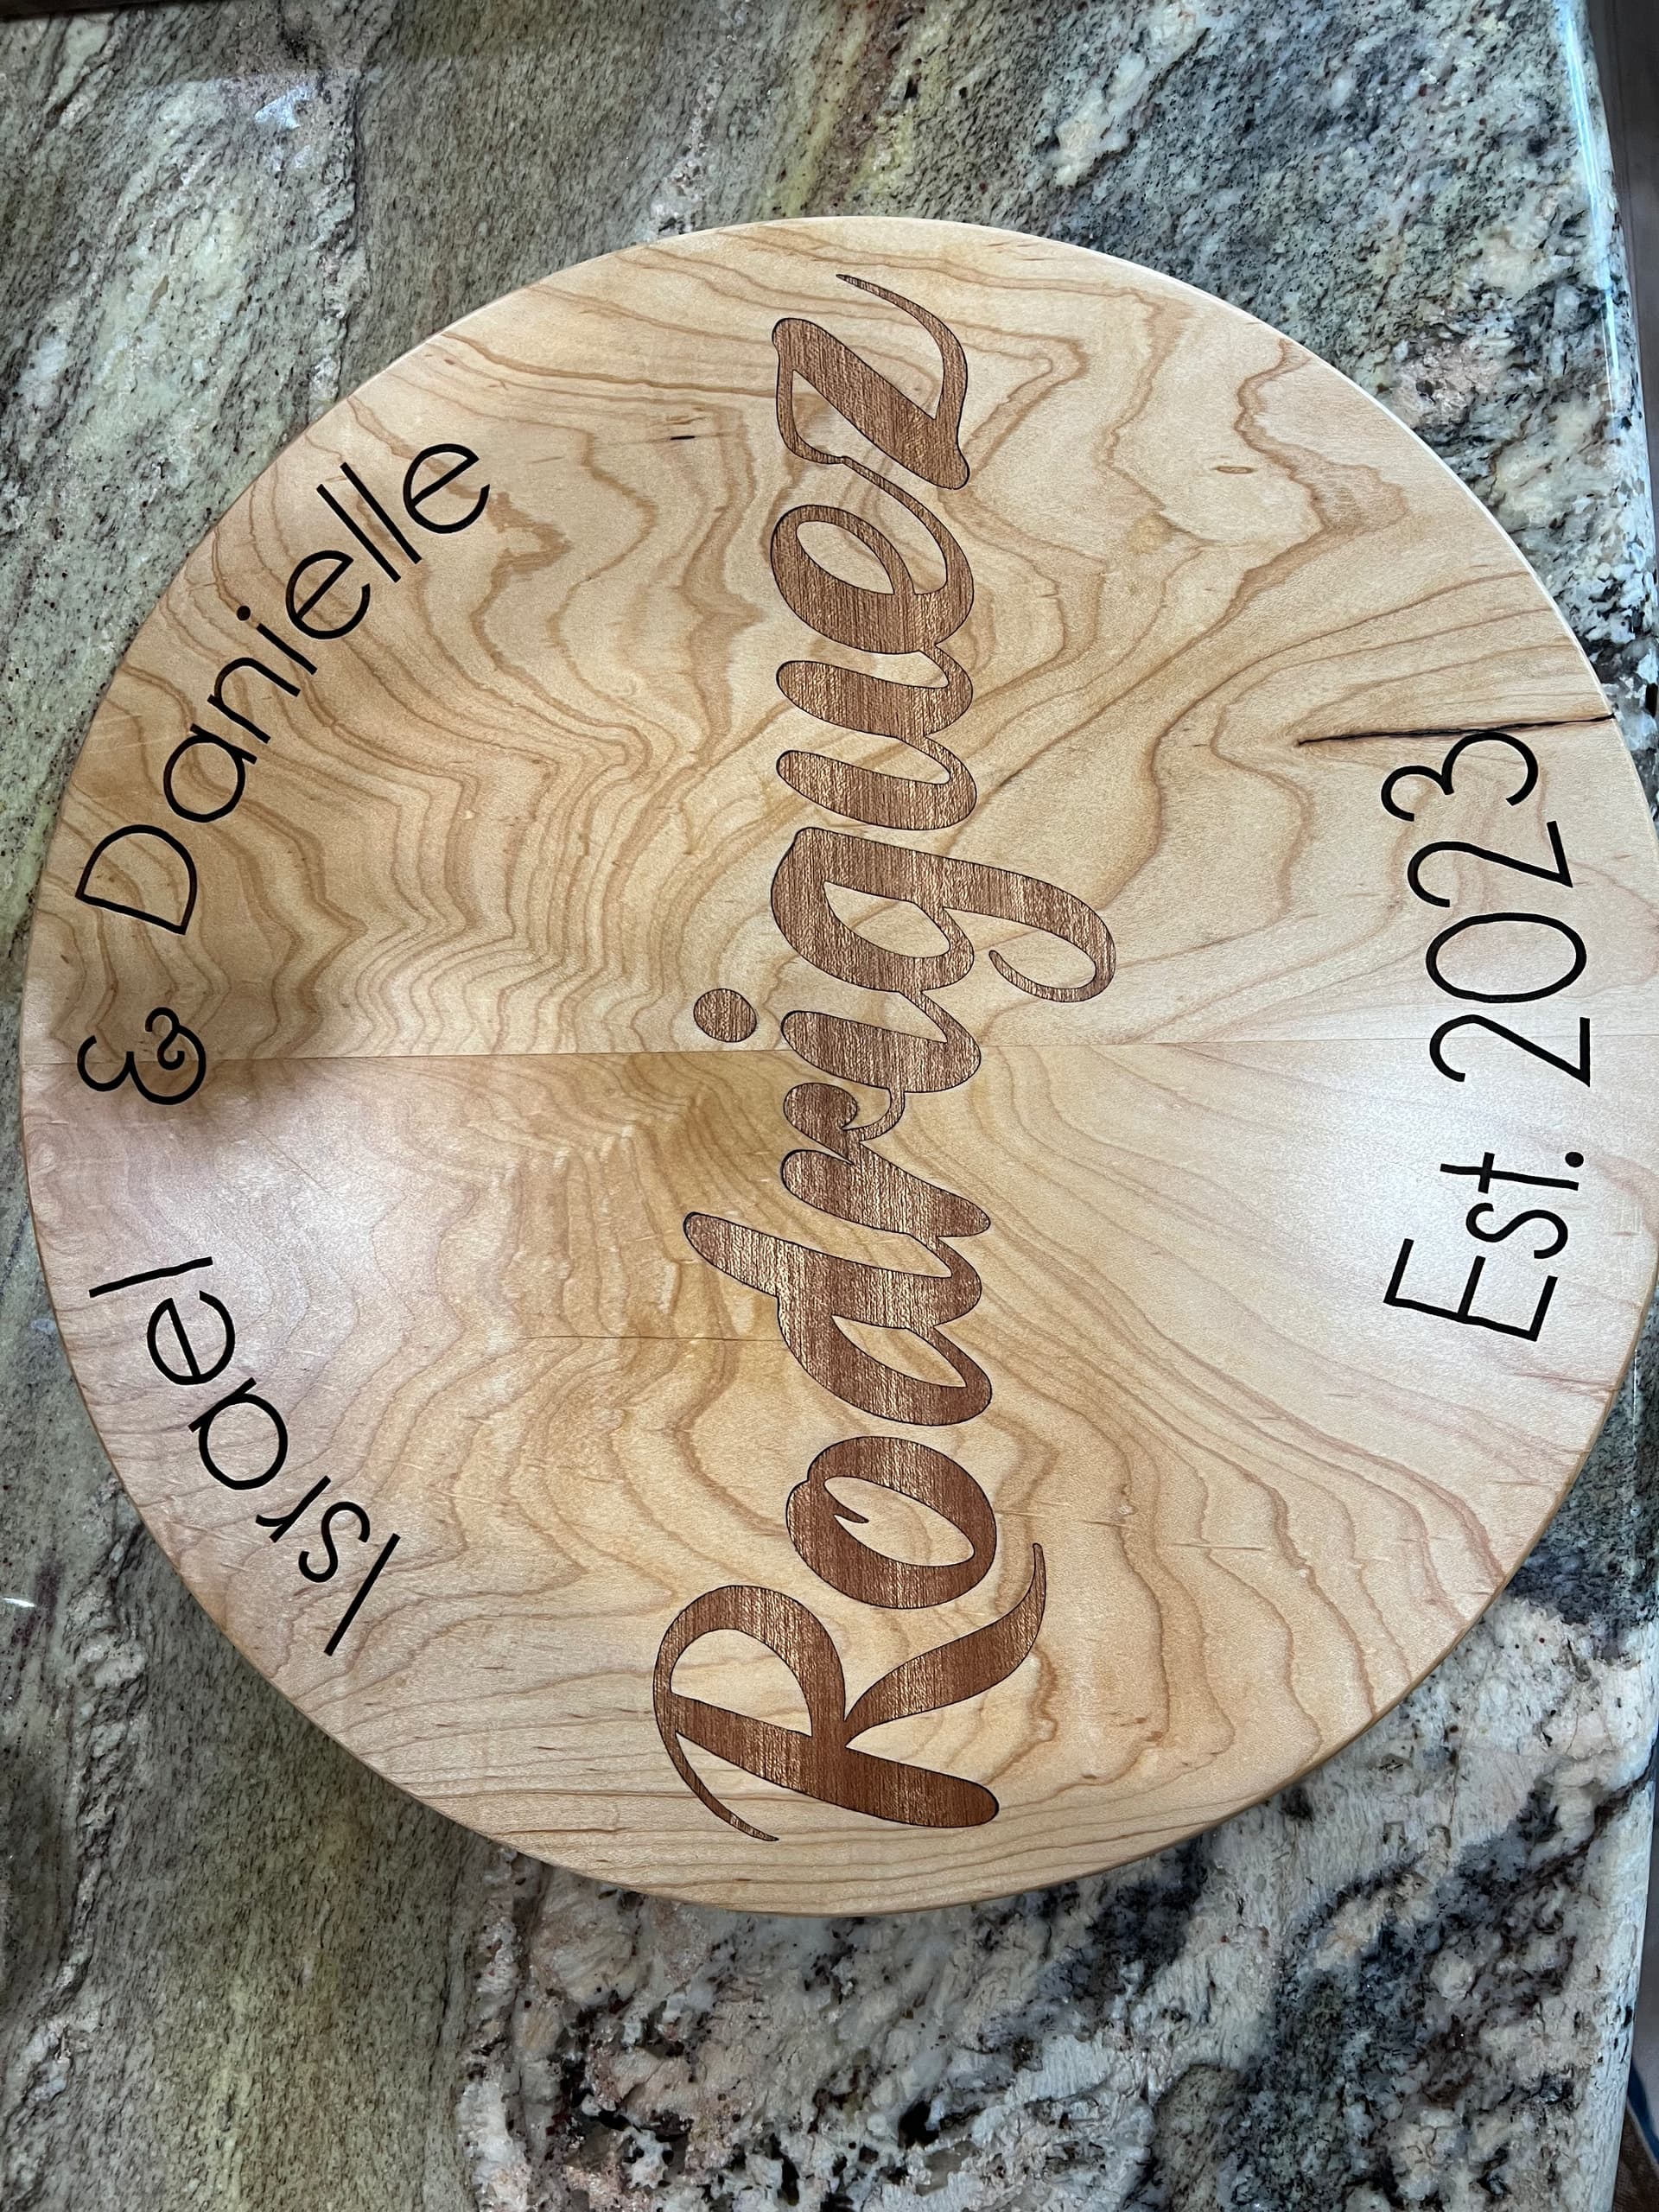
I just wanted to show a couple of examples of some text inlay. When the stars align, and everything cuts correctly, it’s really pretty easy. From other experience, I think other figures Birds, designs, etc)are actually easier to pull off. The text seems to “glow” at you when it’s not perfect.
Omtech 80 watt CO2 laser
125 mm/s 60% power on the engraving. This gives you about 1/8" mortise on hard maple to fill with inlay. The inlay in these two is walnut and Sapele. I am using about .15mm kerf adjustment on the inlay in order to fill the mortise. Spray some lacquer or sanding sealer on the whole thing before proceeding (Really super important if you are going to fill the mortise with colored epoxy, btw). Don’t ask me how I know ![]() . Glue the inlay characters in, tap them in with a soft blow mallet, cover with some parchment or wax papered then put a board over the top and clamp down until dry. After that, remove the board and parchment parchment paper, and then sand smooth. Piece of cake (when the stars align, as I mentioned above).
. Glue the inlay characters in, tap them in with a soft blow mallet, cover with some parchment or wax papered then put a board over the top and clamp down until dry. After that, remove the board and parchment parchment paper, and then sand smooth. Piece of cake (when the stars align, as I mentioned above).