So I have project to engrave that’s 36" long and my laser bed is only 19", but I have passthrough doors. How do I set up lightburn to break down my project into sections so that I can do the complete engrave? I have searched and have had no luck. Its for the head table at a wedding and its the couples last name big and bold with their wedding date and names underneath it. Any detailed help would be greatly appreciated!!!
It’s a Chinese 100w co2 laser with a rudia controller if that makes any difference?
You have my interest. I know if you have it, the U axis drive is for advancing material. Would be nice to know if it can be used for doing multi part work as well.
The new Cut Shapes tool can be used to split a project, and the Print & Cut feature can be used to register multiple cuts together. We’re working on a video to walk you through how to do this, but it’s brand new, and will take a couple days to complete.
1 Like
That’s great news! I’ll be anxiously awaiting as their wedding is Tuesday! Thank you!!
Hey Oz, I have watched and followed all of the steps in that video but I just c ant seem to get the second part to line up???
I am only needing 2parts and have lined everything up with the registration marks like you did,
Then I placed the laser on the marks and and told lightburn to use the marks in the print and cut, but when I ran the second part it was way off,
I really need to get this r own as a lot of my art works are oversized,
Please help mate
Thx
martin
What laser do you have, and what controller do you have in your laser? Is the red-dot pointer accurate?
When you say “way off” did it come even close? If not, it sounds like it might not have enabled the Print & Cut mode - you’ll actually see it say “Print & Cut” next to “Ready” in the laser window.
Hey Thanks a lot for getting back to me so soon.
I have a red and black chinese 60 watt laser with a ruida controller.
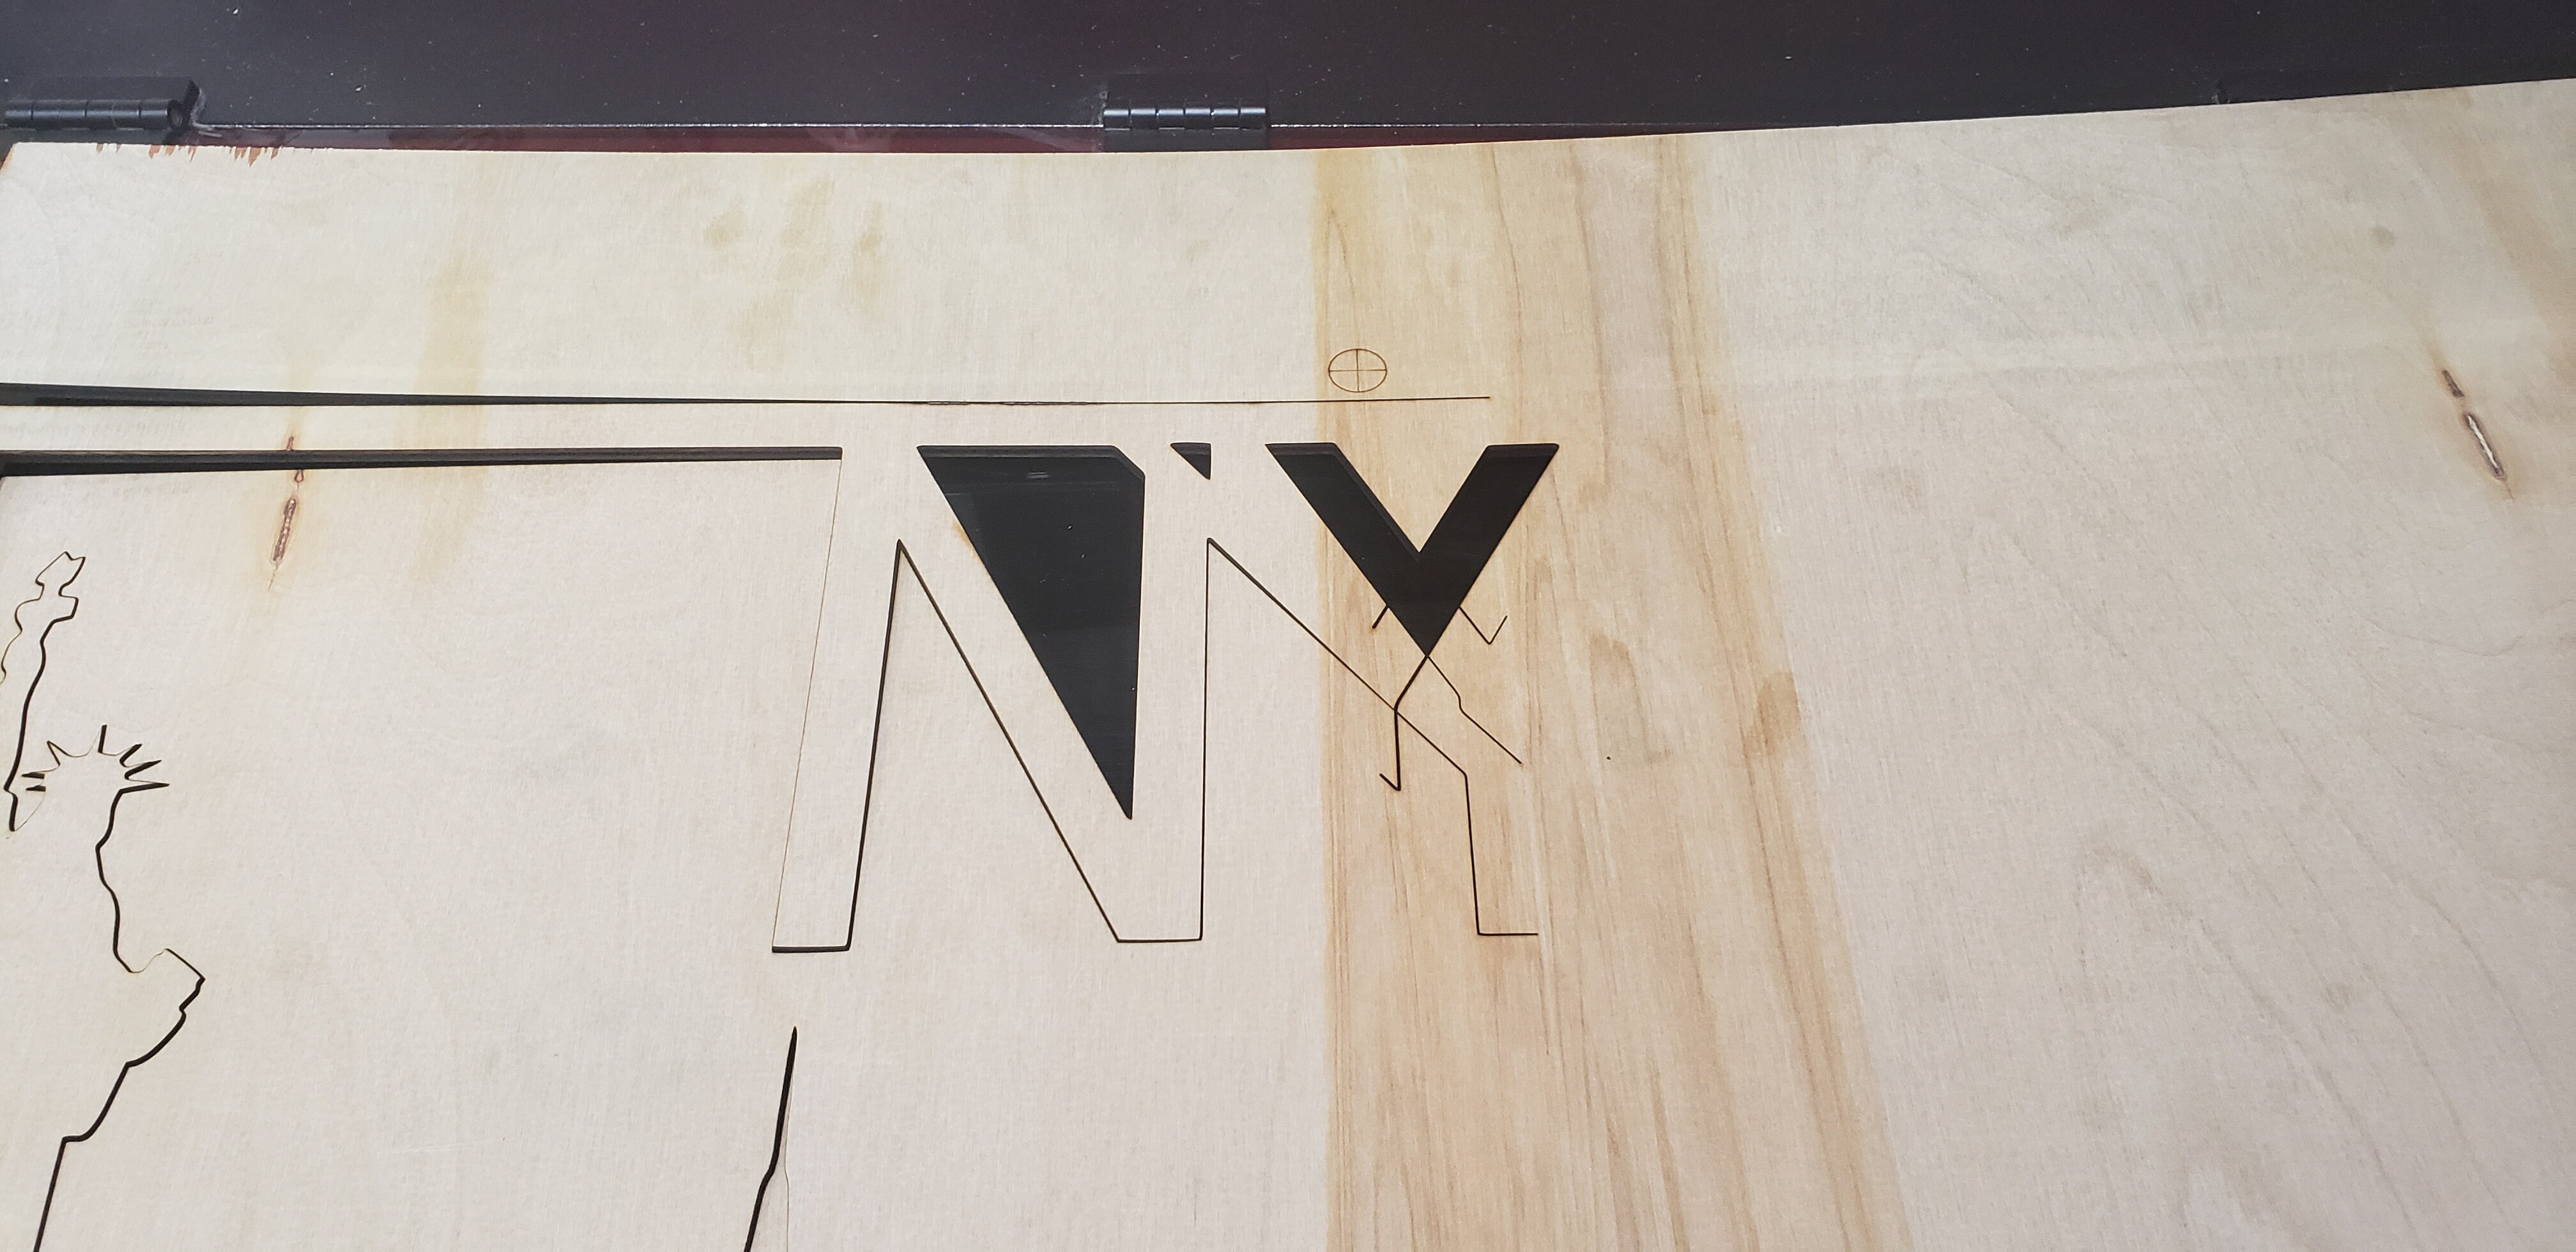
The laser and dot are off by about 1.5 mm but the cut was off by almost 2" (see picture"
I thik there is a step maybe Im not following… not sure but I am so close.
when you drew the rectangle on the screen to represent the wood, does that have to be in the exact same position as it was before, if so kind of negates the print & cut ?
I set the print and cut just like you say in the video, I placed the second part on the bed navigated the laser by moving the wood then finessed it a little more with the jump commands on the controller, then registered that with Print & Cut. Then I repeated for the second registration mark.
Let me know
Thanks
Martin
Sorry Oz meant to mark the cut where it went off, but it is at the convergence of the lower part of the Y where it started to cut…then I stopped it
thanks
OK I watched the video again and followed every step and its 99.9% perfect, the supid dot is hard to finesse to the perfect precision but great.
Do you know of a way to slow the jog movements on the Ruida controller so I dont have to keep messing left and right to line up the registration marks.
I have searched for a way but to no avail
Thanks for your help.
Mine has a button marked “speed” on the control panel. Push the button, set the speed. It will jog at that speed. It will also frame at that speed, so if you turn it down really slow (like 5) for precision jogging it will take forever to frame an item so remember so turn it back up first.
1 Like
Hi I watched your tutorial on Cutting a single project larger your laser (pass-through version)
Jul 26, 2020, thank you for the video.
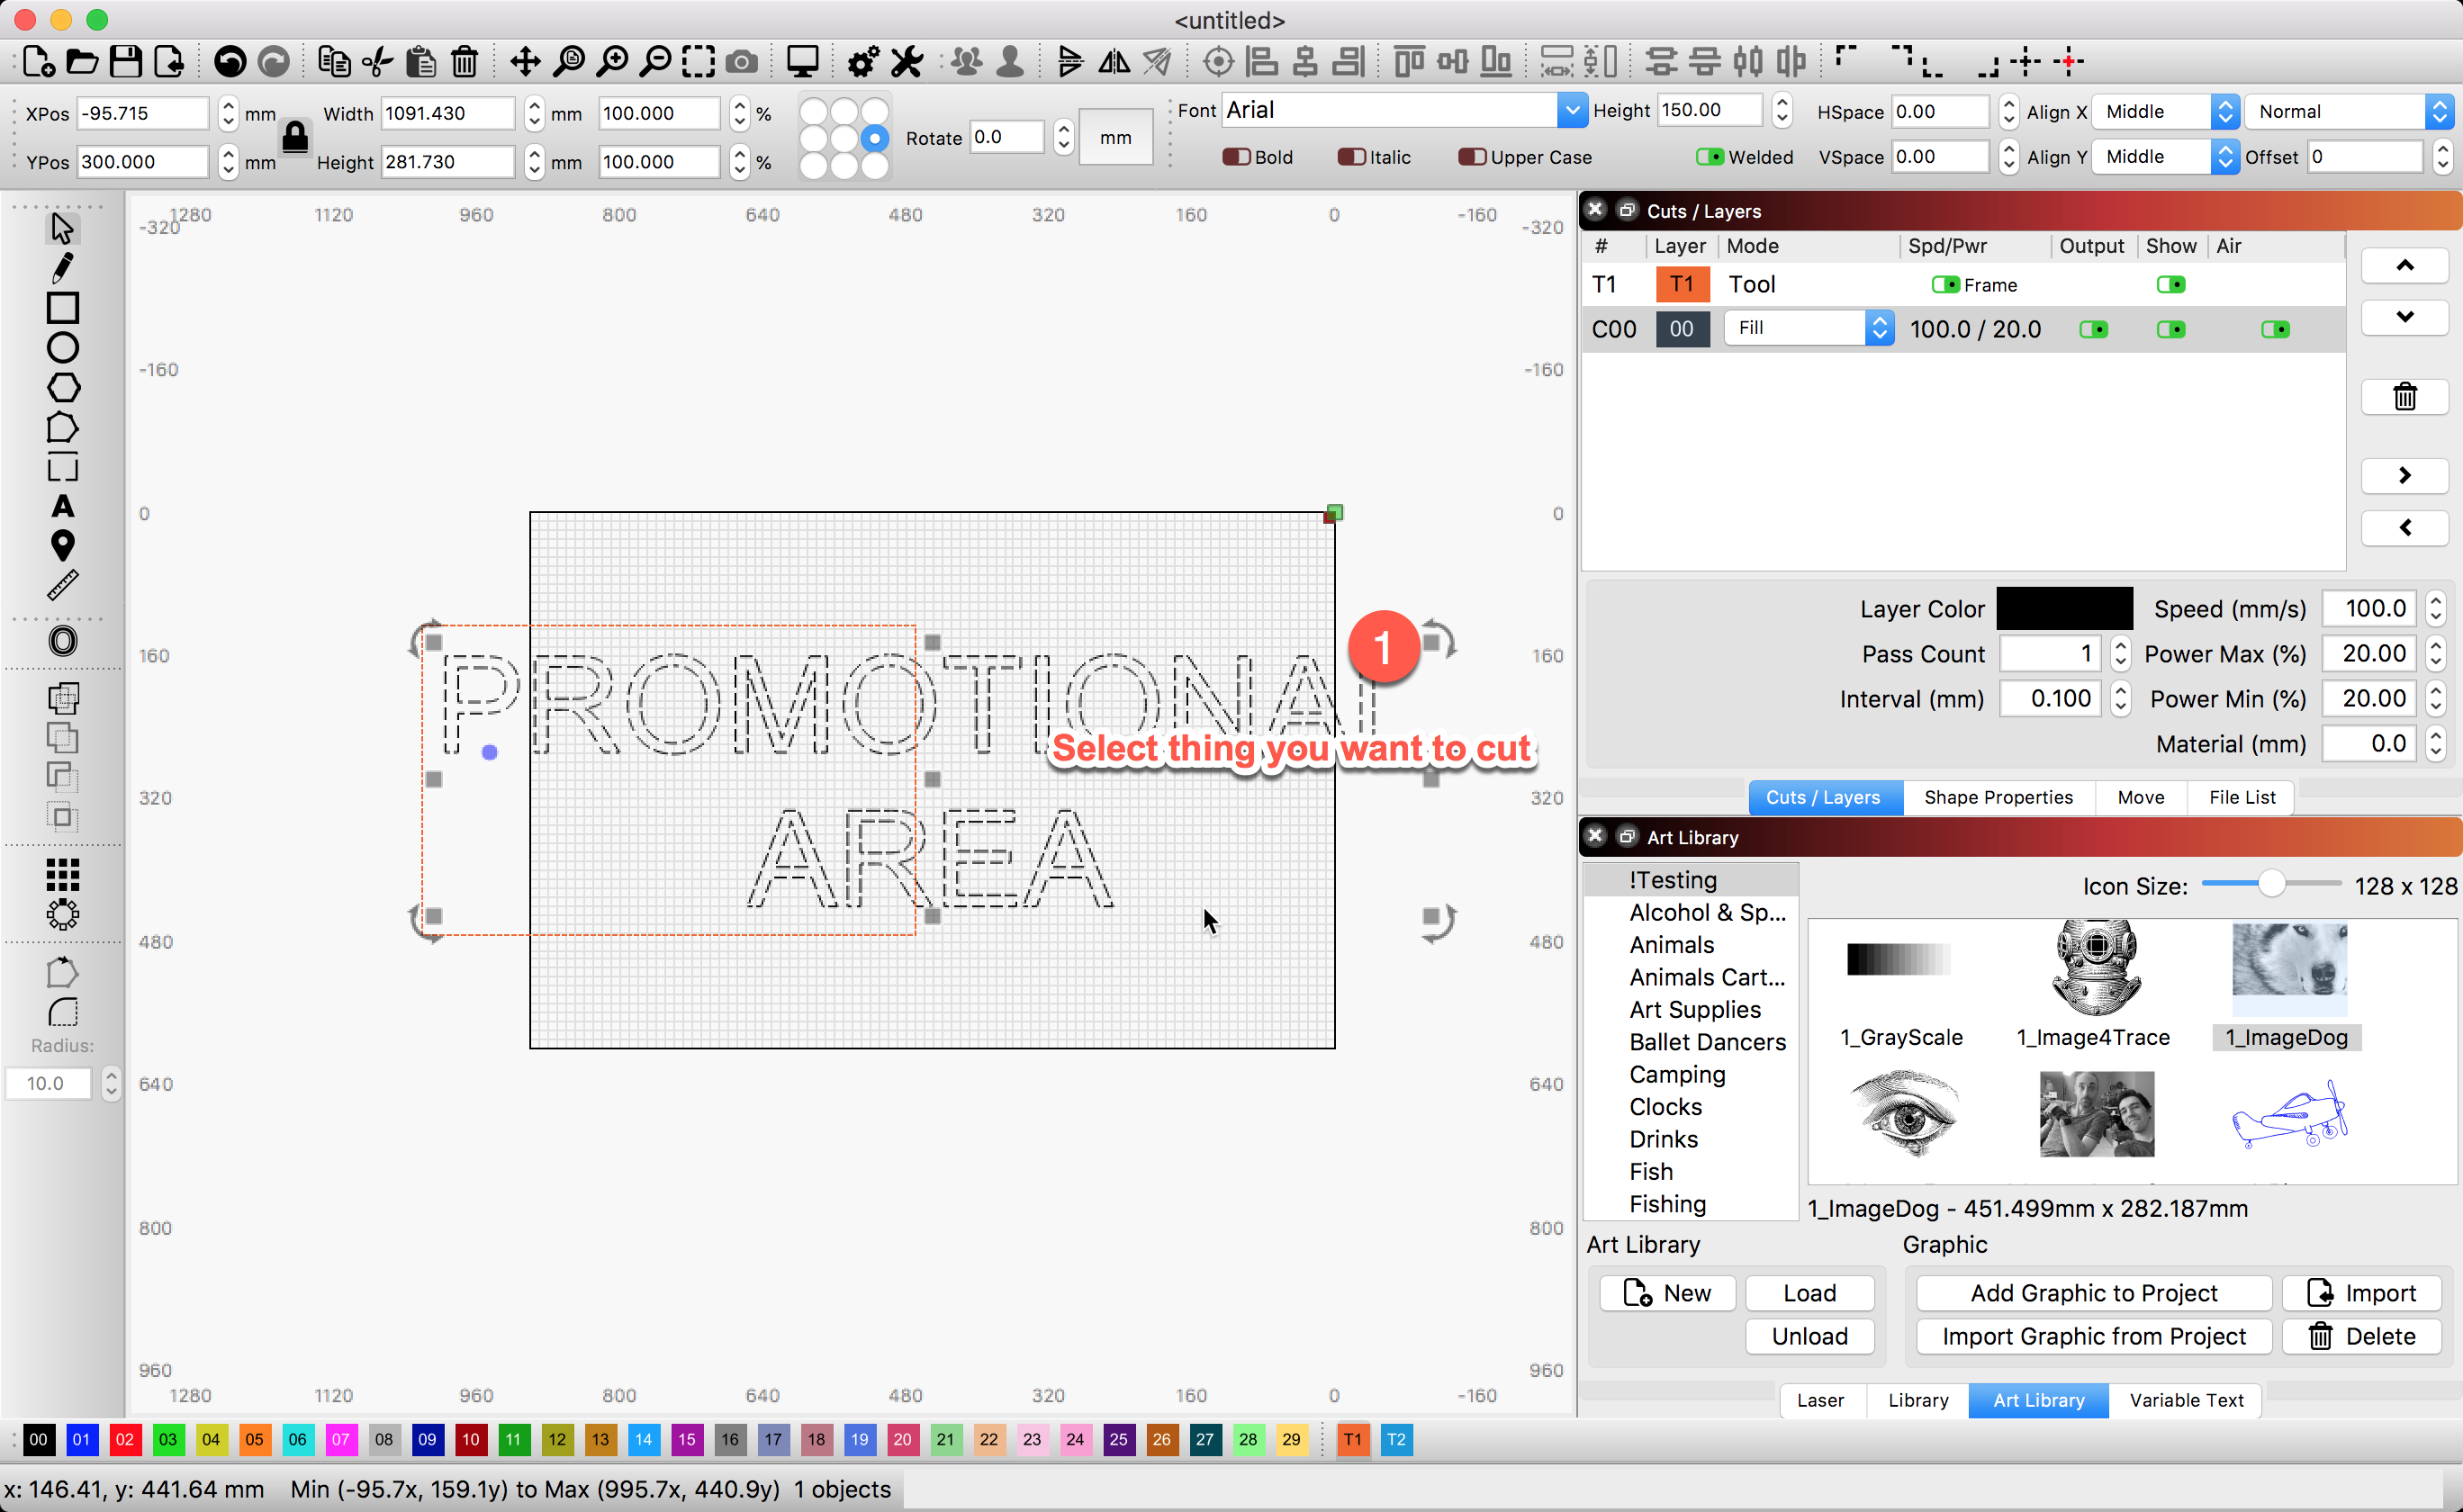
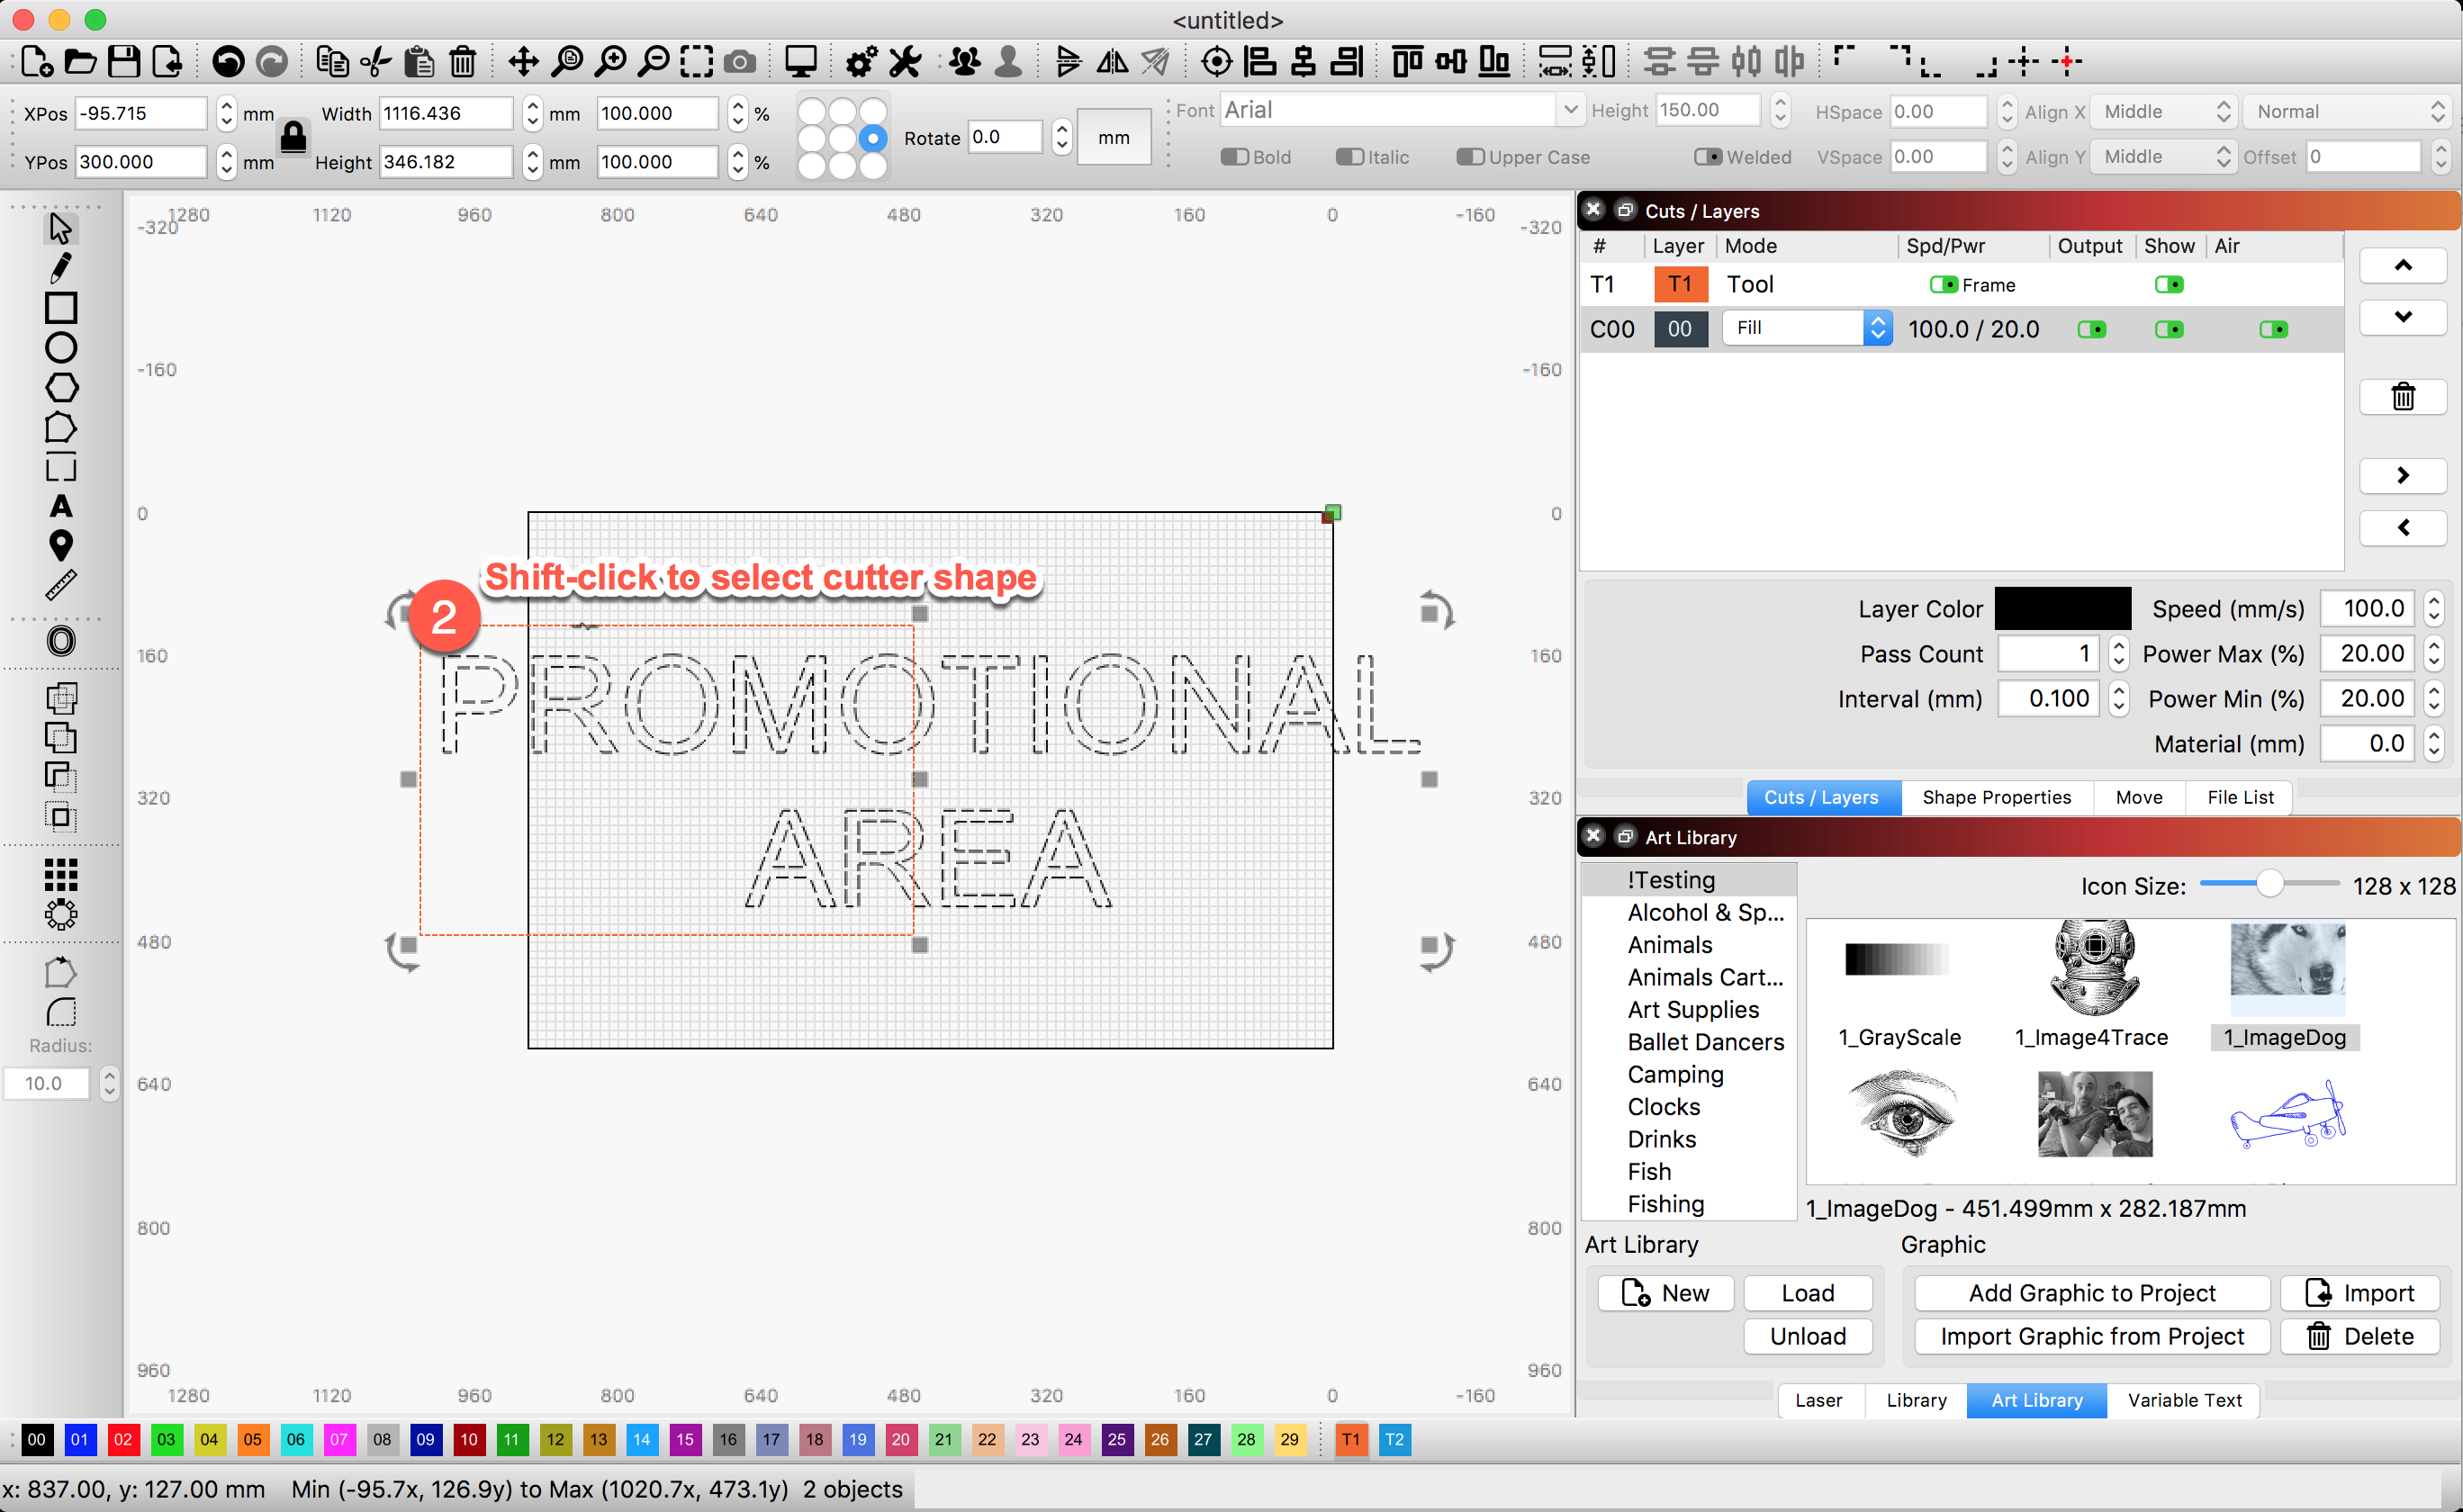
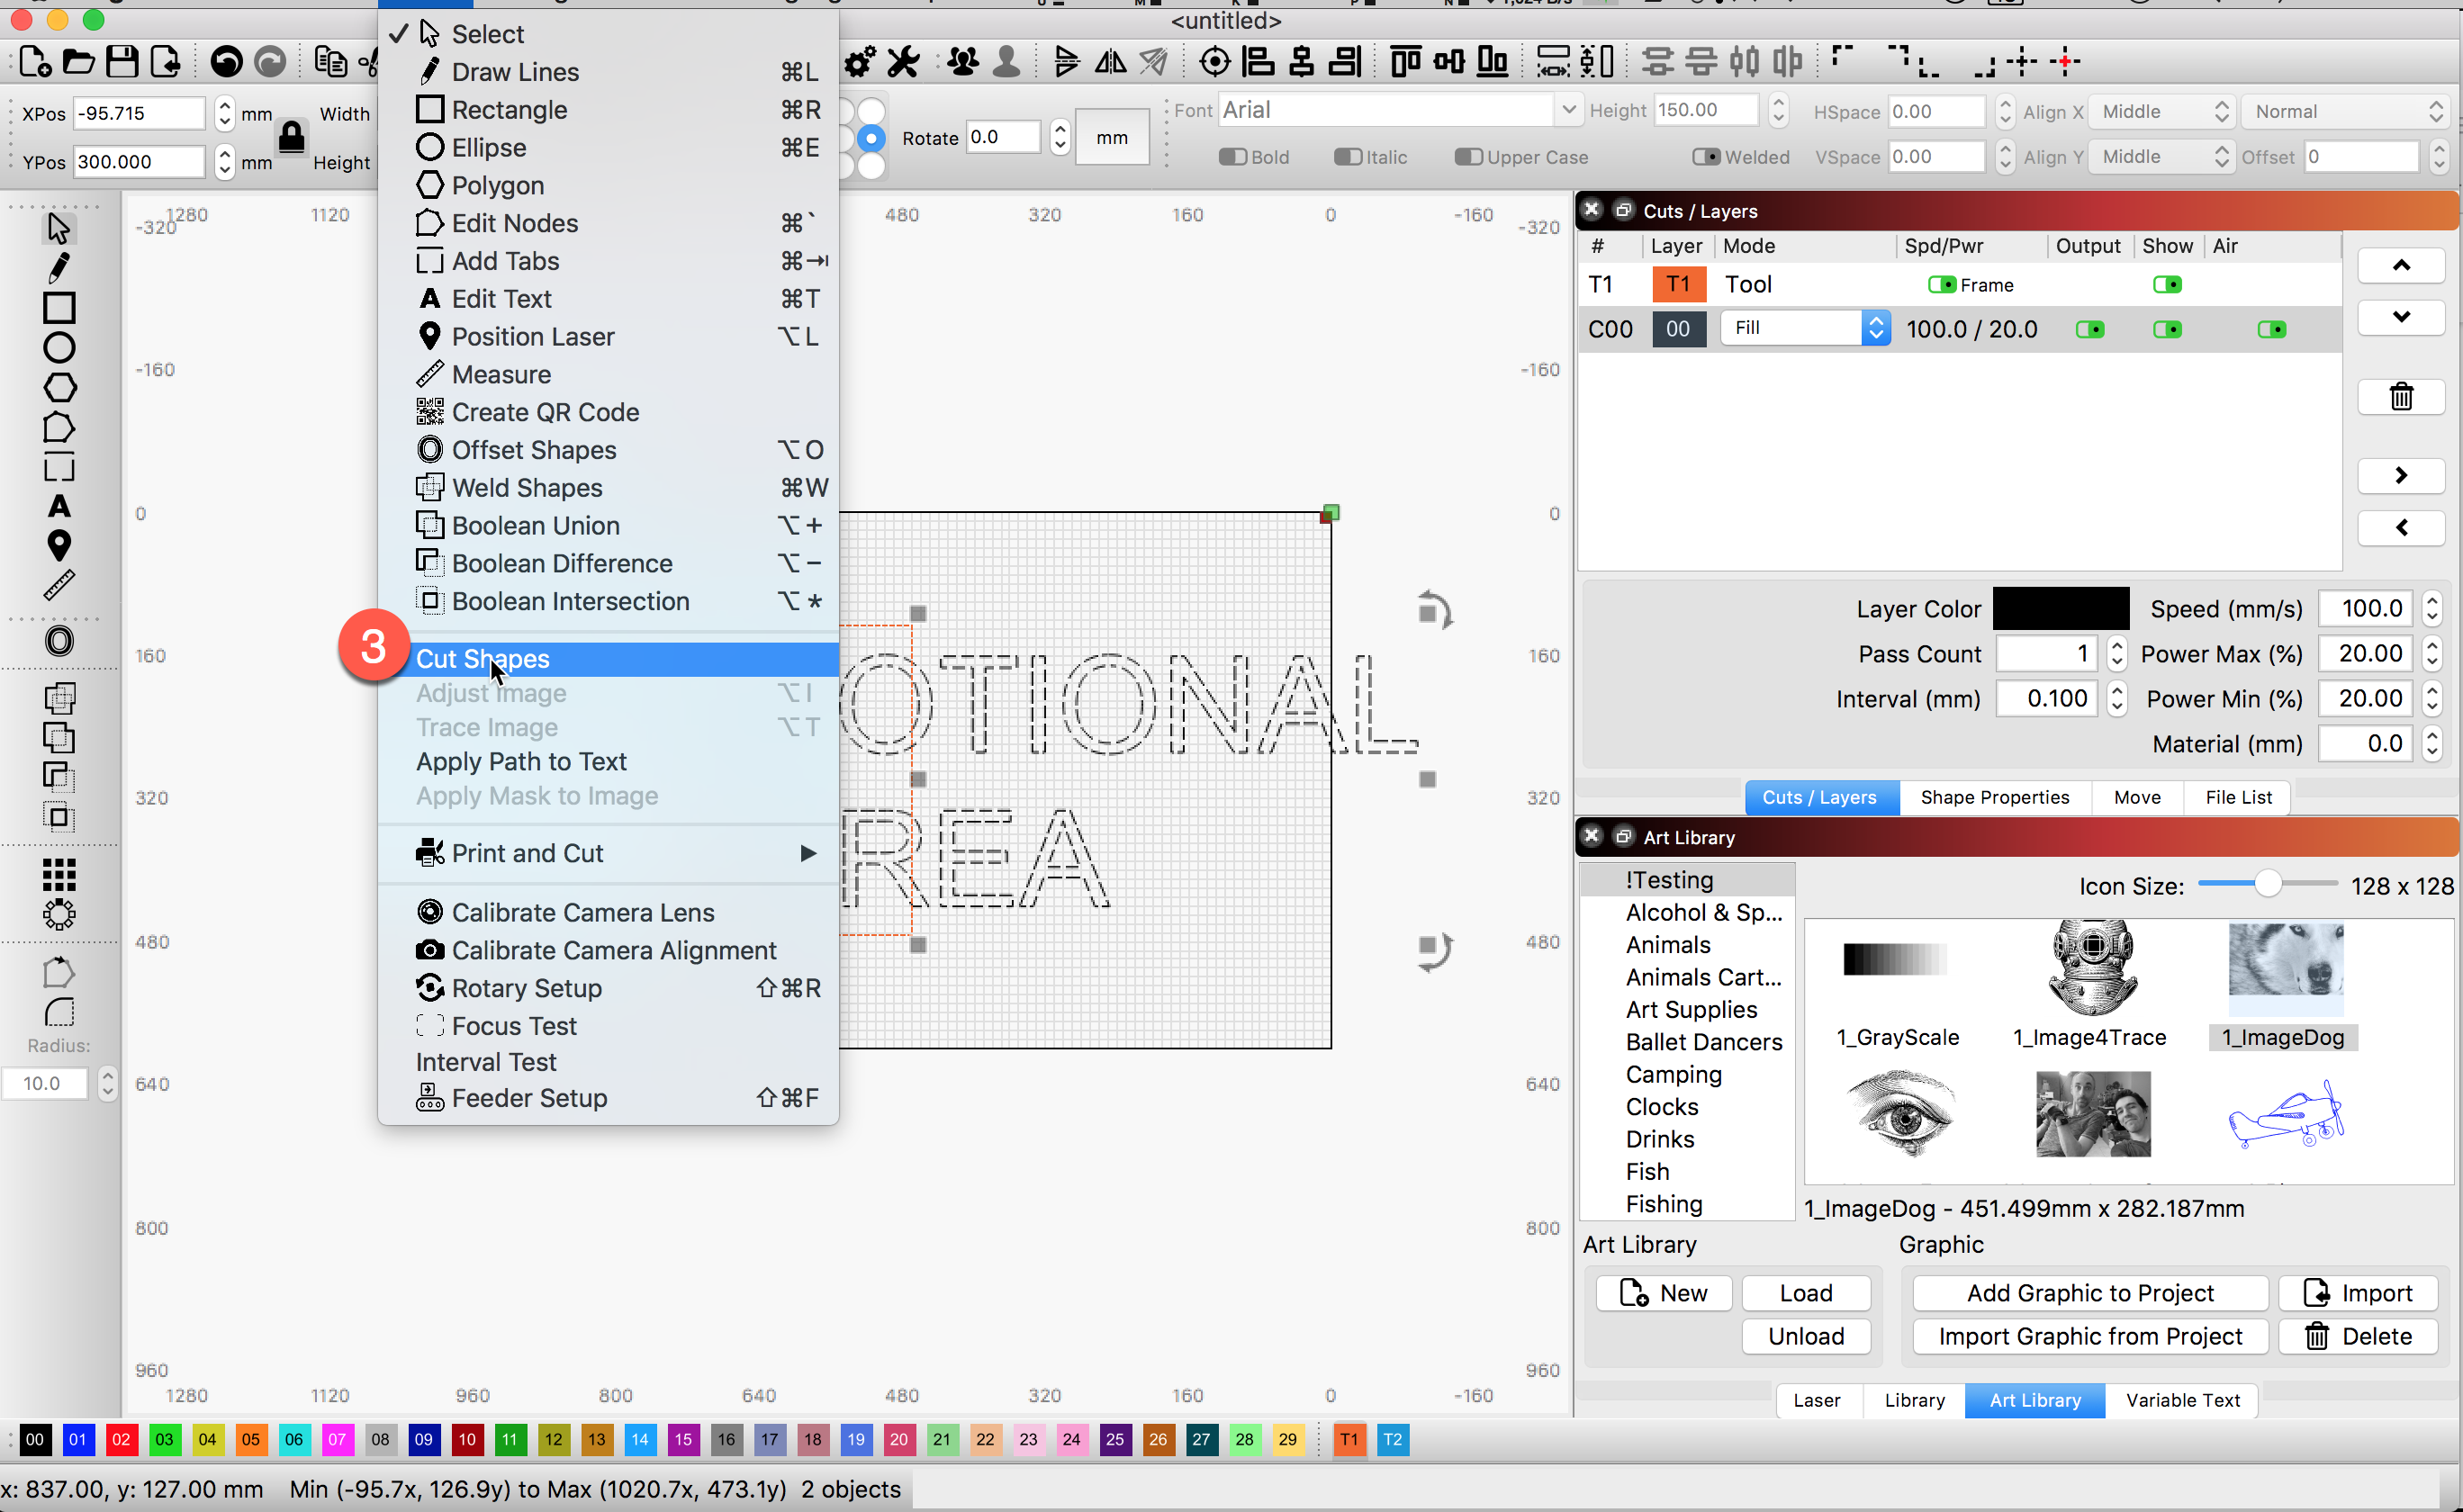
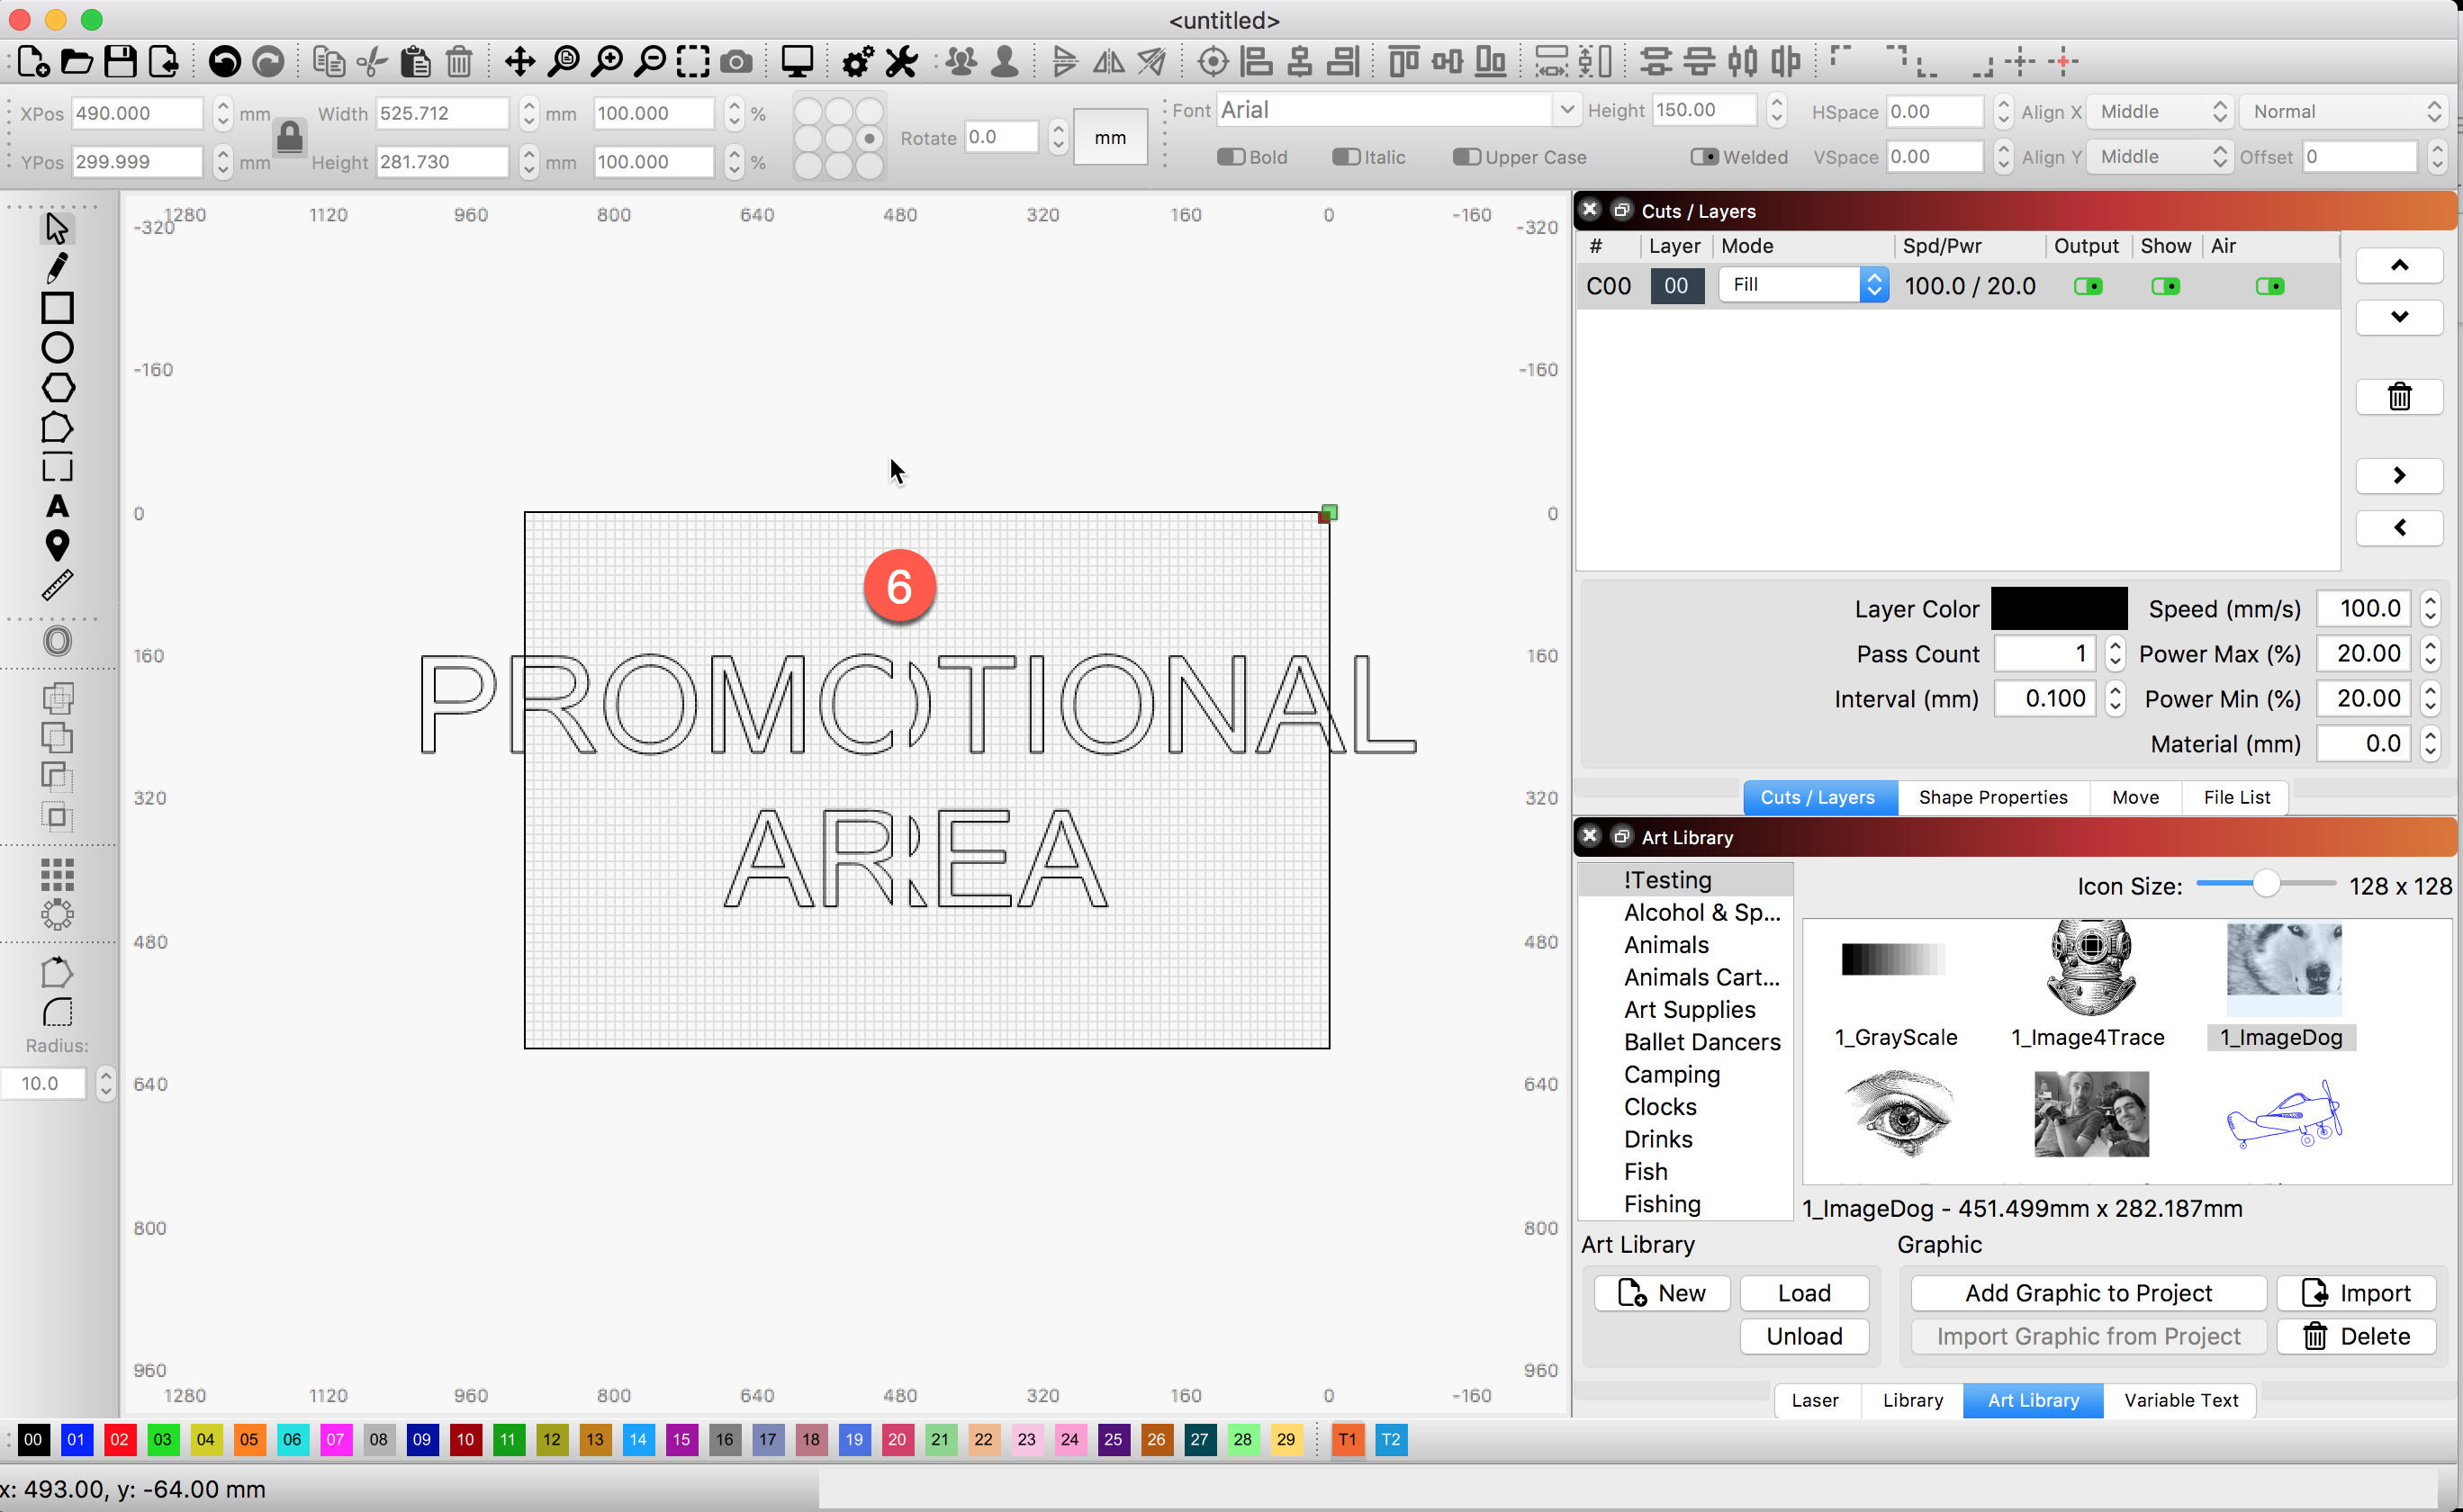
I am making a sign on wood material with the area being 600 mm long & 250 mm wide. With the text PROMOTIONAL AREA written on the wood, I was able to get to the point where I made the crosspoint then like at 9:40 on the video. I selected the text PROMOTIONAL AREA, along with the square to split the project. However when I go to cut shapes and try to see if it is split the whole text PROMOTIONAL AREA moves.
I am using an ORTUR MASTER 2 laser, any advice would be greatly appreciated.
Thank you
D