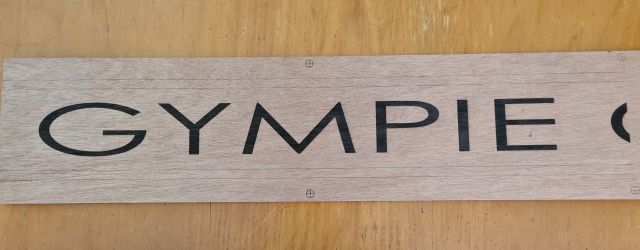
Thanks to the developers of this amazing program. I am really enjoying the learning journey. I am going to do a 2800mm long sign next year by passing the board through the sides of my Emblaser Core. I didn’t want to engrave 7 “panels” and butt them against each other and the Print and Cut makes it so easy to create. I learn a new software program best when I have something I need/want to do, and this sign is one such thing. I am constantly learning new things and just what I can (and can’t) do. Before trying the actual sign, I practice with a sample and the attached image is the engraving on the first two panels on a piece of ply I had in the shed. I think I lined the panels quite successfully for my first go.
3 Likes
Hi, nice job, I bought my laser with the intension of using the pass through but as of yet not had the time. ![]()
but glad to see it works. ![]()
That and a fine result at the end - what more could you ask for?
Btw, I like to use aluminum tape with a layer of normal tape on top to avoid the control marks on the finished product.
Thanks for the hint. I’ll definitely try it. I was going to have to make the sign wider so I could cut the marks off later. I didn’t end up having to do the long sign I was going to do anyway.
Looks like we might be in a similar neck of the woods! Hello fellow, Queenslander! ![]()