I have set both layers the same and even turned off the other layer so that the line is the only thing being burned and still it burns incorrectly, overburning in sections of line as you can see in the image. Ignore the text, it’s been disabled and still same results.
Willie had responded to this but I was unable to get to the screenshot in the original thread. So, here it is.
There’s likely something in the design causing the laser to pass over the same spot more than once since it only appears to be happening at certain specific spots. Can you attach the .lbrn file here for review?
I don’t think there’s unusual anything there. It’s just a simple line converted to an outline. But yes, happy to upload the file. Attached. Thanks for taking a look!
As a sidenote, I’ve tried a bunch of options like turning off overscan, setting it to burn shapes all together and fill shapes one at a time. Nothing seems to work. I’m testing it on MDF to avoid any further ruined panels.
Didn’t see anything interesting in the file. Was hoping for something easy.
Is this something repeatable? If you run the job twice do you get the same results?
Where in the bed was the work material placed when you made this? Does the artifact follow the material?
Any observations on what was happening when near those spots of the burn? Any noises or extra drama during those spots? It’s curious how it’s very specific in those 2 strips.
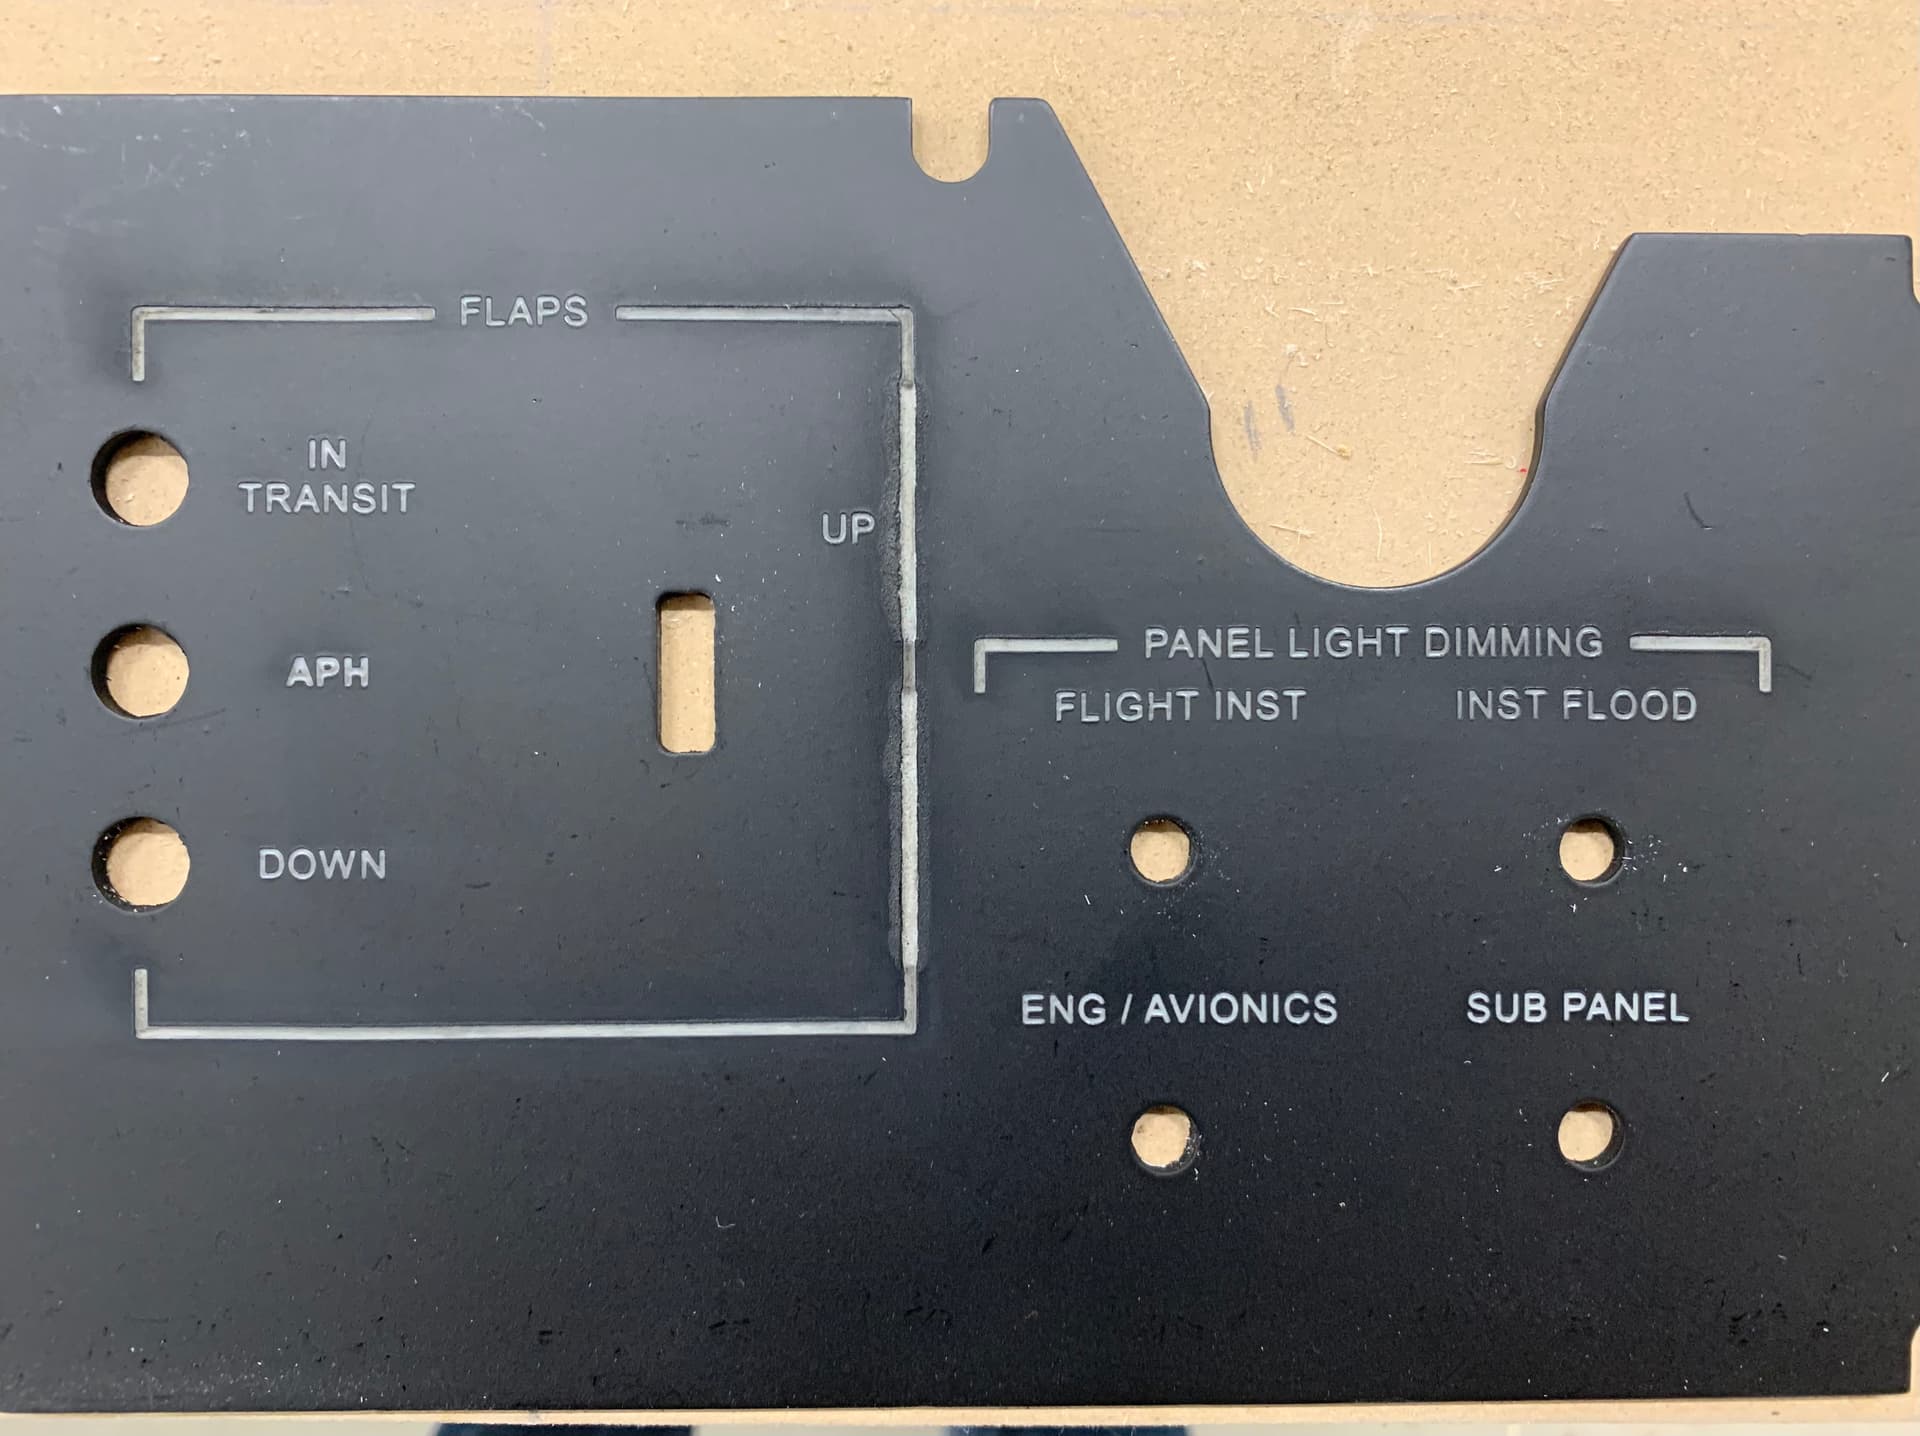
What material is this? Was there any surface preparation done to this? Is this black paint on white acrylic?
Nothing out of the ordinary. It’s has happened in multiple places on the bed. You can see that when the head is burning the bottom most line, it’s moving back and forth across the entire distance with the laser on. Then it works upward, going back and forth from side to side doing the small extension on the left and the same on the right. Then as the line on the right continues vertically, the head is no longer travelling large distances … it’s moving back and forth horizontally rapidly and then jogs Y up, continuing. Notice how the pattern changes when teh head is forced to travel again. It’s like the laser intensity needs to be dialed back during that rapid X movement over short distance.
Yes, this is black paint on white acrylic. I have the power settings dialed in perfectly now for the text. The lines remain a problem.
I’m currently running another test. This time, not on MDF, but on a painted panel. I’ll see if I get the same results again. It’s a horrible time consumer having to re-CNC a new panel, prep, paint, allow time for the paint to cure, only to come back and toss it in the garbage. I’ll share the results of this test when it completes!
Okay. Good details. So it may be that the laser is spending too much time on the same areas because it can’t accelerate and decelerate quickly enough to get out of its own way.
Some ideas for you to try:
Enable overscan. This will allow the laser head to start ahead of and end after the edges of the line.
instead of doing a horizontal scan angle, maybe try doing it at 45 degrees. This will increase engraving time but may give you a more consistent result. You could remedy increased time by using flood fill
Instead of fill you could consider using offset fill. Might lead to more consistent results.
This might work although you may be able to see a transition between the two layer burns.
Did you look at my other suggestions? I think they’re all potentially viable. Overscan would work with your current setup without any other modification I think.
On the layers with FILL and LINE double the line interval and switch the crosshatch on.
And if you really want the line function after the fill function you need to set the speed much slower and increase the power. Something like no more than 700mm/m and 60% instead of the default 6000mm/m @ 20%.
What were the settings for this burn? Also, is there a reason why the outline has double the line density as the letters? At first glance I don’t see why the letters would be much different than the lines.
How do you mean? The line should really be no more jagged regardless of angle, especially in preview.
The combination of this plus overscan should get you the most consistent laser-time on the burn surfaces for both axes which should allow you to only focus on speed and power settings. I actually think the line density is too high as you’re going over the same spot too many times. I doubt your laser focal point is even resolving to that interval size.
Are you able to test this on scrap pieces so you’re not having to run the whole thing and spend all the time? And only test for vertical and horizontal lines. Maybe in concentric rectangles. One test per rectangle.
OK, burning with the 45 and reduced line density to 0.1 is giving me MUCH cleaner lines!! I’d say problem solved. The only downside is that it now moves a LOT without burning. It burns a tiny bit, then transits to the next line in the 45 path, burns a bit, then travels a lot again. So, while it gives nice clean lines, it’s very very slow.
As you can see, the lines are now burning much cleaner than previous burns. And while the text is generally pretty clean, I feel like it’s burning just a little too wide and not quite as crisp as I’d like. Notice that the ‘A’ has the interior mostly burned away. do you think that’s from too much power? Or is there another setting that might be tweaked? I believe that the laser is properly focused. Suggestions very welcomed!
I’ll take a look at those options…thanks for the suggestions. As for the letters, I have done a test at many different speeds & power settings and found that this was the one that gave me the cleanest result, but I think perhaps I need to run the test again and re-examine the results. I would expect with laser that I would get a super crisp edge on everything. I’m guessing it’s a combination of the paint surface and the acrylic melting under the laser that is leading to the irregularity and lack of definition. After a bit more testing last night, I ran the final and while it’s not absolutely perfect, it’s so much better than before and basically good enough to meet my needs. I’ll continue to tweak and see if I can get my next panel better.