The WeCreat recently got Lightburn compatibility. It has been working great for engraving and cutting flat items. However, I seem to have an issue when using the rotary. The rotational dimension does not seem to be correct. Here is an example. In this first photo, you can see that I measure the diameter of my tumbler to be 79.35mm.
I entered that dimension into the rotary settings and took note of the circumference (249.385).
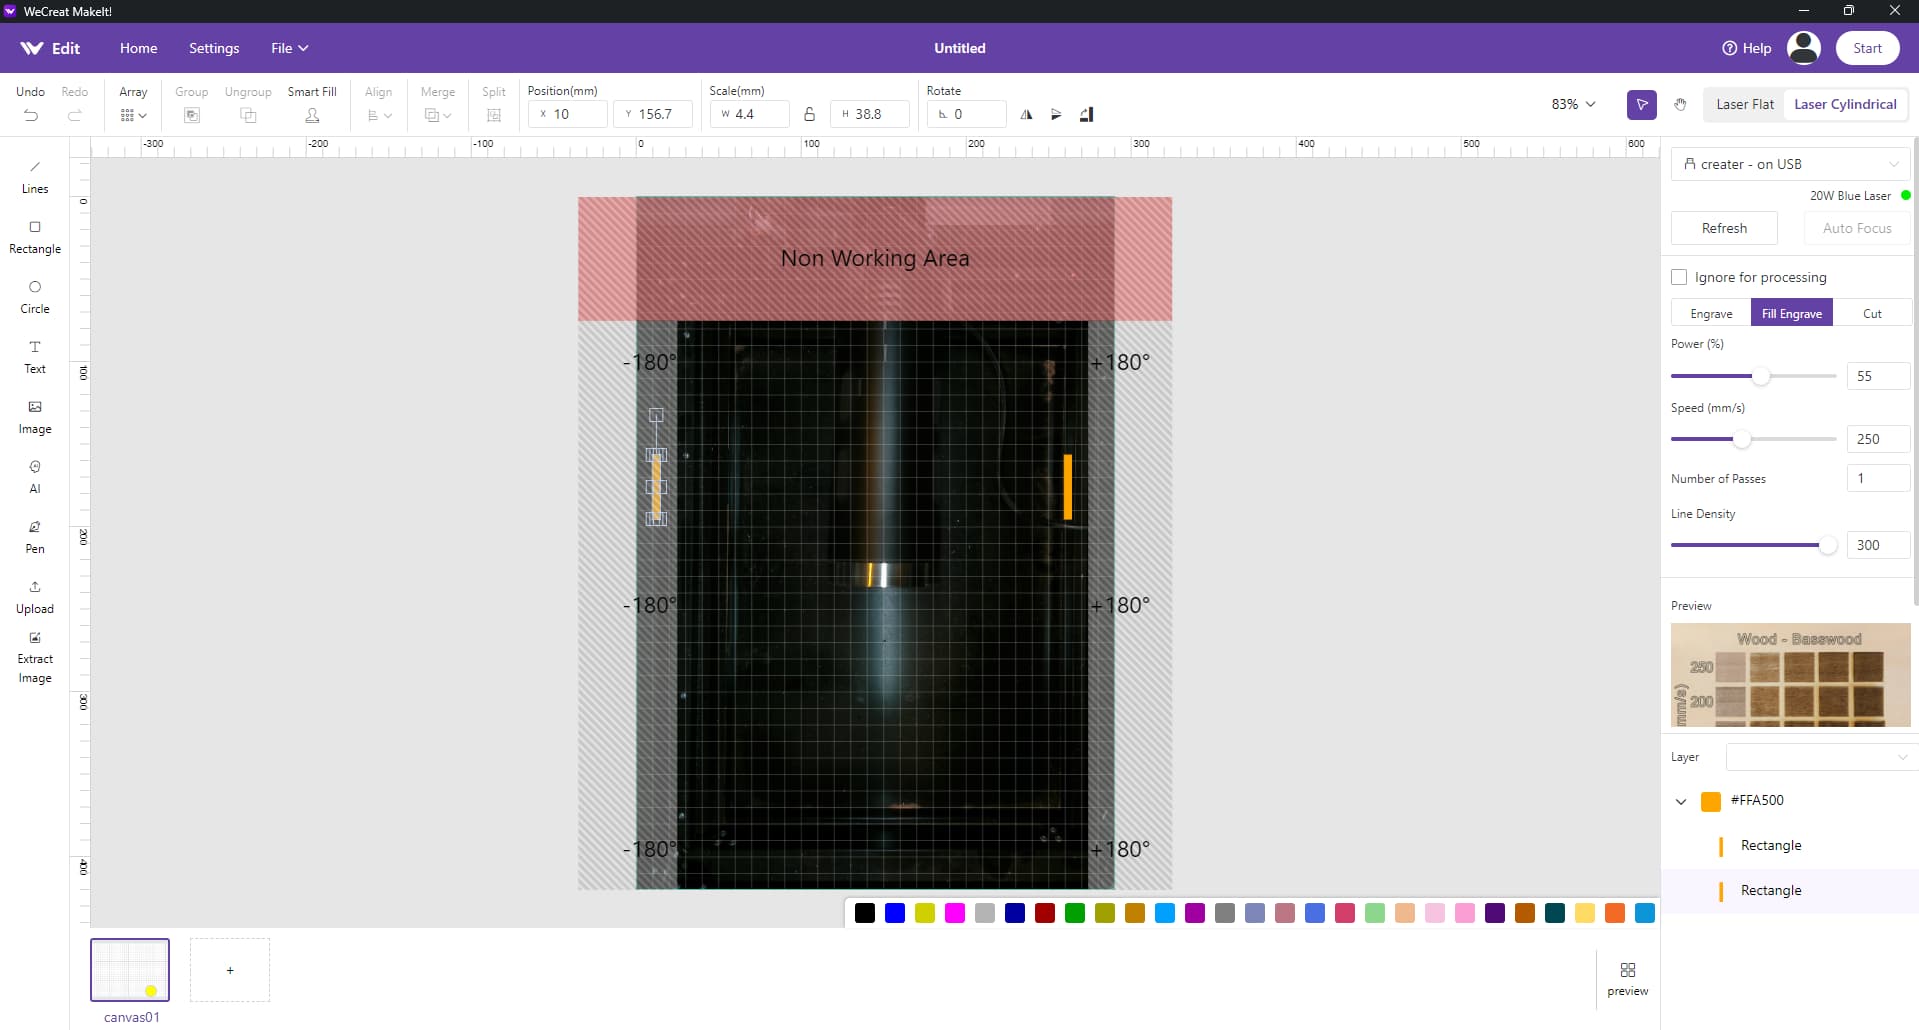
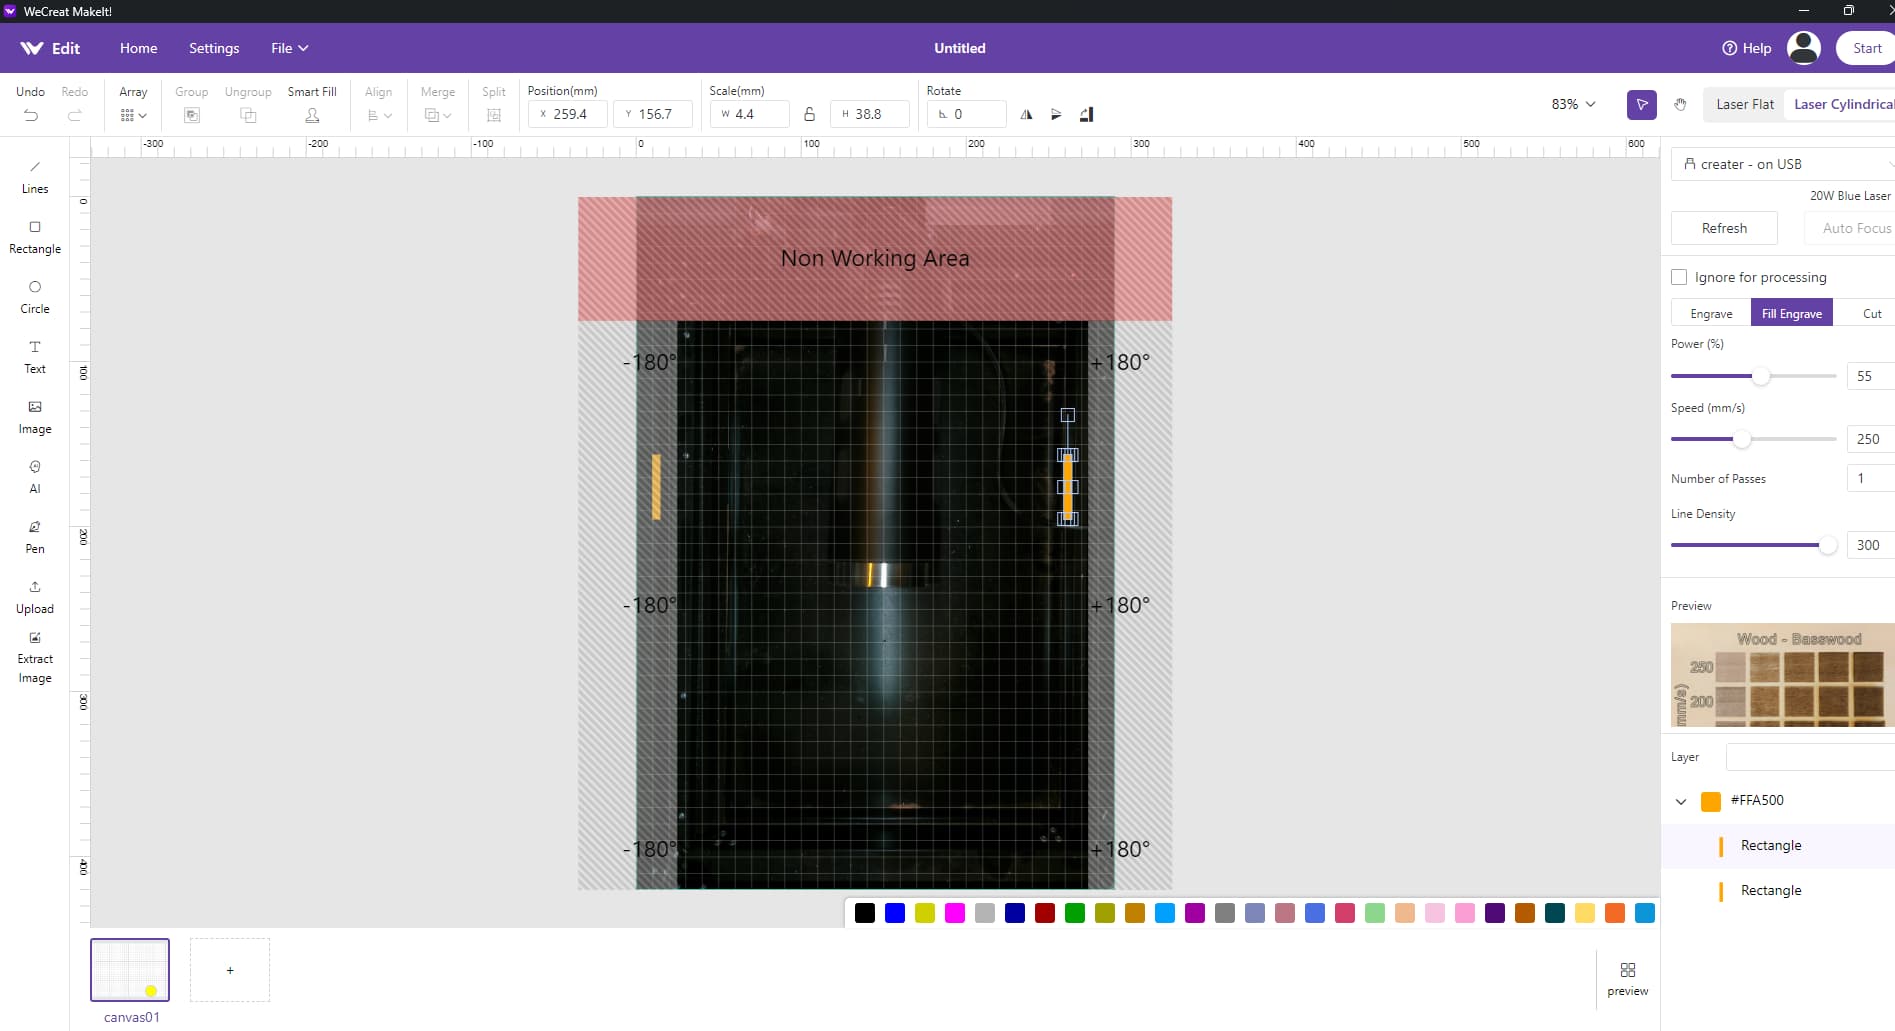
I then created a rectangle whose bottom was at y=10mm.
And a second rectangle whose top was at y=259.385, exactly the circumference from the other rectangle. Basically, they should be engraved right next to each other, only after turning 360 degrees.
It appears to be almost exactly 90 degrees off. Do I have a setting wrong somewhere? Since it uses the “a-axis”, there doesn’t seem to be any calibration option. Did I do something wrong? This is my first time doing tumblers in LightBurn, but I’ve done quite a few in MakeIt (WeCreat’s software), so I understand the concepts. But, I could have definitely gotten a setting wrong somewhere.
No. The MakeIt software is pretty limited. I also asked WeCreat support about this issue and they replied that they are unable to provide assistance with 3rd party software.
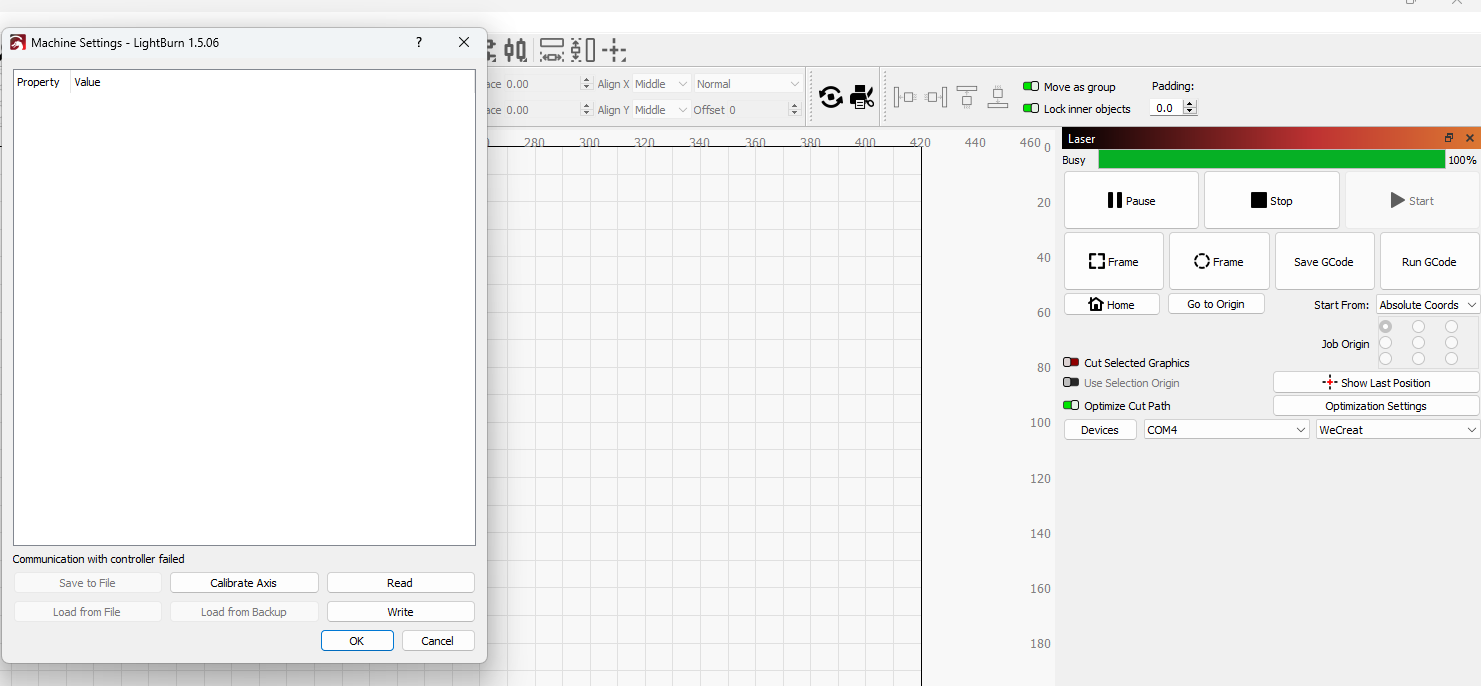
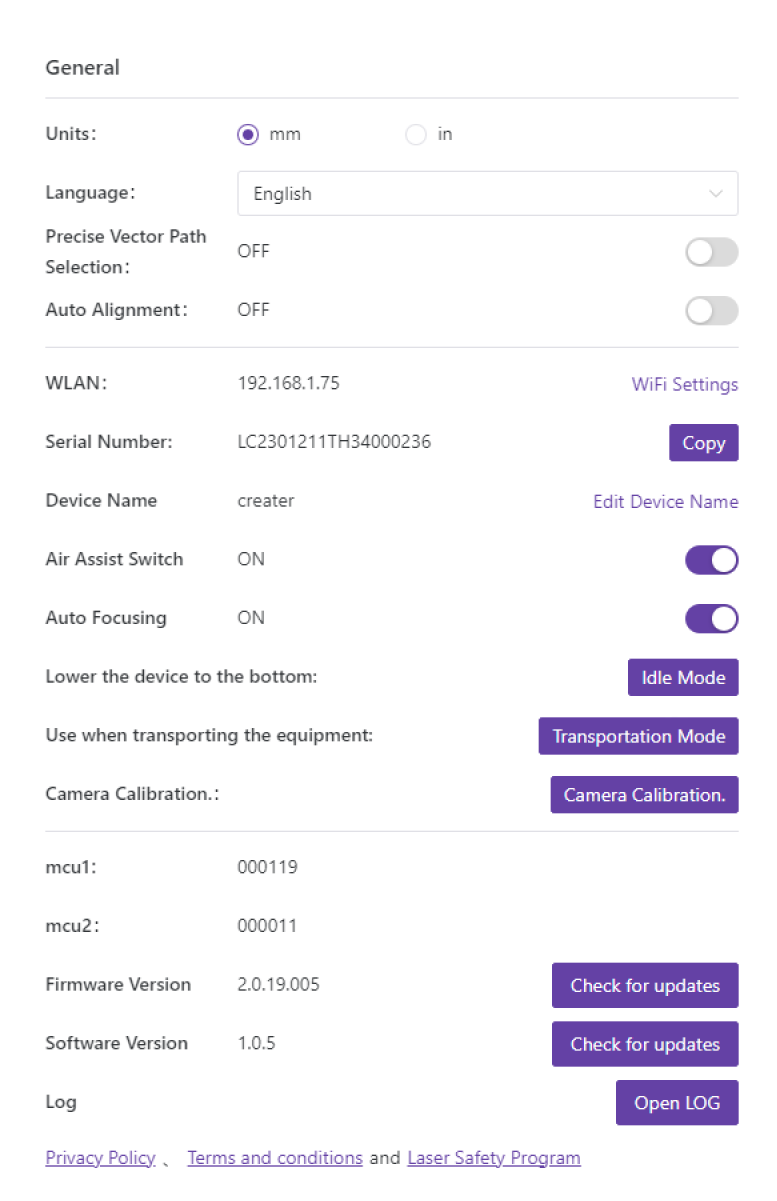
Here is the screenshot of the machine settings. It seems that reading from the controller is something that doesn’t work. I’ve had that issue with other functions that try to read from the controller. You can see on the right that it is doing something, because it changes the status to busy, but it seems to get stuck there and I have to restart everything.
When you turn on the laser, what information is displayed on the console?
Didn’t you use the WeCreat-LC2320 file?
How did you add the laser to Lightburn?
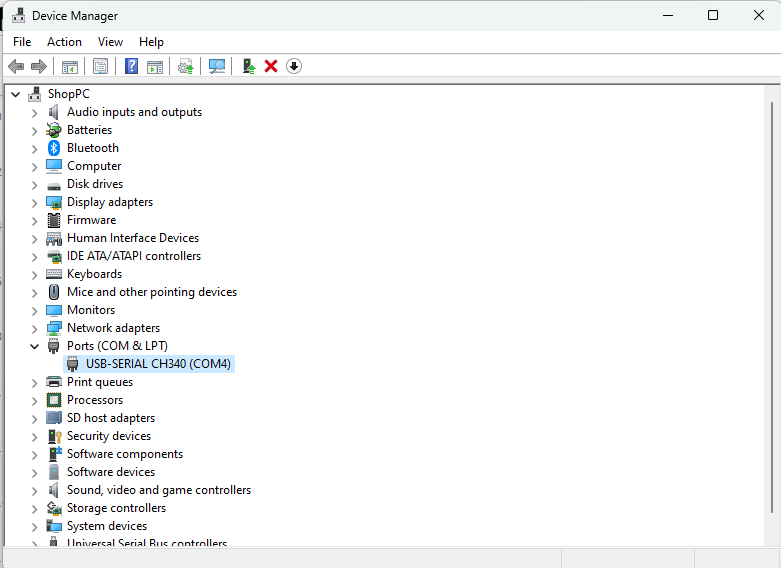
Why are you selecting com4 instead of com1?
I have only used lbdev files to add it to Lightburn. I have 3 different versions: WeCreat-LC2320-v1.0, downloaded 2/5/2024; WECREAT. lbdev, downloaded 4/11/2024; and WeCreat-LC2320-v1.0(1), downloaded today. Looking at them in notepad, both “v1.0” files say COM1, the other says COM6. No COM4.
I just removed the device, turned off my laser, rebooted my computer, turned on my laser, opened Lightburn, added using the lbdev file downloaded today, and it says COM4
On the Console, it says:
Waiting for connection…
ok
[WeCreat vision, ver::2.0.19.005]
ok
So it´s windows that assigns the coms and the .lbdev settings have no influence.
And Lightburn connects to the laser.
Could you type $$ then enter in Lightburn console window and post result?
I created a Wecreat laser device and installed Makeit! but unable to check setting it needs to be connected.
In Makeit! do you have access to those settings?
I have to ask when you test rotary what does it do?
.
I’m thinking there might be a solution that could work:
Draw a square with an integer value smaller than the circumference
Test (larger diameters) by masking part of this tumbler with painter’s tape, measure.
Test (smaller diameters) with inner tubes from kitchen or bathroom rollers, measure.
Establish a ratio between measured and designed (consider 4 decimal places that Lightburn uses).
With other shapes distribute as normal.
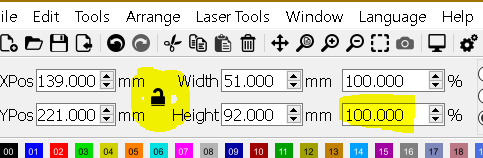
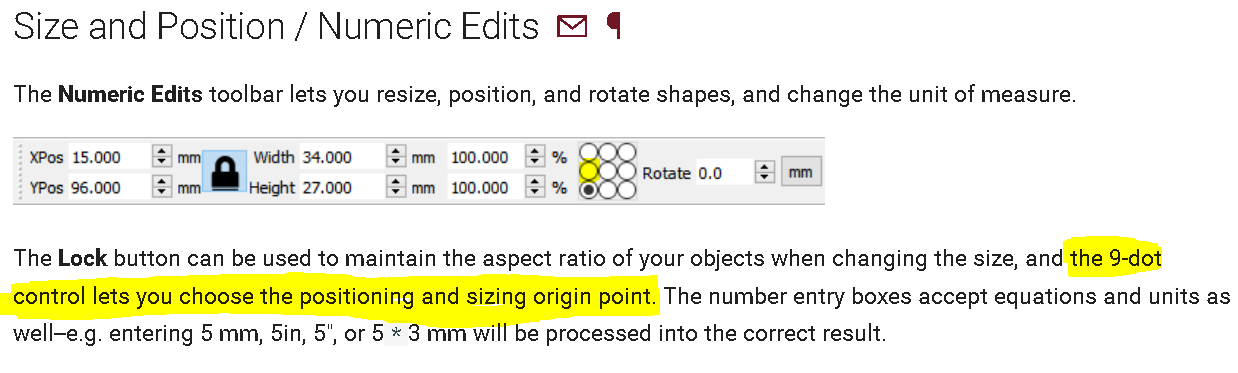
Following the image below with the lock open, apply the ratio value to the height
Check
.
Hope this works until a better solution.
.
.
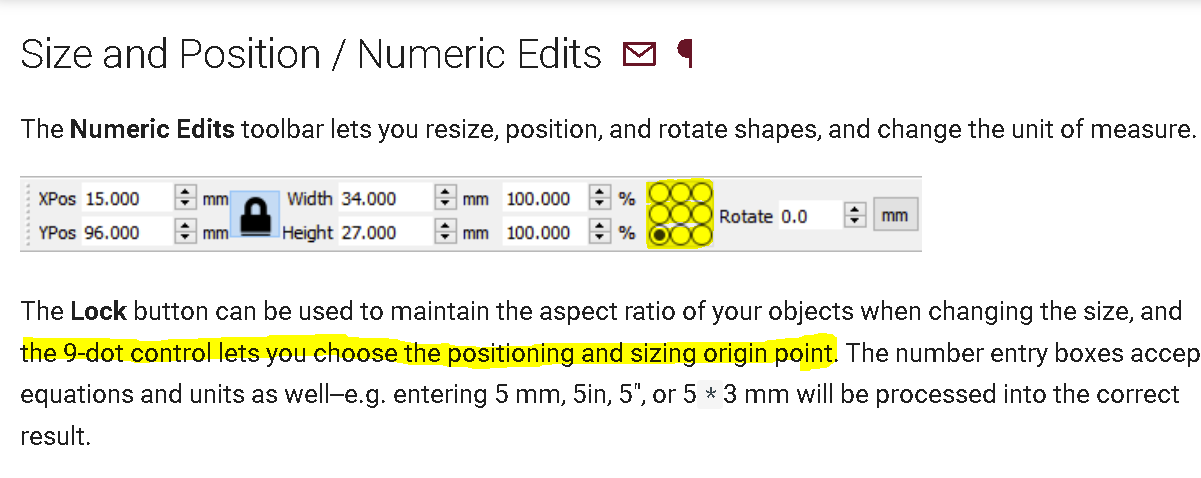
Also pay attention to the 9-dot origin when resizing
When I run the same test in WeCreat MakeIt? It puts the second rectangle right next to the first one after rotating 360 degrees - just as expected. I’ll show it…
In MakeIt, it rotates the canvas when you are using the rotary, so the X and Y are swapped, otherwise everything is the same.
I completely missed that part of your post. I thought about doing that and it probably will work, I was just hoping that there was something simple that I had missed. I’ll work on this and see what I get.
Okay, I’ve finally gotten back around to this. After testing on a few different size tumblers I have, it seems to be off by about 40%. So, if I set everything up like I typically would (create design and rotate 90 degrees), I can then unlock the aspect ratio and change the Y percentage to 60% and it will engrave the design without stretching it out.
Additionally, I found that this also affects the line interval. The laser size for this machine is 0.08mm. Using this as the line interval leaves lines on the tumbler and jagged edges on curves and diagonal lines. Setting the line density to 0.048 was near perfect.
Now, one last thing (I think) that I haven’t figured out. Sometimes, I need to place my design in a specific position on the tumbler. The best example of this is a coffee mug with a handle. I have 15oz coffee mugs with a perimeter of 276.46mm. The handle is 22mm wide, and I have to stay 15mm from the handle to avoid it hitting the laser head. So, if I want to place my design so that the right side of the design is 15mm to the left of the handle, I would place the right side of my design at 239.46mm.
So, following the same logic as everything else, I changed the width of my design to 60% and rotated it 90 degrees, as stated above. I placed the bottom of the design (because it is rotated) at 143.676mm (276.460.6=165.876; 220.6=13.2; 15*0.6=9; 165.876-13.2-9=143.676). And the mug rotated, whacked the laser head with the handle and ended up turning a total of about 360 degrees. As it turns out, in order to get the design where I wanted it on the mug, I had to place the bottom at 79mm. But, I got that by trial and error. I can’t figure out why it is 79mm.
If you select Job origin middle-left (in that use case)
.
And anchor the dot at middle-left before applying the ratio you get your job aligned by the middle-left.