Let me preference, that I’m running some test for engraving from Black to Orange tumblers. All I’ve ever worked with to date, is black and orange powder coated tumblers.
It may be an optical illusion, but it seems to me that I never get the BRIGHT shiny engraving on my orange ones compared to the black, with the same speed/pwr/lpi settings. I could be wrong.
I’ve heard that some colors engrave differently from one color to another. If that’s not the case. Fine.
I thought I would create some 9mm x 9mm squares and document what the settings are underneath them as reference.
The only thing I changed was the LPI setting from one to the other. Can someone tell me why the font size changed in size in the output on the tumbler from one color to another in the cutting layers?
All layers were duplicated from the 1st layer {black}, then I double clicked them to change the LPI only.
Do each color represent something different with regard to output?
I’ve done some searching on the web for these color bar/layer thing, but I don’t know what it’s called.
BTW, do all color tumblers within the same vendor and size engrave alike or is there indeed some that engrave “easier/cleaner” than others. I think I’m just seeing things that aren’t there between the black and orange, because of the difference in the contrast on what my eyes see in the black over the orange.
TIA
PS. I did fine it. It’s called Color Pallet. I’ll have to read up on it. But the question still holds. Do different colors engrave different between them?
Yes, and we provide the following in our documentation, which is worth review.
Each layer and sub-layer allows you to change the settings for different parts of the job you intend to produce. These settings can be saved for easy recall, and to have “known and expected” behavior when producing art using the same color as one you have set to a layer. When leveraged, any art you import or draw using a given color, will be auto-assign the settings for that colored layer.
As for the material you are producing this work on (the tumblers), there can be slight differences in thickness of coatings used. This thickness can vary from tumbler to tumbler, or with a different batch of the same color. This should be considered during your testing when dialing in the correct range of speed and power to produce the best results. The exact color can also impact or change the results from previous settings. You are using light to remove this material. Different colored objects react differently to the spectrum of light produced by your laser. This is also worth consideration during your testing phase.
Thanks Rick. I kind of understand the color / light thing. In a previous life, I shot fashion. I HATED Pink dresses. Maybe not the same as laser light -vs- strobes, but I still hated PINK
I guess I just have to create some kind of sheet when I start doing more colors. I’m expecting 6 other colors coming in soon.
Testing, testing and more testing. The best and only way to achieve consistent results. In LightBurn, we try to help with all this testing, and provide what is known as the ‘Material Test’ tool.
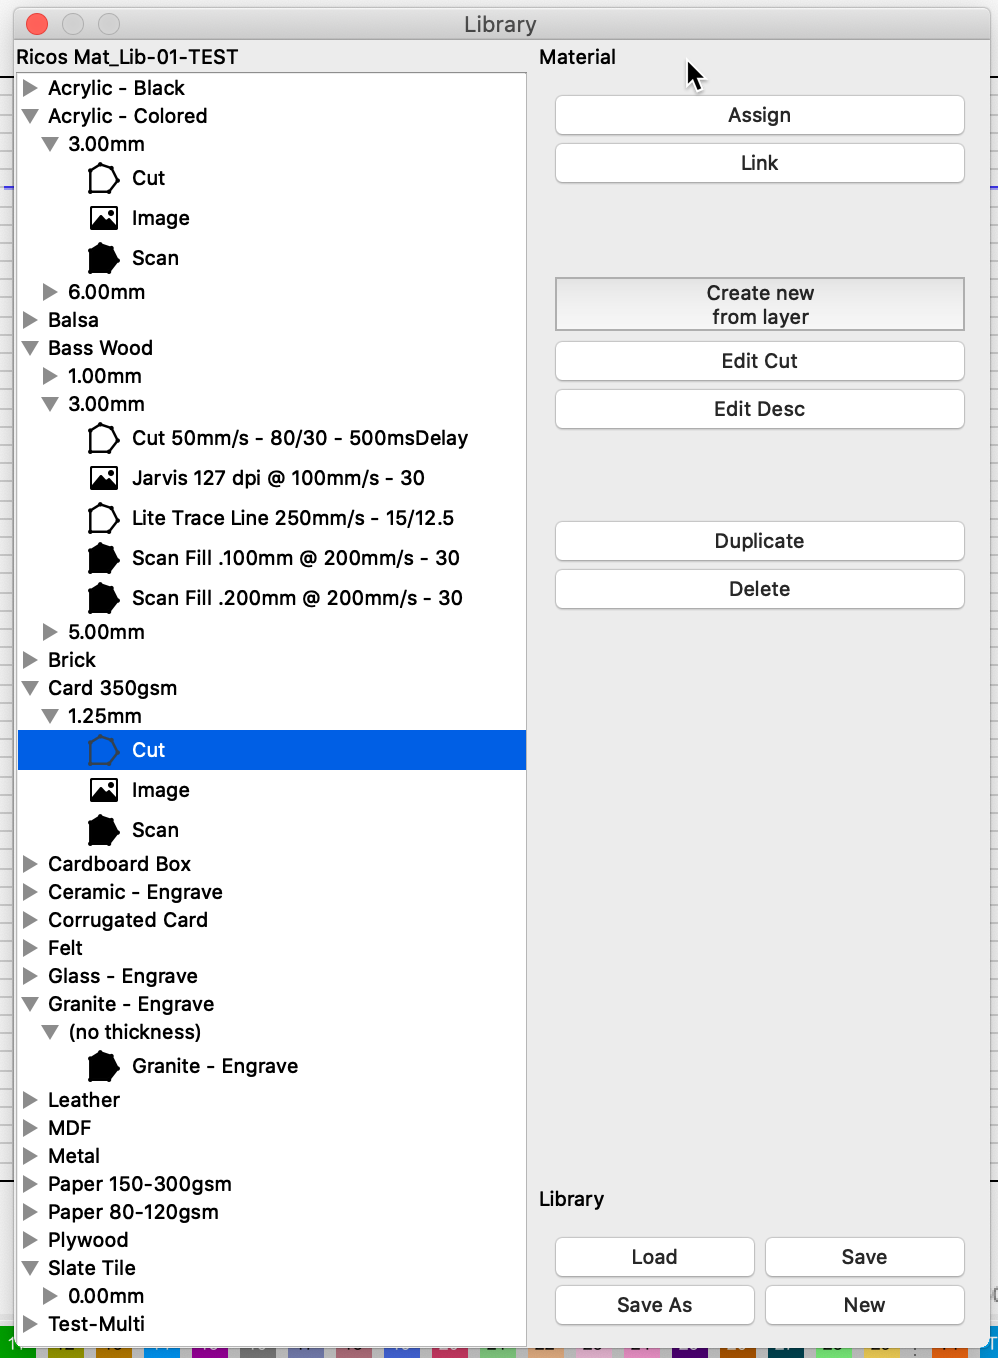
Once you have settings for a particular material, say an Orange Tumbler, you can also record this in a larger library for quick recall. I share an example below.
Rick, can you explain why the size of the lettering changed from one layer to another, when the only thing that was different was LPI and what color layer it was. The text and the 9x9 square was duplicated, and assigned a color. The only thing that was changed from 1 layer to another, was LPI.
Still not sure why the “size” of the words changed.