What does everyone use to “square up” their work within the laser frame?
I’ve used the Shift-Frame button - and that gets me very close to where I want to be - BUT - it’s just not “square”. I could just cut outside of the engraving - leaving it in place - but that is a tad wasteful of the material.
So - does anyone have a “jig” they use or created that squares the material. Something similar to a cutting sled for a table saw?
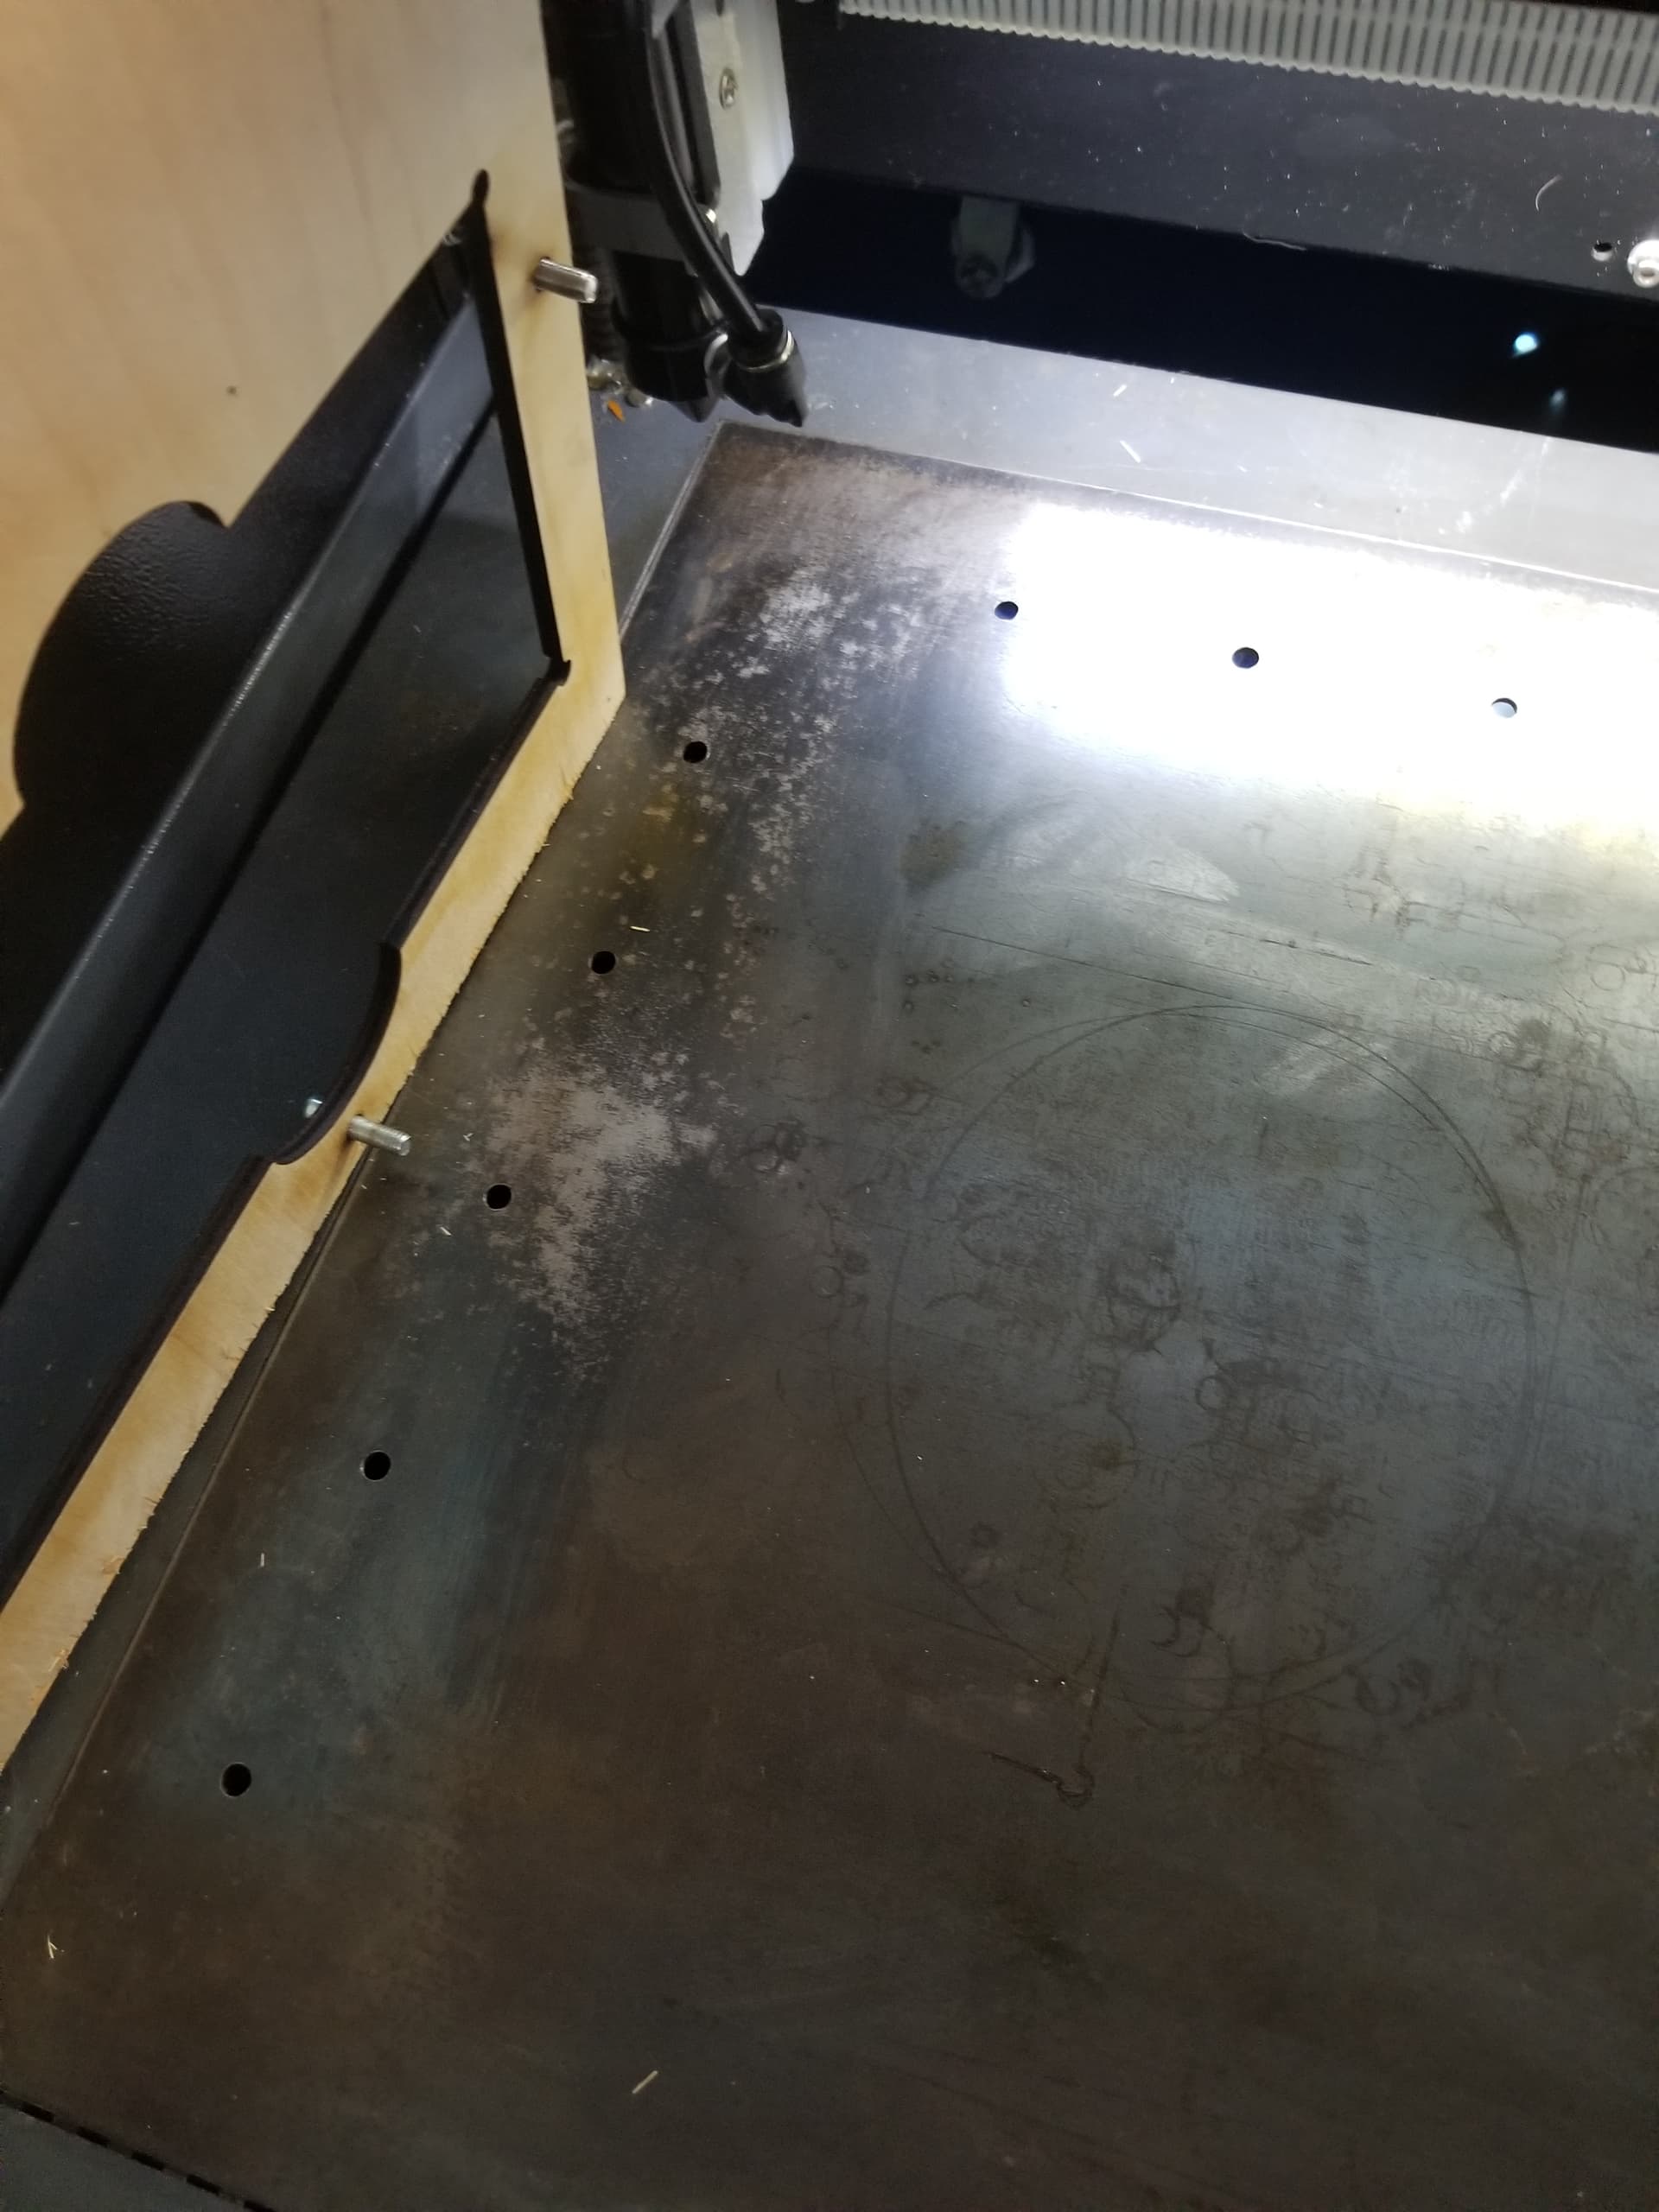
Pitched the honeycomb bed and installed a $12 sheet of rolled steel. Marked it with the laser and drilled it.
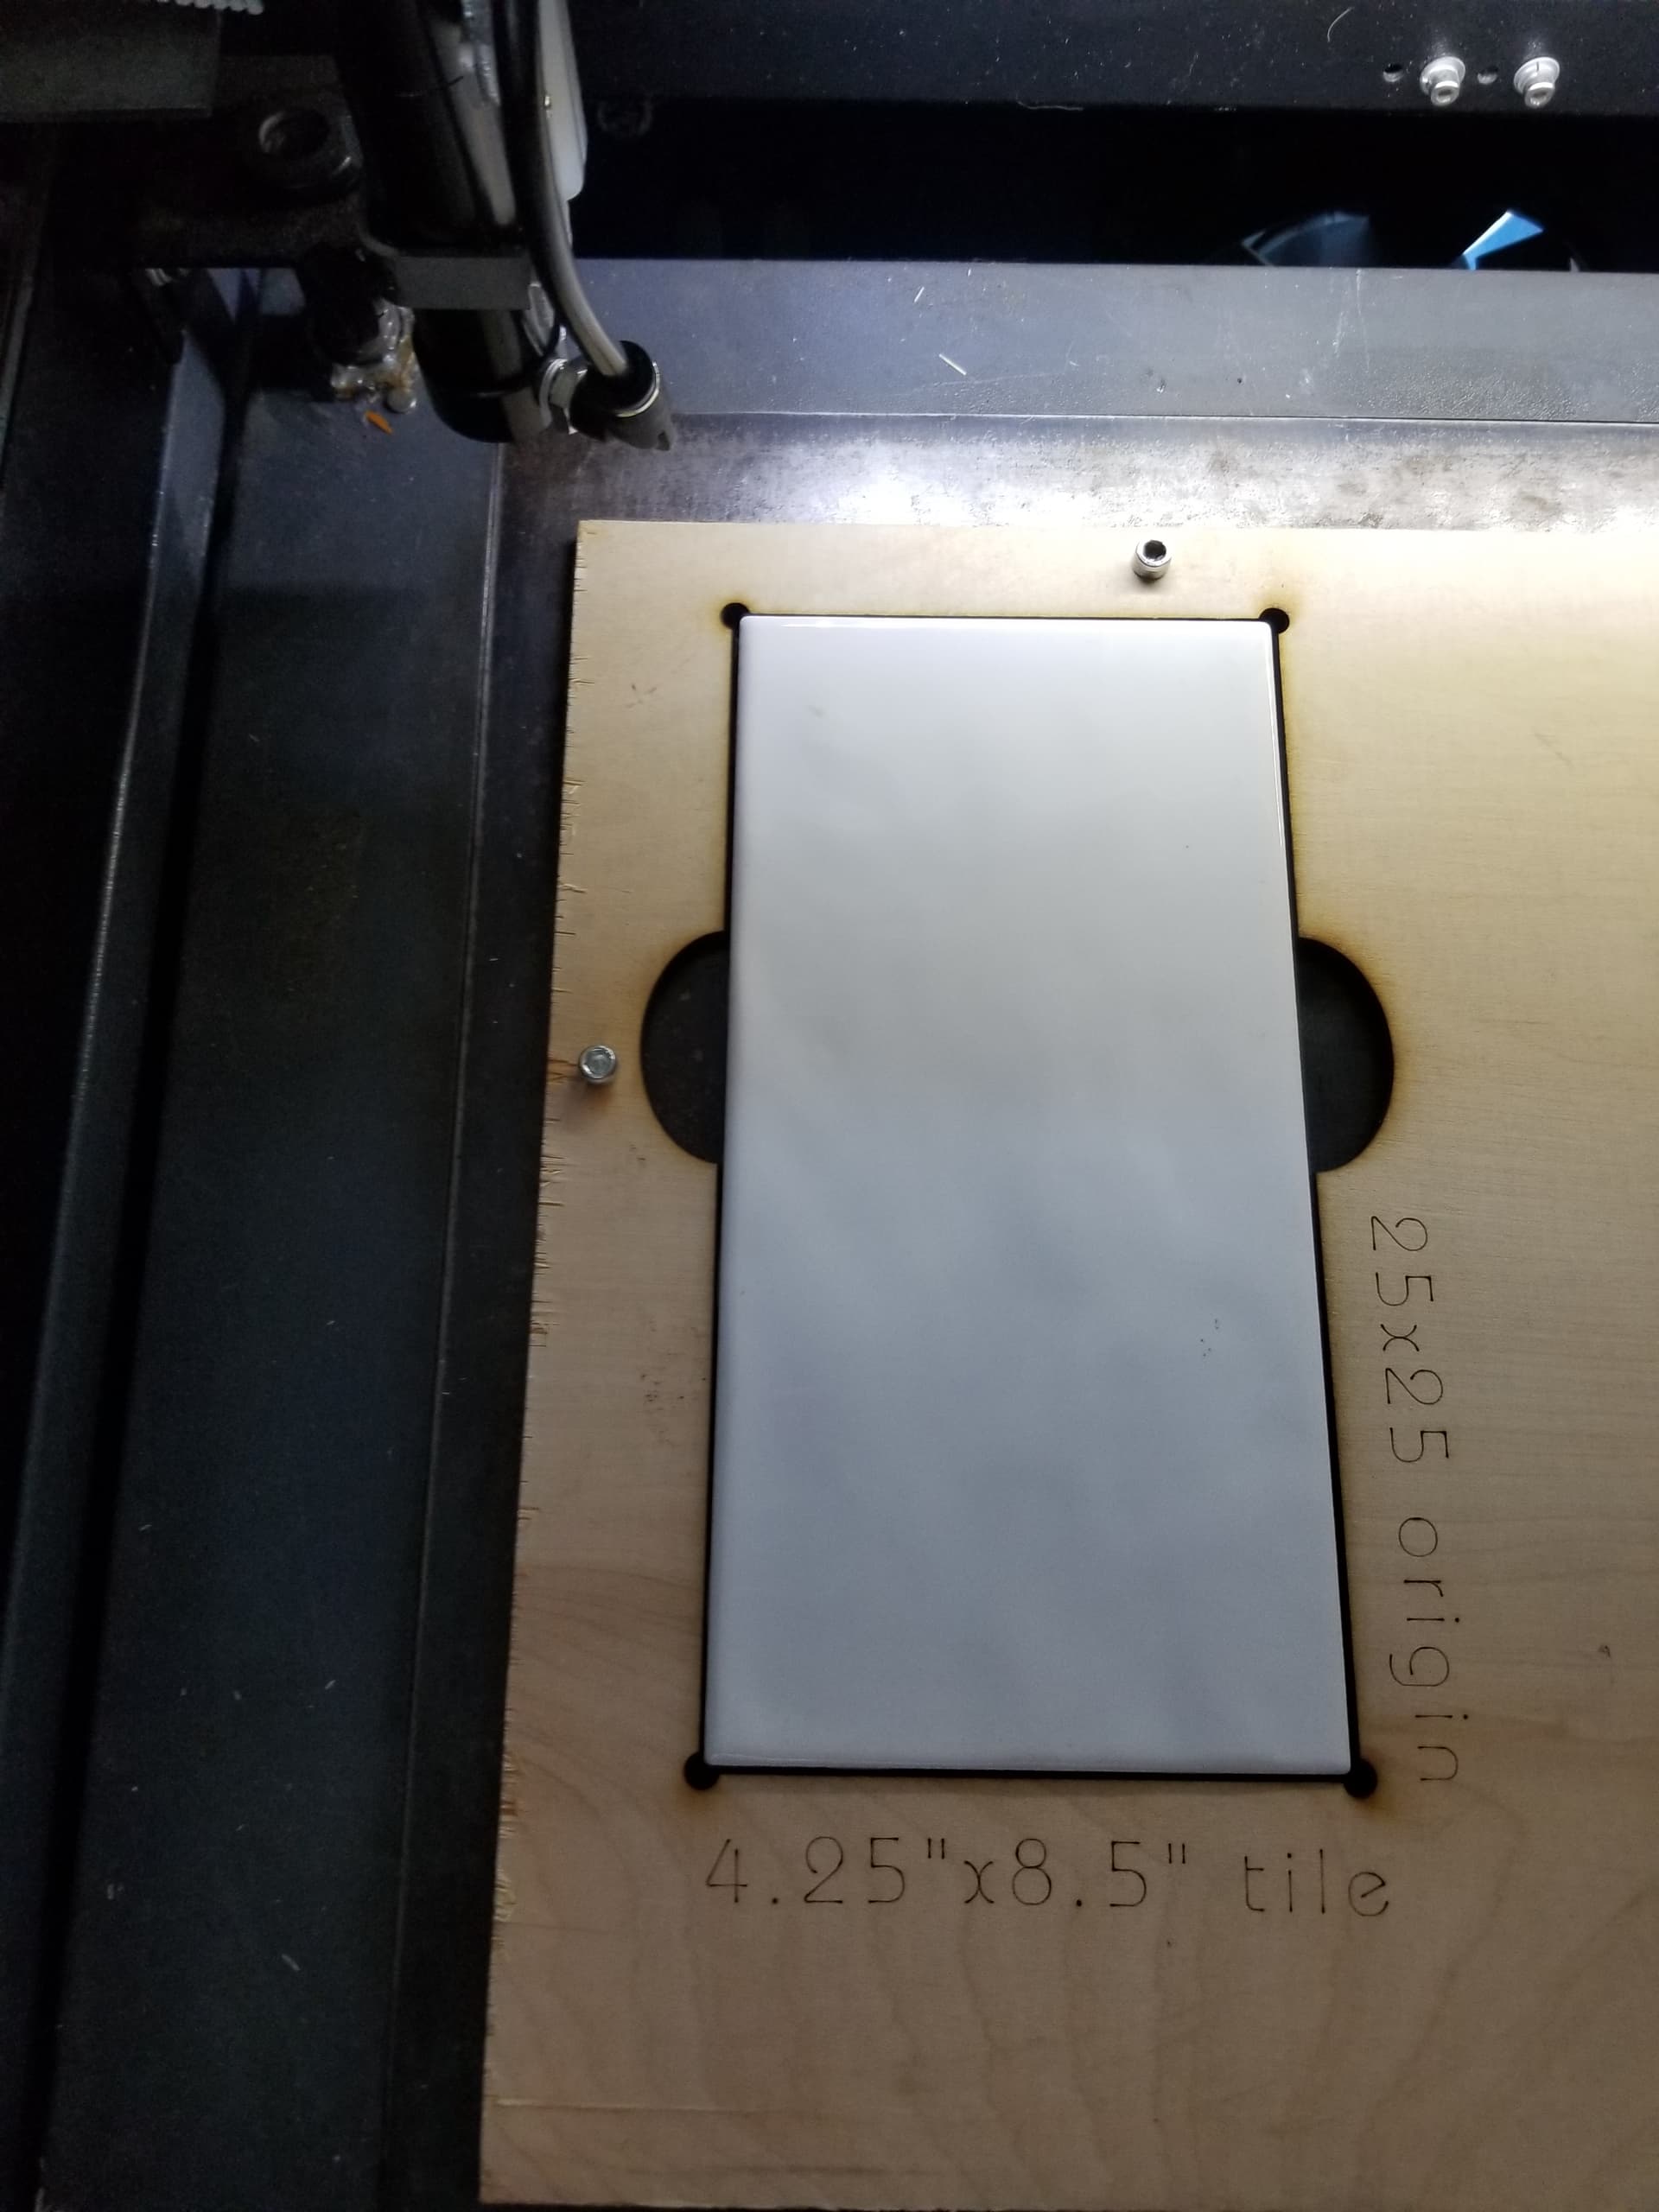
With your material you have a simple process to make the jig…
Lase the alignment holes so they retain the alignment screws.
Then place the uncut jig in the laser with it aligned in the bed holes. Now you can set a coordinate or some type of origin. Use that placement for any objects you want to put in there. I lase the date/origin on the jig…
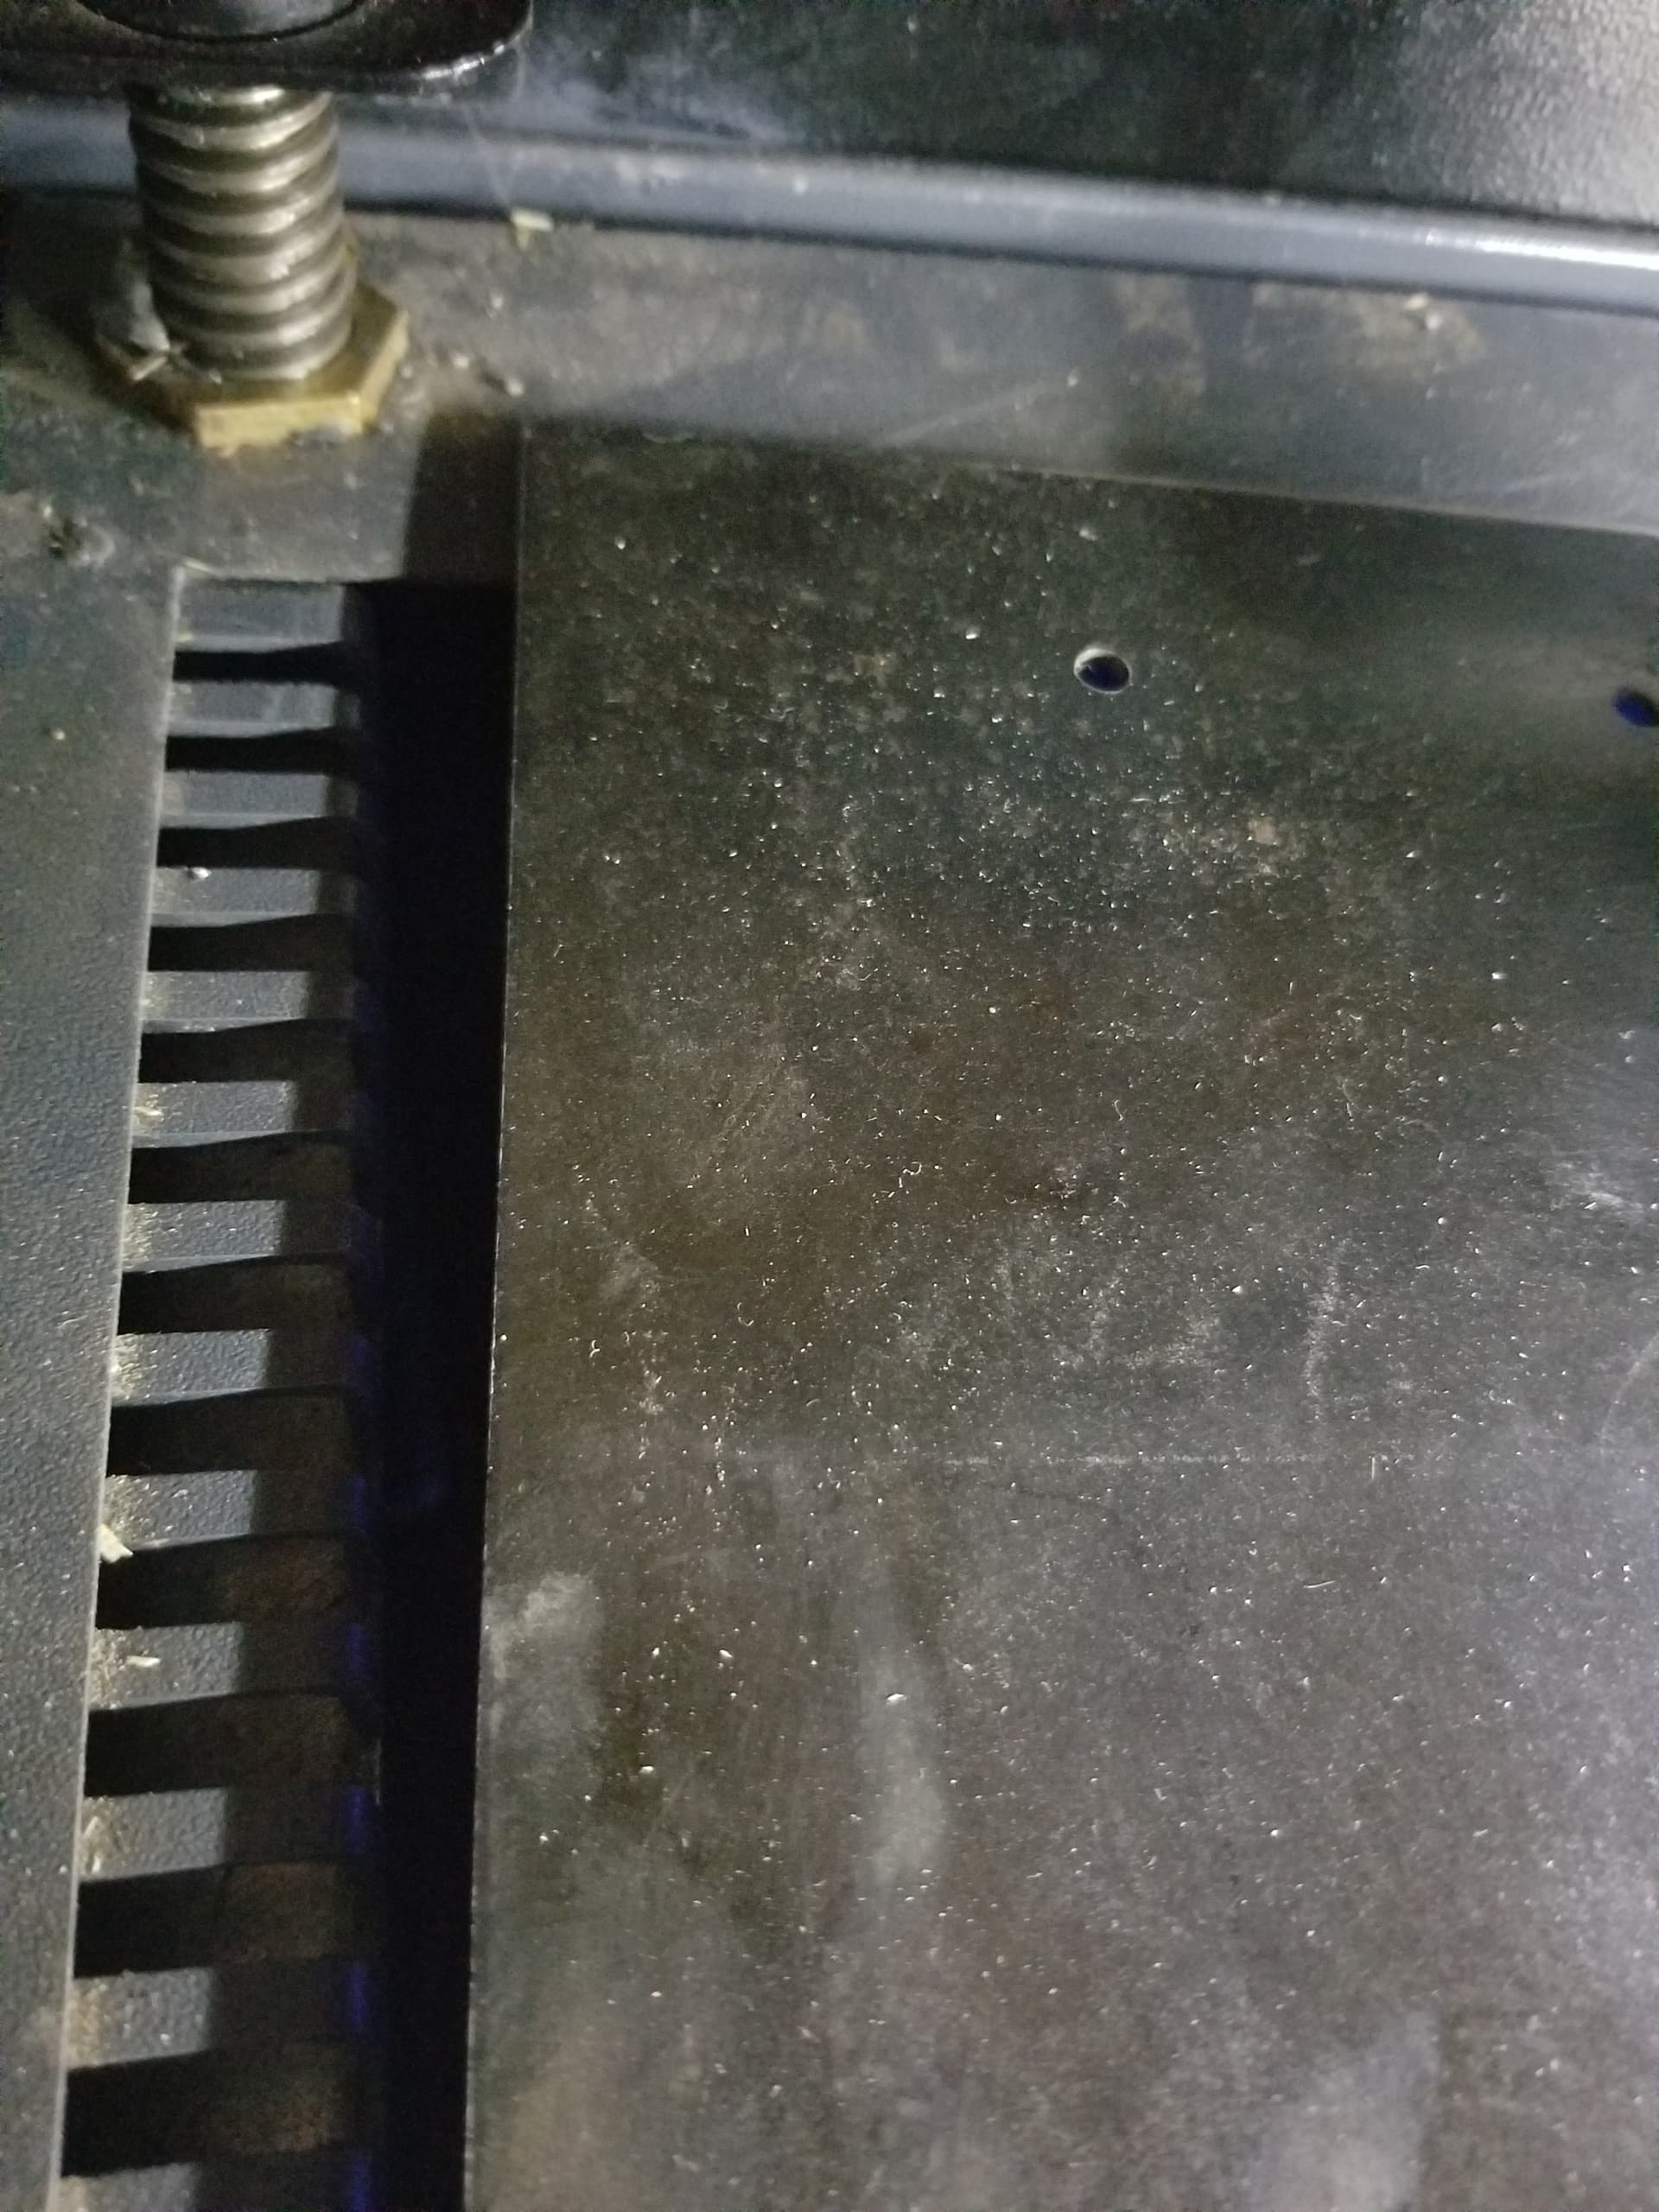
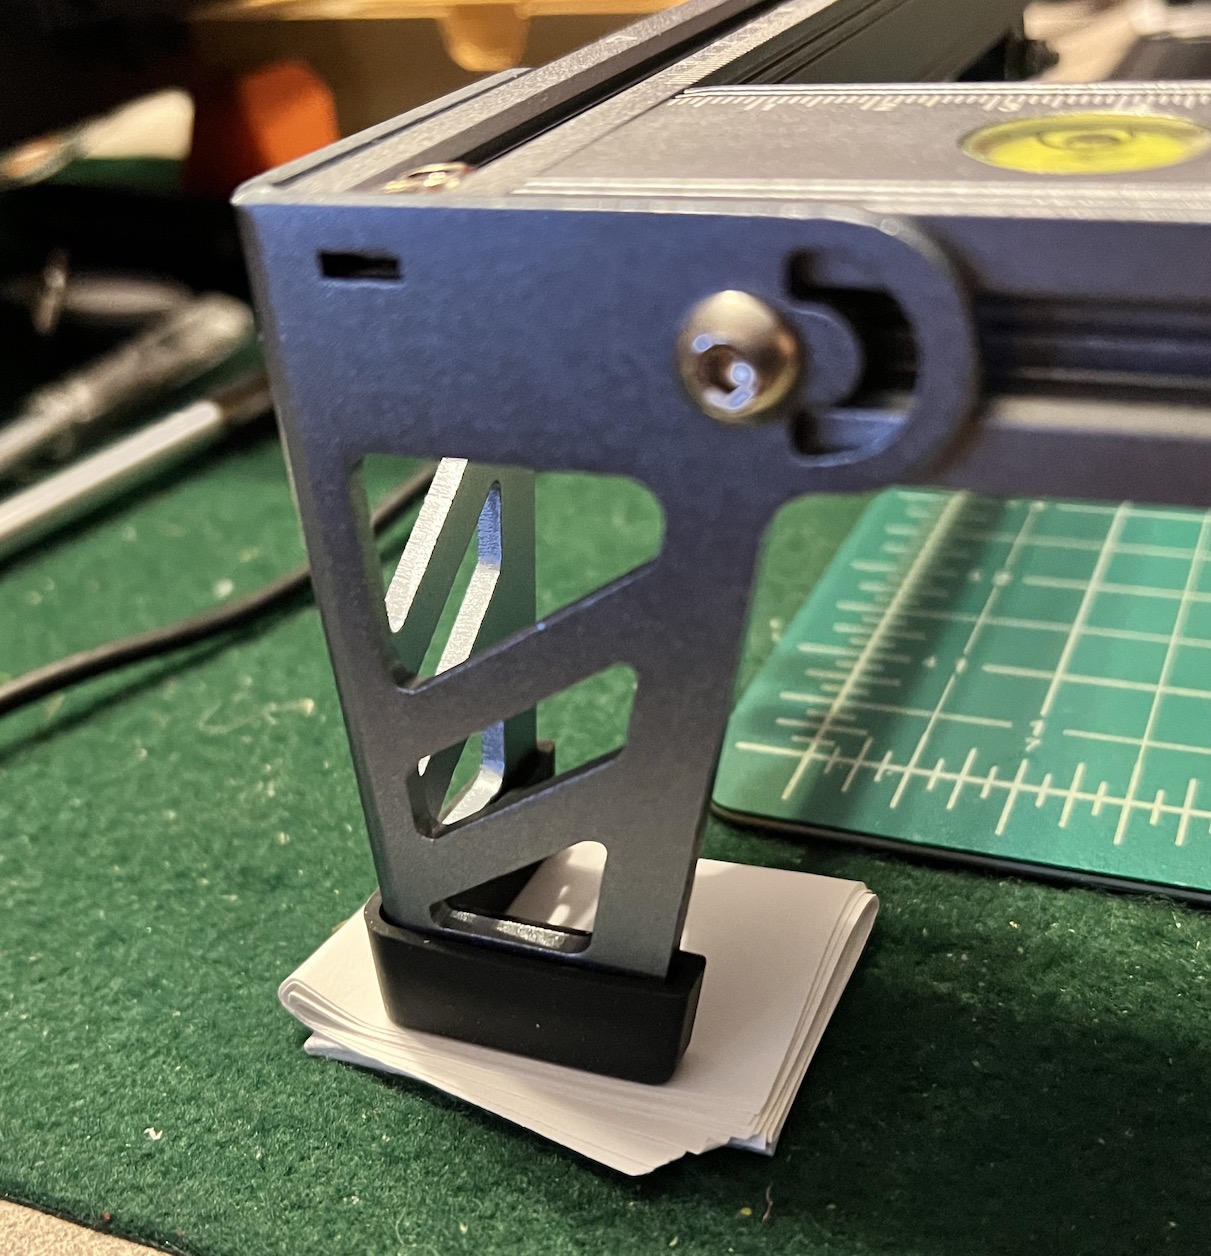
Makes perfect sense - problem is that my laser has no “bed”. It’s just a frame floating above the table top. Guess I could get a piece of aluminum plate and figure out how to attach the frame to it (this process might also help from getting the frame wracked too I suppose).
I guess I could get some plywood, make a frame that goes below, and attaches to these legs from the side. At this point - only want one for the X/Y axis right off of “Home” - 0/0. Guess I could make some slats and glue them to that base, make it square for the Home position. Would allow me to create a right angle place to put the workpiece, or as I’ve seen you do - create “jigs” for the type of work you are trying to do.
Anyway - if anyone has more ideas - please let me know. I’m gathering info to see what works, etc.
Also need to figure out some base. As you can see - I’ve got a self-healing mat when it’s cut with an X-acto knife. But, got a cut dialed in with a couple thicknesses of basswood plywood - and now it’s “scarred” Need to get something too to raise the work, so the laser is “defocused” on whatever is under the workpiece it would appear.
As the bed of your laser is the surface on which it sits, you could get away with spacers cut to surround the feet, perhaps even laser cut to match. Picture an overly large rectangle and cut away the L shape into which the feet will reside. The L shape should have the minimum amount of material outside of the working area, placing the excess to the interior.
Fire your laser to each corner to cut away the excess. You now have a template that represents the working limit of your beam, for the maximum size material to fit. You could create a number of these templates by sizing the excess cut-away to match the more common sheet sizes you use.
Using this type of template allows for an unlimited number of alignment jigs, including circular or unusual shaped work pieces.
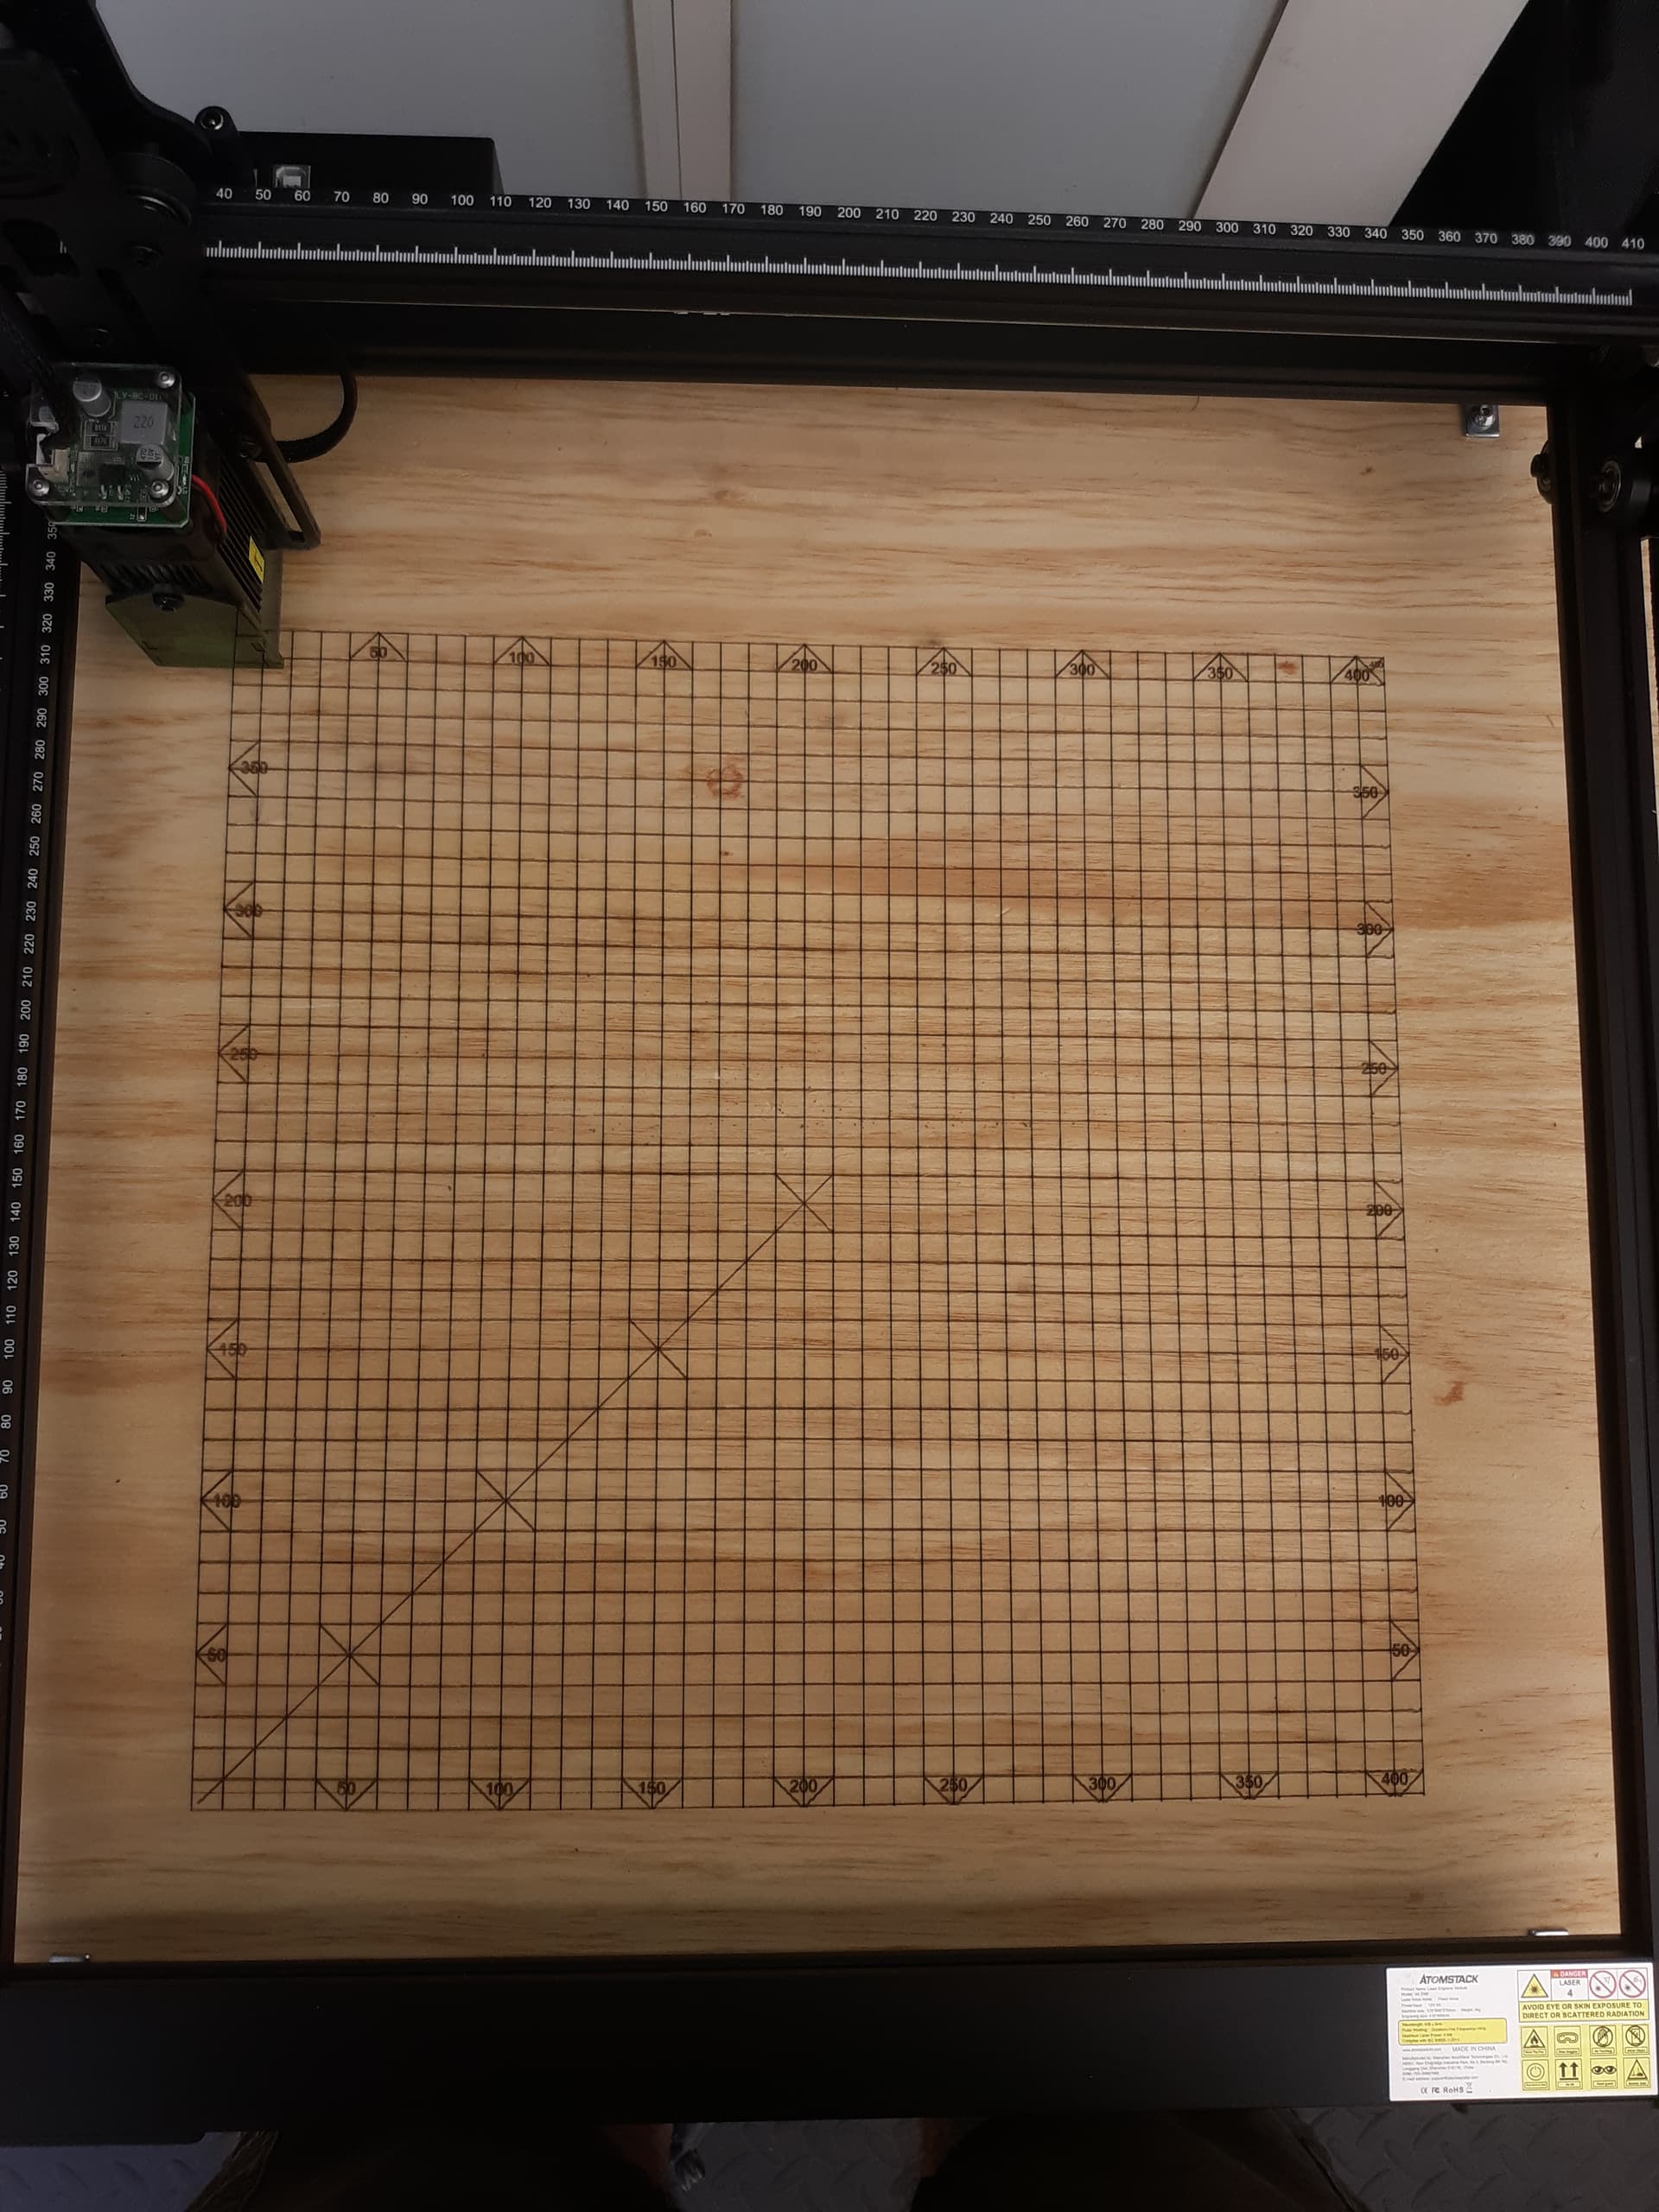
I made a grid on my workspace. Makes setting up easy since I still don’t have a camera. I will add a camera when I build my enclosure. I recommend everybody create one of these on their own. It is a great way to learn how to use the array feature.