Which will be rectangular, so LightBurn’s kerf / offset compensation will be effective along (at most) a single axis, and significantly larger than whatever its “specs” claim.
The usual suggestion to rotate your layouts by, say, 45° to compensate for the rectangular kerf won’t help in your situation, because you care about the actual dimensions on variously angled cuts. Thus, your slot tolerance must include allowance for the maximum possible tab width variation (or whatever your parts may have) due to the part orientation relative to the focused spot.
Remember to use marked lines, not cut pieces, to verify / calibrate the axes, because cuts include the kerf and thus the edge differs from the commanded coordinate. You can eyeball the center of a marked / engraved line, not a cut edge.
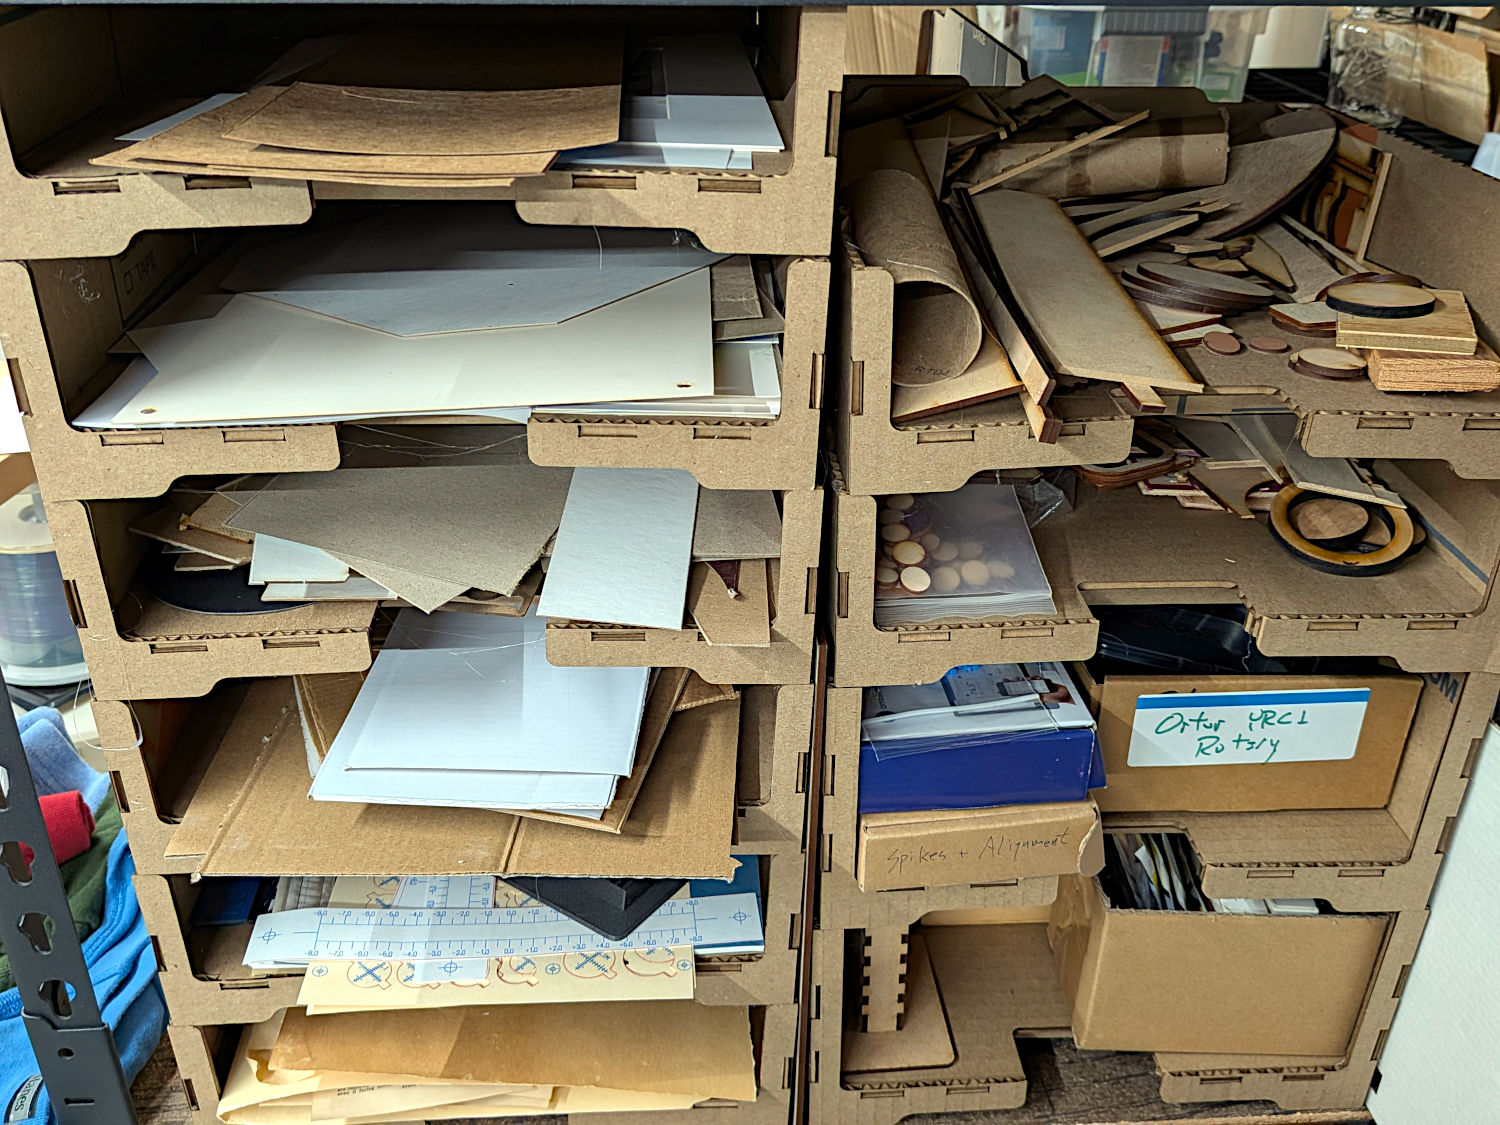
Practice on cardboard to minimize the cost of the surprises you’re about to have. If you haven’t been saving tissue / cereal / food boxes, now’s a good time to start:
Nice! But my laser is a closed box, too small to cut your pieces. Still, a design in box cardboard for something like this is something I’ll think hard about. I’m sure I can come up with some useful workshop/storage idea.
A friend took some of my shop/storage ideas and cut them in Masonite/hardboard, and sells them. They’re some of his most successful products.
Laser arrives Tuesday. I spent today organizing the workspace, including a 4 port extension cord, a power supply for the laptop, etc. I also have a stack of different materials to try.
Anyone got good ideas for storing sheet materials?
I usually buy some really cheap sub flooring from one of the hardware stores. It’s about 5mm. You’ll have to choose the size. I generally buy a 4x8’ sheet and cut it down on the table saw.
I keep the jigs on a shelf, vertically, with slight pressure on them to help keep them flat. Fortunately it’s relatively dry here. Mine are dry most of the year and I’m not going to change that, but you need to keep them flat so they don’t tend to curl. Can cause issues when monsoonal flow occurs.
Hard to focus on something like the oceans surface… lol
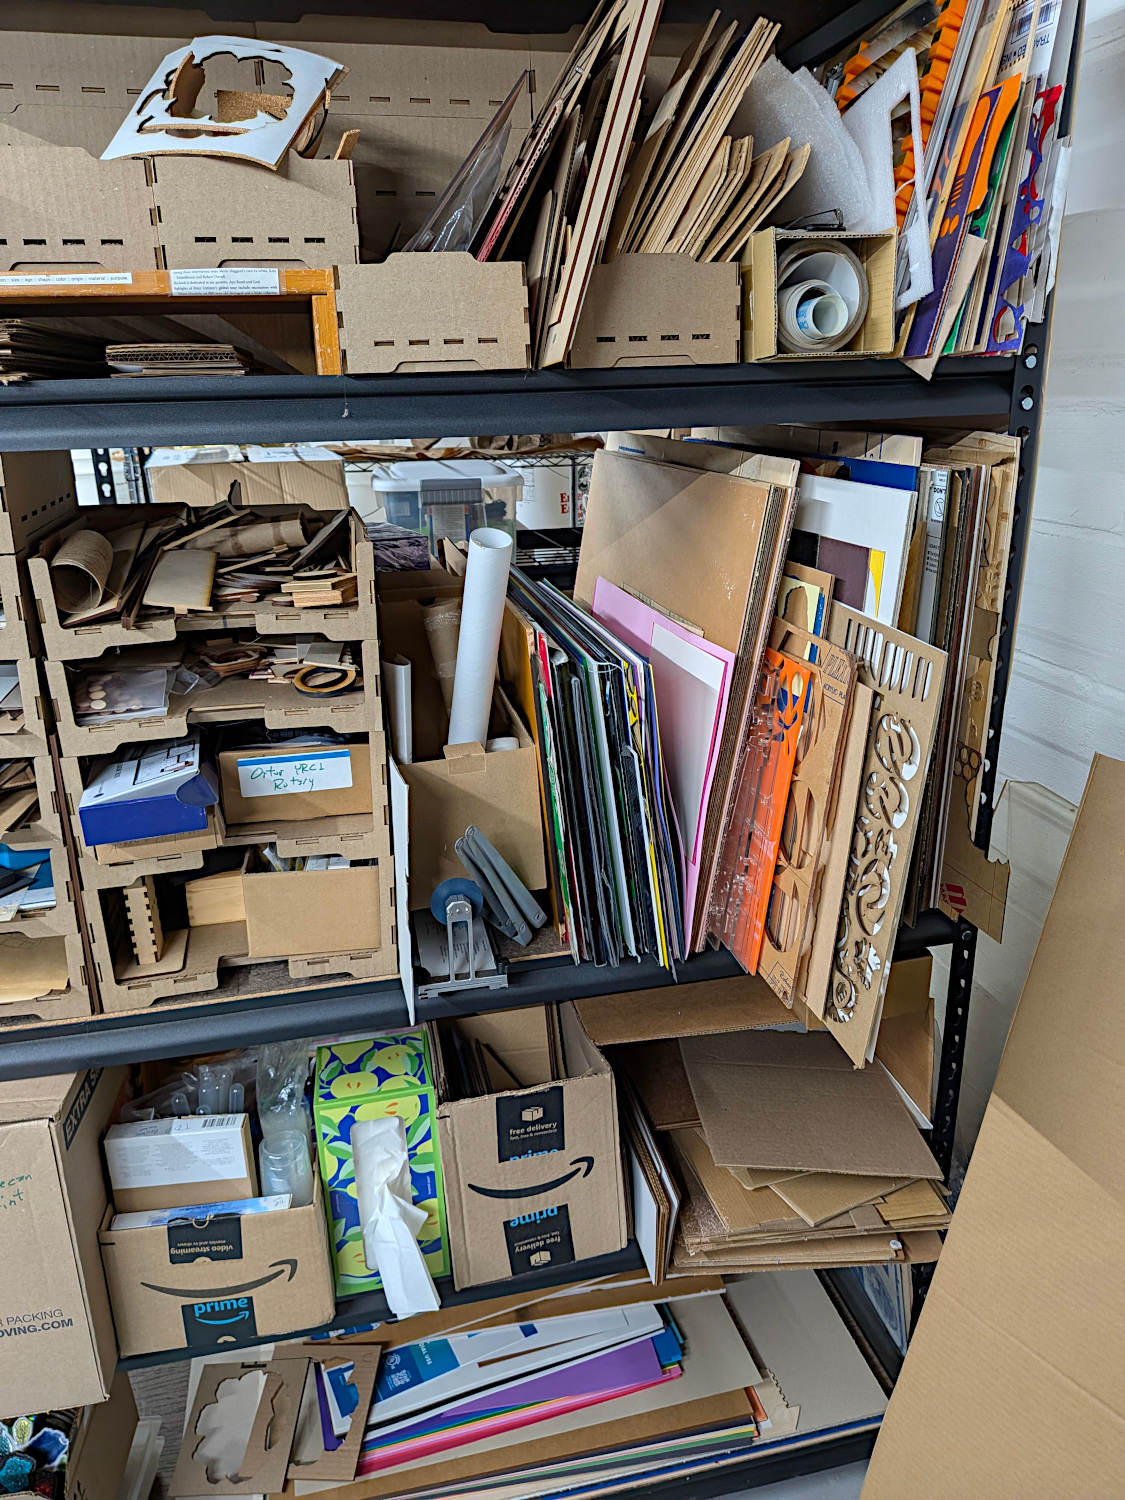
What’s not obvious are the plywood slabs (sawed from the crate the laser came in) between sections of those vertical acrylic / plywood / chipboad sheets on the middle shelf. The two or three inches of sheets between pairs of plywood supports have no reason to develop a bend, so it works out well in practice.
The bottom shelf holds large sheets that either don’t fit vertically or are material like paper / EVA foam that laugh at restraints.
The cardboard sheets serve as both raw test material and airflow blocking covers for the honeycomb in the machine.
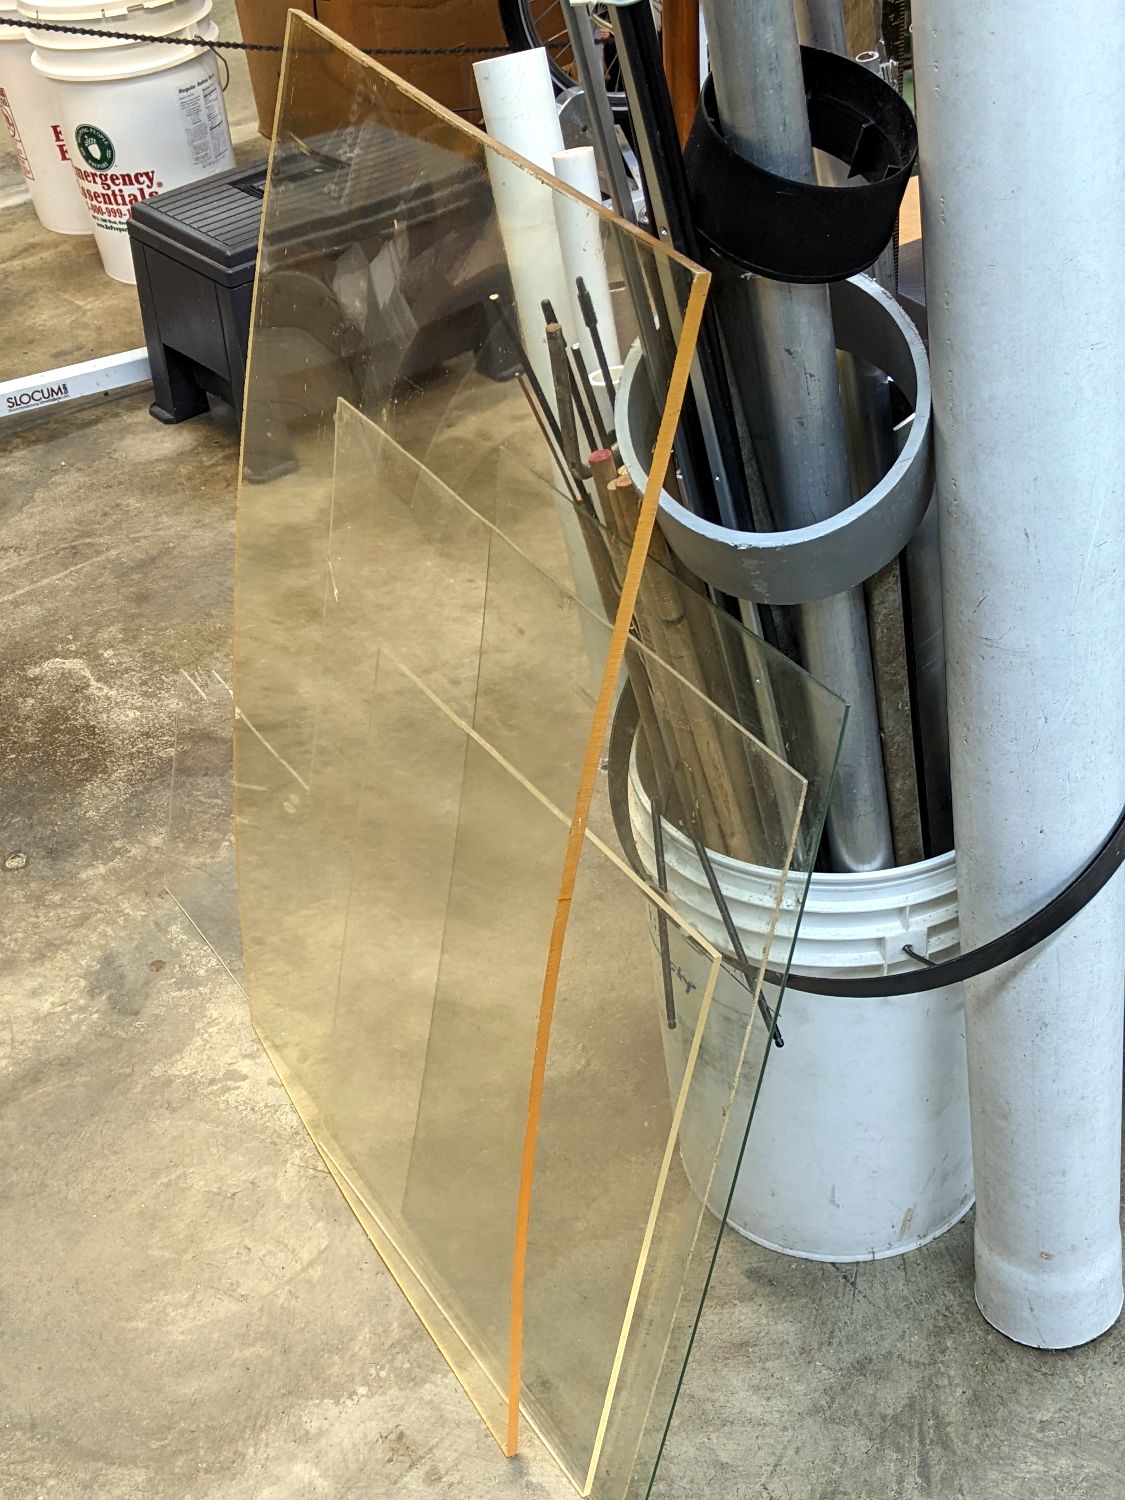
Edit: If you don’t support the sheets, you get something like this after a few decades:
The thick yellow edge is 3/8 inch “clear” acrylic with an inch of warp in the middle.
That reminds me of the ‘vertical press’ I constructed once for mattboard and styrene sheets. It was about 4’ long and 3’ tall. 2 pieces of plywood, a 1" piece of wood on the base. One piece of plywood was screwed into the base, the other was on hinges. There was wood behind the back piece to brace it, and wood on the front piece to discourage warping. The top was held together by 2 strips of Velcro, to hold the 2 pieces of plywood tight. It worked OK, not perfectly.