My new (first) laser should arrive by the end of the week. In the meantime, I’m learning LightBurn.
When the laser arrives, I would like to do some stuff to verify the laser is working correctly, is in adjustment, and LightBurn is properly configured to work with the laser.
I’ll do the Interval Test and the Material Test (I’ve ordered basswood and baltic birch, and some cardboard-like materials. I’ll do those tests on each material.) What next? What results should I be looking for to adjust the laser settings in LightBurn?
I would practice on cardboard boxes first. Basically free material to get practice on. There’s also test patterns others can provide to make sure it is working mecanicaly.
For a simple first project, our First LightBurn Project guide is also worth a look. It walks through making a QR code and covers some useful basics like creating text, Fill/Line layers, alignment, grouping, and Preview. You don’t need to make the coaster itself — engraving the QR code and text onto a piece of black cardstock would make a nice quick test on the Omni X.
Follow a procedure (build a flow-chart) from switching on, all the way to hitting the start button to commence the job. List every little step like making sure you have all cables etc connected, chosen the correct Com-port, choosing device, Focusing etc etc.
Procedure for asking questions here on the forum, remembering to include your machine make/model and module type 5w, 10w…20w etc, diode, Co2 etc.
Include Screen-shots of settings etc with a good description of the situation.
When you learn a Tool, build your next skill on top of the previous one so you go through the procedure and all skills and procedures get practiced until memorised.
Keep your files and folders in good order as they will accumulate very quickly. It’s very easy to make an adjustment to a job and forget the previous setting that worked better. Keep (Good-To-Go) files in their own folder…that you don’t alter.
Try to date your practice work and if for example you do an image or material test etc, burn the settings & notes onto the material…its great to look at how your work improved over time and have a material record of what a group of settings actually looks like rather than guessing or wondering “How did I do that”.
Remember first and foremost your personal heath and safety, Don’t let eagerness be the priority or an innocent looking piece of material affect your well-being.
Read as many posts as you can on anything lasers, it’s amazing how much you can learn from seemingly unrelated chat!
@Pete.IRL is spot on about doing things in an order. One of the last things before you press start is double check your cuts/layers settings and run a preview to make sure everything you want is selected and is executing in the right order, as in usually you will want to make cuts after any fills.
Read as many posts as you can on anything lasers, it’s amazing how much you can learn from seemingly unrelated chat!
Of course, there’s so much to read and watch, that I’d -never- actually -do- anything, I’d just spend all my time doing research. (And I tend to lean towards “analysis paralysis”…)
From a software developer’s perspective, “version control” is a good practice when evolving and maintaining code. Has anyone looked at ‘version control’ for burn files? As part of that flow-chart, I’m thinking it would be A Good Idea to capture/save/store the file used for each burn.
Yeah, that version control sounds like a good plan. Although it may sound arduous to think on doing that initially.
I do believe it would pay off halfway round the learning curve…Just after you’ve got a fair idea of what your doing and how to get it done & the point where it has become muscle memory. That’s when the little info/learning gaps appear especially after you’ve been researching or paying attention to another aspect of the what your at.
It doesn’t have to be a long drawn-out description, Just a simple memory jogging symbol (mind mapping) or term may get you back in the zone.
Not necessarily every burn, but certainly every project.
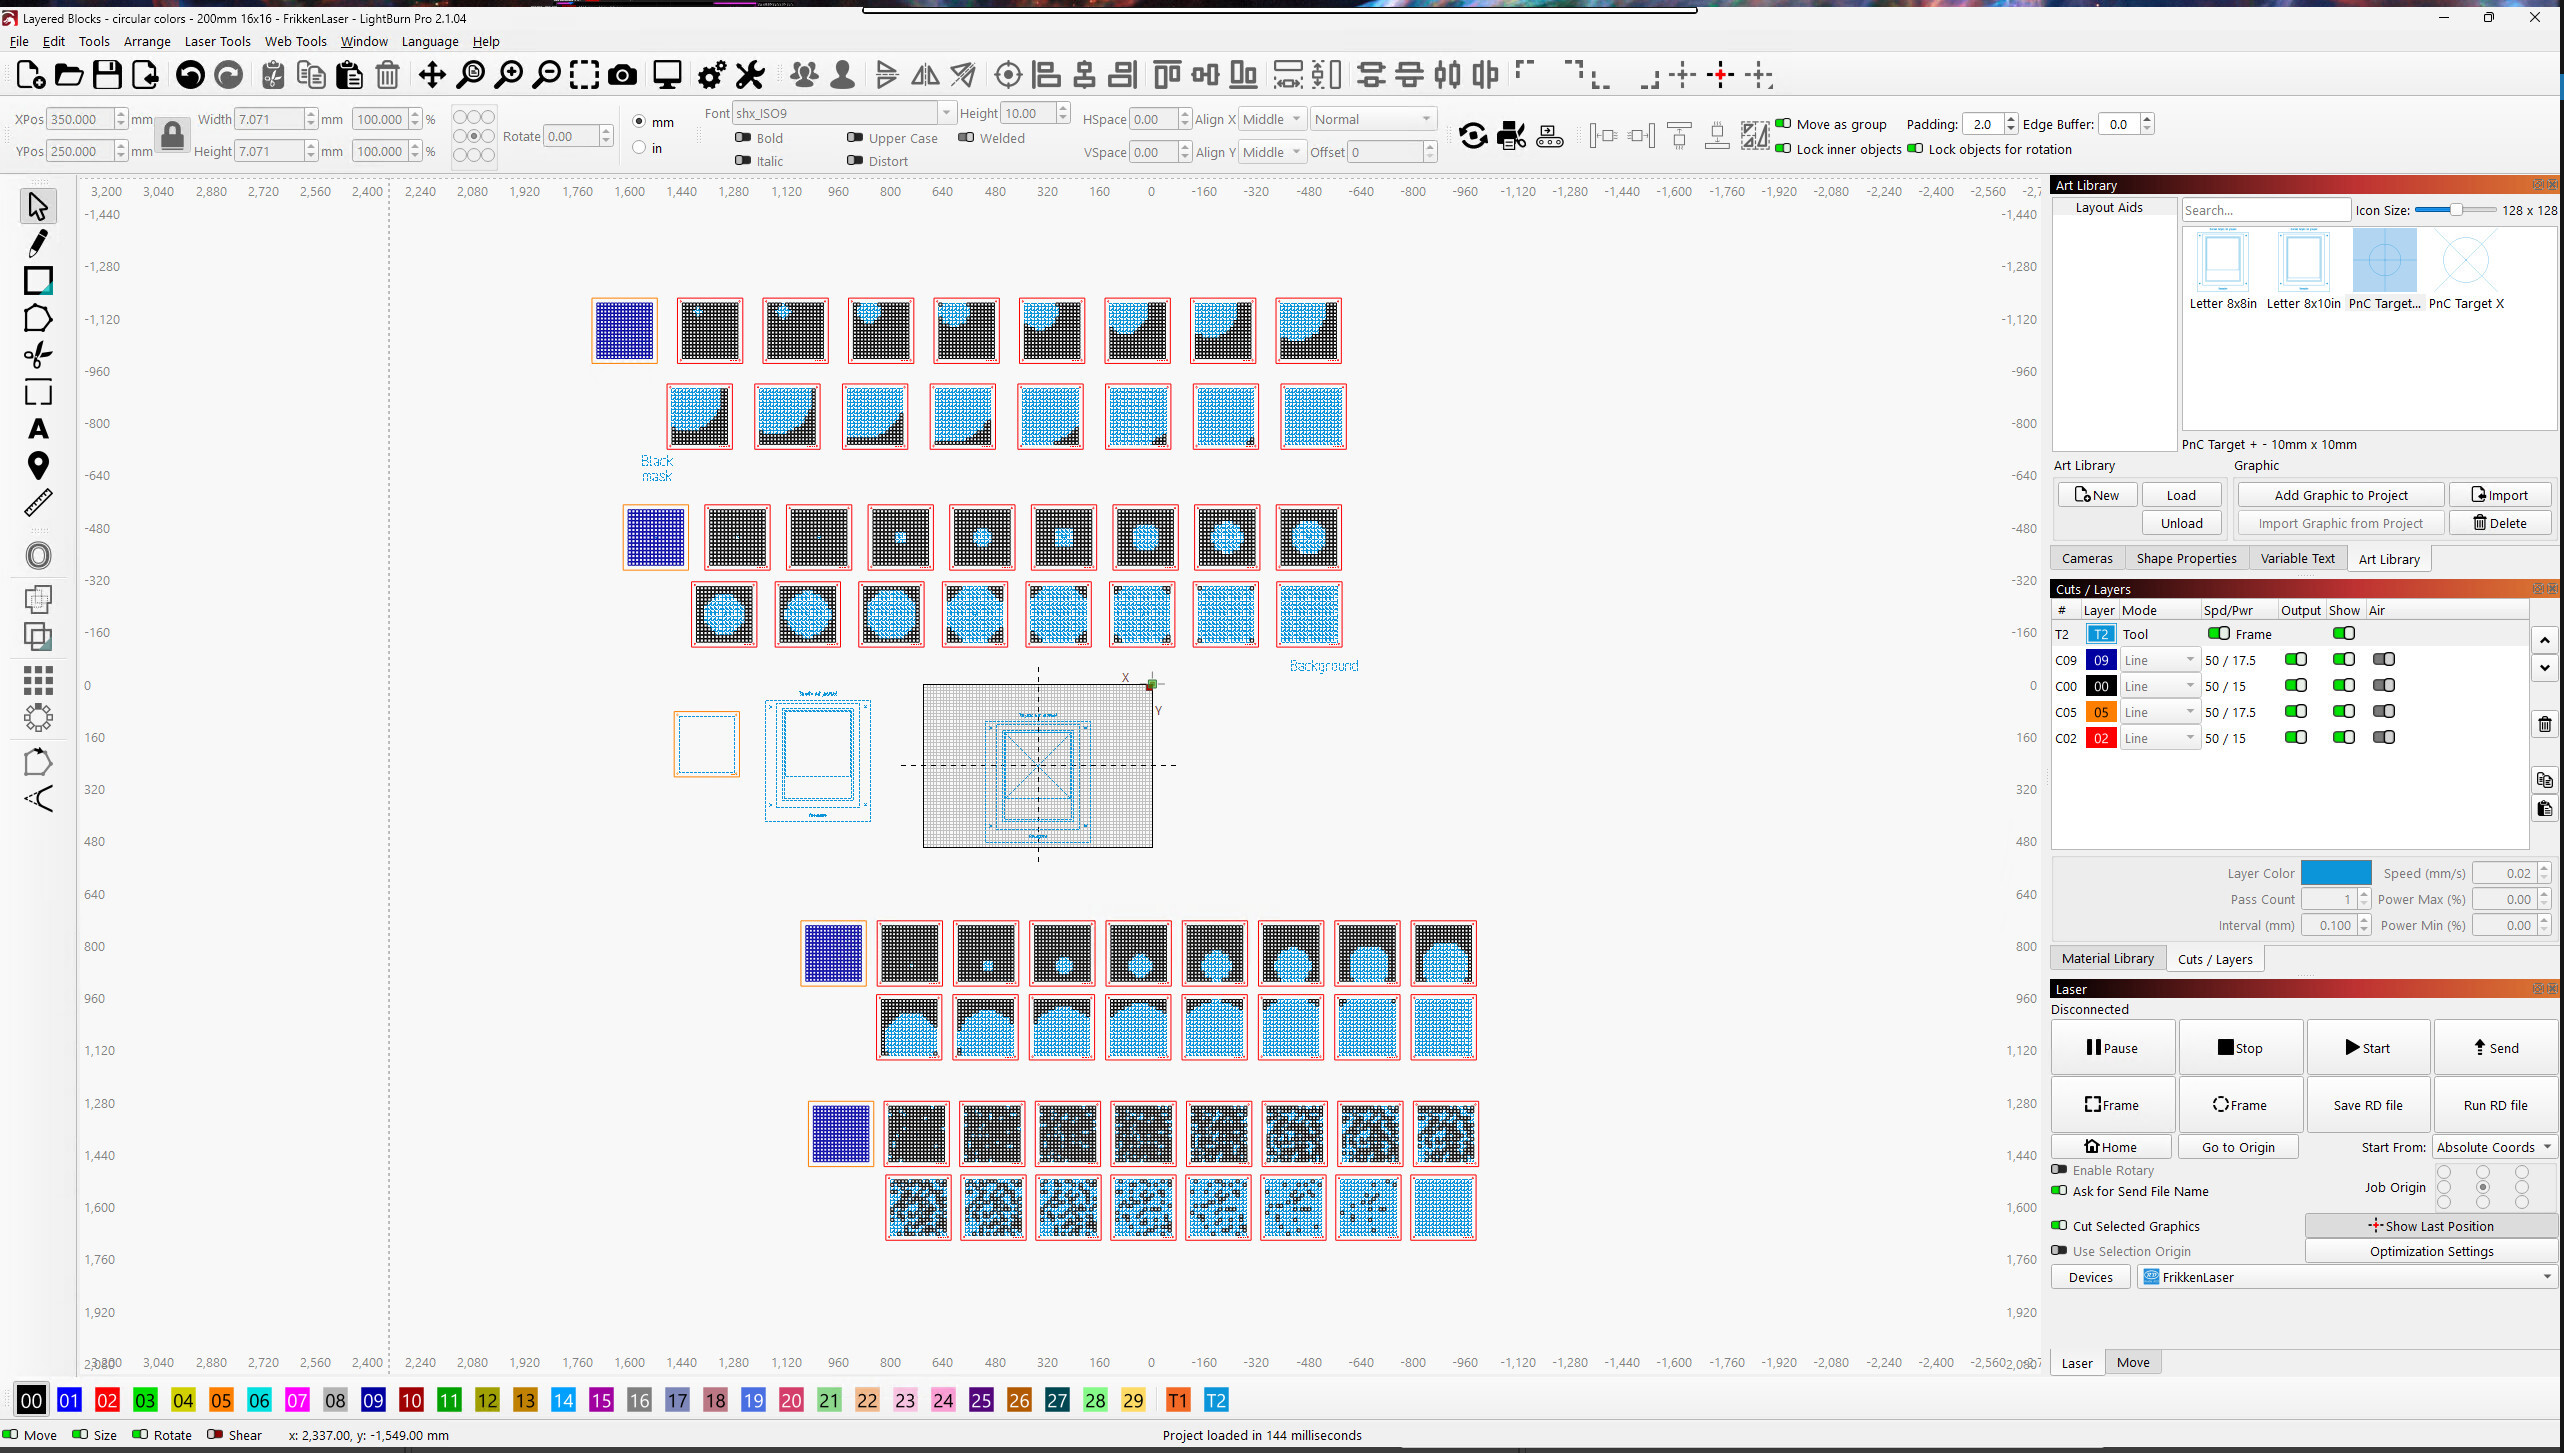
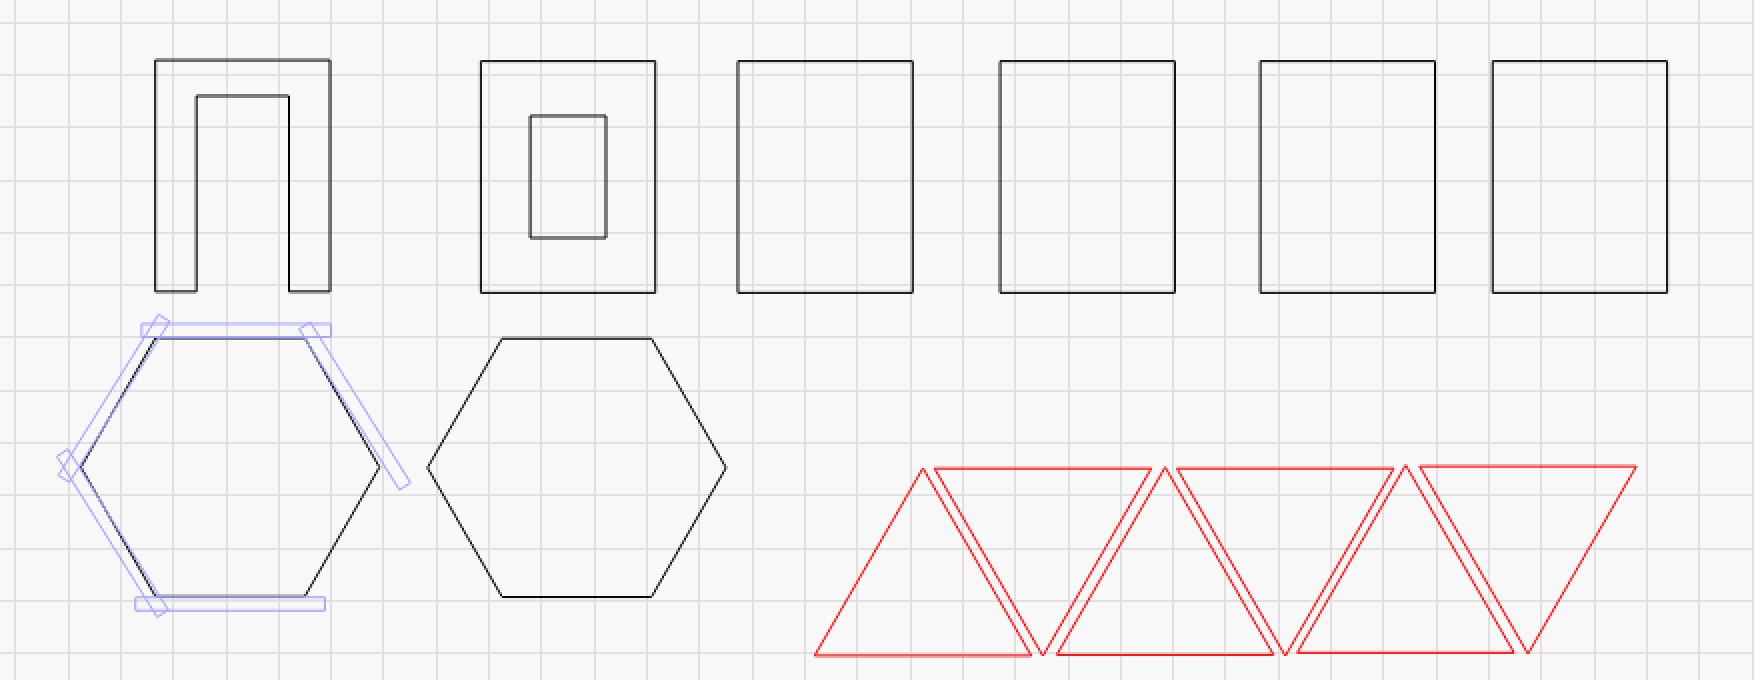
Within that file, stash the intermediate layouts you made along the way, so you need not start from scratch to make a change. The grid in the LightBurn layout marks the machine platform, but the blank space around it can hold plenty of design pieces:
If you set up the fixture & template properly, you can select the next thing-to-burn, hit Ctrl+D to duplicate it, hit P to slam the duplicate into the middle of the platform, then Fire The Laser.
Accumulate the layer settings for each material in the Material Library so you can refer to named values when you want to do The Same Thing again:
One of the capabilities for software version control is to tell you what changed between two versions. So I’m thinking as I learn/experiment, I can grab a pair of results and then see what the difference was between them. That’s probably a feature request
Yeah, I’d do a reference (material sheet) for each of the materials you test. They can differ from one type of eg Plywood to another and even from one side to the other or end to end. With ply, it’s layers of wood and you’ll get thicker and thinner layers on the face which can work differently…resin bond, glue type bonded etc.
A reference sheet (easily viewable from your station or photo on phone and screenshot on computer) will be a great help for shading and line-interval and dither pattern decision making options when planning.
As a quick disclosure, I have seldom followed any of the advice I offer on this subject…So I do know what I’m talking about!!
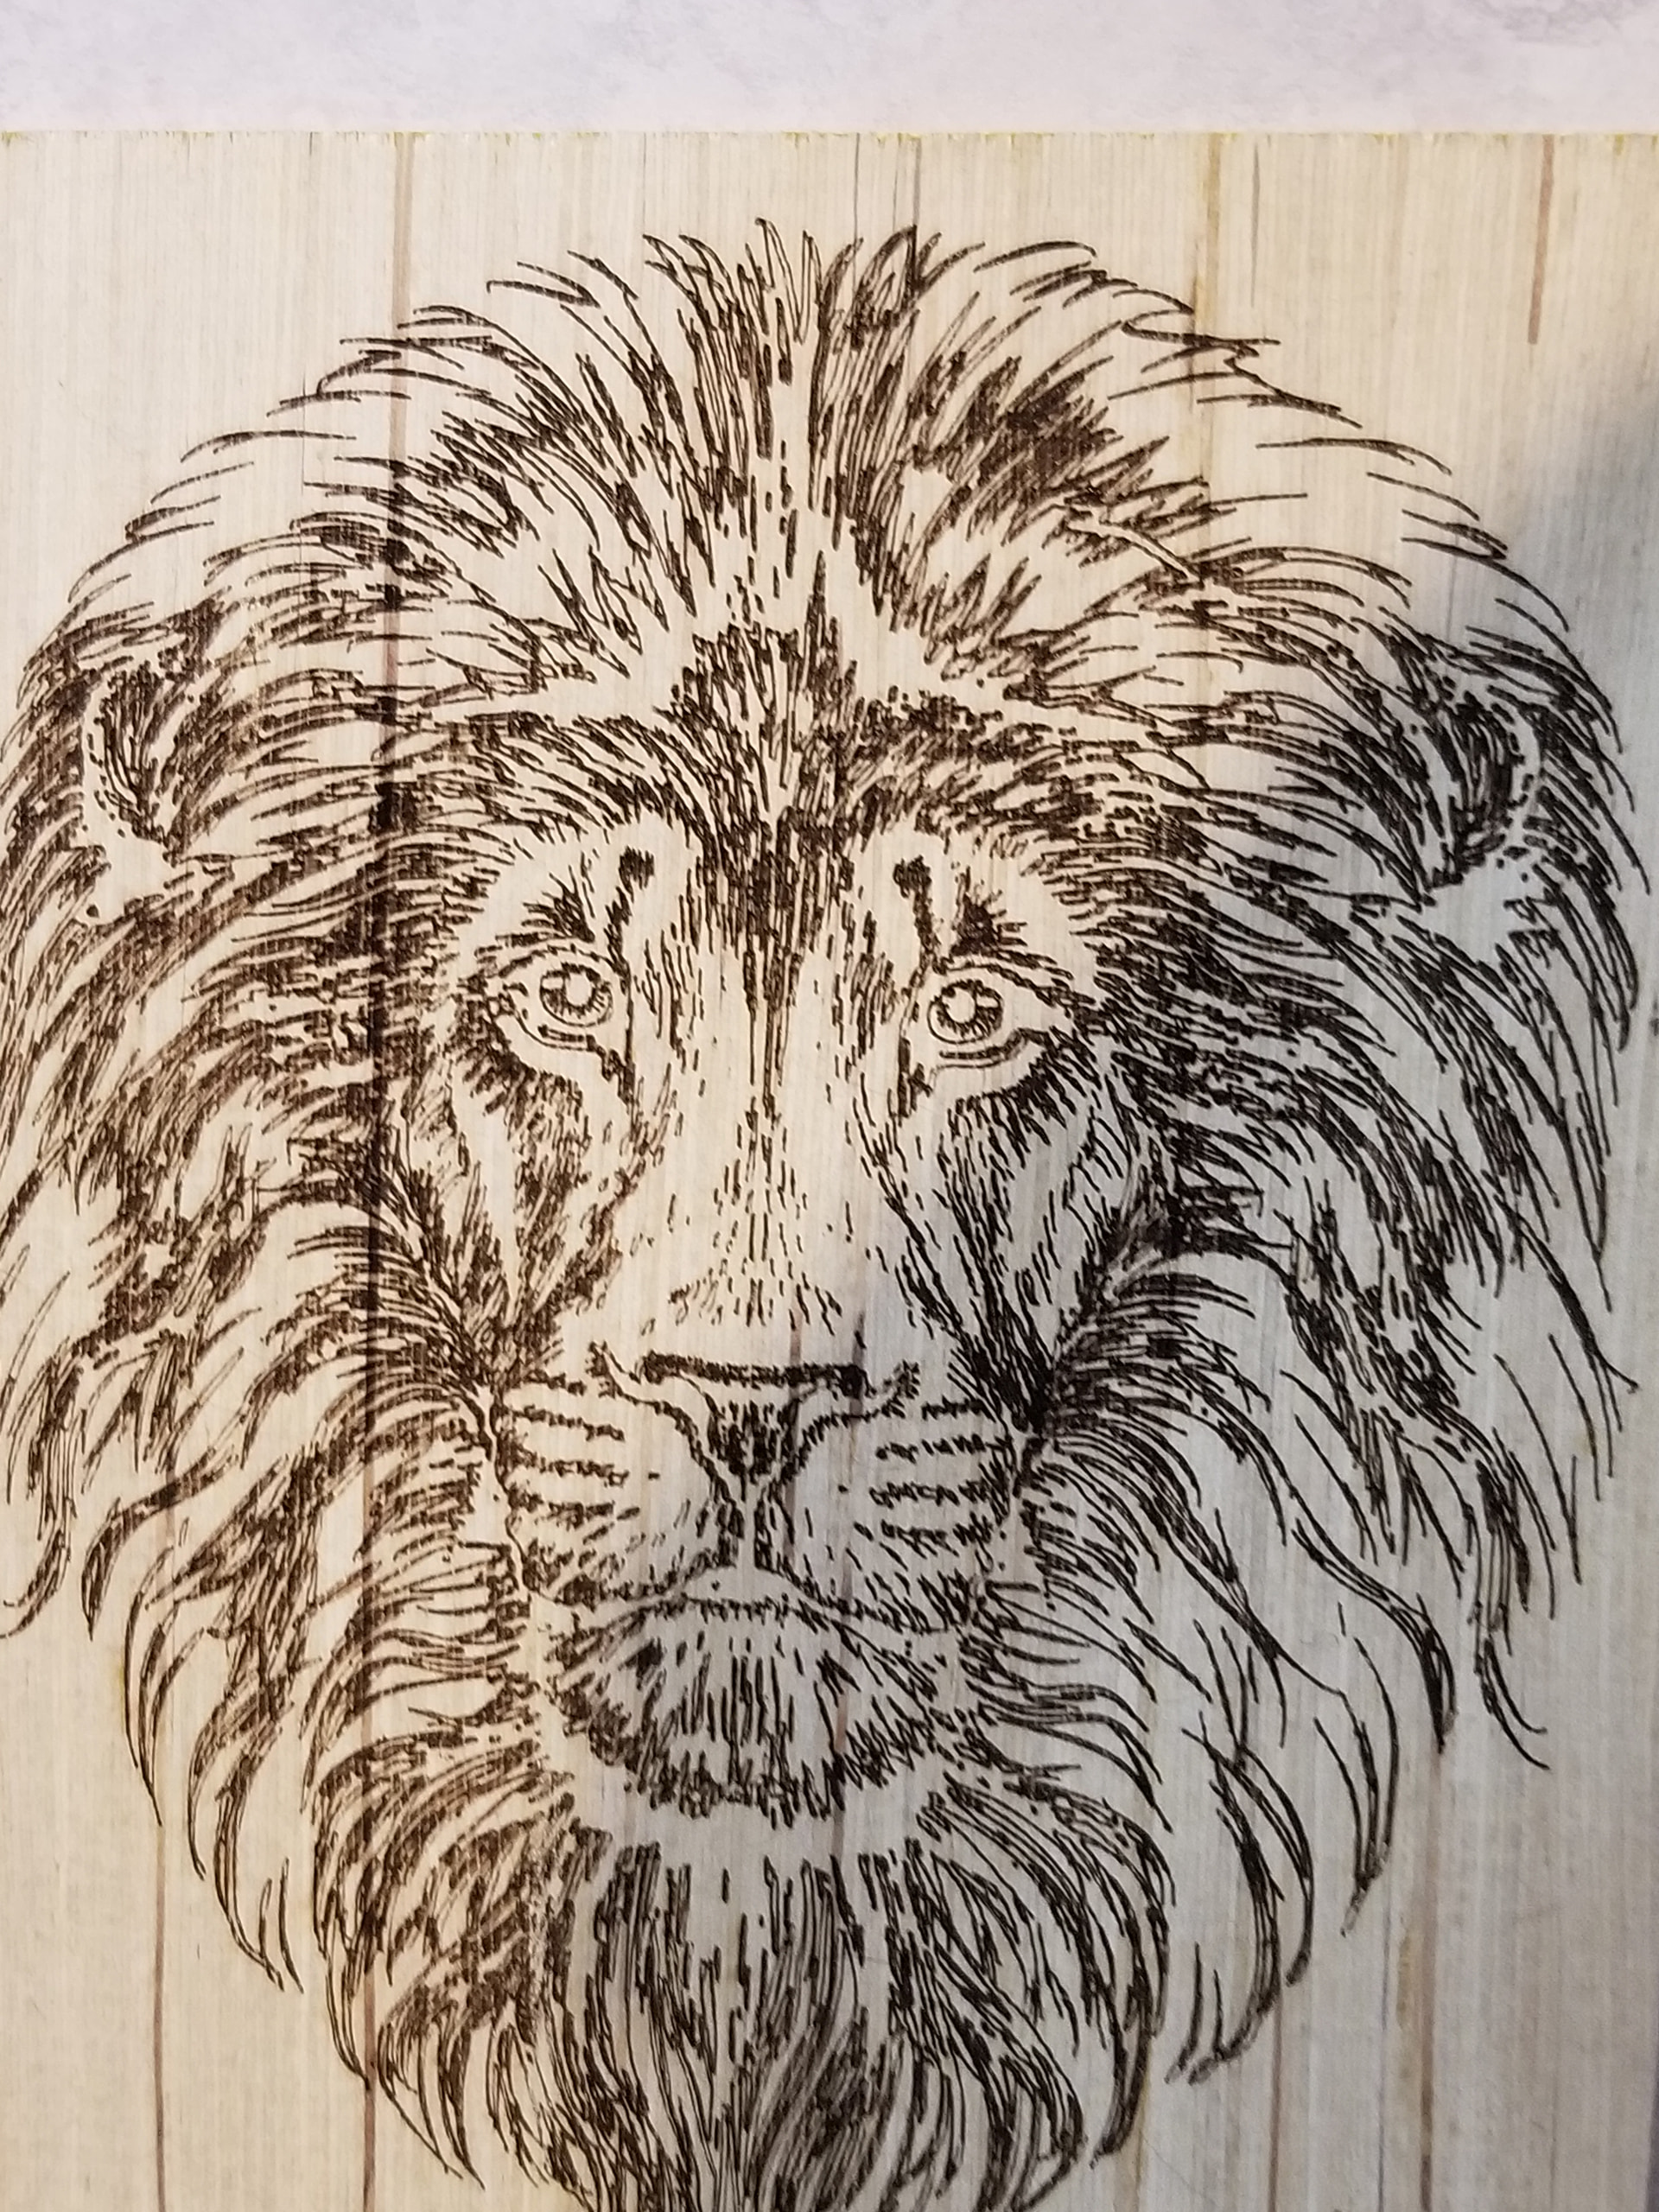
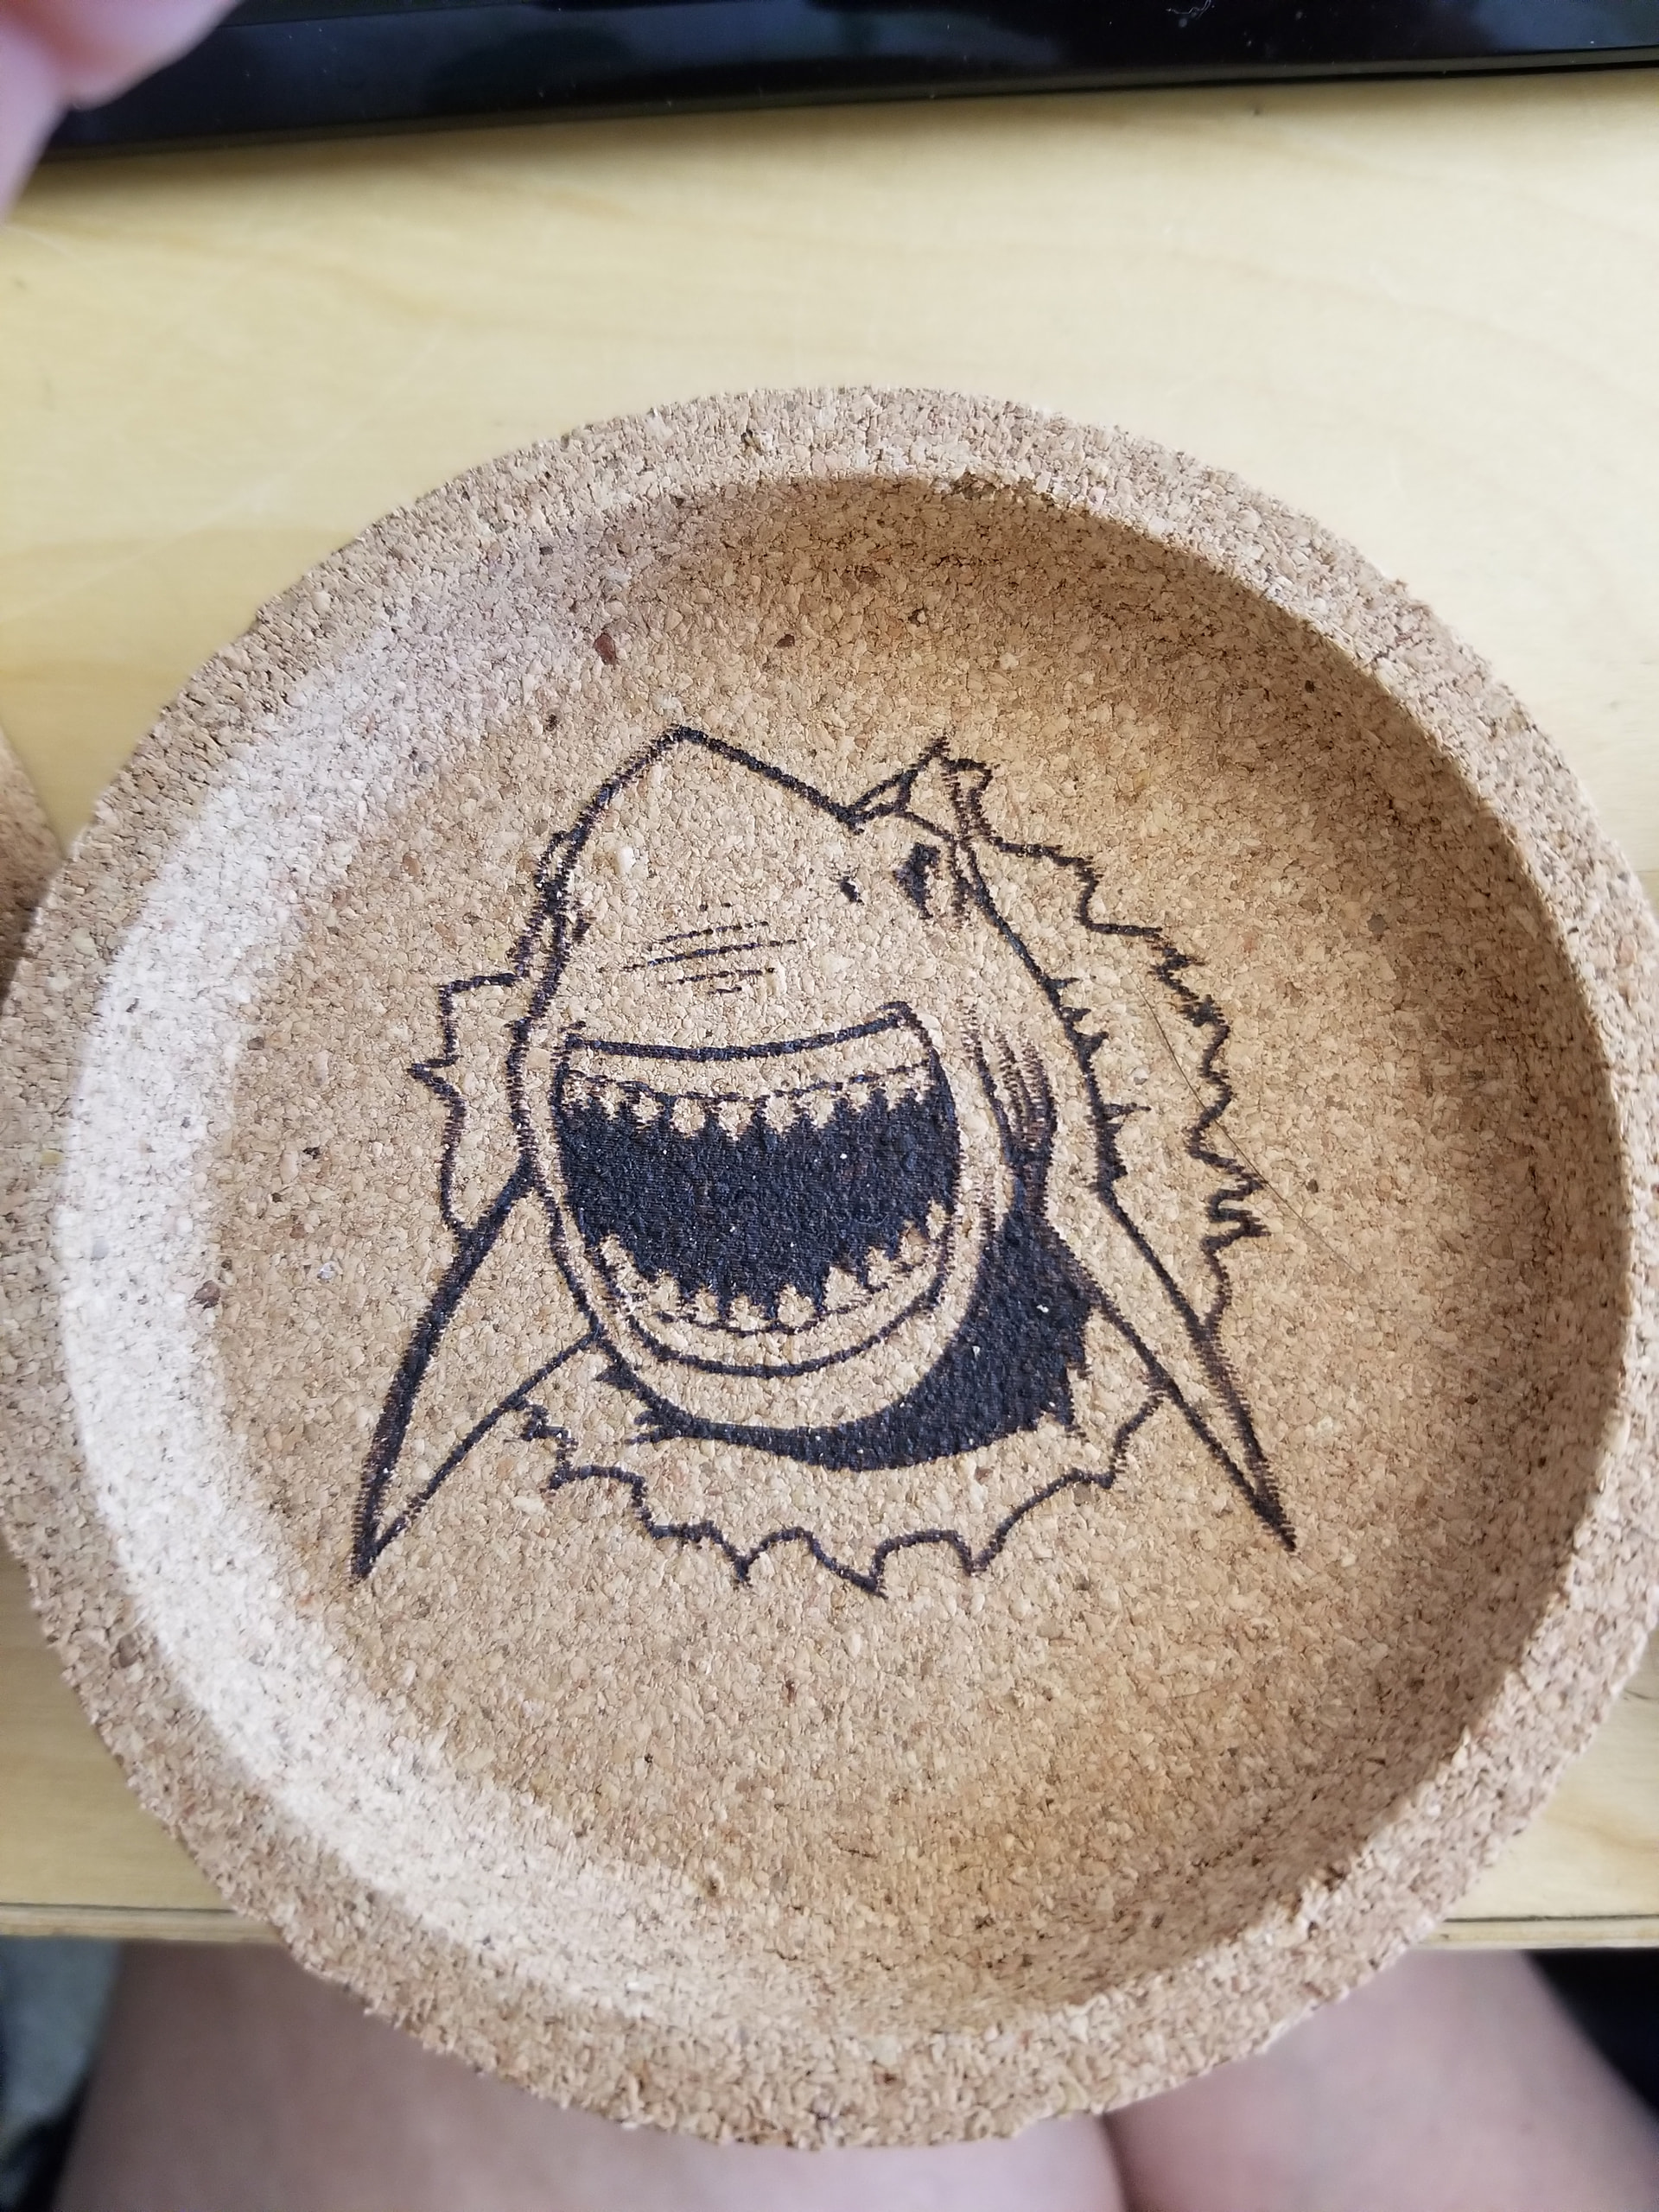
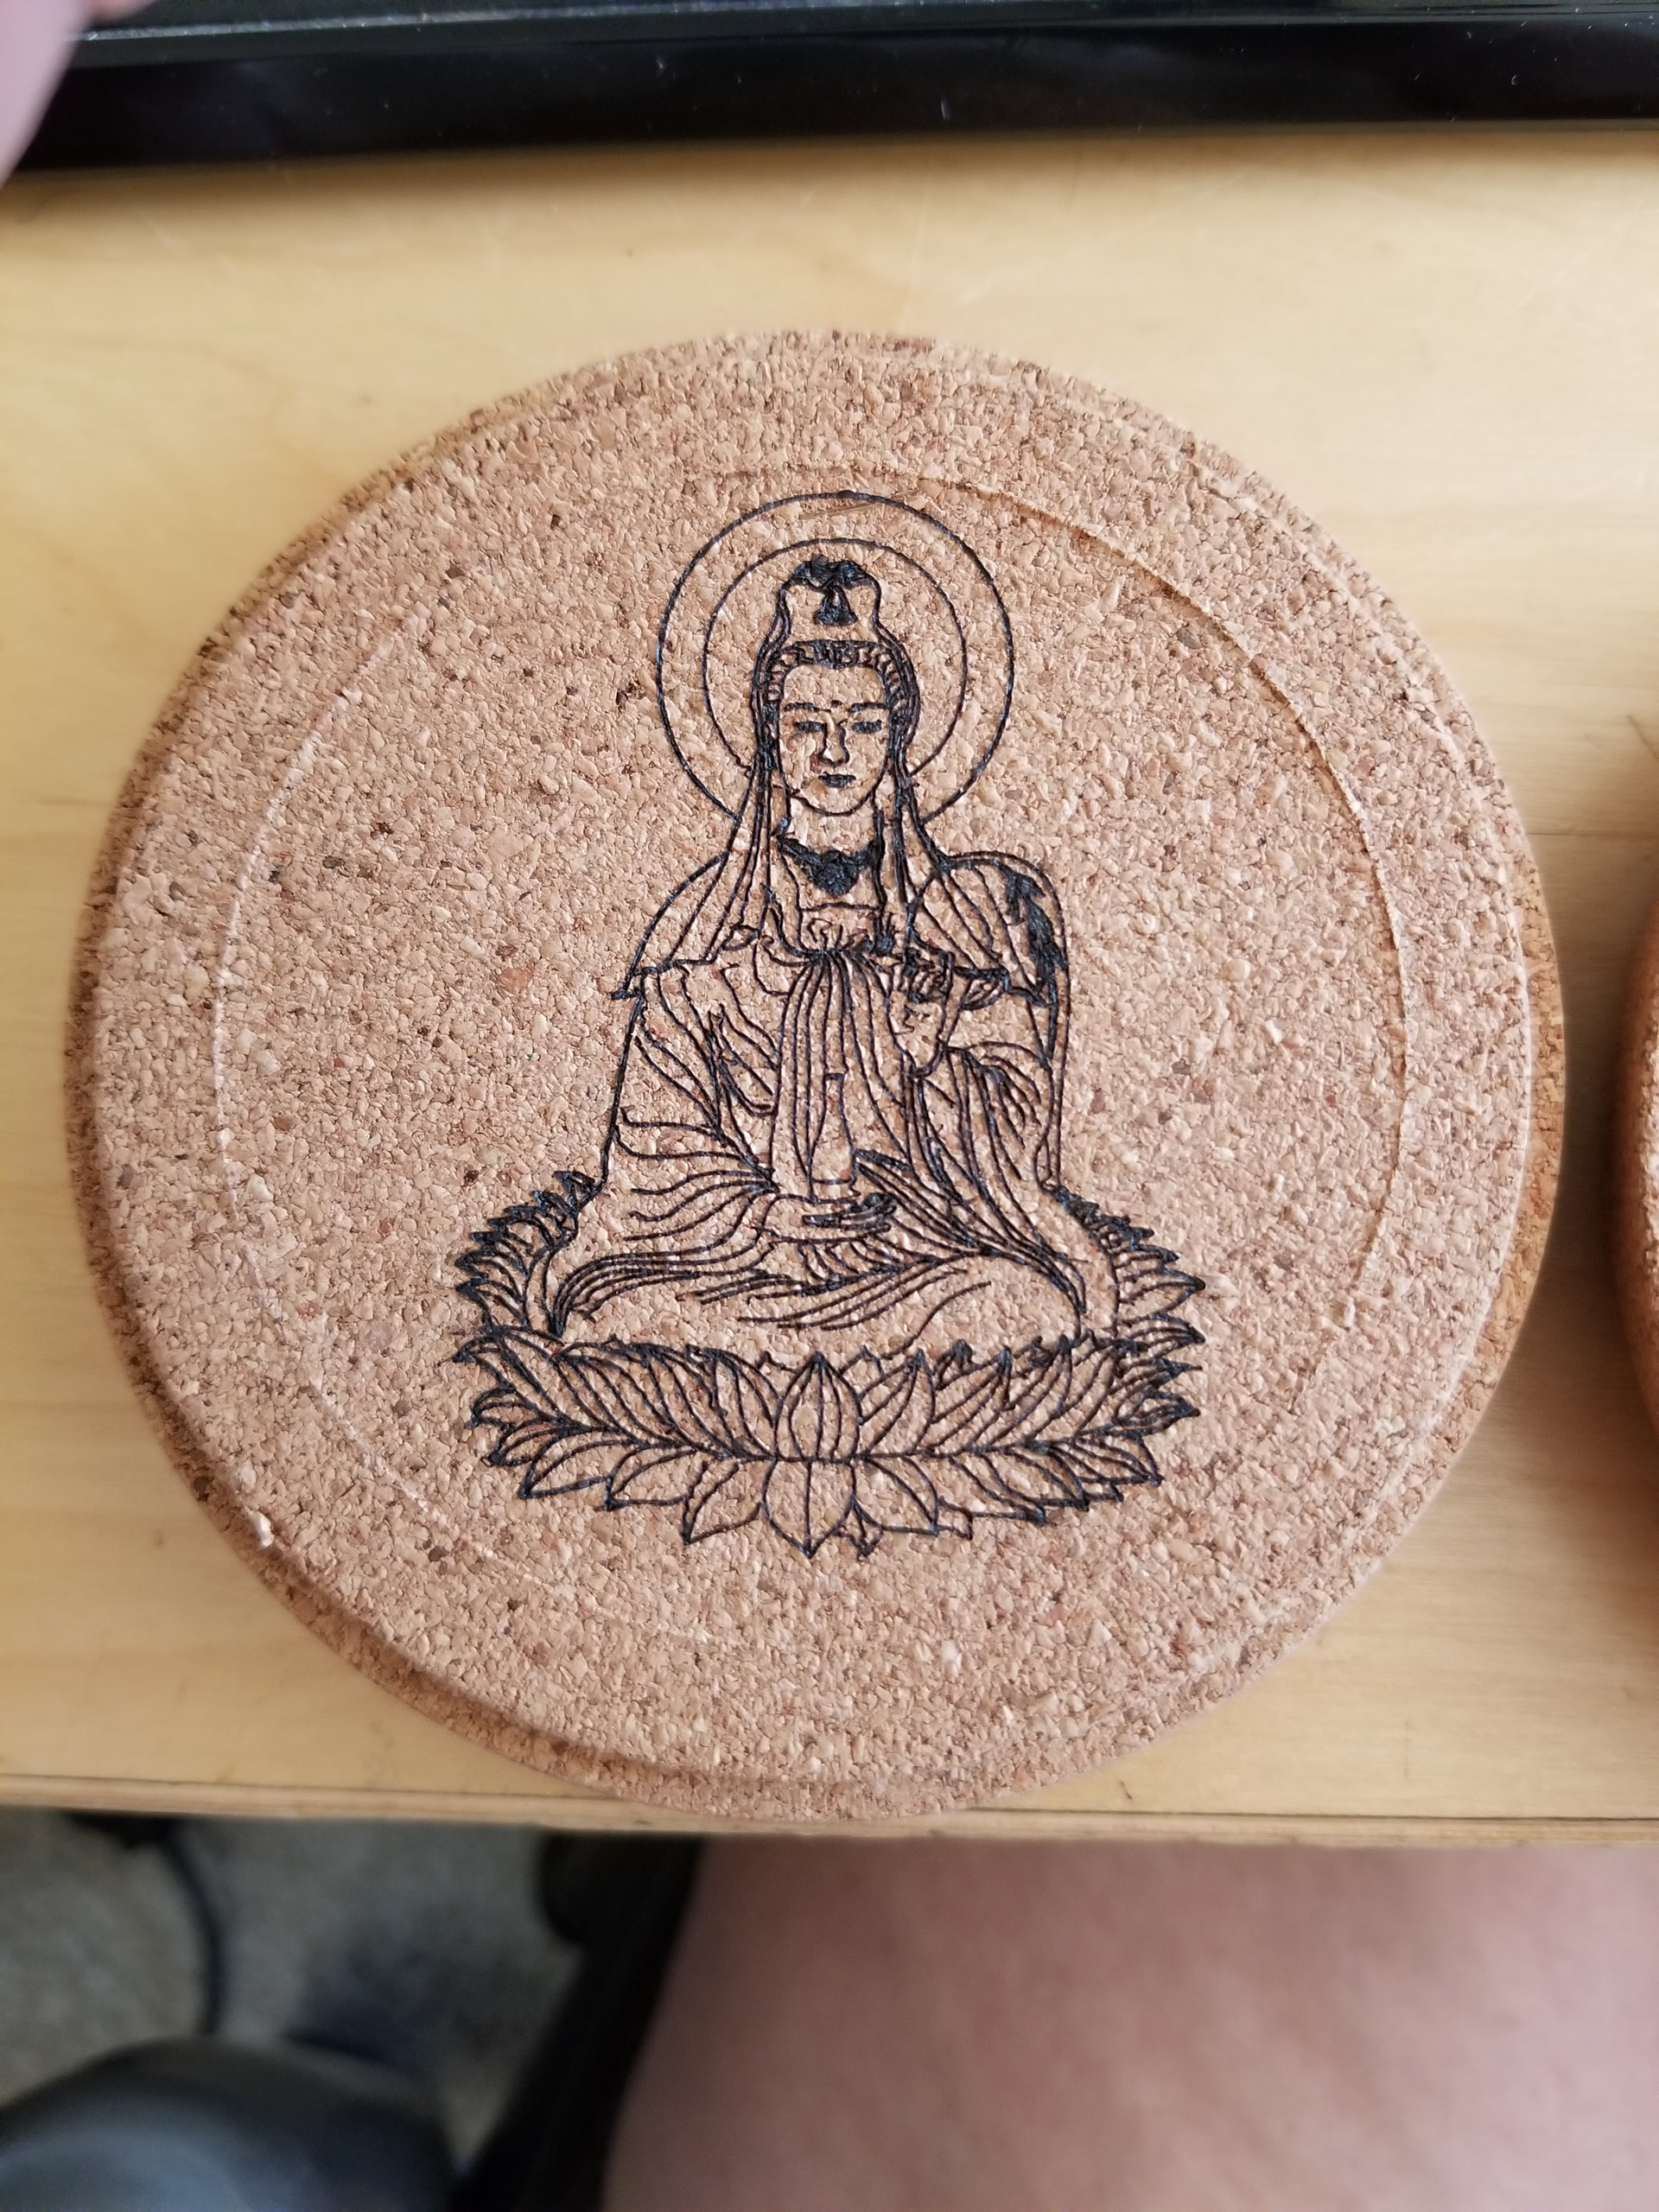
These are all simple designs using vectors, so you don’t have to worry too much about any kind of grayscale or shading.
These were done years ago. However when I moved to the co2, I just made simple, but larger ones, same thing with the fiber.
When you want to do something and you don’t know how, add that to your repertoire.
Having one of these are for fun, not so much about learning details… you’ll get there… When you learn the details, it will come over time. Don’t get in a hurry.
I’m not sure what I’d learn by burning a line drawing. Is it tuning the laser to get a better result? It’s certainly not designing for the laser. Now if you could provide some advice on what to look for in a burn, and then what to correct based on those observations, I’d find that helpful.
This is totally determined by what you like. Some users like light brown engravings. I prefer burning into the material so the recipient knows for sure it was not something ink stamped in a Chinese factory.
Listed or posted settings are used to get you in the ballpark, but it is up to you to decide what is acceptable for you or any potential customers.
The one thing that gets mentioned time and again for various reasons is to focus the laser. If you get unacceptable results, assume the manufacturer did not get it right.
Yes, “Tuning to get a better result” would be a good way of looking at it.
You can learn to get a good line with everything set just right and have all that done relative to the specific material you’re using at that time. This will save time and materials ‘When it matters’…that’s artisnal smarts.
Then there’s the outcome when you attempt something like the buddha above, How will those nice lines look when they are combined into a complex pattern in terms of heat dispersion, blurriness…depth of mark etc.
There is always something to be learned. Line drawings will show up mechanical issues and speed limitations, resulting in wavy lines at direction changes.
Ever since I was alive milling machines, drill presses and lathes have used the term ‘speeds/feeds’ to specify the speed, or how fast the tool is rotating. This is laser power, since that’s what the tool is. Feeds, refer to how fast the tool is moving relative to the material. Both could be moving.
There is additive and subtractive machining. An additive type would be something like a 3d printer. Subtractive types, milling, drilling holes, lathes… anything that removes material, even a chisel.
All of them require the correct “speeds/feeds” to work their best. All of them will work to some degree way off their proper speed/feed for tool/material.
However only a very small range of speeds/feeds will the machine operate at it’s most efficient, giving you the best possible job results, least machine and tool wear, fastest job time and require less energy.
With a milling machine or lathe, you can look up the flutes on the tool along with the type of material and get a good match.
However lasers are not like them when it comes to the type of tool and what kind of damage it does to the selected material. This is the bottom line of lasing. How is the lasers emf going to damage the material?
Part of this is based on what @MikeyH brought up, all effect how the laser damages the material.
This has been a very helpful discussion. I think it’s been A Good Thing ™ that I’ve had time to think before the laser arrives (due next Tuesday).
So here’s my current thinking, comments very much welcome:
assemble the laser, connect to laptop, make sure the comms is working.
select and cut a piece of test material to fit on the entire bed. Then burn a test pattern. If that’s OK, burn 4 more test patterns, positioning them at each corner and in the middle. (It looks like I’ll need to configure 5 separate Material Test presets, one for each corner and one for the center.)
repeat for a different material. (I have basswood sheets, plywood, and a couple think cardboard/taskboard/laserboard materials on order.)
measure/verify the laser kerf, then configure my own first project, so that the parts are docked with the laser kerf gap. Burn that and see how the result looks.
(That’s a hex shape HO scale telephone shack, with openings for styrene door and window castings, and a peaked roof. I should calculate/add formers for the roof. Eventually, I’ll cut the walls from wood clapboard panels, and the roof from plain wood or plywood.)
My primary intended use, at least initially, is cutting out shapes. I’ll want to learn effective engraving, but that’s secondary to precise production of ‘chunks of wood’…