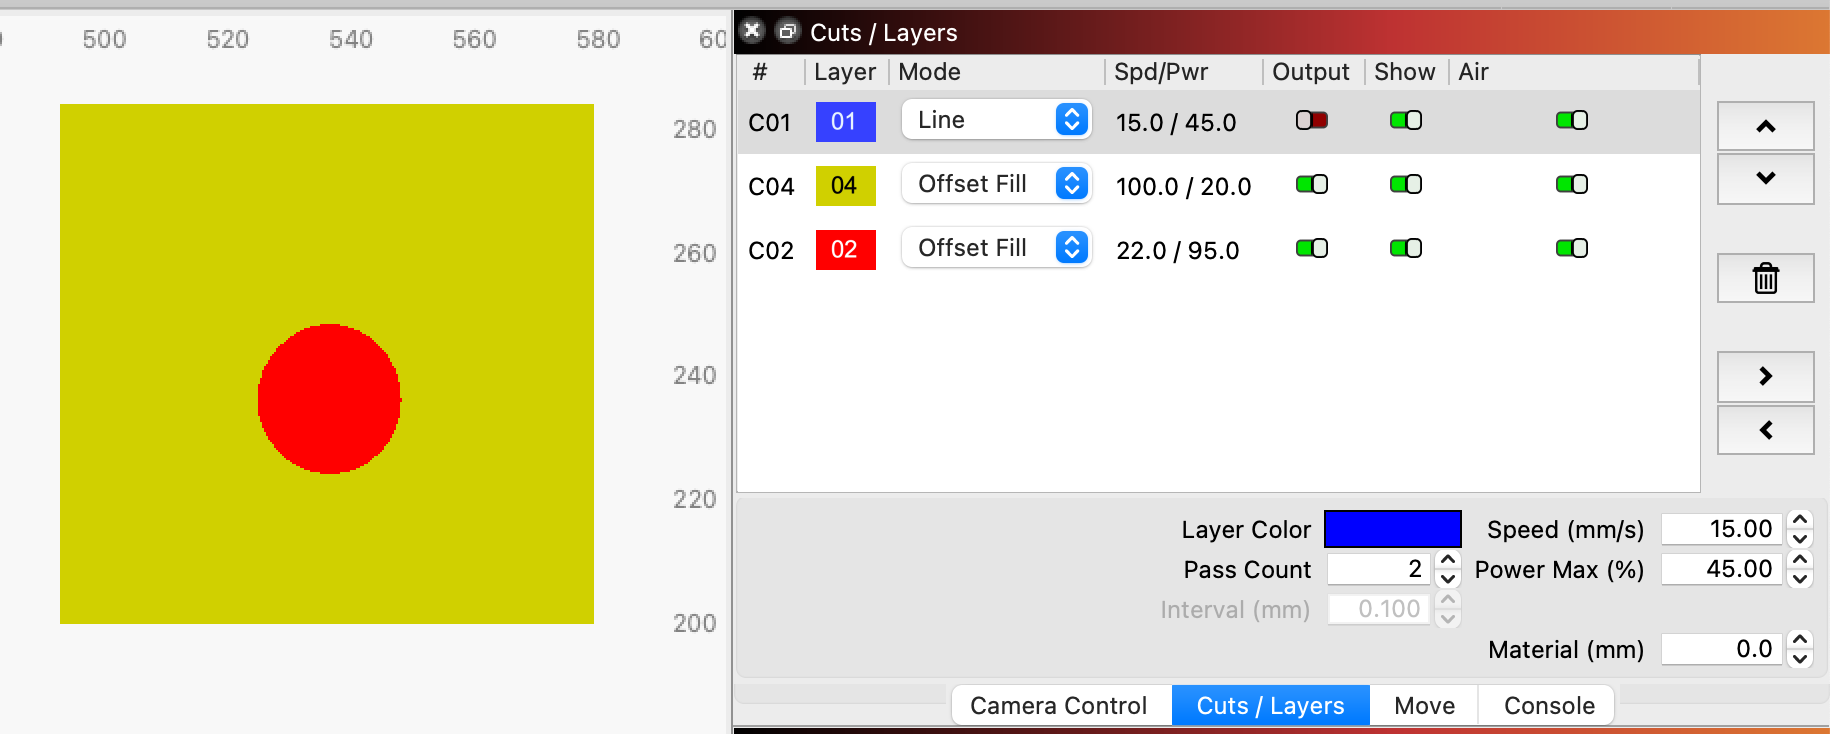
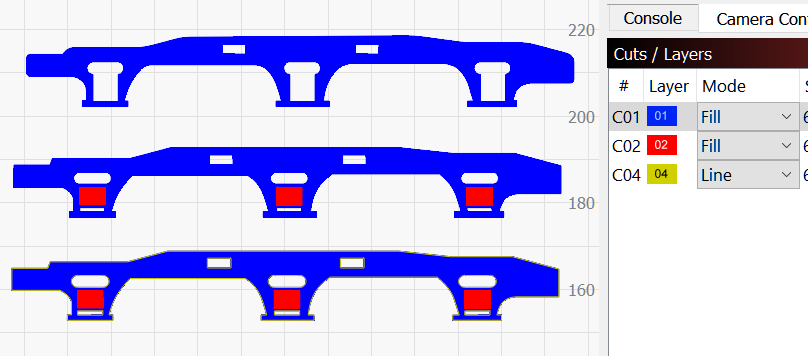
In order to fill in and engrave the fuschia area, I think you will need to duplicate the blue line path, assign it a different layer color, then change that line mode to engrave…or offset fill. When you say inset fill, are you referring to offset fill?
Hi Jess,
Yes I am reffering to offset fill, sorry my mistake
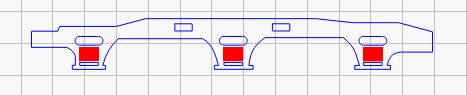
I tried your suggestion (see photo below) but a duplicated blue line (asigned yellow) just fills everything in and ignores the red and white areas
Thank you for the advice,
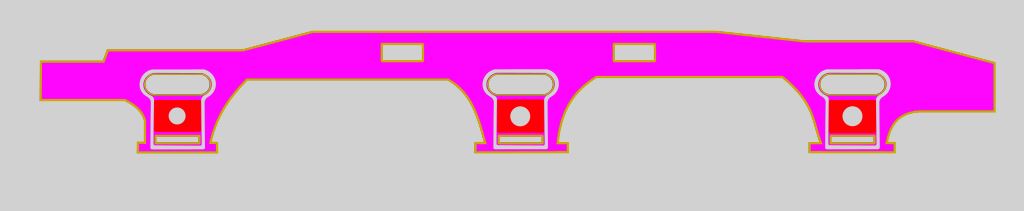
The white is not supposed to be a fill, its the part of the piece that I want to not be cut or filled, so that it will remain raised above the purple fill
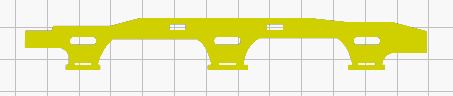
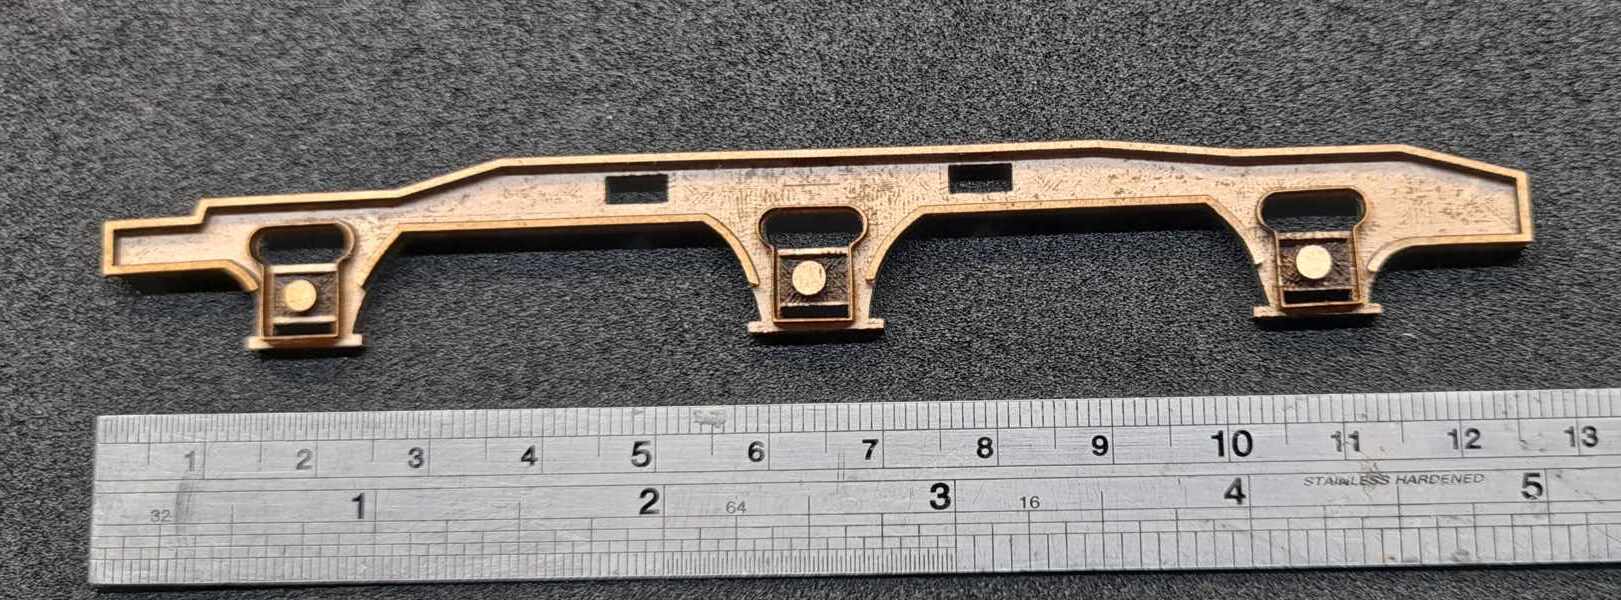
Not to worry, I’ve done in the old fashioned way by cutting out separate details and gluing them together, instead of trying to be a smartarse and engrave and cut everything from one piece,
Good learning curve though
That’s an interesting question, I have no idea to be honest.
All I do in Inkscape is highlight the object I want to cut, right click and then copy, then paste into LB
HI Billie,
Thanks for the suggestion,
You were right in that the image was being copied as a default Inkscape SVG
unfortunately when I changed the setting to plain SVG that didn’t work either,
Good idea though, Thx
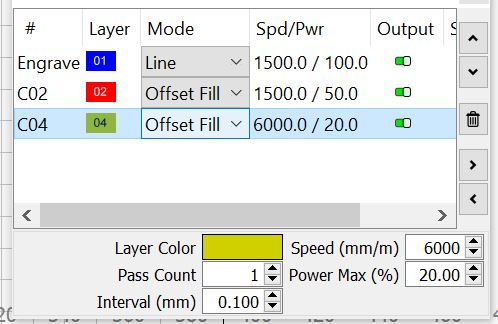
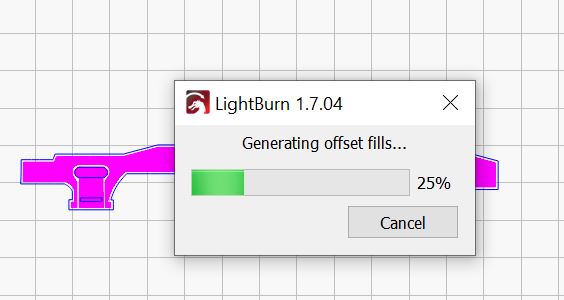
Offset Fill is very computationally expensive, and the more complex the design, or the smaller the Line Interval set, the more potential there is for the computation to cause LightBurn to hang. Sometimes graphics with stray nodes or unusual paths can confuse the calculation interminably.
Offset Fill is intended for designs with a lot of space in between graphics, to cut down on the amount of travel time necessary to fill large, hollow shapes.