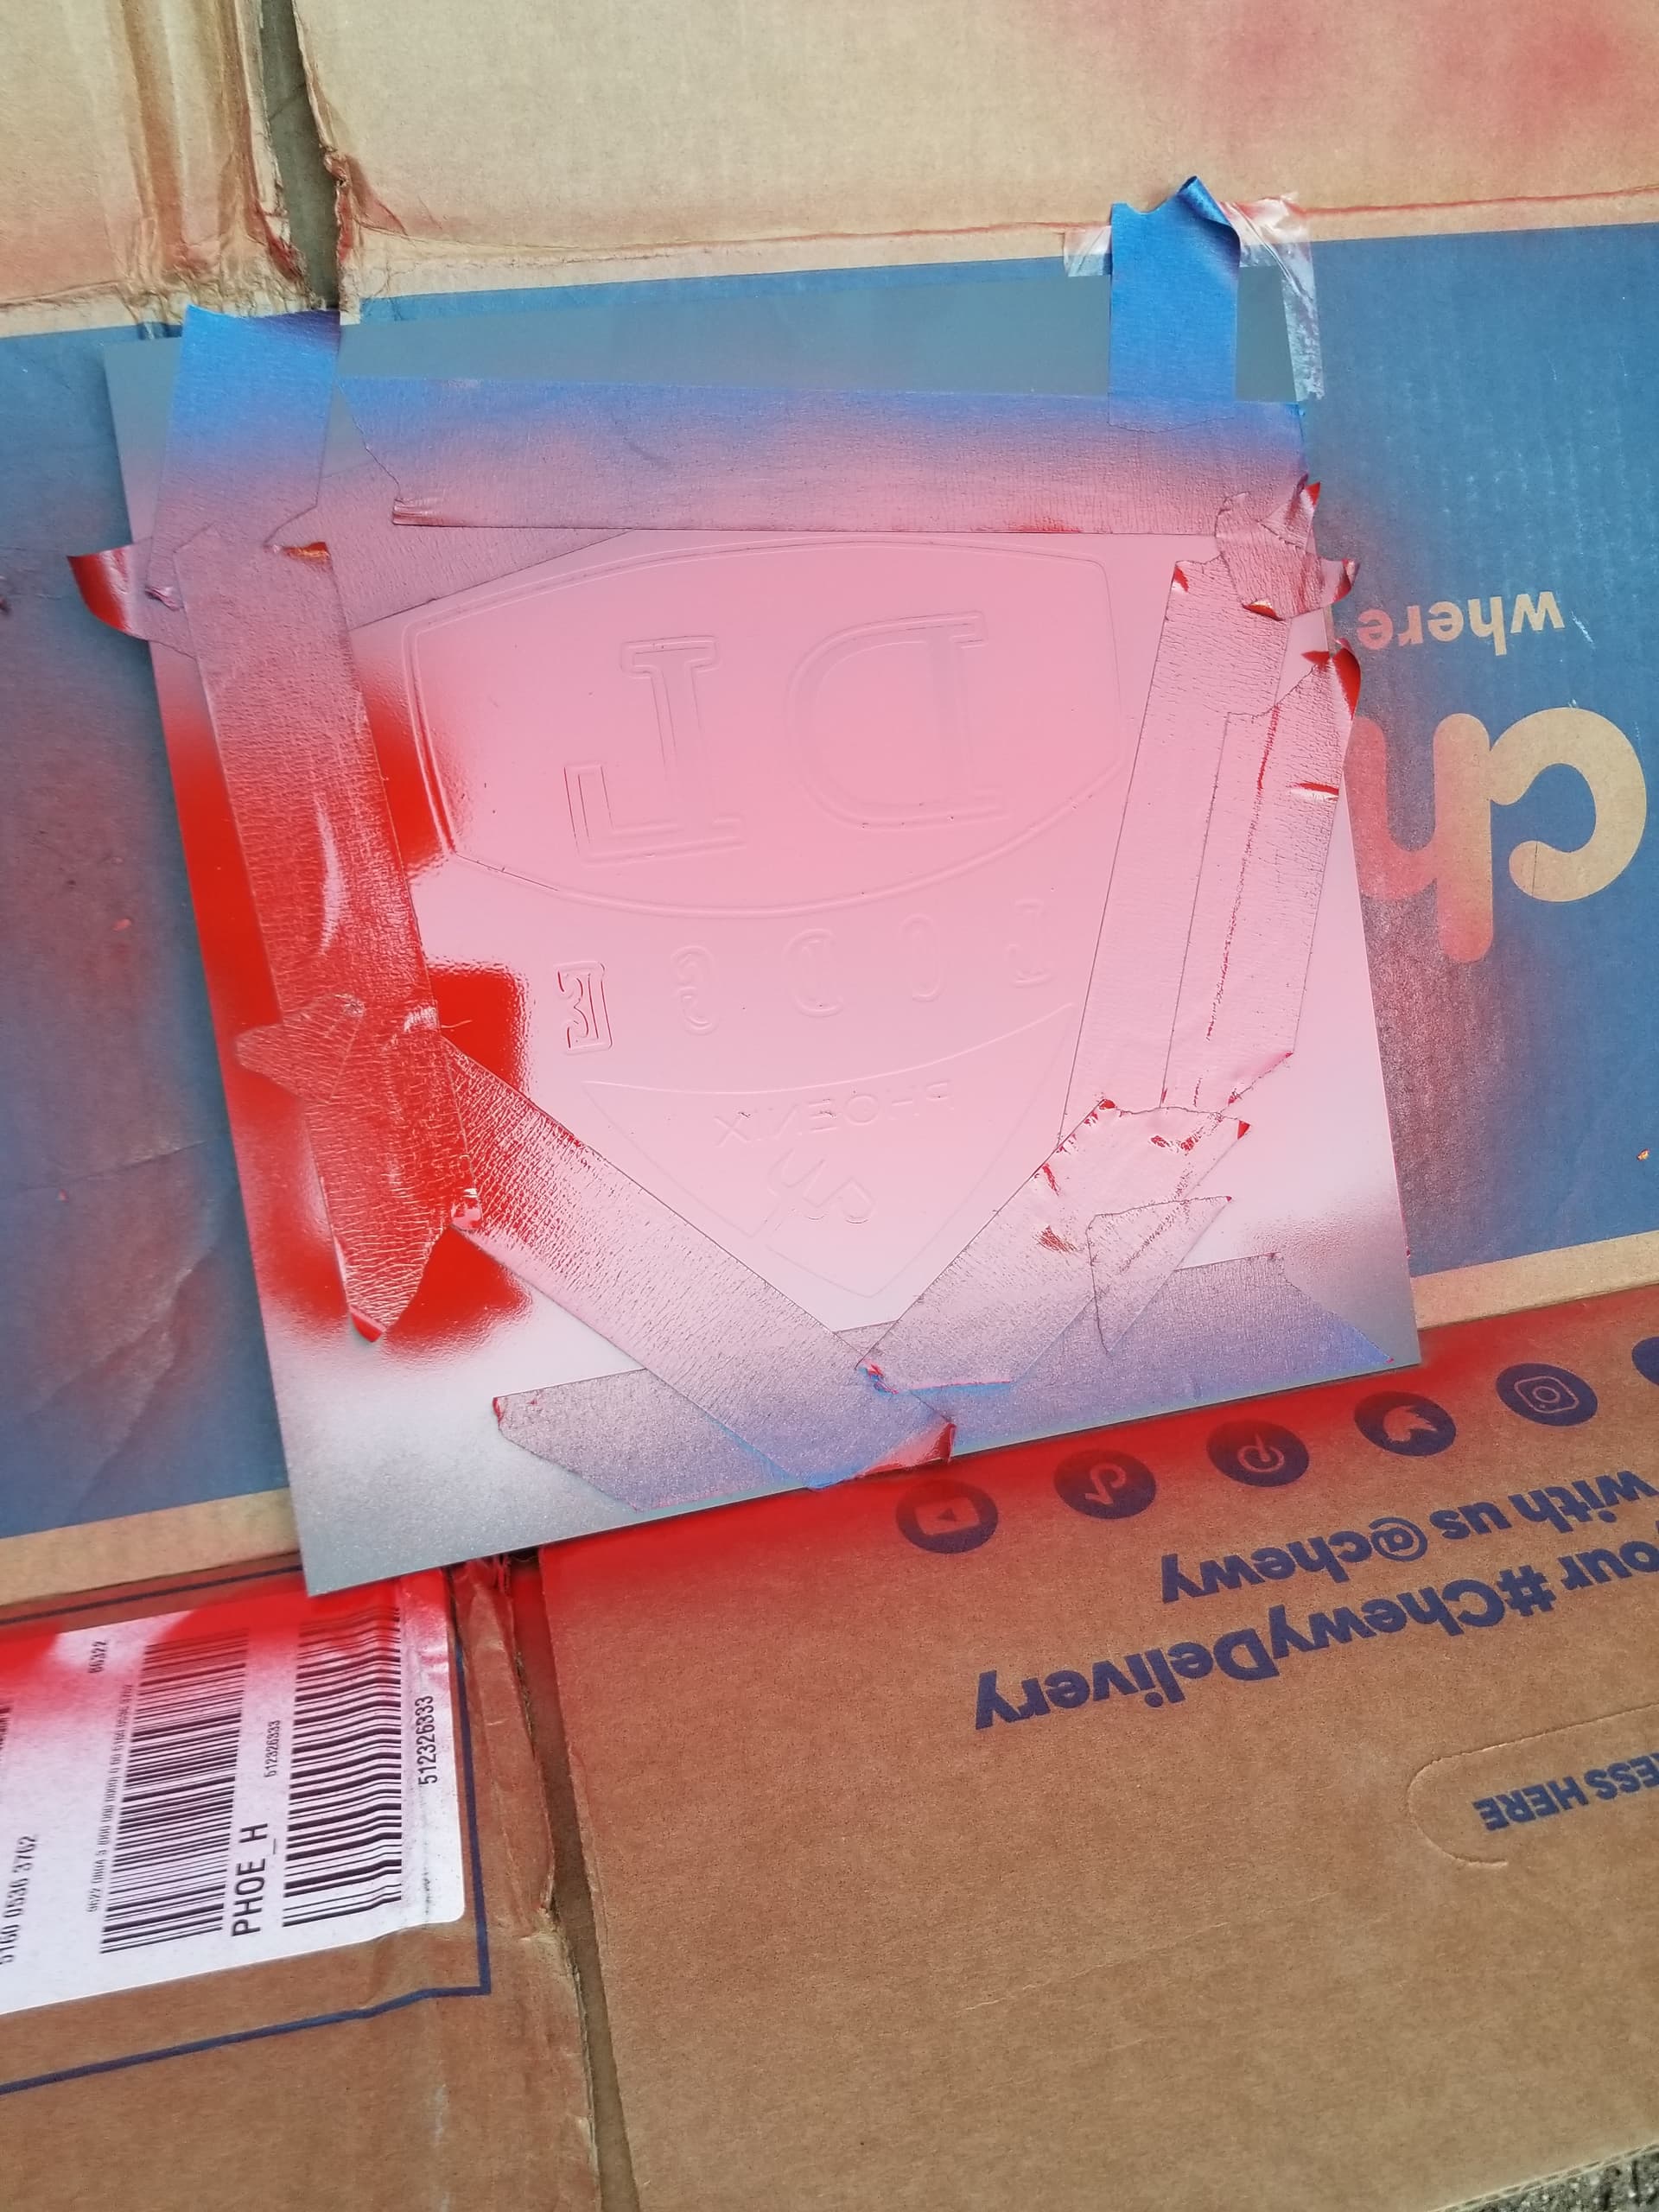
After that dries, remove mask and spray with black. Simple two color
I have a 5030 machine and this is 12" square…
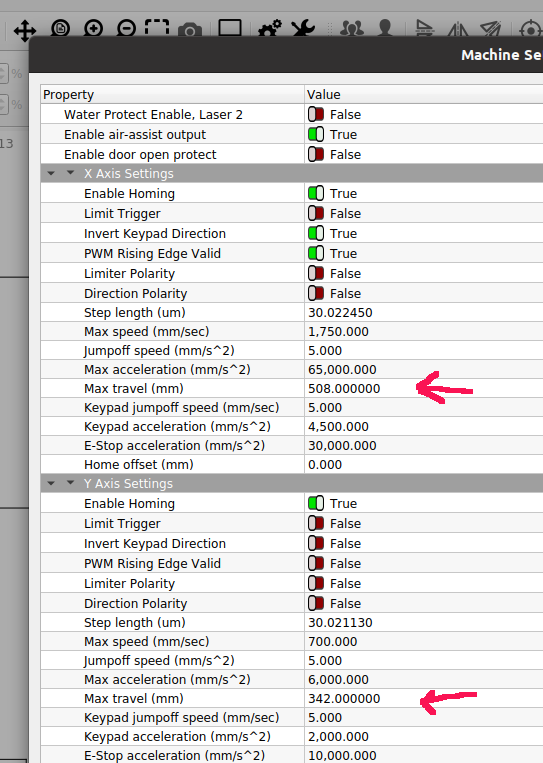
When I upgraded the head, it’s now able to go ‘between’ the screws for the table. So I can get more engraving area to either the x or y axes. Currently it’s configured at 508 x 344…
Jack, I have the vertical facing belt also. I see the you removed the bracket that goes over the stop sensor on the left side of the gantry. Do you no longer use the sensors to limit travel? If so, did you set the table size to limit travel in your Ruida controller? I have the 6445g controller, and haven’t found out how to set the limit of travel in the controller for X (side to side) and Y axis (front to back). If you did this, where is it located?
Charlie
This is a Lightburn forum, so if some one uses RDWorks for something it’s usually mentioned. Hope they don’t wash my mouth out with soap…
RDWorks will not natively run on my Ubuntu Linux machines.
If it’s in Lightburn or in the Ruida is a point of view… I guess
I think it’s ‘Edit → Machine Settings → Vendor Settings’ in Lightburn. Lightburn ‘reads’ the information from the controller and displays it in an editable form.
You will also have to ‘write’ the new settings to the controller if you want them changes applied.
You should ‘save’ your ‘factory’ settings, as you might need them some day.
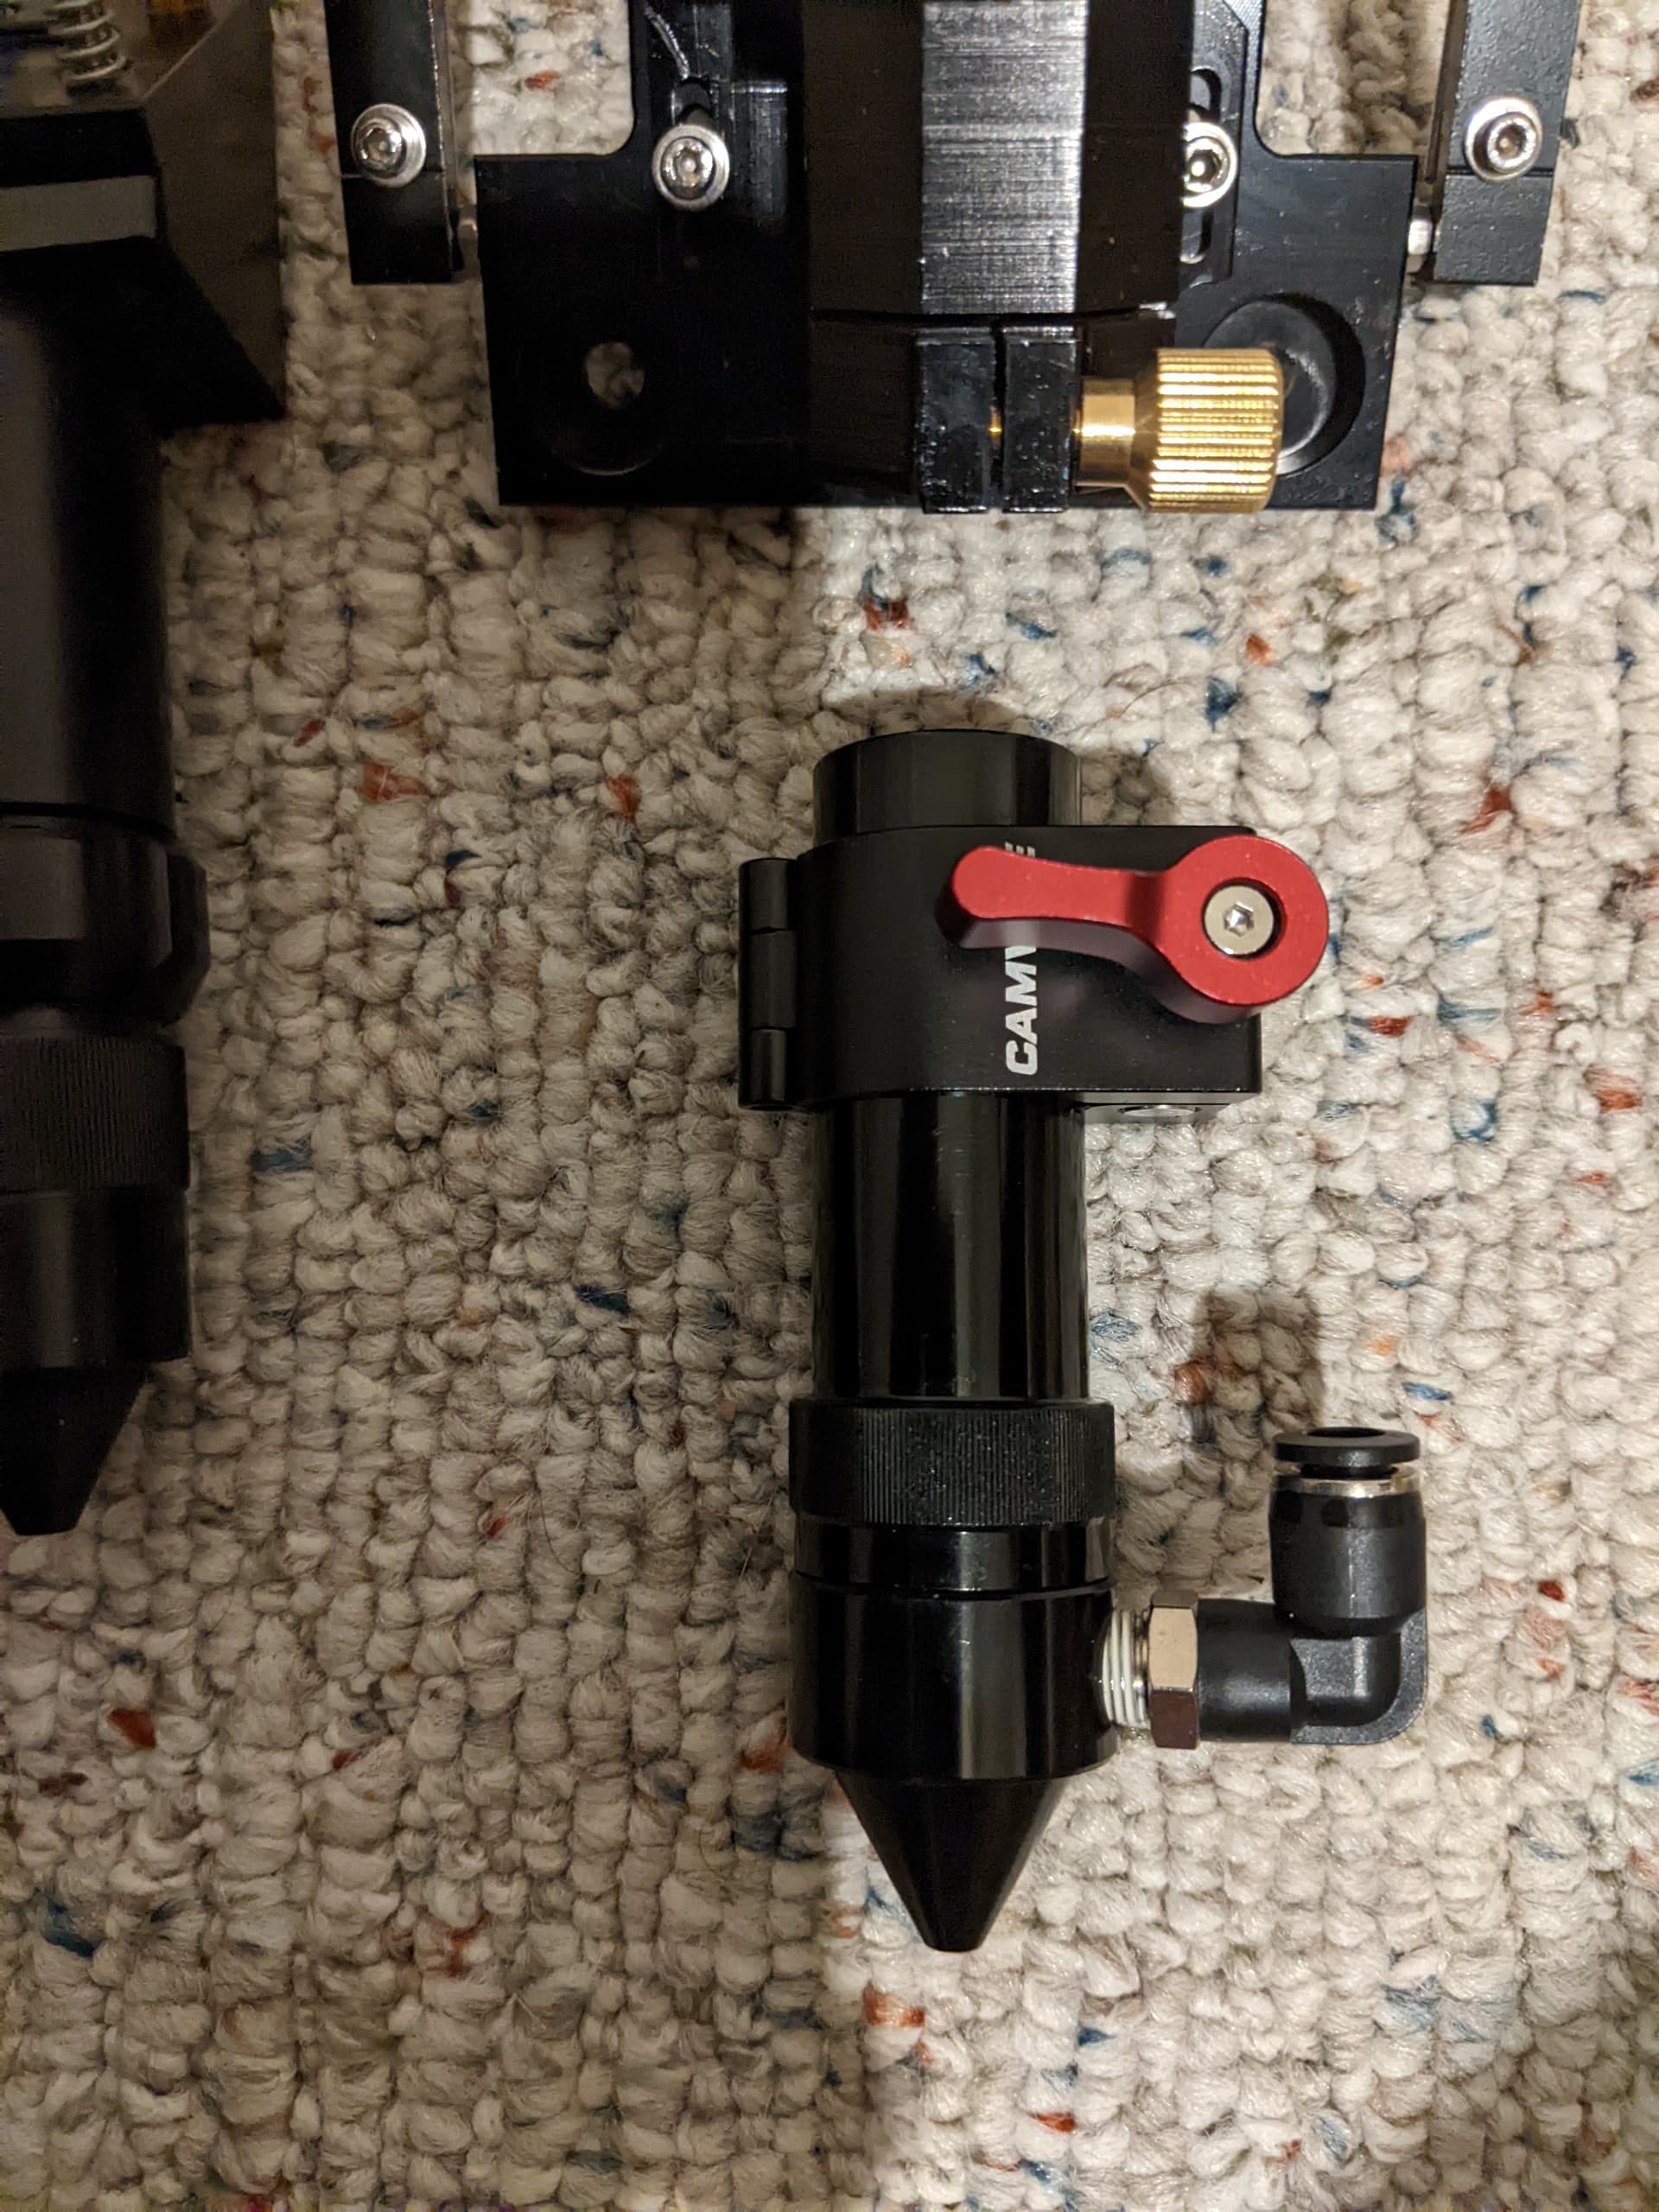
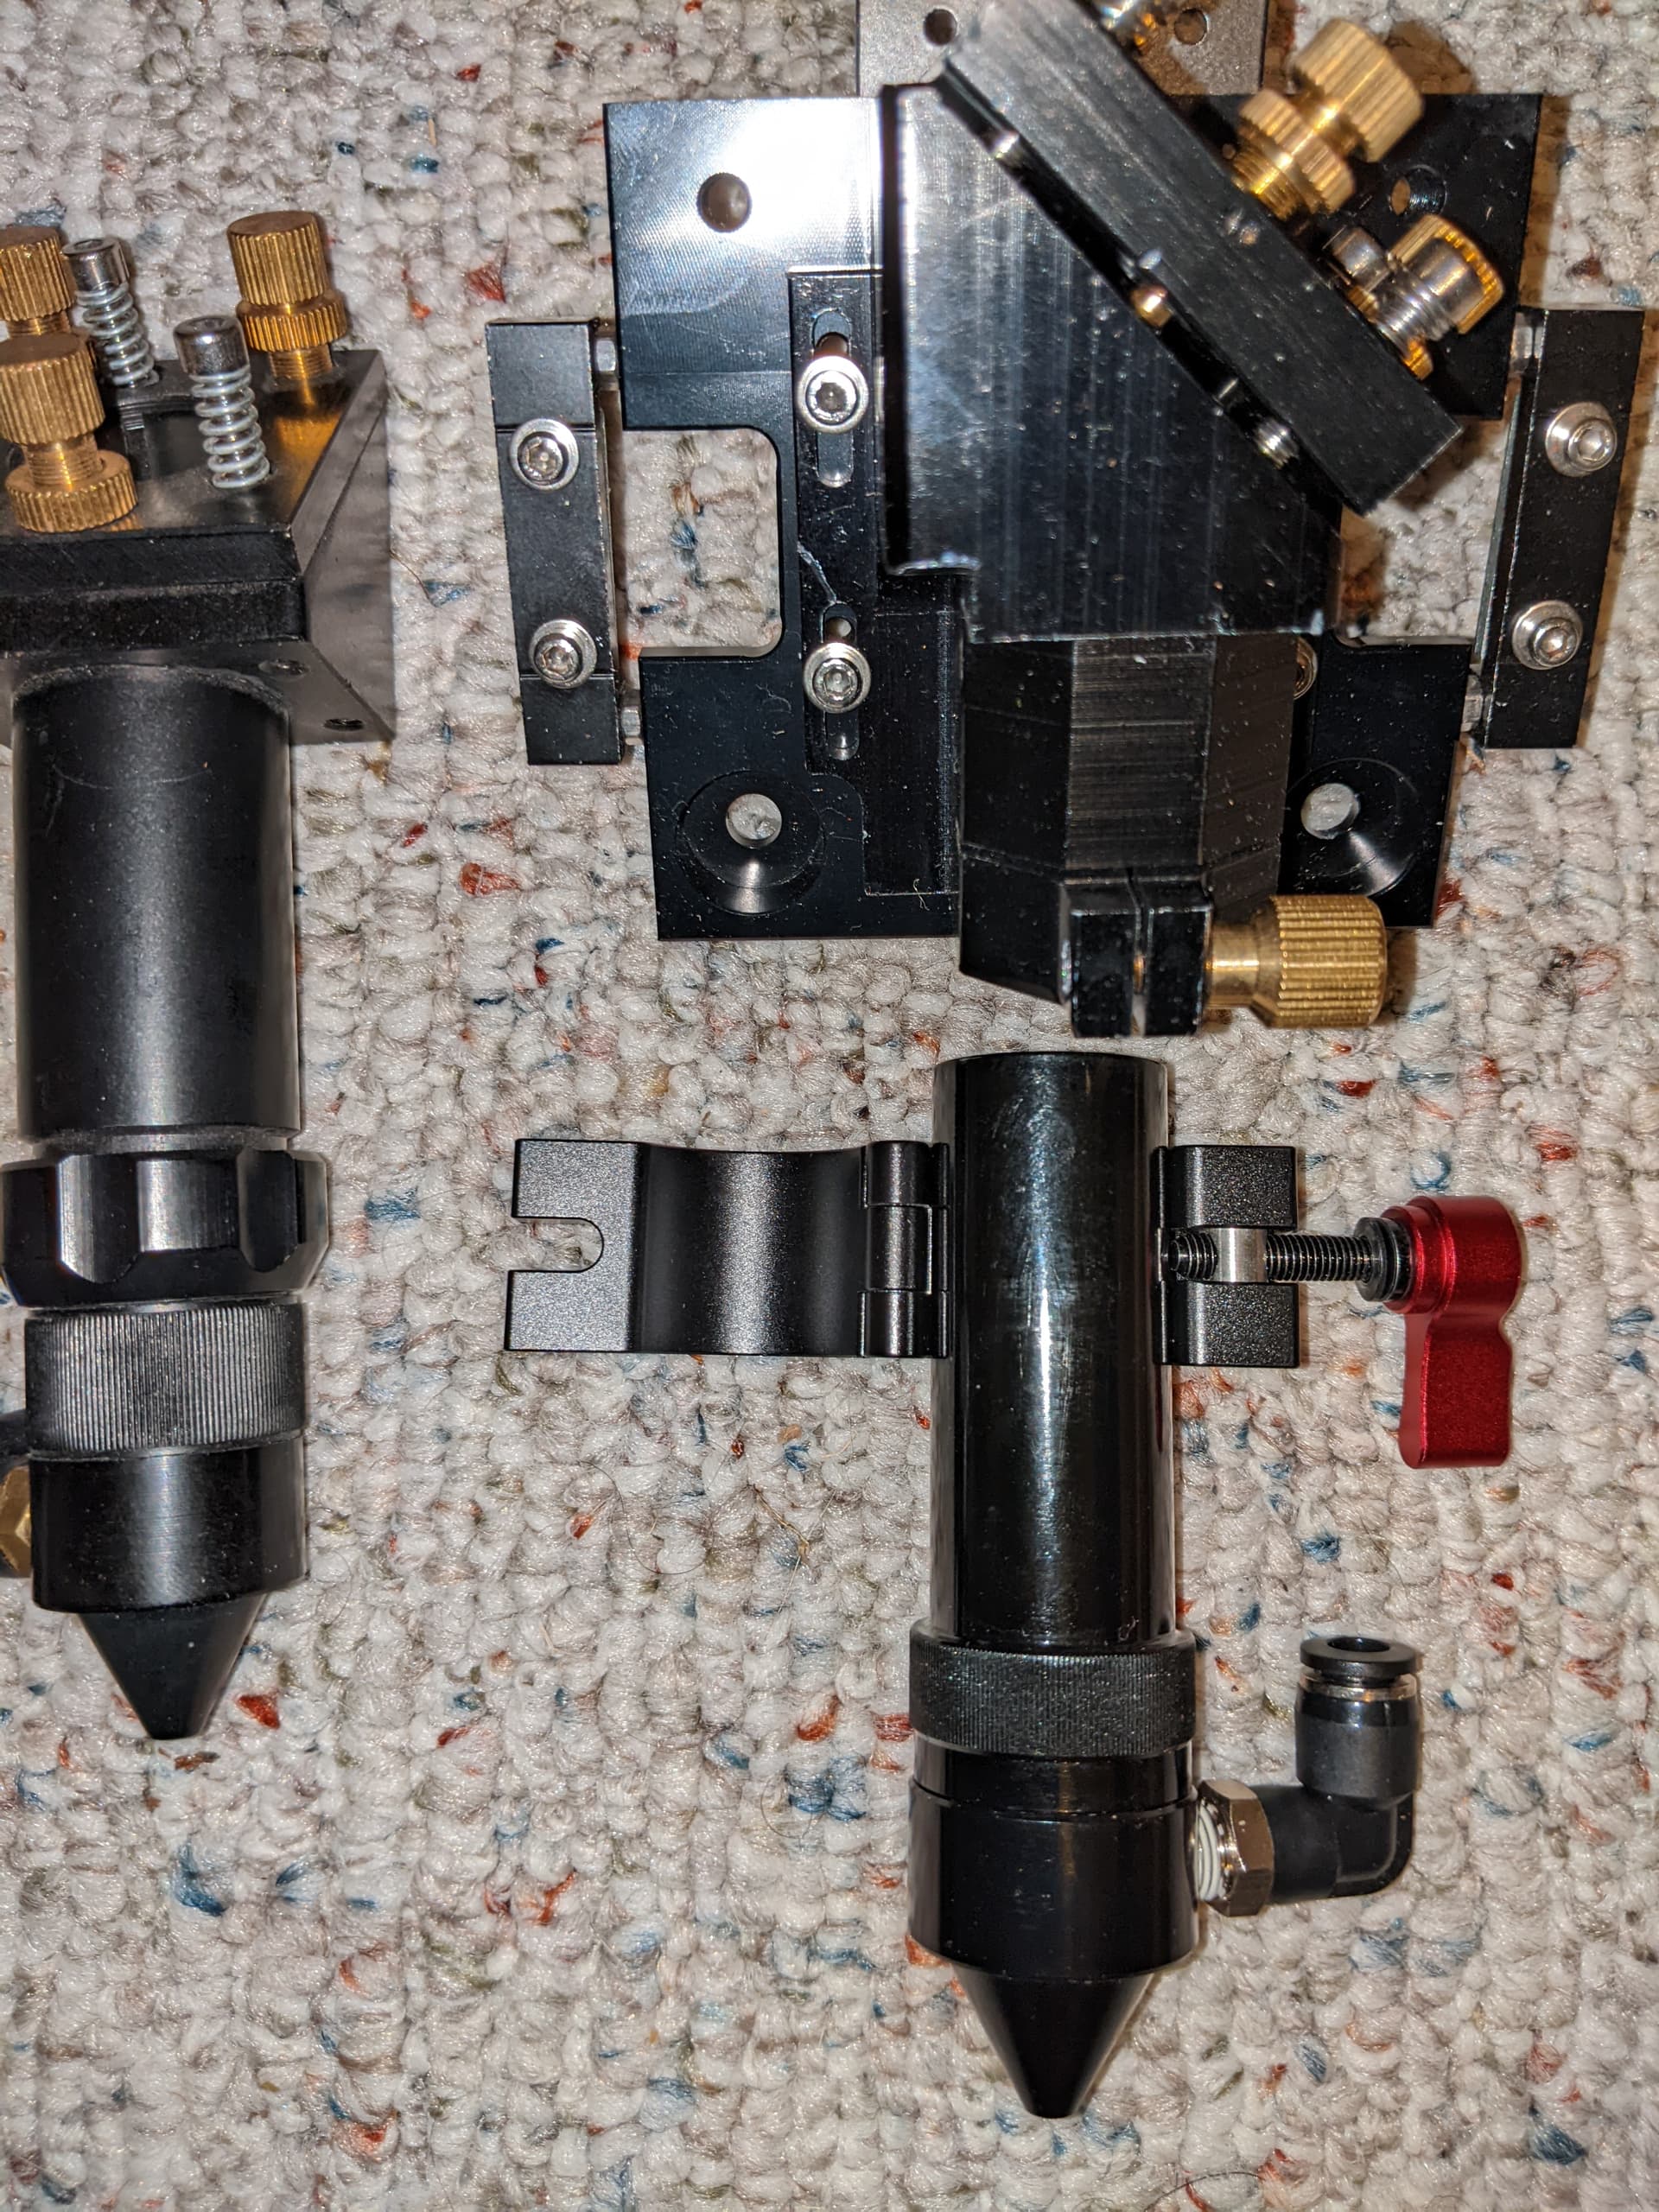
I’m wondering if there’s not a better clamping system than that set screw used in the LWH. These clamps actually fit 25mm tubes, REALLY well actually, but do seem a bit heavy but not by that much. You could have fun milling off unnecessary weight. But the actual C/E series tubes are themselves heavier than a tube needs to be.
I found another clamp for 24mm but it has more excess weight.
The LWH clamping screw works perfect for me, haven’t had any issues.
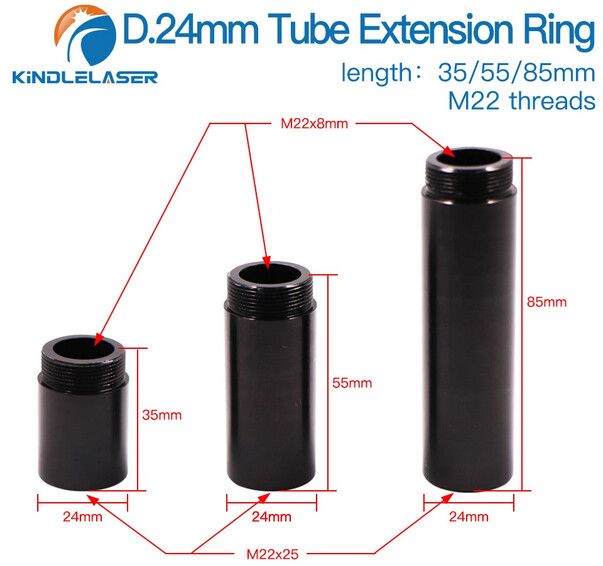
These 24mm extensions tubes allow me use the CloudRay C Series multi-lens tube, yet extended it further down below the front bar on my machine for pass thru.
I like the 24mm because the diameter stays perfectly centered on the LWH M3, and the linkage between my Lens Tube and the extension is smooth outside, allowing me more ability to slide it up and down in the clamp for best focal length.
Looks like they had to shift the hole for M3 to allow room for the screws on the side.
I had the same problem with my aligned beam not hitting center of M3 hole on head. I needed to lift the head by about 10mm, which is now easily done with the LWH mount.