I’m new to LightBurn. I haven’t managed to get it to do a successful burn yet.
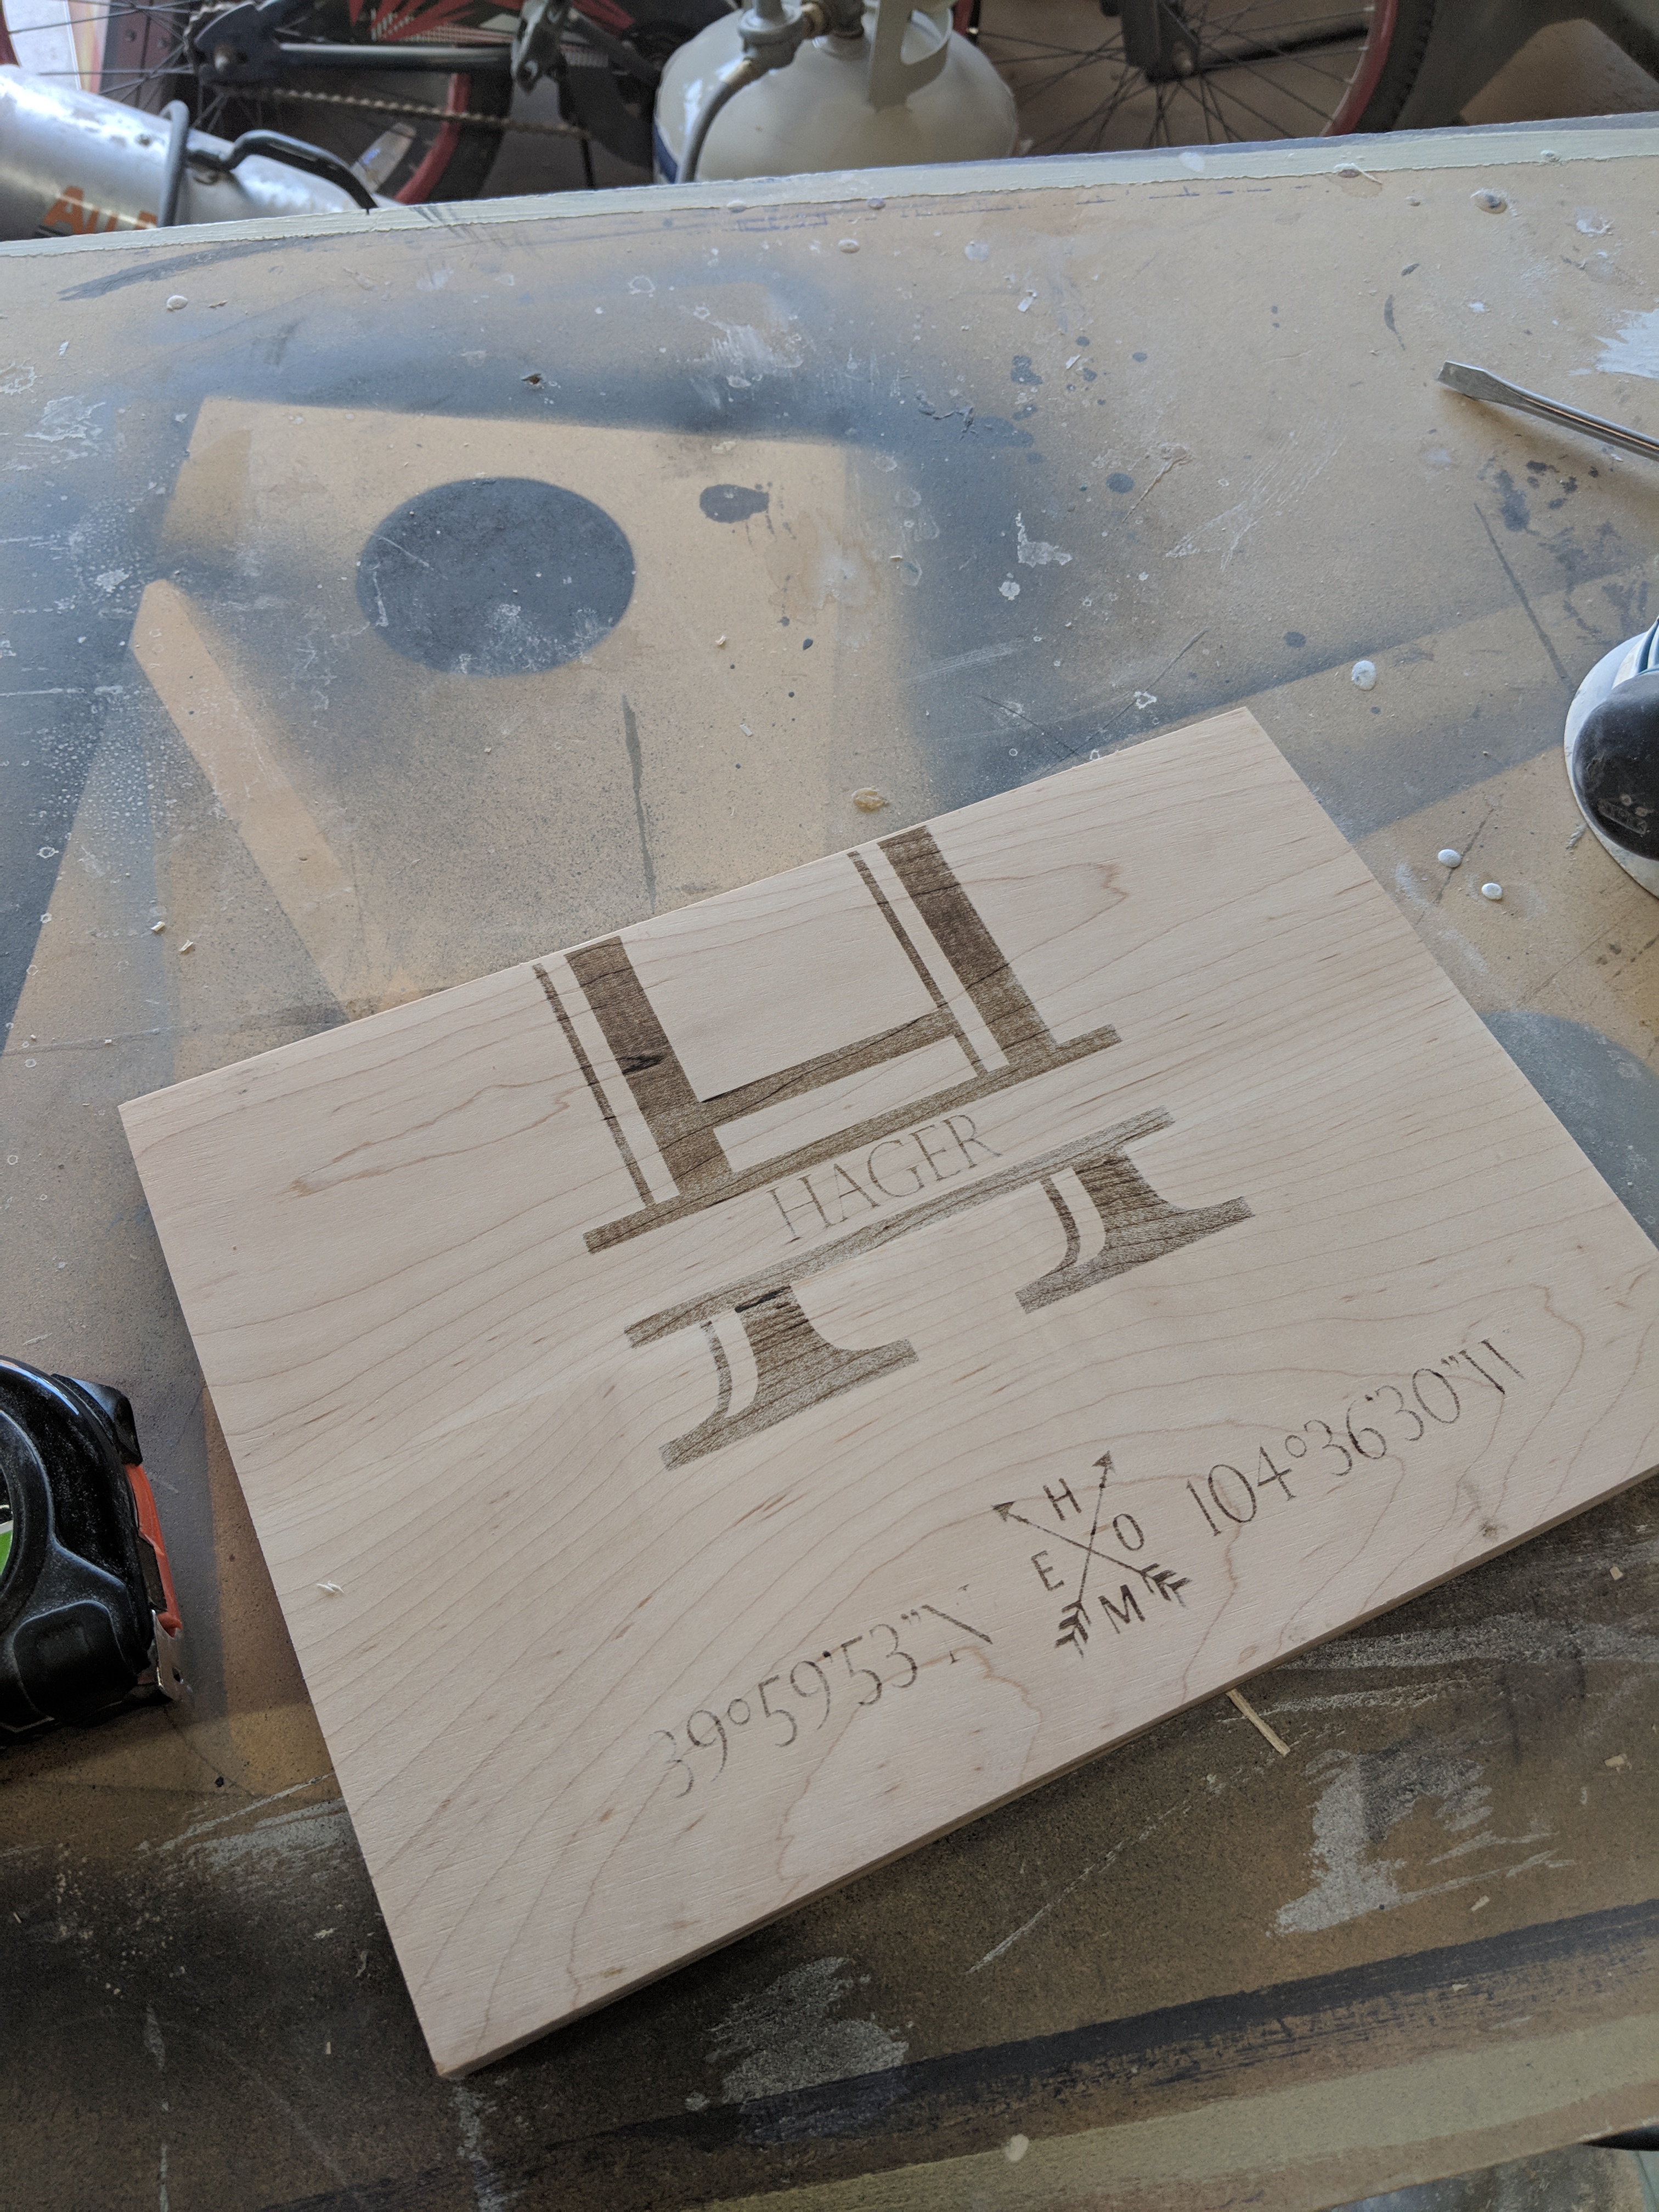
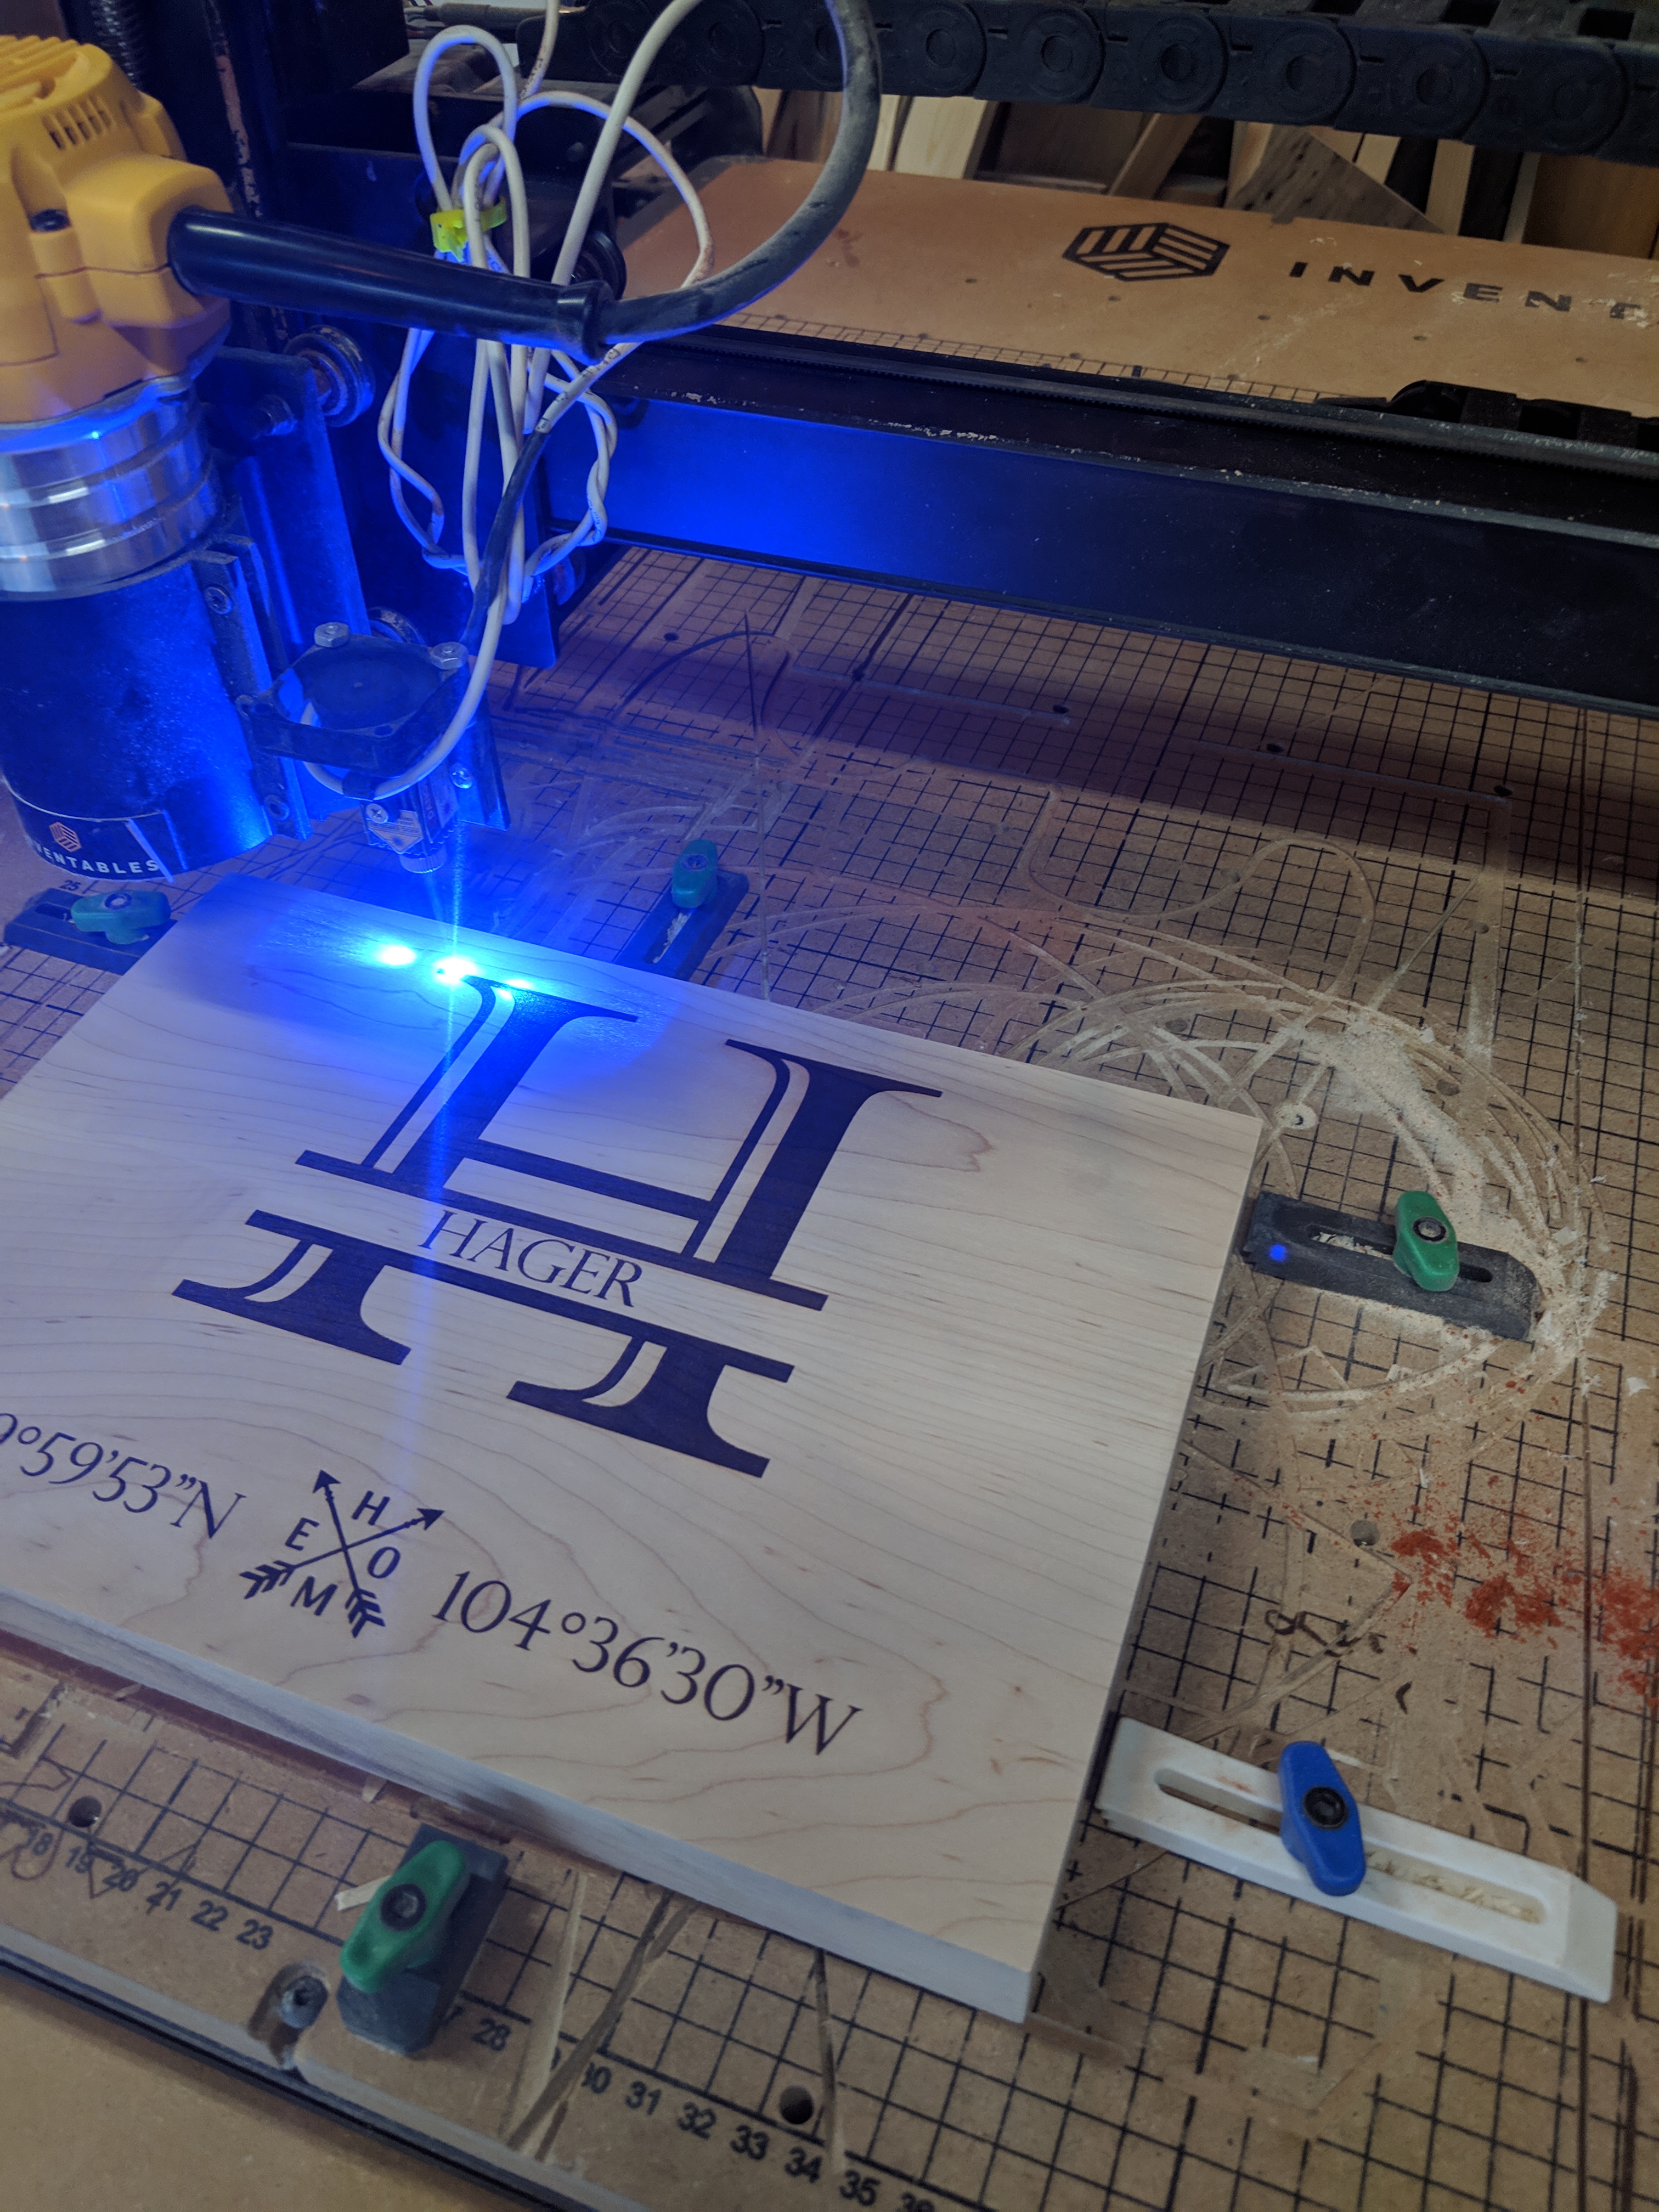
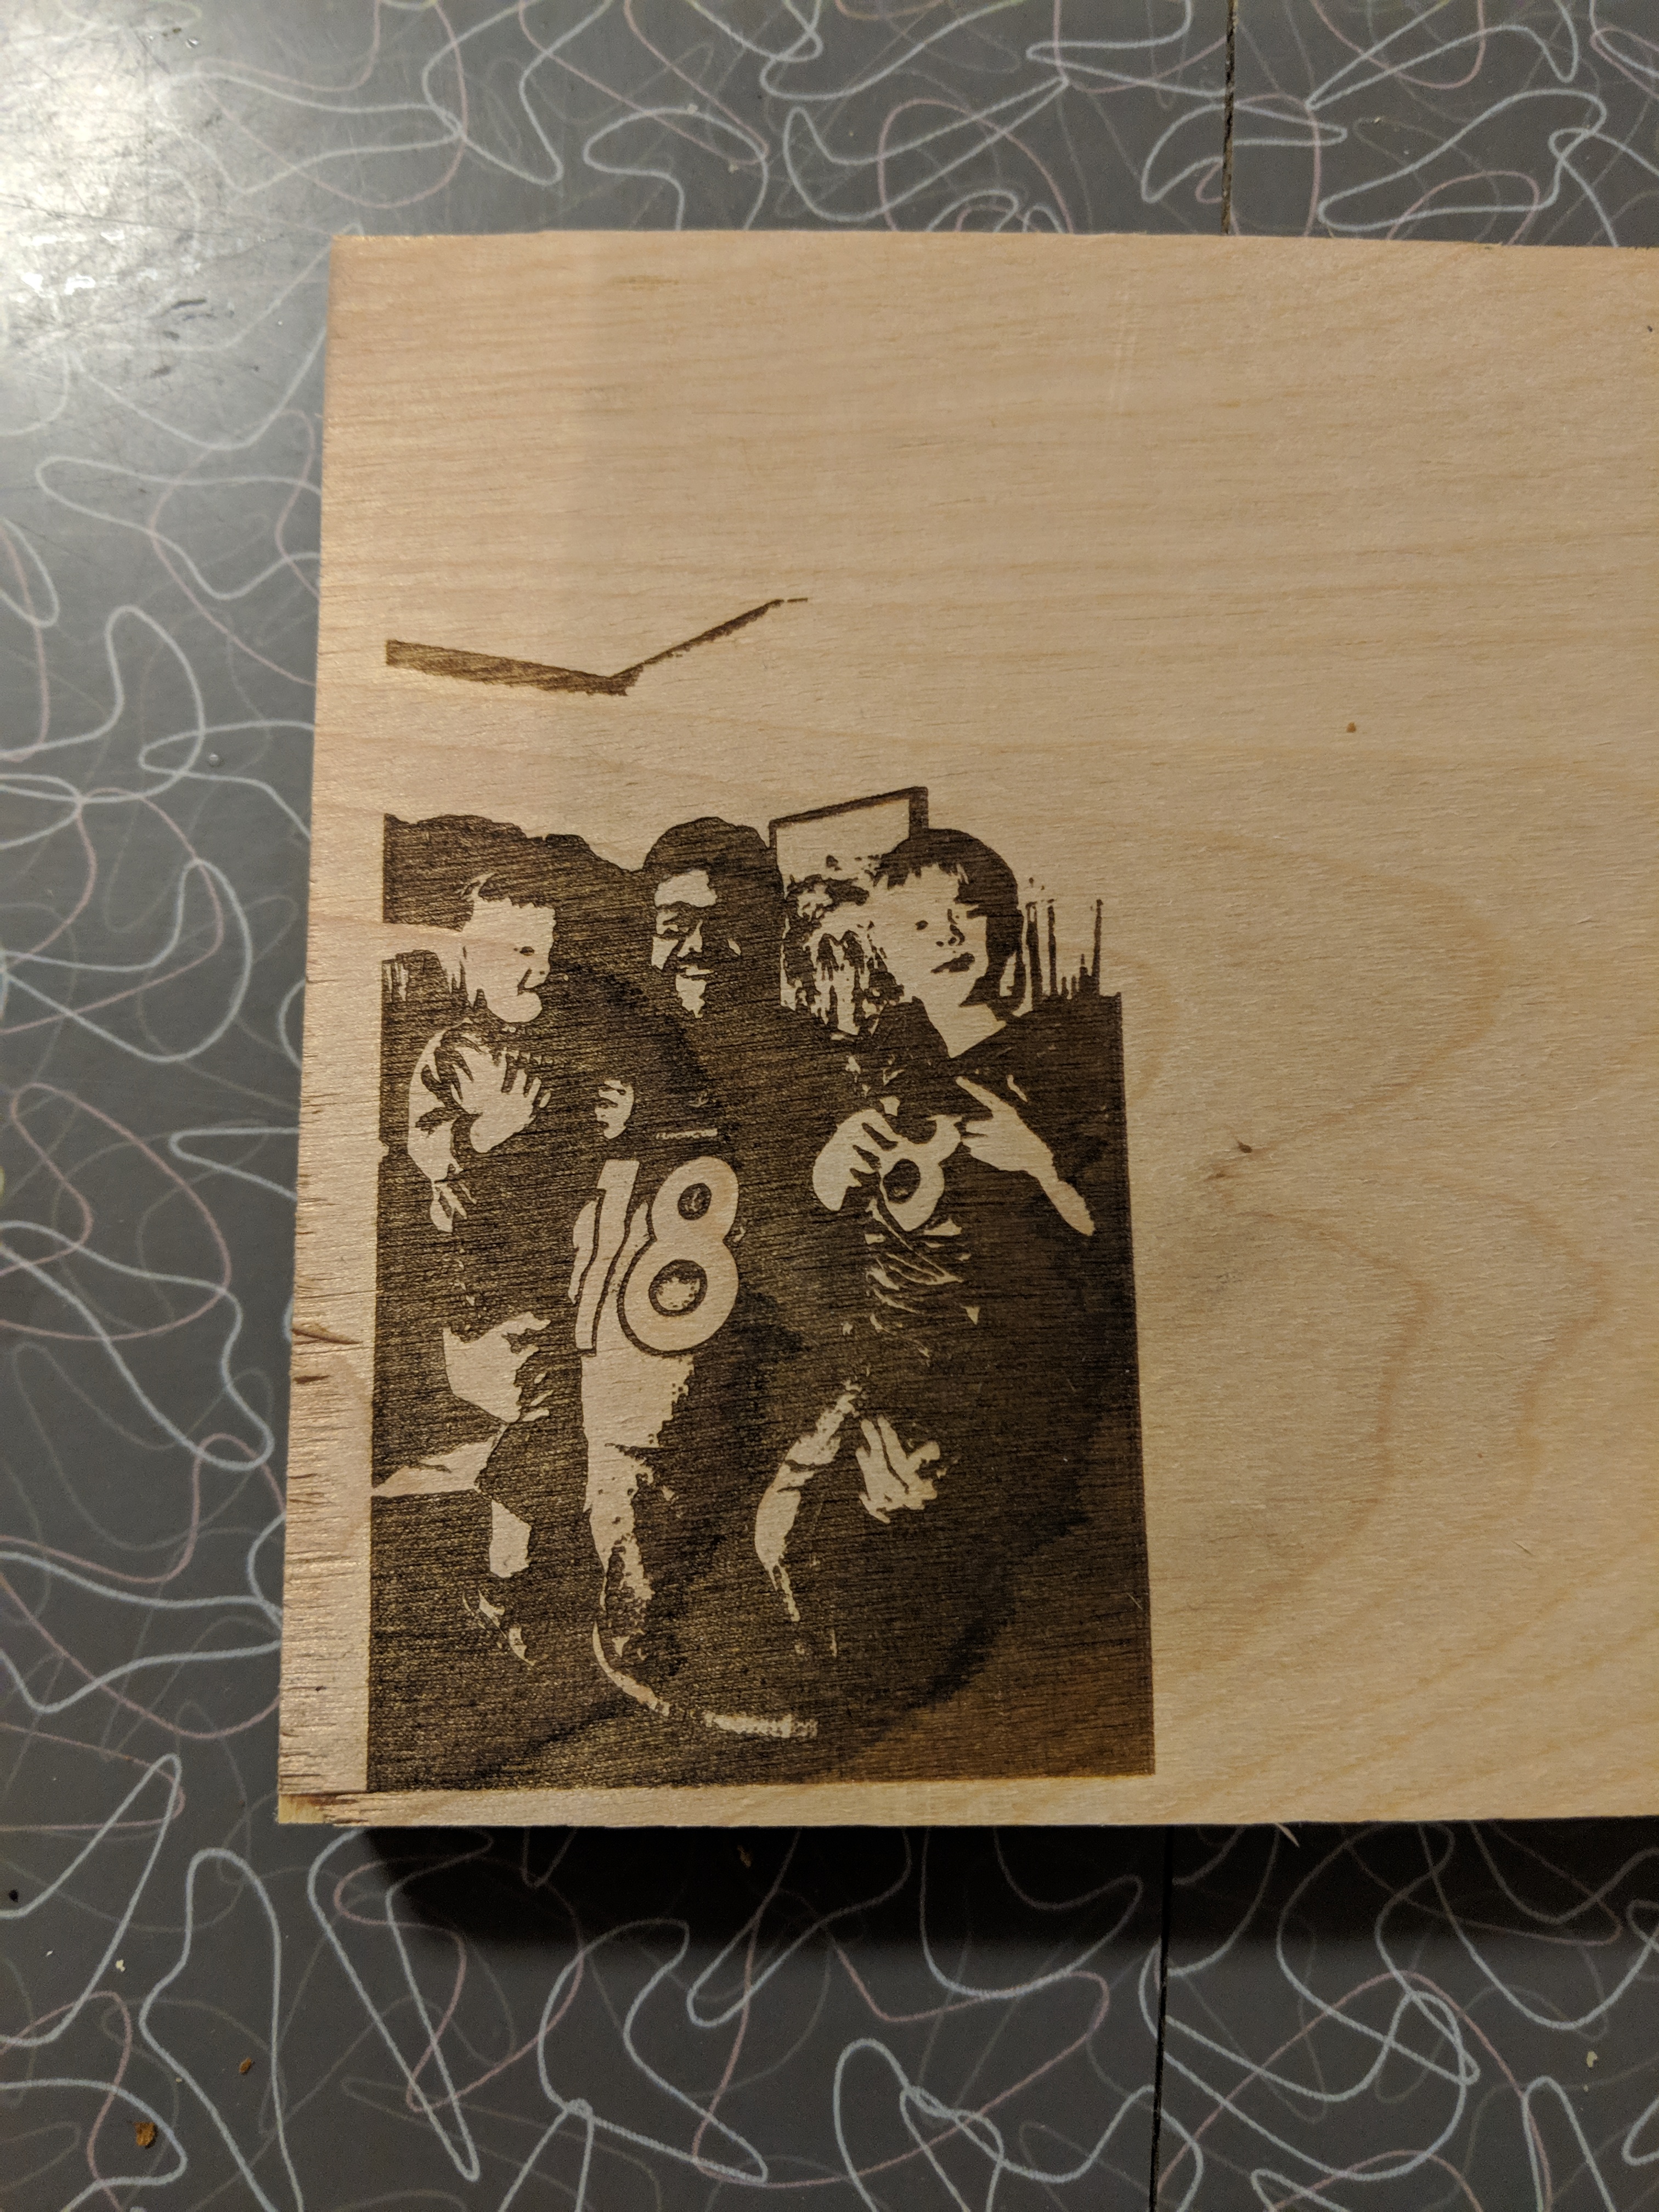
Today, I set my project up with the EXACT measurements of my board (and imported .bmp file). It burned (terribly I might add) right off the top of the project. So, I sanded the entire board down and re-fired it with LASERgrbl. I used the exact same settings, same .bmp file, and movement speed of 1400 and this is the difference.
I think there are probably some advantages to LightBurn, but right now I’m extremely frustrated. What’s going on here? How do I fix it??!
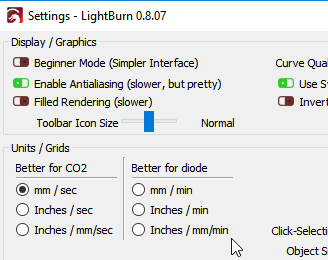
First question - Are you using the same units in both programs? LightBurn defaults to mm/sec, whereas most diode software is mm/minute, so “1400” would be interpreted as a whole lot faster than your machine could go, which would make the burn much lighter.
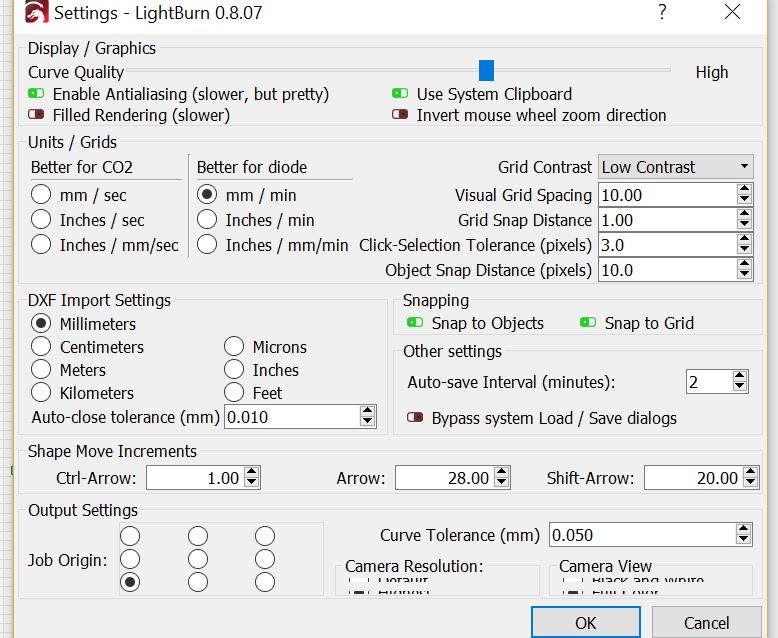
You would change that in “Units / Grids”, in the main settings:
Second question - did you frame the job before you ran it, or use the preview to verify that it otherwise looked correct? It looks vertically stretched compared to the LaserGRBL version, so it’s possible that you had the “Rotary Enable” button set (which will scale the Y axis, depending on settings) or perhaps there is something about the image or other settings that LightBurn doesn’t like.
I did note that the Rotatry Enable button was on so I turned that off. I am not sure how to frame something. When I select the artwork and hit the FRAME button it doesn’t appear to do anything.
Having the Rotary Enable flag set is quite likely what messed up the vertical scaling on the job.
You don’t need to select the art to frame it, you just click the Frame button and it will move the machine around the bounds of the job, so you can see on the work piece where it’s going to go. I assume LightBurn is connected to the machine when you hit the Frame button?
I’ll try another job and see if things work a bit better with it. Any idea on why the quality of the actual burn was so different between the two?
The frame button will make sure I don’t end up with the message that says something to the effect of “some cuts may be out of bounds?” when I’m starting a job?
For the “out of bounds” message, have you set $10=0 on your machine? It’s the one step I think still missing from the JTech guide for setting up these machines for use with LightBurn, and it affects how the controller reports machine coordinates to LightBurn. If you have a macro set up to go into / out of laser mode, you should make the “Laser Mode” button set $10=0 and the “CNC Mode” button set it to whatever value it is now, as Carbide or Easel may want it the way it is.
The other thing to check is that your $30 setting matches the S-Value Max setting in LightBurn (or vice versa). The $30 setting is the maximum spindle value that the controller expects to see from the software, and the “S-Value Max” setting is what LightBurn sends for “100% power”. They have to match, and if they don’t you can get weird results.
This is a really good question. I don’t know how my X-controller knows which mode to be in. I just turn the laser on and it works or I log into easel and the Carving feature works. I can’t be logged into Easel and use the laser at the same time, that I do know.
Thanks so much. All of my settings seem to be . Last question, I hope. I tried to do a picture last night. I thought it has pretty good contrast with it, but it didn’t really seem to do anything in grayscale. Is there a setting I missed? I just used the defaults, which I believe was a DPI of 500 at 3000 mm / minute and power at 100%.
The default setting is dithered - you’d have to change the dither mode to grayscale in the layer settings. Give that a go. The image here looks as though it was threshold, not dither, but hard to say - it might also be a bit out of focus.
Thanks to both of you. @LightBurn, for what it’s worth, I had never touched the setting for a photo and it was defaulted to Threshhold. I made the change. Lowered the DPI, and will try it again when I got off from my regular job today. Thanks again for the help.
After several test burns, LB stretched the first important piece I did. Restarted the program, did another test, all was good. I’m scared to use it on expensive stuff now.
I think I’m going to add a setting to let users control whether the rotary flag shows up on the main panel or not, as that’s the only setting that could cause a job to randomly stretch vertically. No one else has brought this up as an issue before, and I can’t think of anything else it would be.