I get finished with an image and save it save as then name it. Exit the program and go back to the image to open and there is no image. If you import it there is a broken orange line across the screen but no image. I need this fixed so what do I do
Can you make a small example and post it here?
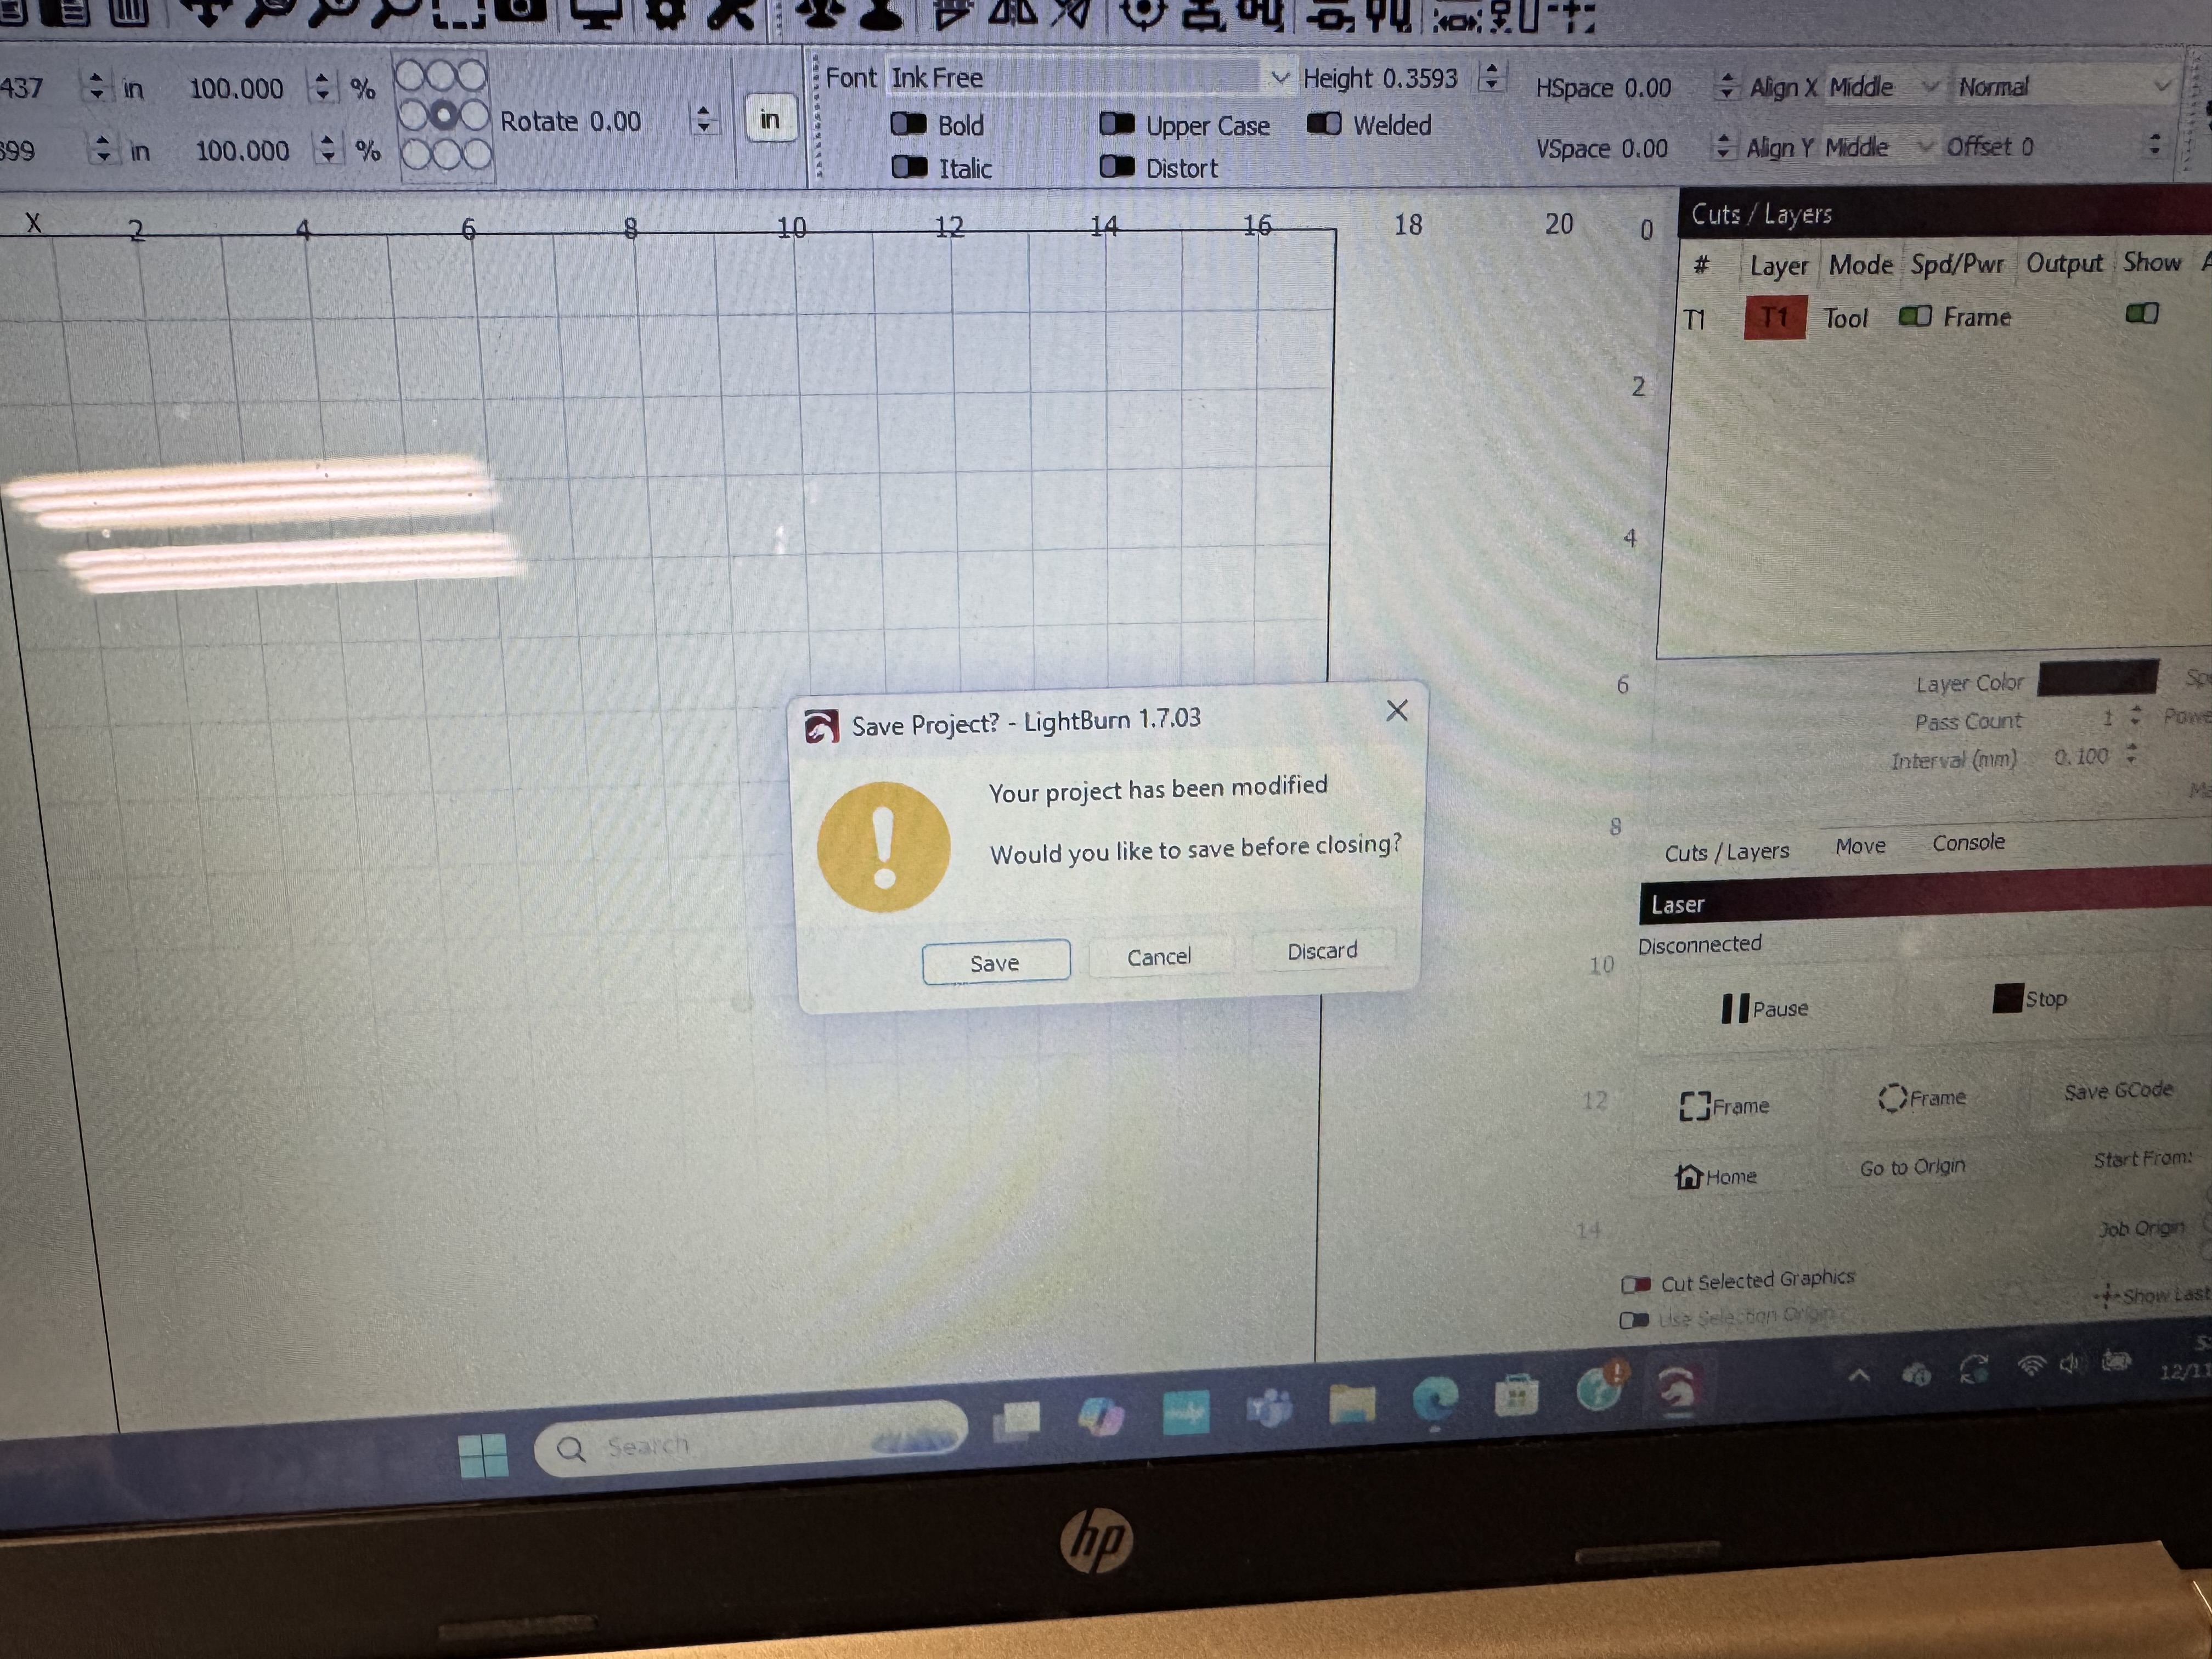
. This box pops up and if I click on save nothing happens my image doesn’t appear.
Should be another picture downloading with a box which is the screen and a broken orange line which will also pop up when opening or importing a file that has been saved as. Hope this helps to get some answers because I need fix right here at Christmas.
I’m having a little trouble operating this forum I really need to don load a couple more pictures so you can see what’s next. But I can tell you this I haven’t been able to get my image up to laser the project.

Should be another picture downloading with a box which is the screen and a broken orange line which will also pop up when opening or importing a file that has been saved as. Hope this helps to get some answers because I need fix right here at Christmas.
Something is wrong, have you saved this layer that is displayed or do you want to save it? It is T1, T1 and T2 are guides and normally not “content”.
??? I don’t understand your solution.
If it has something to do with my image I do so maybe I should save it just in case but I probably already have and don’t know it . Your going to have to give me more information.
That’s not a solution it part of the problem.
I’m pretty new to the laser so how do I save it or even see what it is?
I have tried and think I have succeeded non saving it but still no image when I open it.
Maybe try this:
Hi Linda,
Not sure how much help I will be, but I did notice that in the first picture you have sent the layer you are using is T1. As someone else already mentioned the T layers (T1 and T2) are there to help you with layouts. They have no function other than to define boarders and things like that.
Now you mention that your images are outlined with an orange line. This along with your the picture you sent leads me to think that you have assigned the image to the T1 layer. You don’t want to do that. Try bringing in the image and then assigning it to a layer like 03. When you do this the orange line should turn green. Now using the arrow (Select tool) at the top of the left column click on any empty space on your screen. The dotted green line should become solid. Now save your project and then reopen it. The image should be right were you left it with a green line around it showing that it is assigned to layer 03.
Hope this helps.
John
…It’s a difficult challenge…there are 2 “someones” involved in this thread, mmmm who could it be?
1 Like
This topic was automatically closed 30 days after the last reply. New replies are no longer allowed.