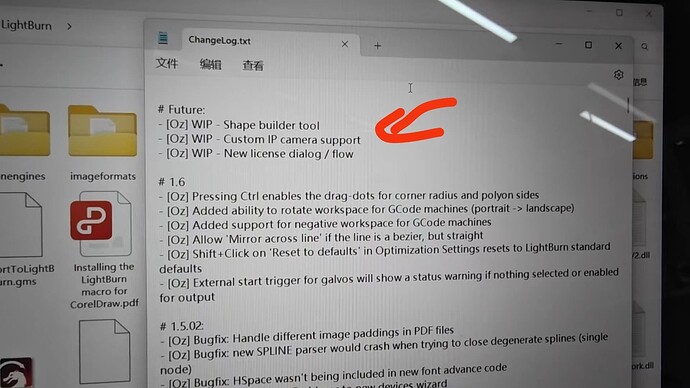
With the latest firmware of Lasercam(V1.2.7), the Lasercam camera can be wirelessly connected with LightBurn(V1.4.05). With this new feature, especially in the laser engraver enclosure, it will be more convenient for monitoring and checking the process in LightBurn.
A. Prepare
-
Mintion Lasercam camera upgrade to V1.2.7 online;
-
Upgrade LightBurn to V1.4.05 or above;
-
Setup the Lasercam on wifi and keep the Lasercam and PC/Laptop in the same LAN;
B. Setup Process
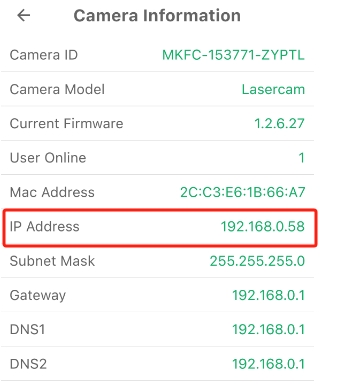
1. Check the IP Address of Lasercam
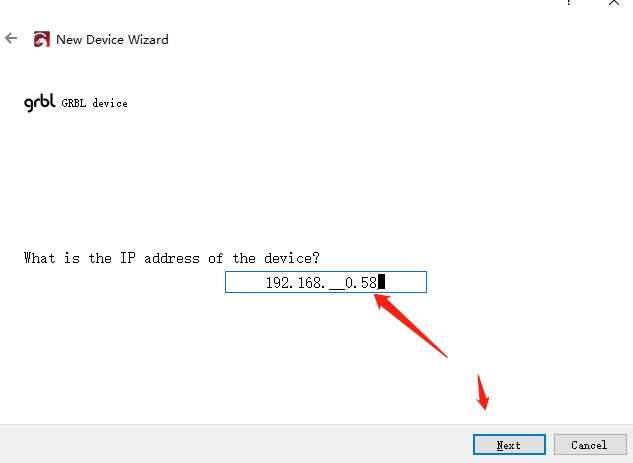
After the Lasercam is configured to the wifi network, please find the IP address in the camera Setting page of Camera Information section.
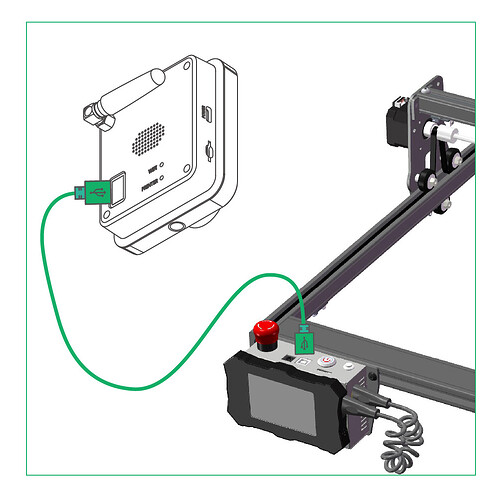
2. Plug the USB cable to the laser engraver
Plug the USB socket on the Lasercam back panel and Hi 2.0 socket to the laser engraver.
Please make sure the Lasercam and engraver are both powered up first.
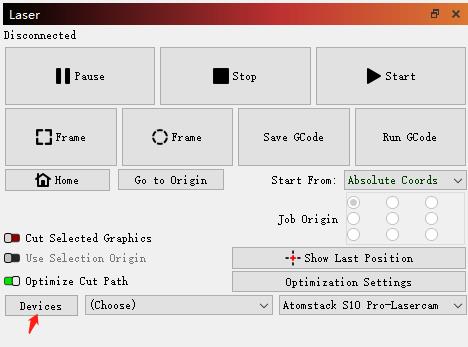
3. Add the Lasercam into LightBurn
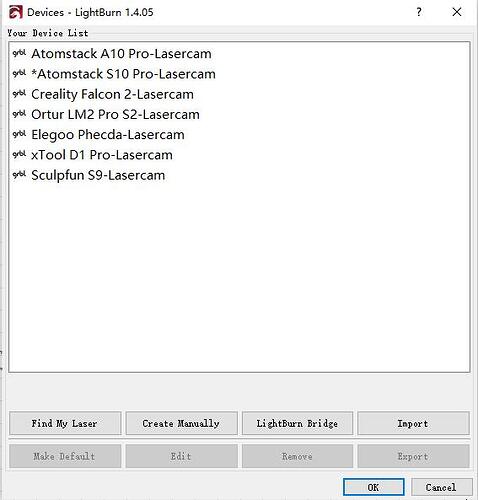
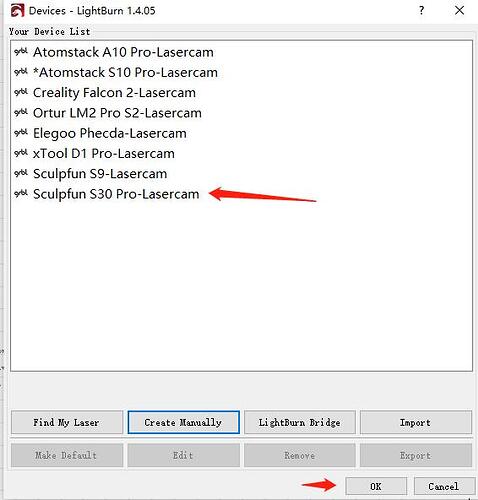
3.1 Click “Devices” in lightburn to configure
3.2 Click “Create Manually” to add
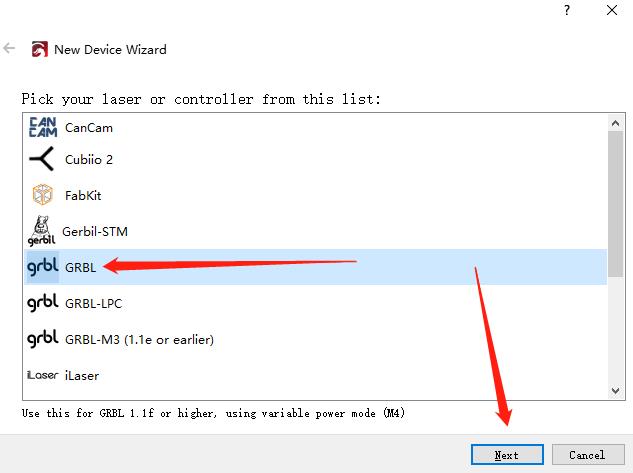
3.3 Make the corresponding selection according to your laser engraver model in the “New Device Wizard”
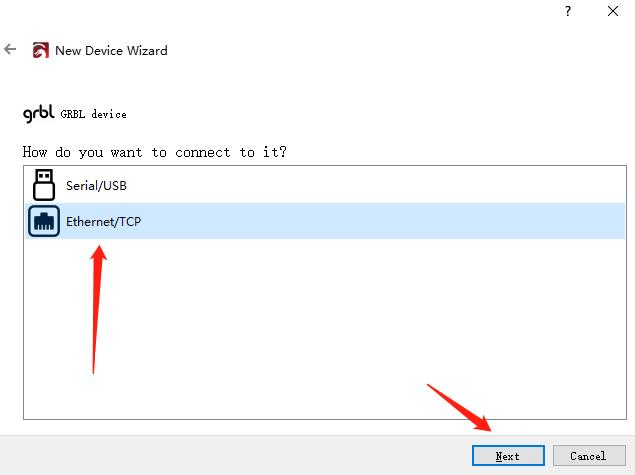
3.4 Select “Ethernet/TCP” for port connection
3.5 Enter the lasrecam IP address
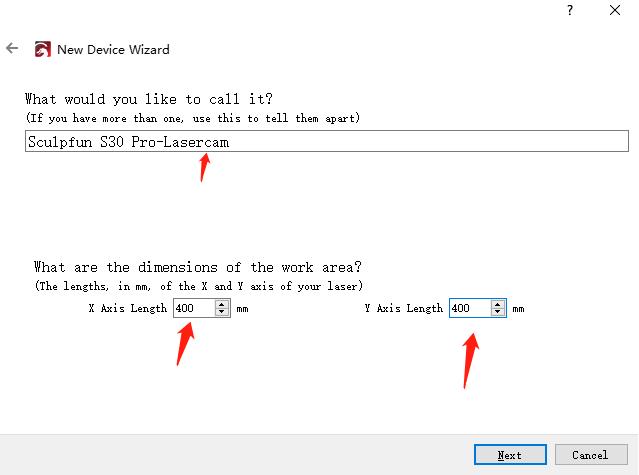
3.6 Name this lasercam and set theworking area
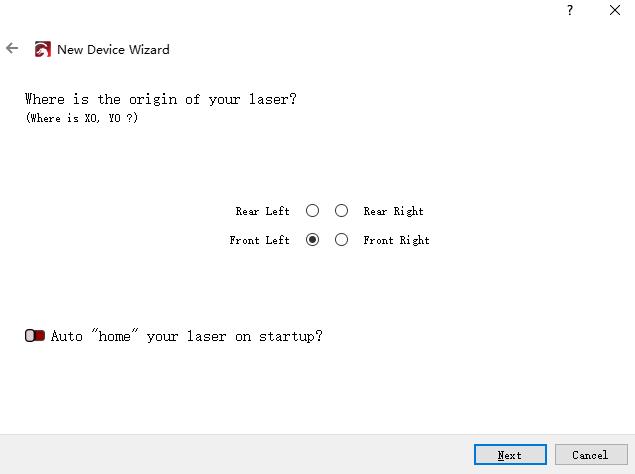
3.7 Set your laser engraver origin position
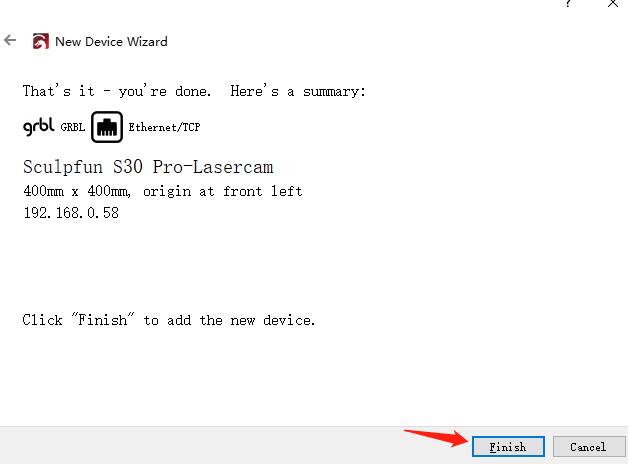
3.8 Lasercam configuration information confirmation
3.9 Finally click the “OK” to add
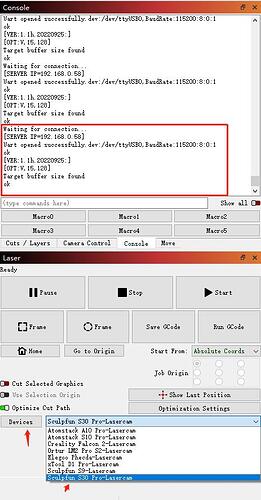
3.10 Select the newly added lasercam device to connect. After the connection is successful, the “Console” window will show the device serial port information.
How to check the live video?
There’re two ways to approach the live video feed when the Lasercam is wifi configuration successfully. With the live video streaming, you can easily to check the engraving/cutting process in the laser engraver enclosure.
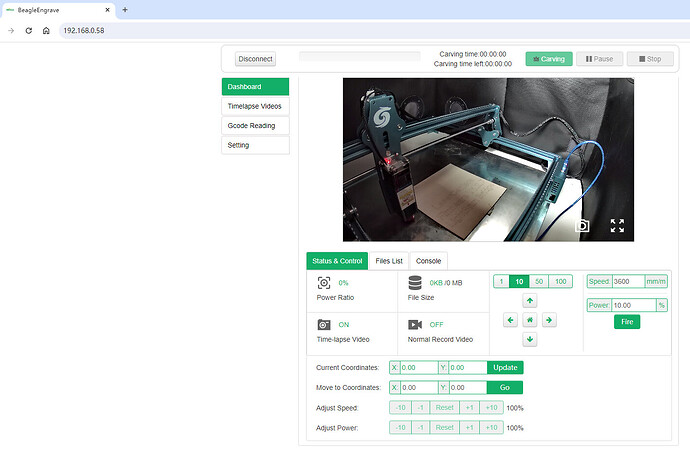
Input Lasercam IP address with interface
Input the IP address and login with password to the Lasercam.
For example: http://192.168.0.58
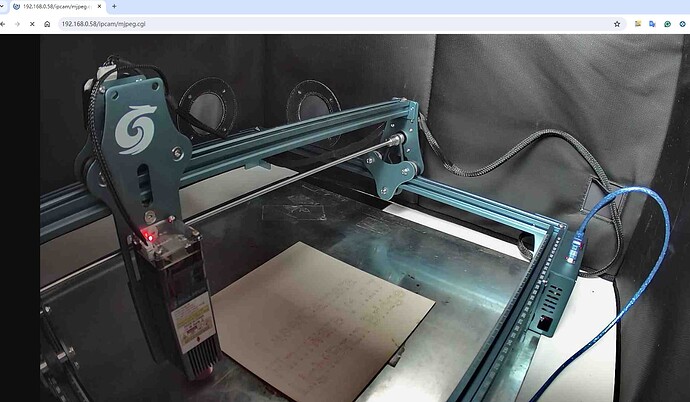
Input Lasercam IP address with video feed
Input the IP address with video compression protocol.
For example: http://192.168.0.58/ipcam/mjpeg.cgi
