I sent an email to support. Their automated response suggested I post here. OK> here ya go.
Hi there!
I’m having a fairly miserable time adapting to using your software.
I’m asking for help.
I’ve spent hours searching tutorials, the forum, facebook groups, youtube, google, duck duck go, etc. and am asking for direct support. Perhaps a phone call with me at the machine to make the changes may be possible?
I’m using a JTech 7w+ laser on a Shapeoko 3 xxl machine.
Problems.
I CAN NOT get the workspace to work properly. From use to use, I do not get consistent results. I’m using the “Use laser” and “Use Spindle” macros suggested.
A. The origin point as still runs off the front left end of the workspace (set to -812 by -812) If I hit “Go to Origin.”
B. Using the “frame” method to simply chase down and put the material where the machine wants to go works, but the machine will never go to the full front right. I’m losing about 6 inches from the left side of the machine. Also, If I set the graphic to the top right of the machine it will go out of range until I move is several inches down, losing the top right corner of the digital workspace. Is there some offset I need to set beyond the workspace settings to get the digital workspace to match the physical workspace? How do I do that?
I need to be able to burn onto carved items. I’ve heard it called “hybrid” work.
I need to be able to control the start point of the work rather than chasing the machine.
Work flow needs to be this:
Set zero x/y/z using the spindle from Vectric Aspire and carve the material.
Switch to the laser and burn graphics onto the same material and have it accurately aligned to the carving already in place.
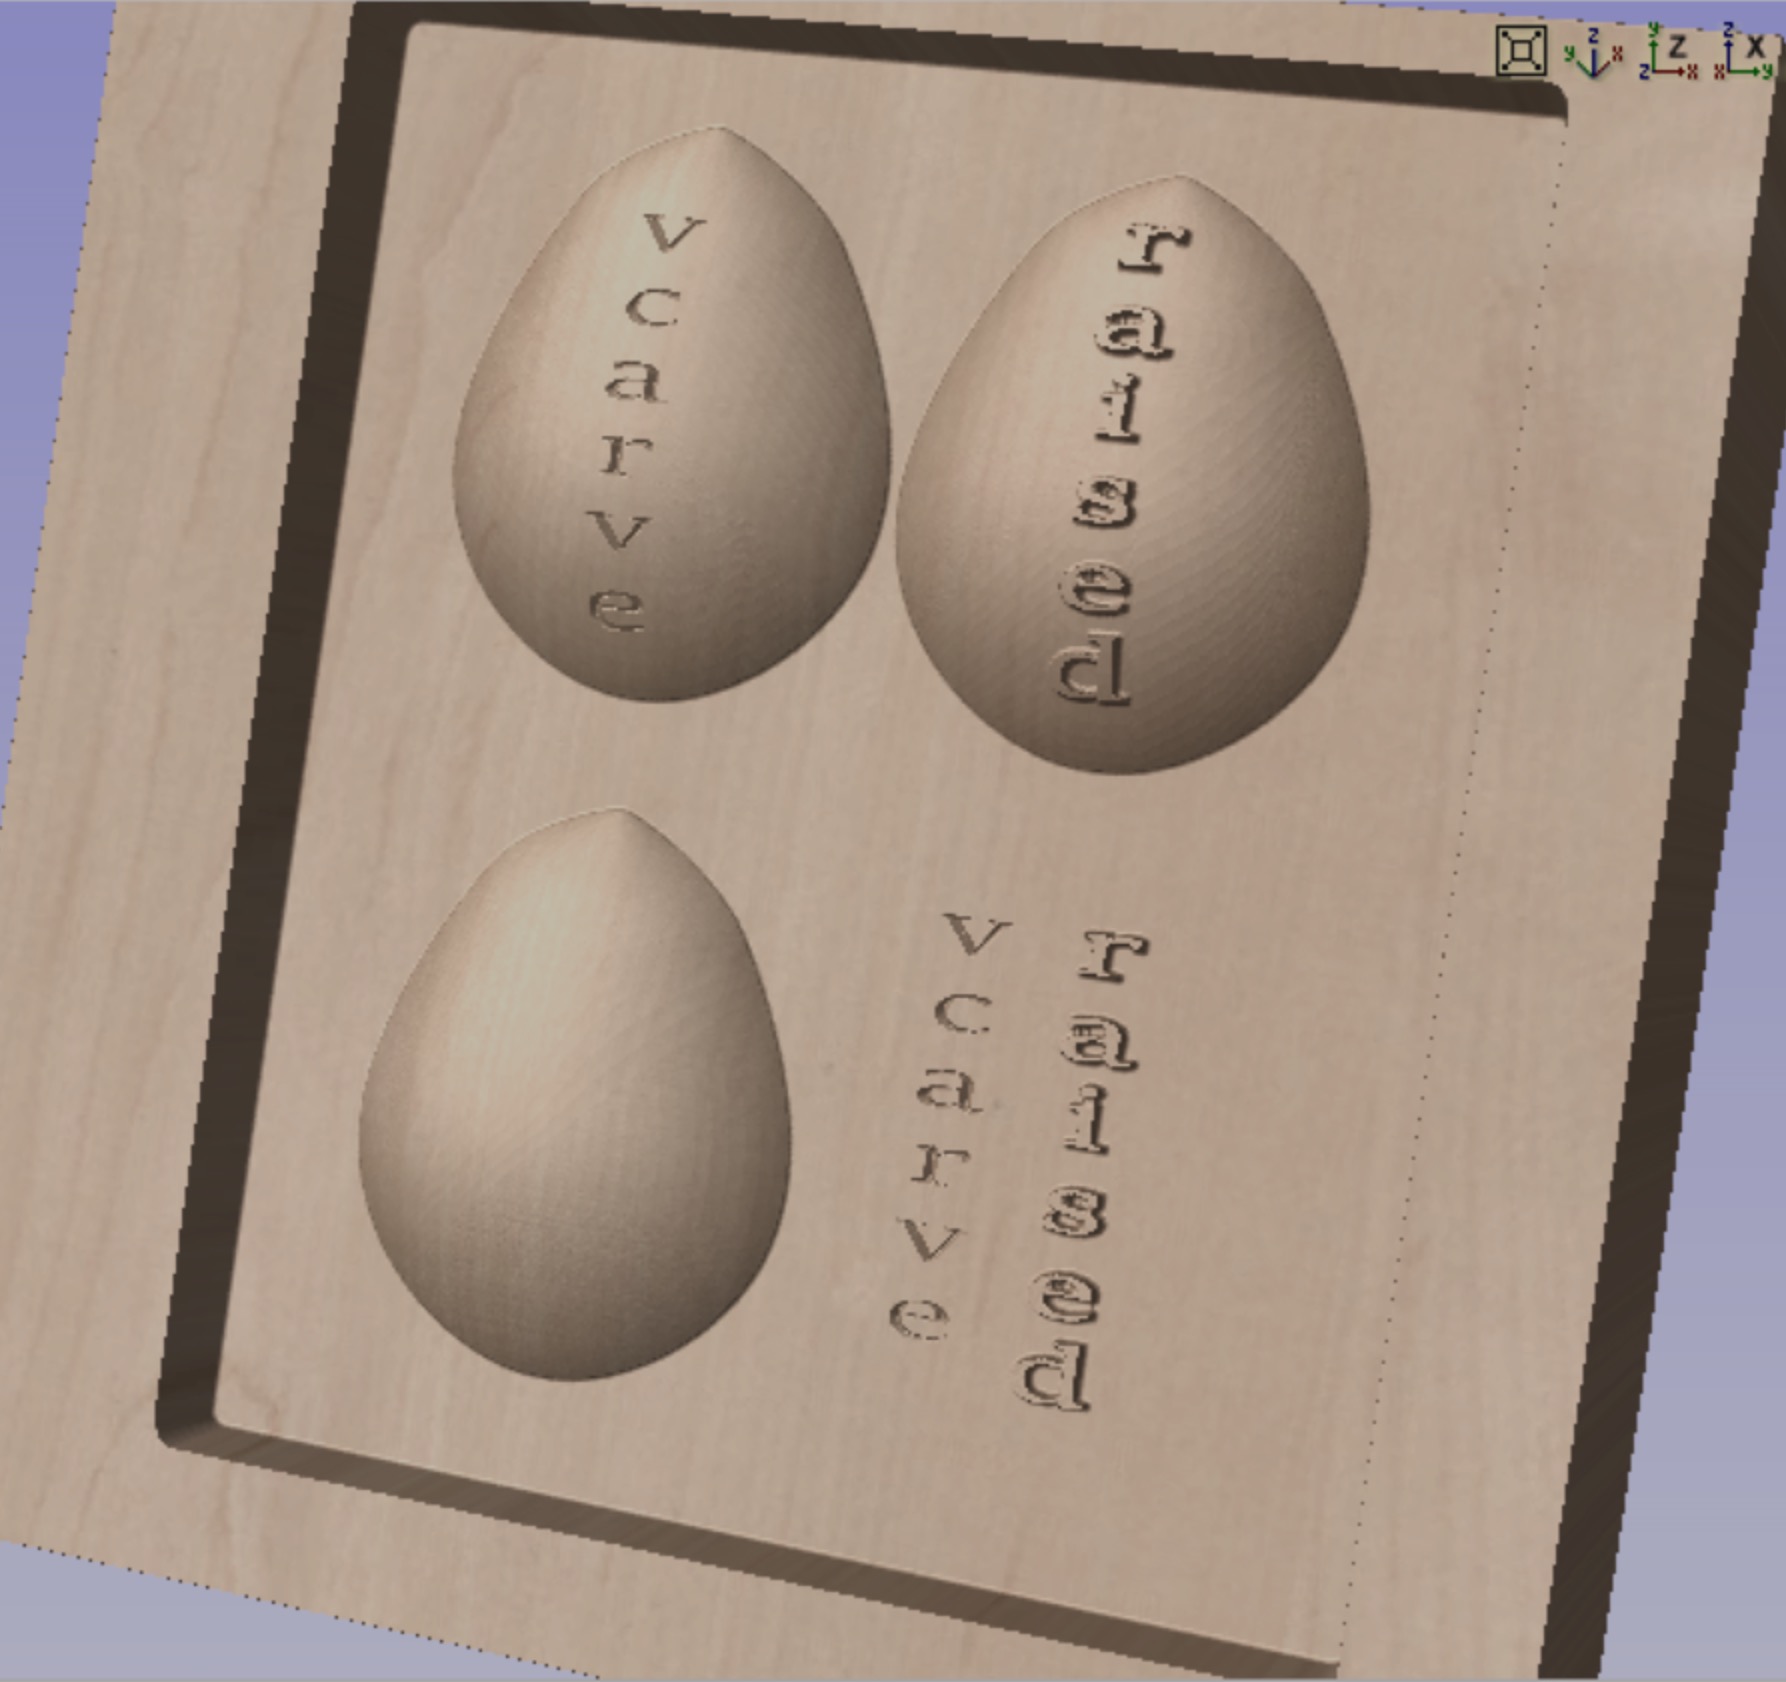
BONUS REQUEST: Is it possible to burn onto a 3d object rather than just a 2D plane. In other words, get the z axis to follow the contour of a 3D object AND have the laser turn off and on during the process? If I could accurately color the lettering on this test object and add a halftone graphic to the empty egg I would be in heaven. I’ve not been able to find any indication that this is possible or and details on how to do it if it is.
At any rate, I need to be able to accurately align and burn at least onto the flat carve and raised letters NOT on 3d eggs…. The flat ones.
I can’t get the laser head to move to any chosen point ever. I can’t figure out how to set a user origin point. (I think that’s what I need to do to align to the X/Y/Z set by the spindle)
I imagine a method where I move the laser to a marked point set by the spindle as x/y zero and set that as the origin point for the laser carve which will align the burn to the previous cut.
OR… set an offset that uses the previously saved zero.
If there is already some tutorial that lays out how to do this, please direct me. Otherwise, Please Help!
So to sum up…
My main problem is that I am missing whatever settings or procedures to properly set up the workspace and having no luck controlling the software to set my own origin/alignment points.
This lack is forcing me to only use the software for the most basic 2d burns.
Thank you for any help.
LightBurn is 1 full time developer, a part time dev, and two part time people who do support - we simply don’t have the resources to be calling customers to walk you through your set up.
User Origin mode in LightBurn isn’t what you want - that simply records the position you ask for, and recalls it when you run the job. LightBurn normally works without altering the zero point of the machine at all - you just leave 0,0 at front-left. You’re trying to use LightBurn the way you use CNC software, but LightBurn was written for dedicated laser hardware, and they don’t work the same way.
If you zero’d to the workpiece using VCarve, in LightBurn you can just ignore the workspace size, position your work in the lower-left corner of the page in LightBurn and set it to ‘Absolute Coordinates’ and that would likely do what you want.
LightBurn wants the machine origin to be 0,0 at front left. Since you are trying to set an origin on the workpiece itself, if you set $10=0 in the console, that will tell GRBL to report positions in workspace coordinates, and then using Absolute Coords mode in LightBurn, 0,0 on the page will be your work zero and everything should work correctly from there.
LightBurn will not do a 3D surface follow either. Most of the CO2 laser systems we support have very limited Z movement, and some don’t allow it at all during a job, so this has never been a priority.
Thanks for your quick answer.
If User Origin Point records a point and then recalls it, wouldn’t that actually work to set zero x/y at the same position I had for the spindle?
Any documentation on how this works available? I can’t find it.
I’ll play with Absolute Coordinates and see how that works.
Any documentation on how this works available? I can’t find it.
Anyone have an idea or suggestion about adding z movement and having the laser still turn on off?
It might not go into the level of detail you’re looking for, but you can also just draw a rectangle and save the GCode - everything the job does goes there, so you can see what effect things have.
For Z-following a shape during a job, you won’t be able to do that with LightBurn. It’s something that could be added in the future, but it’s not on the roadmap for the moment.
You would need a motorized z for it to follow and mark across various heights, there is one available from Lightobject that does this pretty well but is not cheap(understatement lol). They call it a Real-Time Auto Focus Head: https://www.lightobject.com/DIY-KIt/Real-time-tracking-Auto-Focus-Laser-Head-RTAF
Theres some videos of it working on Youtube, its pretty cool…as long as your willing to sell a kidney or two
That’s pretty awesome. As Oz said, CO2 lasers generally don’t move on Z, and Lightburn is mostly, apparently, for that market.
I’m coming over from the cnc spindle world and have added a diode laser to my cnc so I already have z movement and make 3d stuff.
SInce the laser needs to be focused at a precise distance from the head, that works out to be the same as the length of a bit. It seems to me that I should be able to run the same 3d GRBL file to move the head x/y/z and fire the laser intermittently as required and burn/color the surface of my carvings.
Current coding seems to switch z movement to power on/off, so those seem to be exclusive and not able to overlap.
I’m very new at this. An artist who bought a machine and am trying to learn from scratch, so all I can do is ask for what others know.
GRBL is (can be) used for both. x/y movement commands are the same. It seems that there should be some way to add the z movement back in and also have the fire on/off command as well.
I’d certainly buy any software that did.
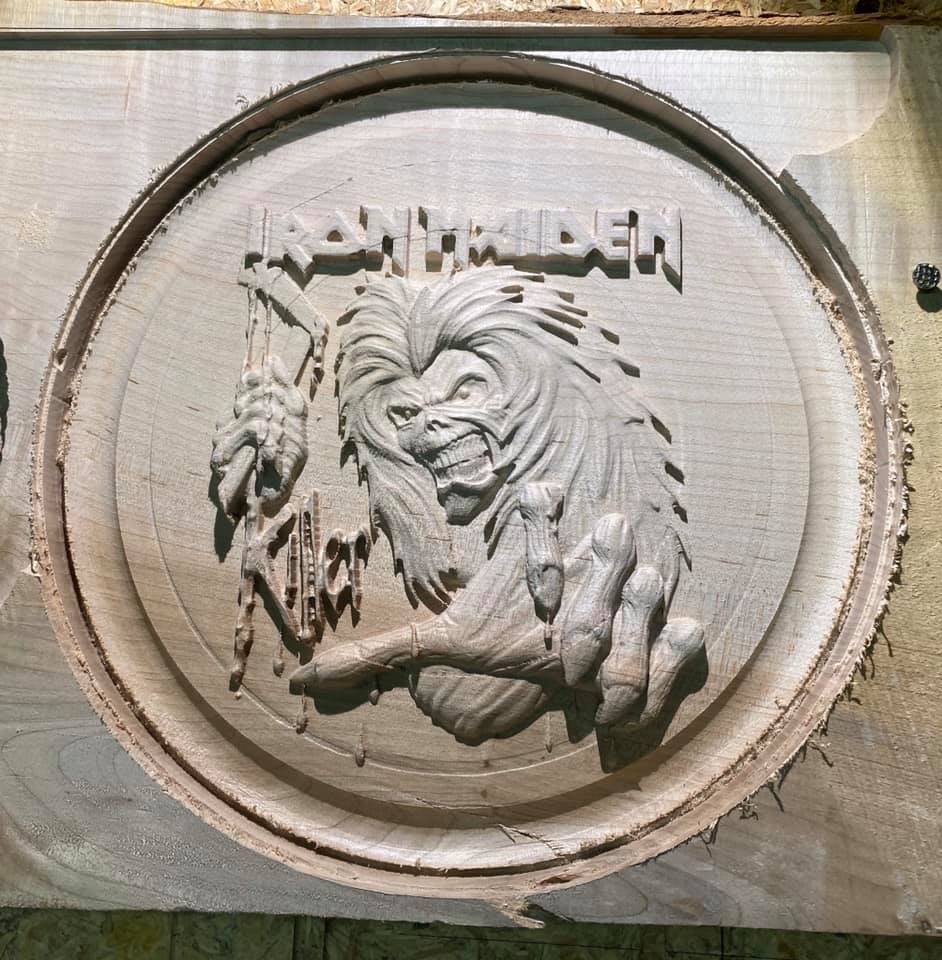
Here’s a piece I’ve recently made that I’d love to be able to burn onto for example.