ALARM:8
Homing fail. Cycle failed to clear limit switch when pulling off. Try increasing pull-off setting or check wiring.
After days of reading and trying every fix suggested fix except for Flashing the firmware (I couldn’t find Flashing software I trusted) I found some instructions on adjusting the pull-off distance. Changed it from the default 4.0 to 4.5 and it fixed the error.
These are the instructions that worked for me. I changed mine from the Default 4.0mm to 4.5mm
GRBL configuration $27 sets the pull-off distance in millimeters. You can set this from Edit-Machine Settings or by entering $27=NUMERICVALUE in Console where NUMERICVALUE equals the distance that you want.
To increase the pull-off setting (homing switch pull-off distance) on a LE400 Pro 5.5W laser, you need to modify the $27 GRBL configuration parameter.
Parameter: $27 controls the homing switch pull-off distance in millimeters.
Current Default: The standard value is 4.0 for mechanical limit switches or 2.5 for optical switches.
How to Change:
Via Software: Use software like LightBurn or LaserGRBL to send the G-code command $27=<new_value> (e.g., $27=5.0 to increase it).
Via Hardware: If your controller board allows, you may need to access the GRBL settings menu directly on the device interface (if available) or re-flash the firmware with a new default value.
Note: Higher numbers increase the pull-off distance. Ensure the value is within the safe operating range of your machine’s limit switches to avoid collision or missed homing.
Electronic limits can typically handle smaller pull-off distances (0.5–2.5 mm), while mechanical switches benefit from larger distances (4.0 mm+).
I can’t second this; with 99% of all diode lasers I used (those are a few ) I never needed to increase the pull-off beyond 1mm. All of them except one are using mechanical switches. So if you needed to set it to 4.5mm, it’s a very low quality mechanical system. But Kentoktool lasers are among the cheapest of the cheapest, so this might be the reason here
I understand that but I was working my way through the Kentoktool sites instructions which are sorely lacking. And Info on both Kentoktool and Woxcker LE400Pro is pretty sparse. and most of it is over a year old. I did many searches on this forum as well as the general internet. I still haven’t found a good tool for flashing the firmware.
This info is geared toward the Kentoktool and Woxcker LE400Pro 5.5w laser as the title implies. The instructions I found listed the Default.
Parameter: $27 controls the homing switch pull-off distance in millimeters.
Current Default: The standard value is 4.0 for mechanical limit switches or 2.5 for optical switches.
So far since adding 0.5mm to the pull-off I have had no issues with my testing. Mostly figuring what it takes to cut different thicknesses of wood. The data sheet says it can handle up to 12mm at 100% power, speed 500, 1 pass, on M3. I am guessing, at this price point they are blowing smoke. This is my first Laser and it is what I can afford at this time doe I plan to abuse it for as long as it will last.
Yeah, right Lasering is all about testing, that’s the best approach. As you already suspected, those specifications are just insane out of reality. With a 5W laser module, the thickest material that is realistic is 4-6 mm poplar or birch plywood. And you would need about 6-10 passes at 90% and 600 mm/min for 4 mm poplar plywood, I guess. My standard setting for 4 mm poplar plywood is 600/90/4 with a 10W Sculpfun module, which is among the best on the market.
For 12 mm material, I use 60W to 70W diode laser modules and it still takes ages and doesn’t look good.
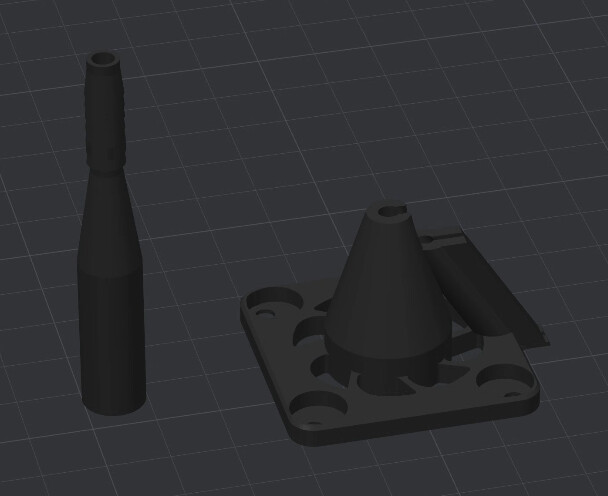
Thanks for the info, I am currently in the process of setting up Air-assist I’ve worked up an adaptor for the tubing and modified a nozzle model to connect it all up to see if I can improve cutting depth. I have ton of fire and forget Patience, I can ignore a printer or cutter for days.
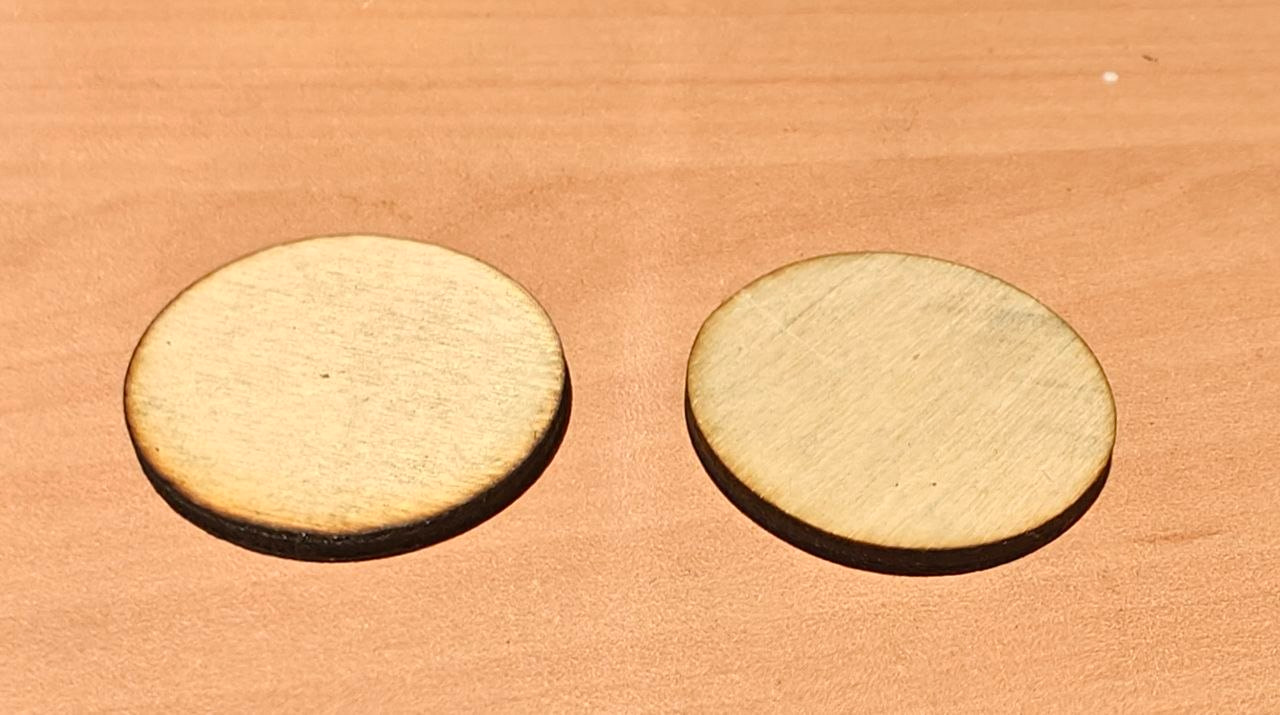
So far I’ve cut 3.175mm (1/8th) inch Baltic Birch in 4 passes no air at 95% and 80mm/m. Just a small fan and a dryer hose to put the smoke out side. Nice clean cut with very little scorching.
I do not have a 5w, so I reduced my power to 47.5% (but a 5w has a more focused beam, so it will actually cut better). I actually cut to make sure my machine would actually cut out completely with my settings. No air assist.
You did not specify the circle size, so I used your settings on a 12.534mm circle.
5w, 4 passes, 95%, 80mm/m = 1:58 minutes.
10w, 4 passes, 47.5% (of 10w = 95% of 5w) , 450mm/m = 0:27 minutes. It actually dropped in 3 passes.
Faster with more passes is often quicker.
Where these should have been similar run times for 4 passes, I am guessing yours was not at the optimum focus point.
A 10w laser does not cut 2x as fast as a 5w laser. My 4.75w is spread out over a greater area than yours.
Manufacturers have been known to be wrong on the actual focus height.
Give this a try to see if you can reduce your cut times.
My circle was 34.06mm, I just made a random circle and ran it.
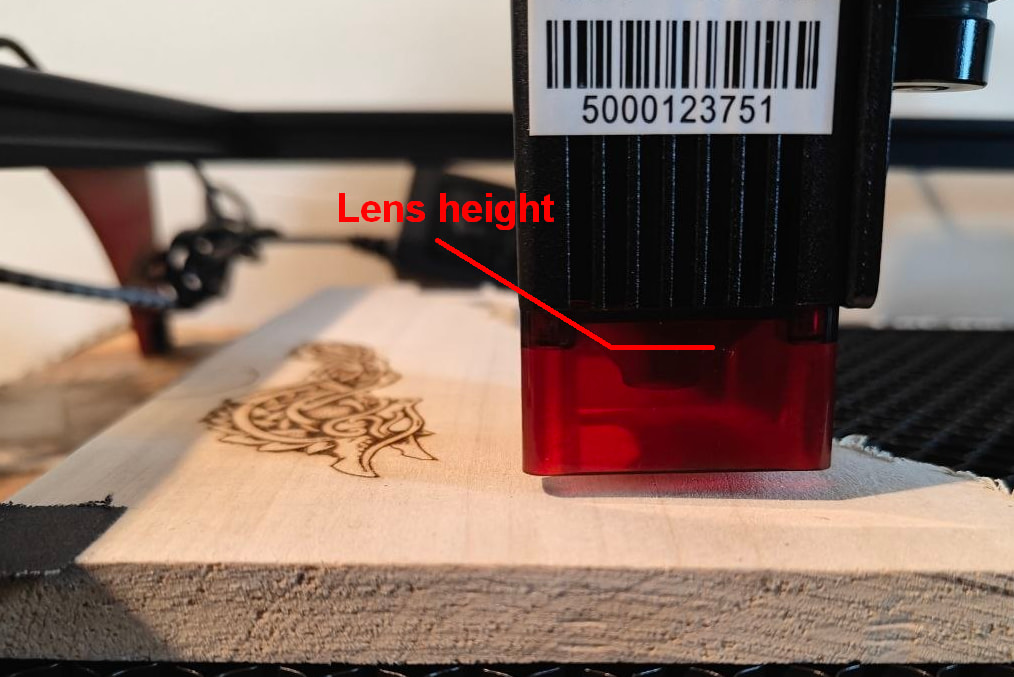
I have not been able to find any numbers on optimal Focus height for the Kentoktool LE400 Pro so I set it with the cover about a 1/8th" gap above the piece the actual Lens is about 3/4 - 1" above the piece, all their videos show it at approximately this height.
I am not sure how to perform a ramp test because my Z axis is manual.
Their literature says,
The Kentoktool LE400 Pro features a fixed-focus laser module, meaning it does not require manual Z-axis adjustment for focal length. Instead of traditional zoom adjustments, the machine uses a lifting control knob to adjust the overall height of the laser head, which facilitates convenient and accurate positioning relative to the material surface.
No Manual Focus: The laser has a fixed focal value, eliminating the need for constant manual focus adjustments typical of zoom lasers.
Height Adjustment: Users can utilize the lifting control knob to raise or lower the laser module for proper working distance.
Stability: This design ensures stable laser power and consistent engraving results without the hassle of recalibrating focus for each job.
It should have come with a setting tool, either a shim spacer or cylinder you stand on end. Some come with a flip-down bar to set the height.
With that light guard on there, not easy. If you can remove it for testing, that would help. The ramp test is exactley like it sounds. You set it for the lowest power that will mark the material. You raise one end so that it matches the end of the nozzle. This should put the ideal focus (finest line) in about the middle, so that is what you are looking for.
This is funny. Then it says you move the Zaxis to focus.
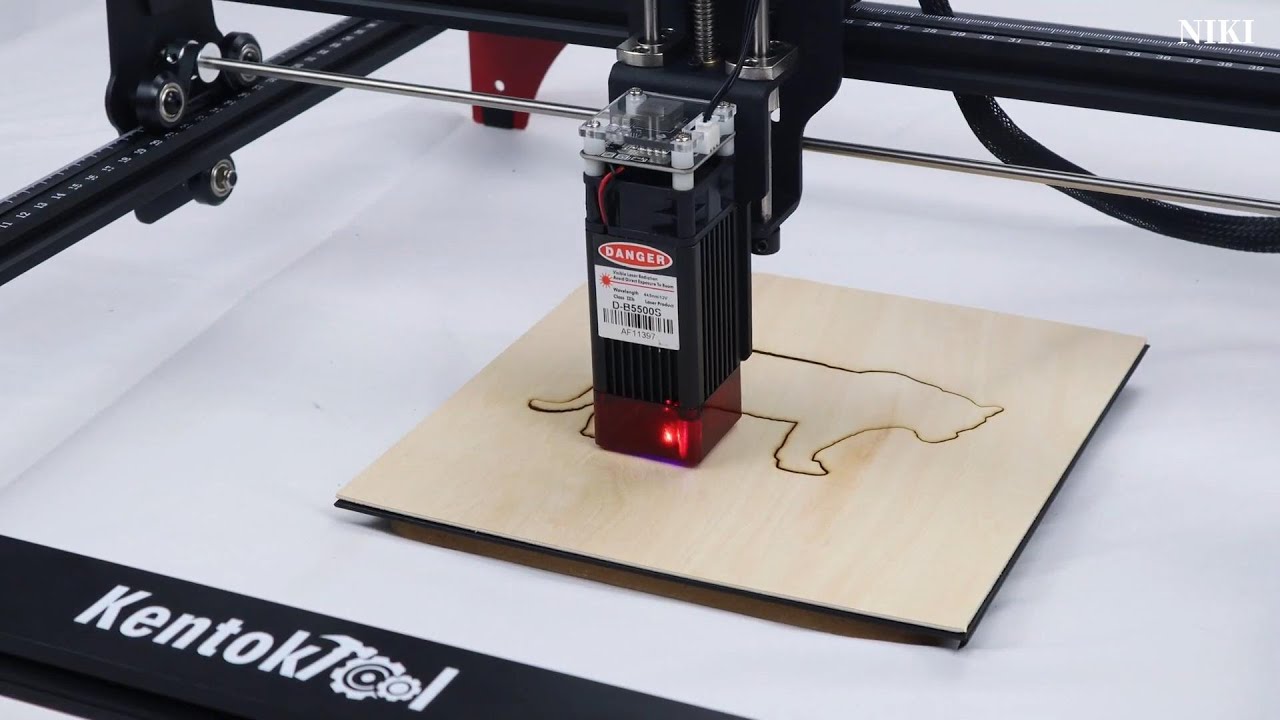
They leave out the other 23 takes to get the “perfect shot” under ideal conditions and the right piece of wood. It is called advertising.
It literally has a knob on top that you turn by hand to adjust the height.
It doesn’t say you move the Z axis to focus.
It says, [quote=utilize the lifting control knob to raise or lower the laser module for proper working distance. [/quote]
Meaning setting it to the correct height for the thickness of the material. For instance th wood in the picture is 13mm thick the disks I posted are 3.175mm thick. so I had to lift the laser head to accommodate the thicker wood.
I get they edited for better shots and I understand advertising but I plan on testing to see if I can achieve that cut or better. I’ve never been one to give up just because someone said it’s imposible.
 ) I never needed to increase the pull-off beyond 1mm. All of them except one are using mechanical switches. So if you needed to set it to 4.5mm, it’s a very low quality mechanical system. But Kentoktool lasers are among the cheapest of the cheapest, so this might be the reason here