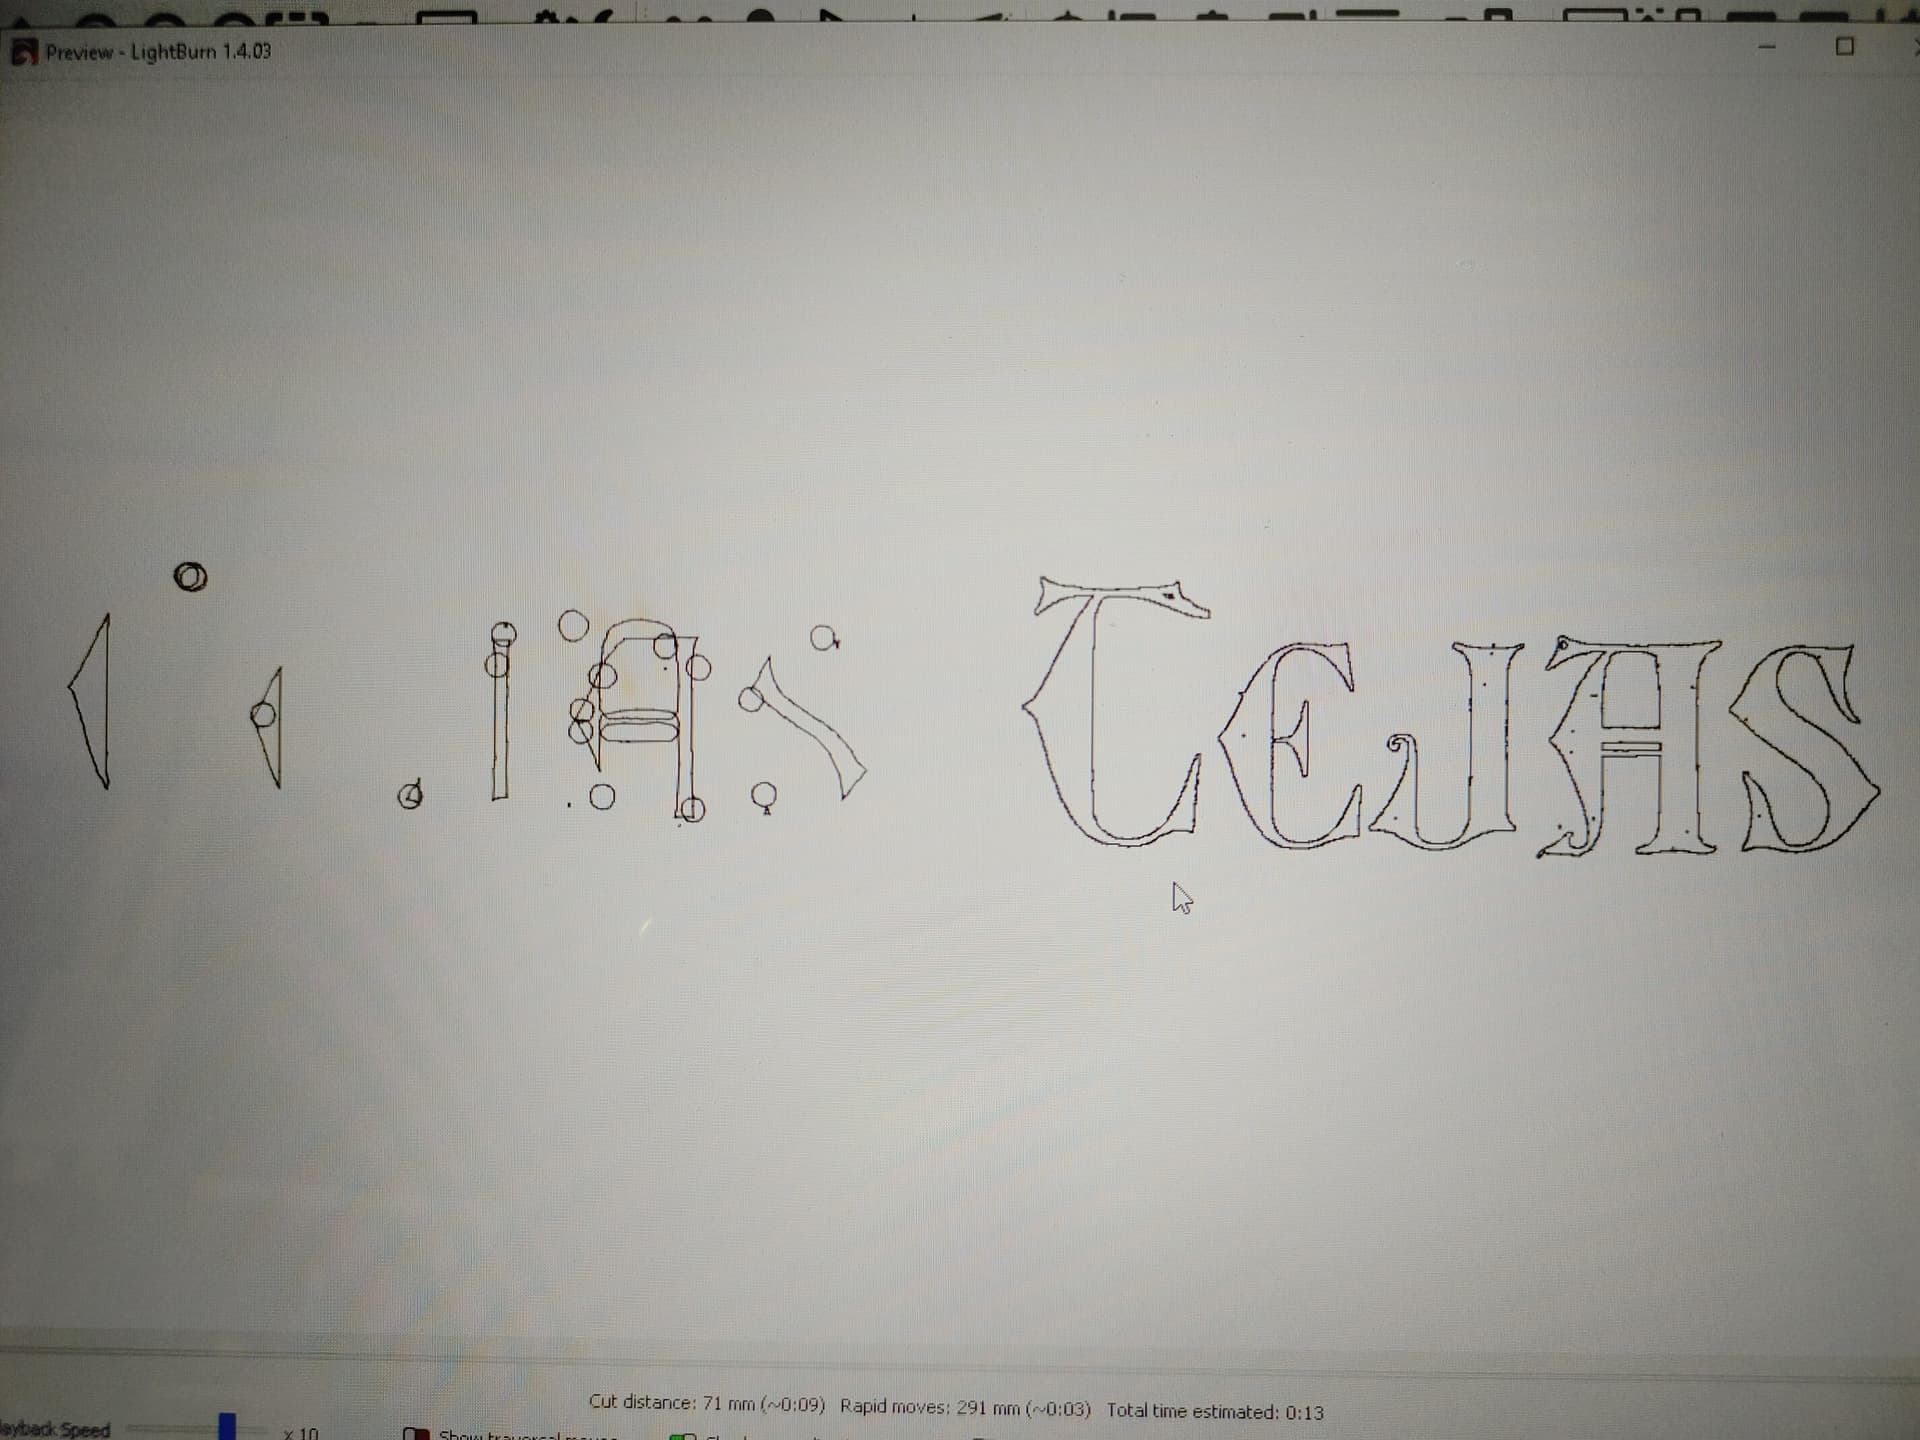
Fairly new laser user, even though we’ve had our D1 Pro and Lightburn for almost a year. Yesterday I created a file that included sections to cut, as well as a text box. All cut and printed beautifully on some acrylic. Today, I was testing another material, so generated a fresh file, again with areas to cut as well as a text box. I checked my results using preview, and all of the cut areas looked right, but the text looked nothing like I’d typed. It wasn’t a different font; it was more like only parts of some letters were showing. I began using the 1.4.03 update today, so trying to determine if it is a bug, which feels somewhat likely, to this new guy. Before you roast me, I did work in IT in my govt job (retired 2009). I did reboot software and computer, so I still remember the most used resolution. Lol. Hopefully the attached screen cap might assist.
The state outline appears correct, so I’m thinking it has something to do with the font.
I just tried a couple dozen different fonts, both windows system, and downloaded, true type, and SHX. All previewed fine.
LB 1.4.04 on Win10
What exact font and size/style (bold, italic, etc) are you using?
Also, not sure if it makes a difference for non-special characters, but what language do you have for system default and keyboard? I’m assuming the text was just standard keyboard entry, not alt/ASCII or character map inserts…
The first font that displayed incorrectly was Didot, height was 0.2”, and yes just typed normally via the keyboard on my MacBook Pro. Plain text; no bold or other attributes.
I just tried a couple of other fonts, to again test the preview function. All of the fonts I tried, were similar as in they didn’t represent wholly on screen, as originally typed. I adjusted the font size, and the problematic fonts each finally displayed correctly, when I adjusted them above 1” height.
The file I cut/engraved Wednesday, was using Garamond (sp?) font and two others, and the height of each was between 0.15” and 0.18”, and looked perfect in preview. I thought the small font size was possibly the driver to the erroneous text preview; but obviously not, or at least not only that. I did re-open the file from Wednesday just now, and the fonts all three were shown correctly in preview.
I might try rebuilding the Texas outline file tomorrow, to see if there is any possibility that the file is somehow corrupted. Thoughts?
check the text layer and ensure there is no Kerf Offset specified, text that small with even a 0.004in inward offset can cause funky toolpaths when shape lines cross.
I tried again with a smaller font height (2.5mm) and everything previewed correctly, even the difficult “fancy” fonts I tried. Like “eroded” Gothic Blackletter/manuscript/monastic stuff.
May be onto something there, but only the “e” and “a” seem to be affected. Compare the other letter and there isn’t an offset large enough to obliterate the serifs on them.
Regardless, I do get some severe results if the offset is greater than the segment cross section. While this should be expected, it’s not something I would have considered.
Same font, 2.5mm height, left has a .075 kerf offset, right does not.
Honestly, I’ve never even noticed a Kerf Offset. Even when searching I couldn’t find it. I did find Offset Shapes (in the Tools Menu and in the toolbar), and there was an offset of 0.16" set. I’ve never touched that tool choice before, and I’m the only one that uses this MacBook Pro and Lightburn, so I have no idea how or why that was set. I changed it to 0.0 and re-checked the preview, and the previously messed up text, displayed right as rain!
I really appreciate your input and assistance, as well as those Chris provided! I’ll try to pass along assistance, when or if my skills/competence reach those levels.
While working on a project today, I finally put 2 and 2 together, locating the offset portion you guys were referencing. Good thing I have a decent personality!