Bonjour à tous,
Très heureux de rejoindre votre communauté, je n’hésiterai pas de partager mon travail en espérant de pouvoir apprendre plein de choses sur ce forum. ![]()
J’ai un problème lors que je veux graver une forme à l’endroit où j’ai pris la photo. La gravure est décalé de quelques millimètres, est-ce que quelqu’un d’entre vous a rencontré déjà le même problème. Merci de votre aide.
I have a problem when I want to engrave a shape where I took the photo. The engraving is off by a few millimeters, have any of you already encountered the same problem. Thank you for your help.

Bonjour à tous,
Très heureux de rejoindre votre communauté, je n’hésiterai pas de partager mon travail en espérant de pouvoir apprendre plein de choses sur ce forum. ![]()
Hello everyone,
Very happy to join your community, I will not hesitate to share my work hoping to be able to learn a lot on this forum.
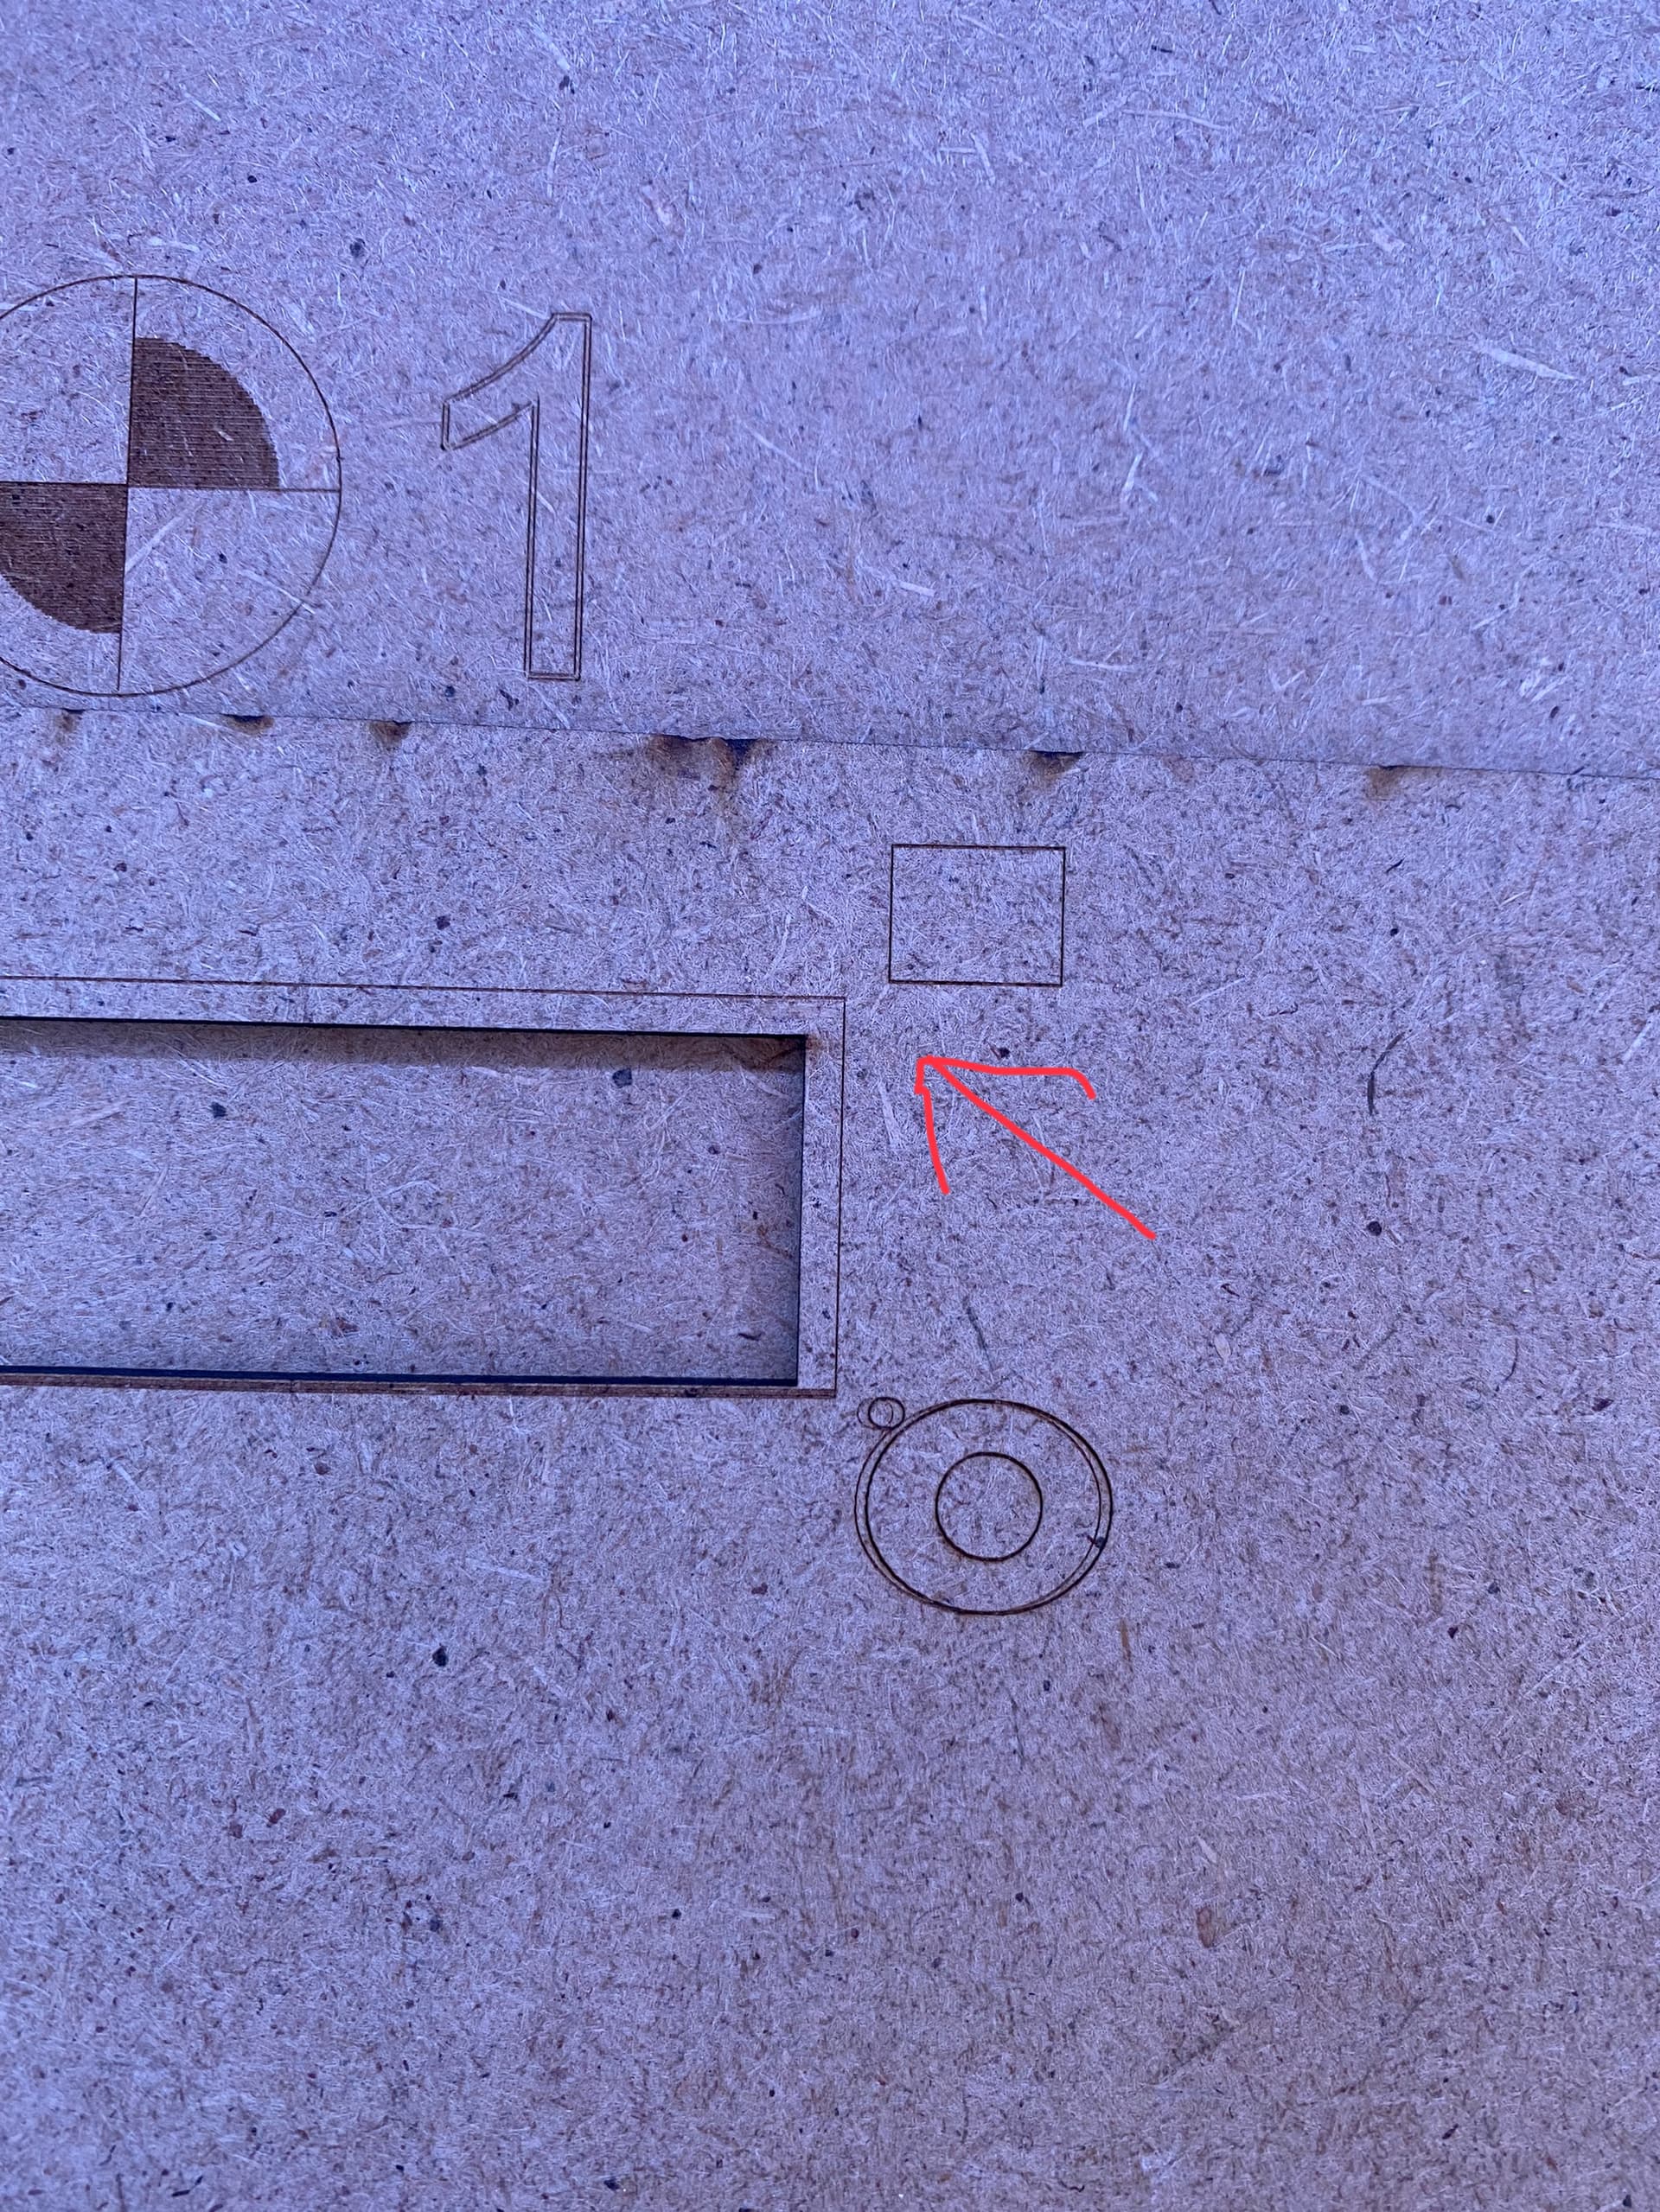
This picture tells the tale.
The change in elevation creates an error in the alignment.
You must align your camera to the surface of the work.
The alignment mark below the workpiece shows me that your camera was aligned below the current work surface and the height difference in the material is likely the reason for the error.
Bonjour john,
merci beaucoup pour avoir répondu, je fais des tests ce matin sur le même matériau où j’ai fait l’alignement de la caméra mais rien à faire je n’arrive pas à placer mon dessin précisément a l’endroit où je veux le placer.
Le dessin du carré que j’ai placé sous le chiffre deux est gravé avec un décalage sur la gauche, je ne comprends pas.
Comment je dois faire pour graver un texte précisément sur mon crayon papier ?
Hello John,
Thank you very much for answering, I’m doing tests this morning on the same material where I aligned the camera but nothing to do I can’t place my drawing precisely where I want to place it.
The drawing of the square I placed under the number two is engraved with an offset on the left, I don’t understand.
How do I burn a text precisely on my pencil?
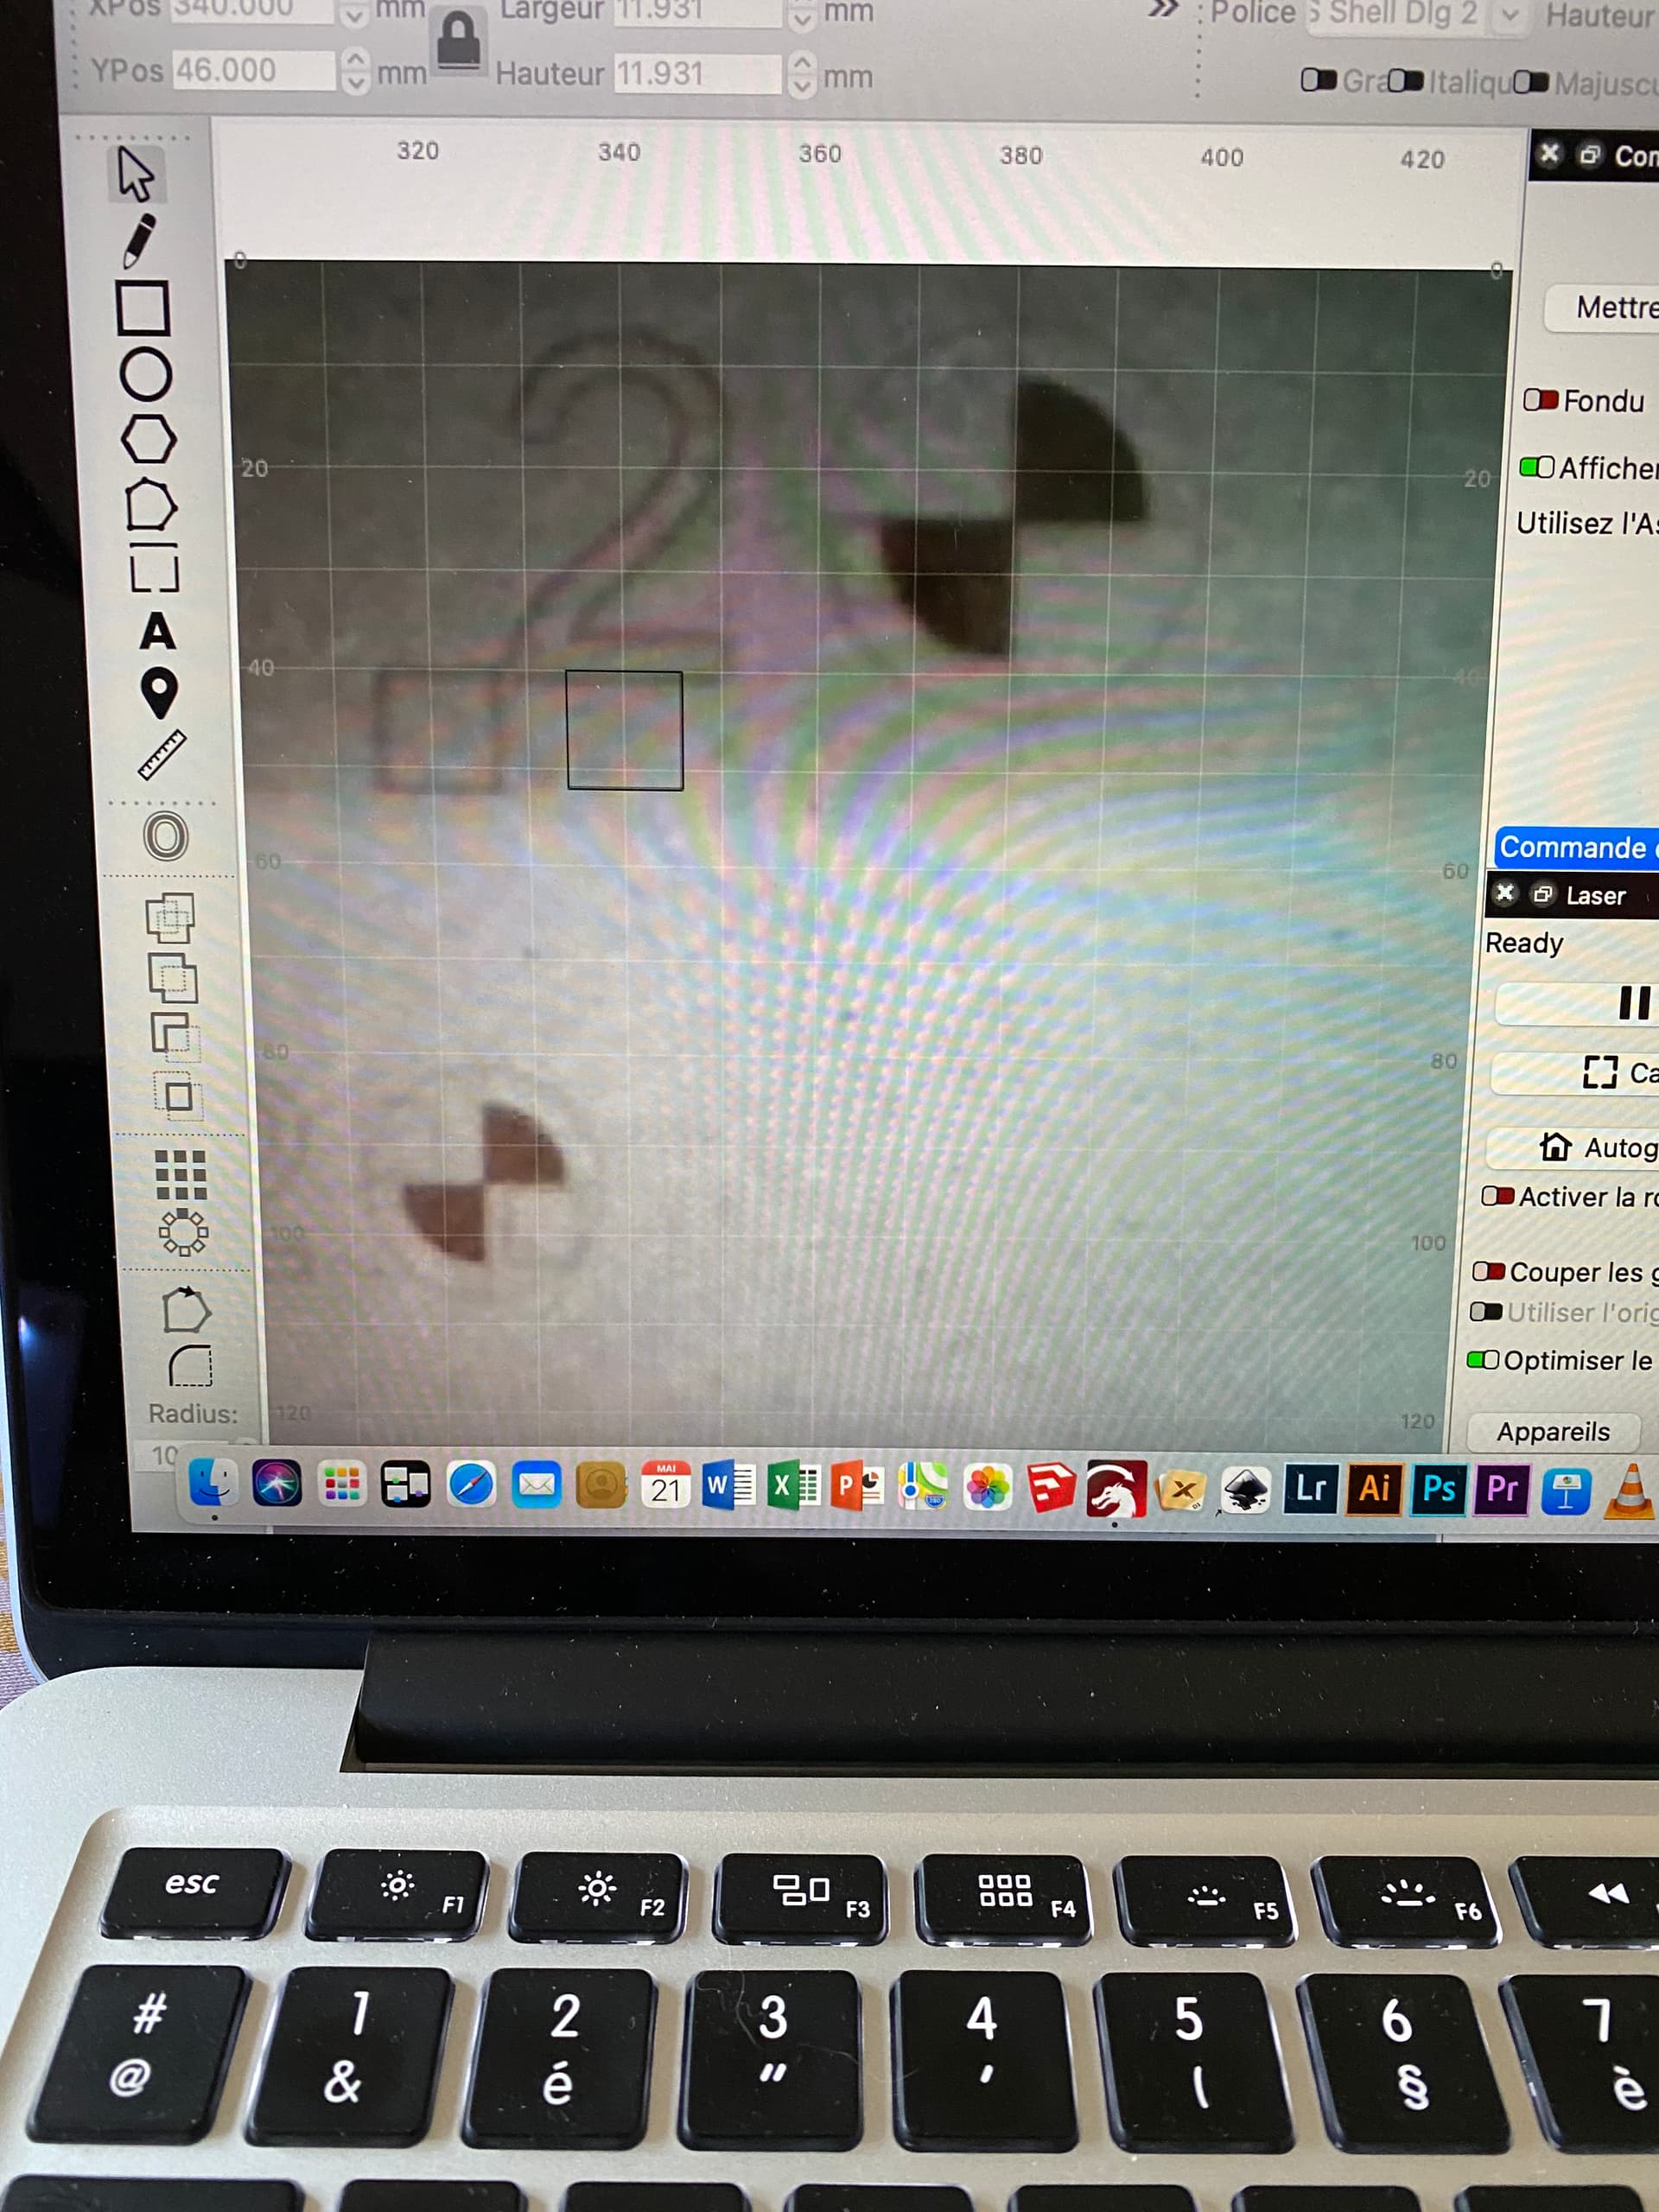

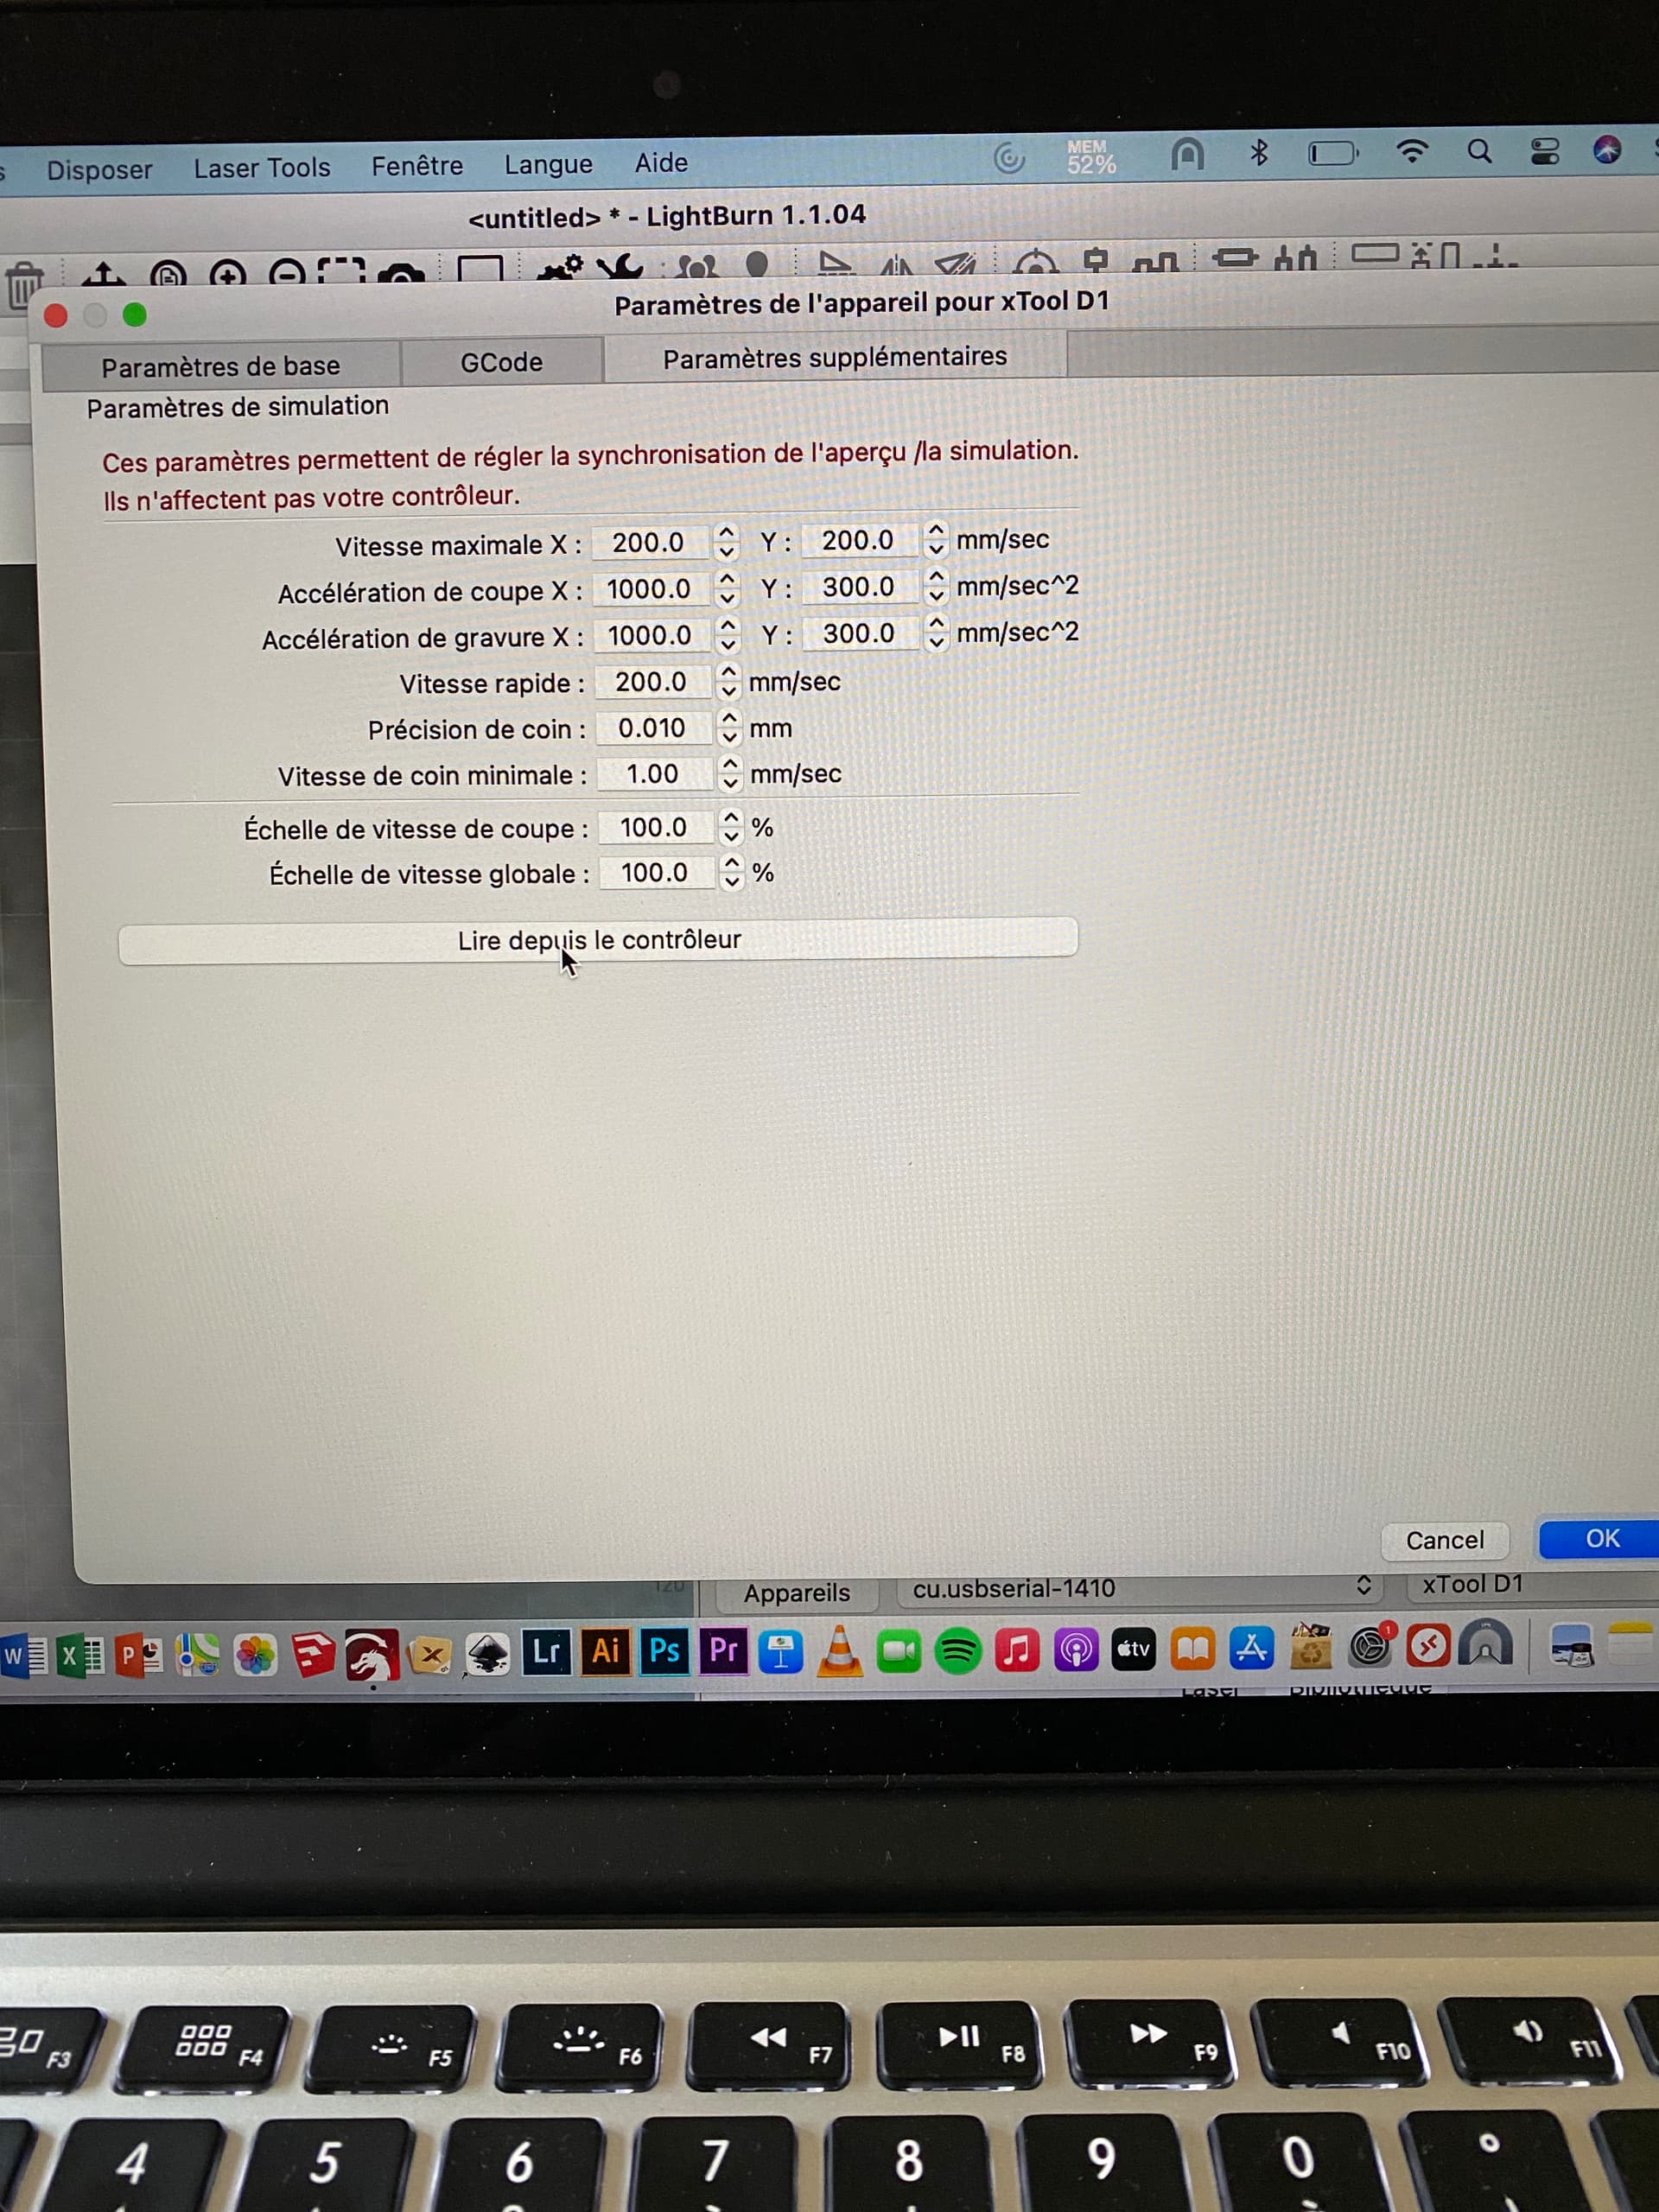
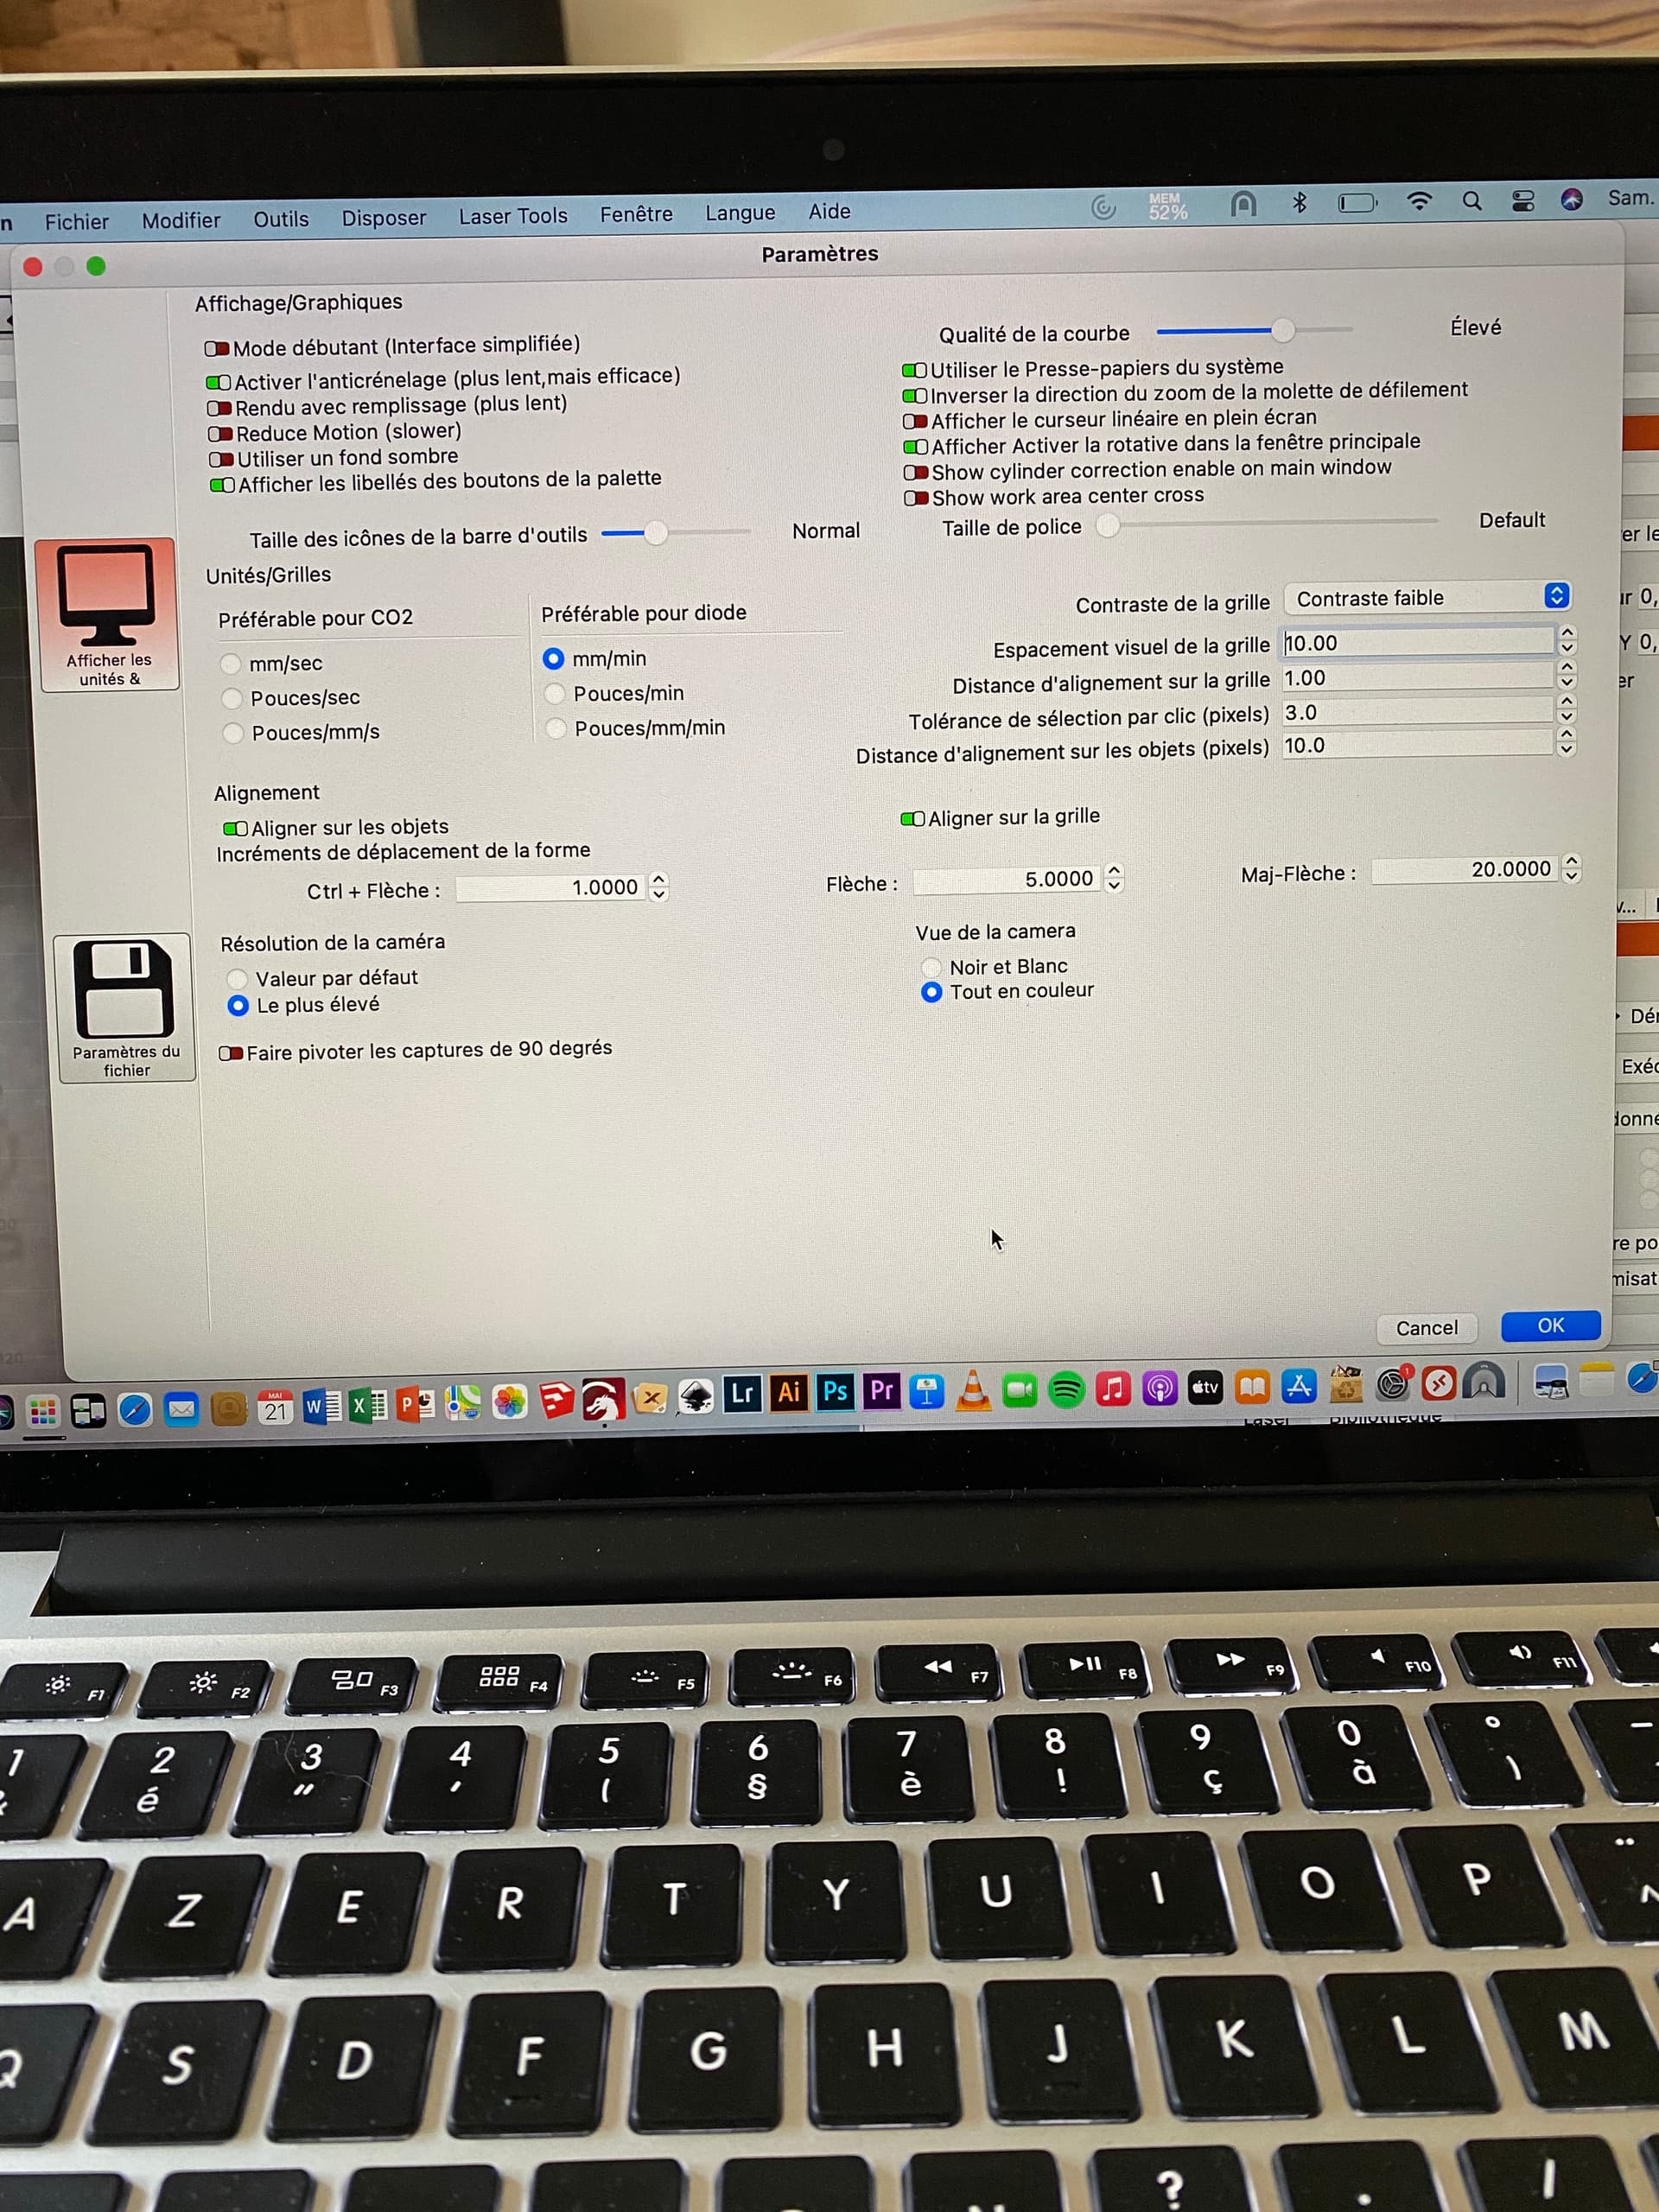
Je te montre quelques photos de mes paramètres peux-tu regarder s’il y a quelque chose à changer
I’m showing you some photos of my settings. Can you see if there’s anything to change?
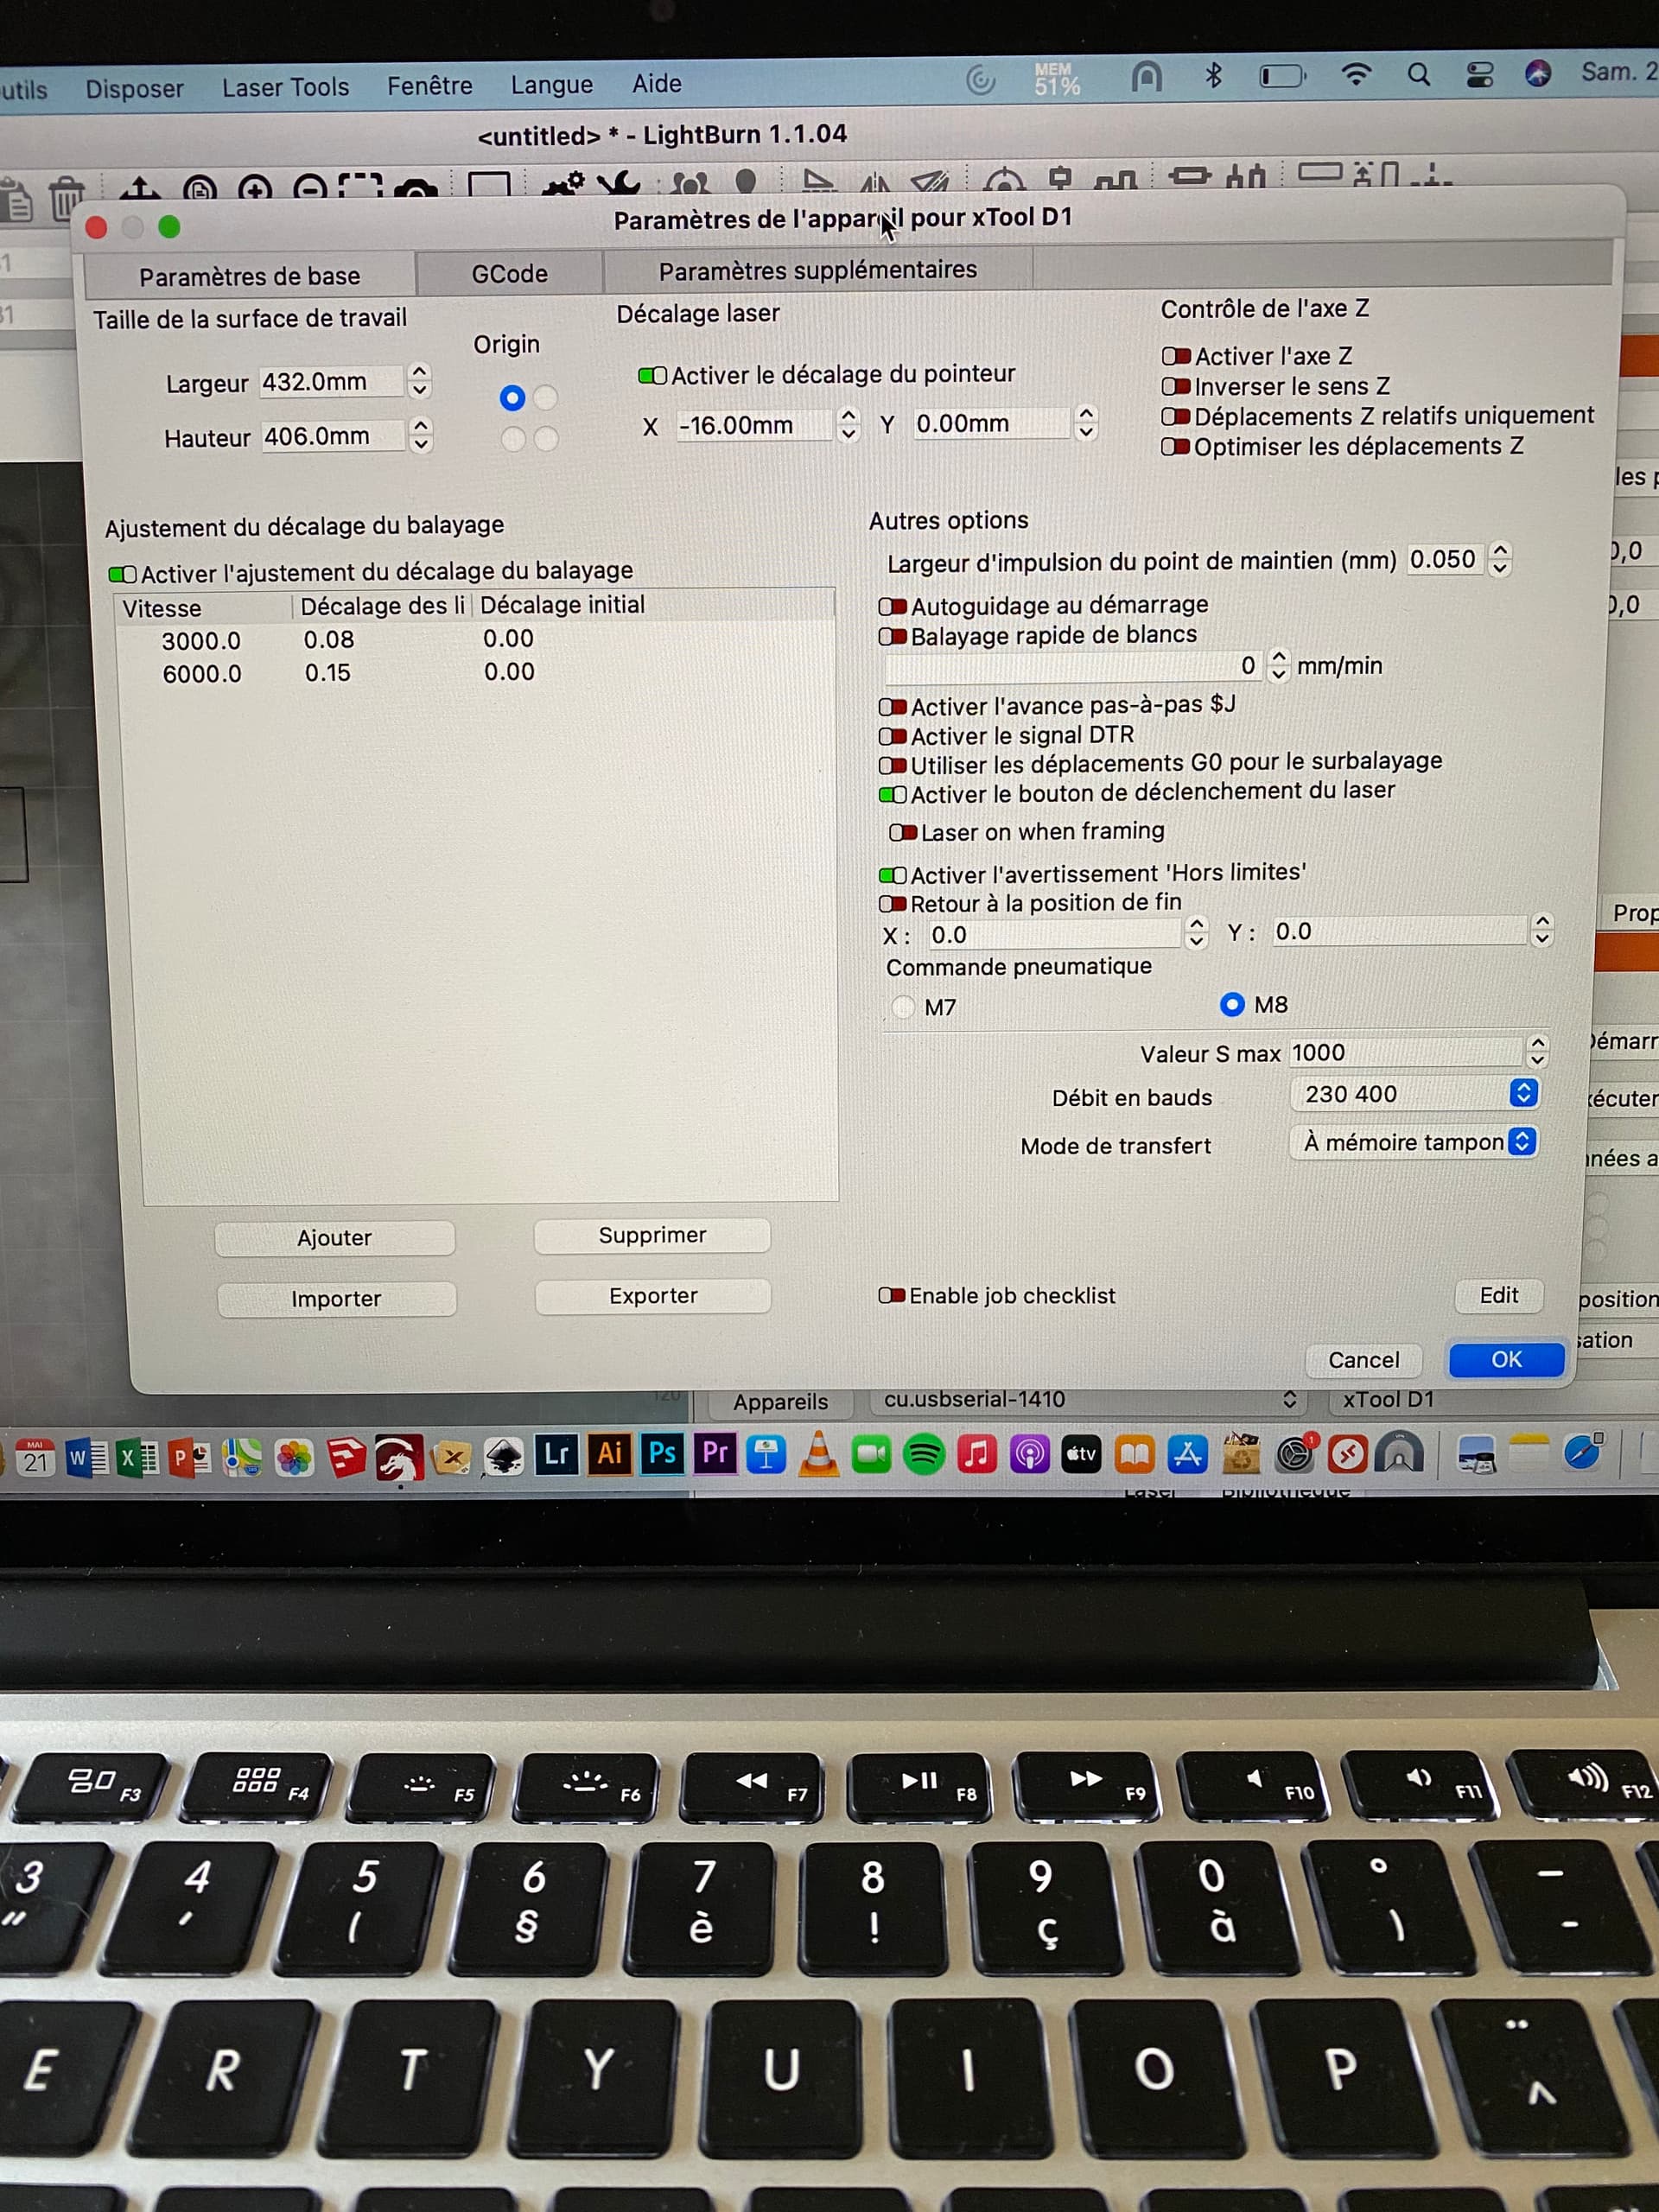

Après avoir appuyer lire depuis le contrôleur
After pressing read from the controller
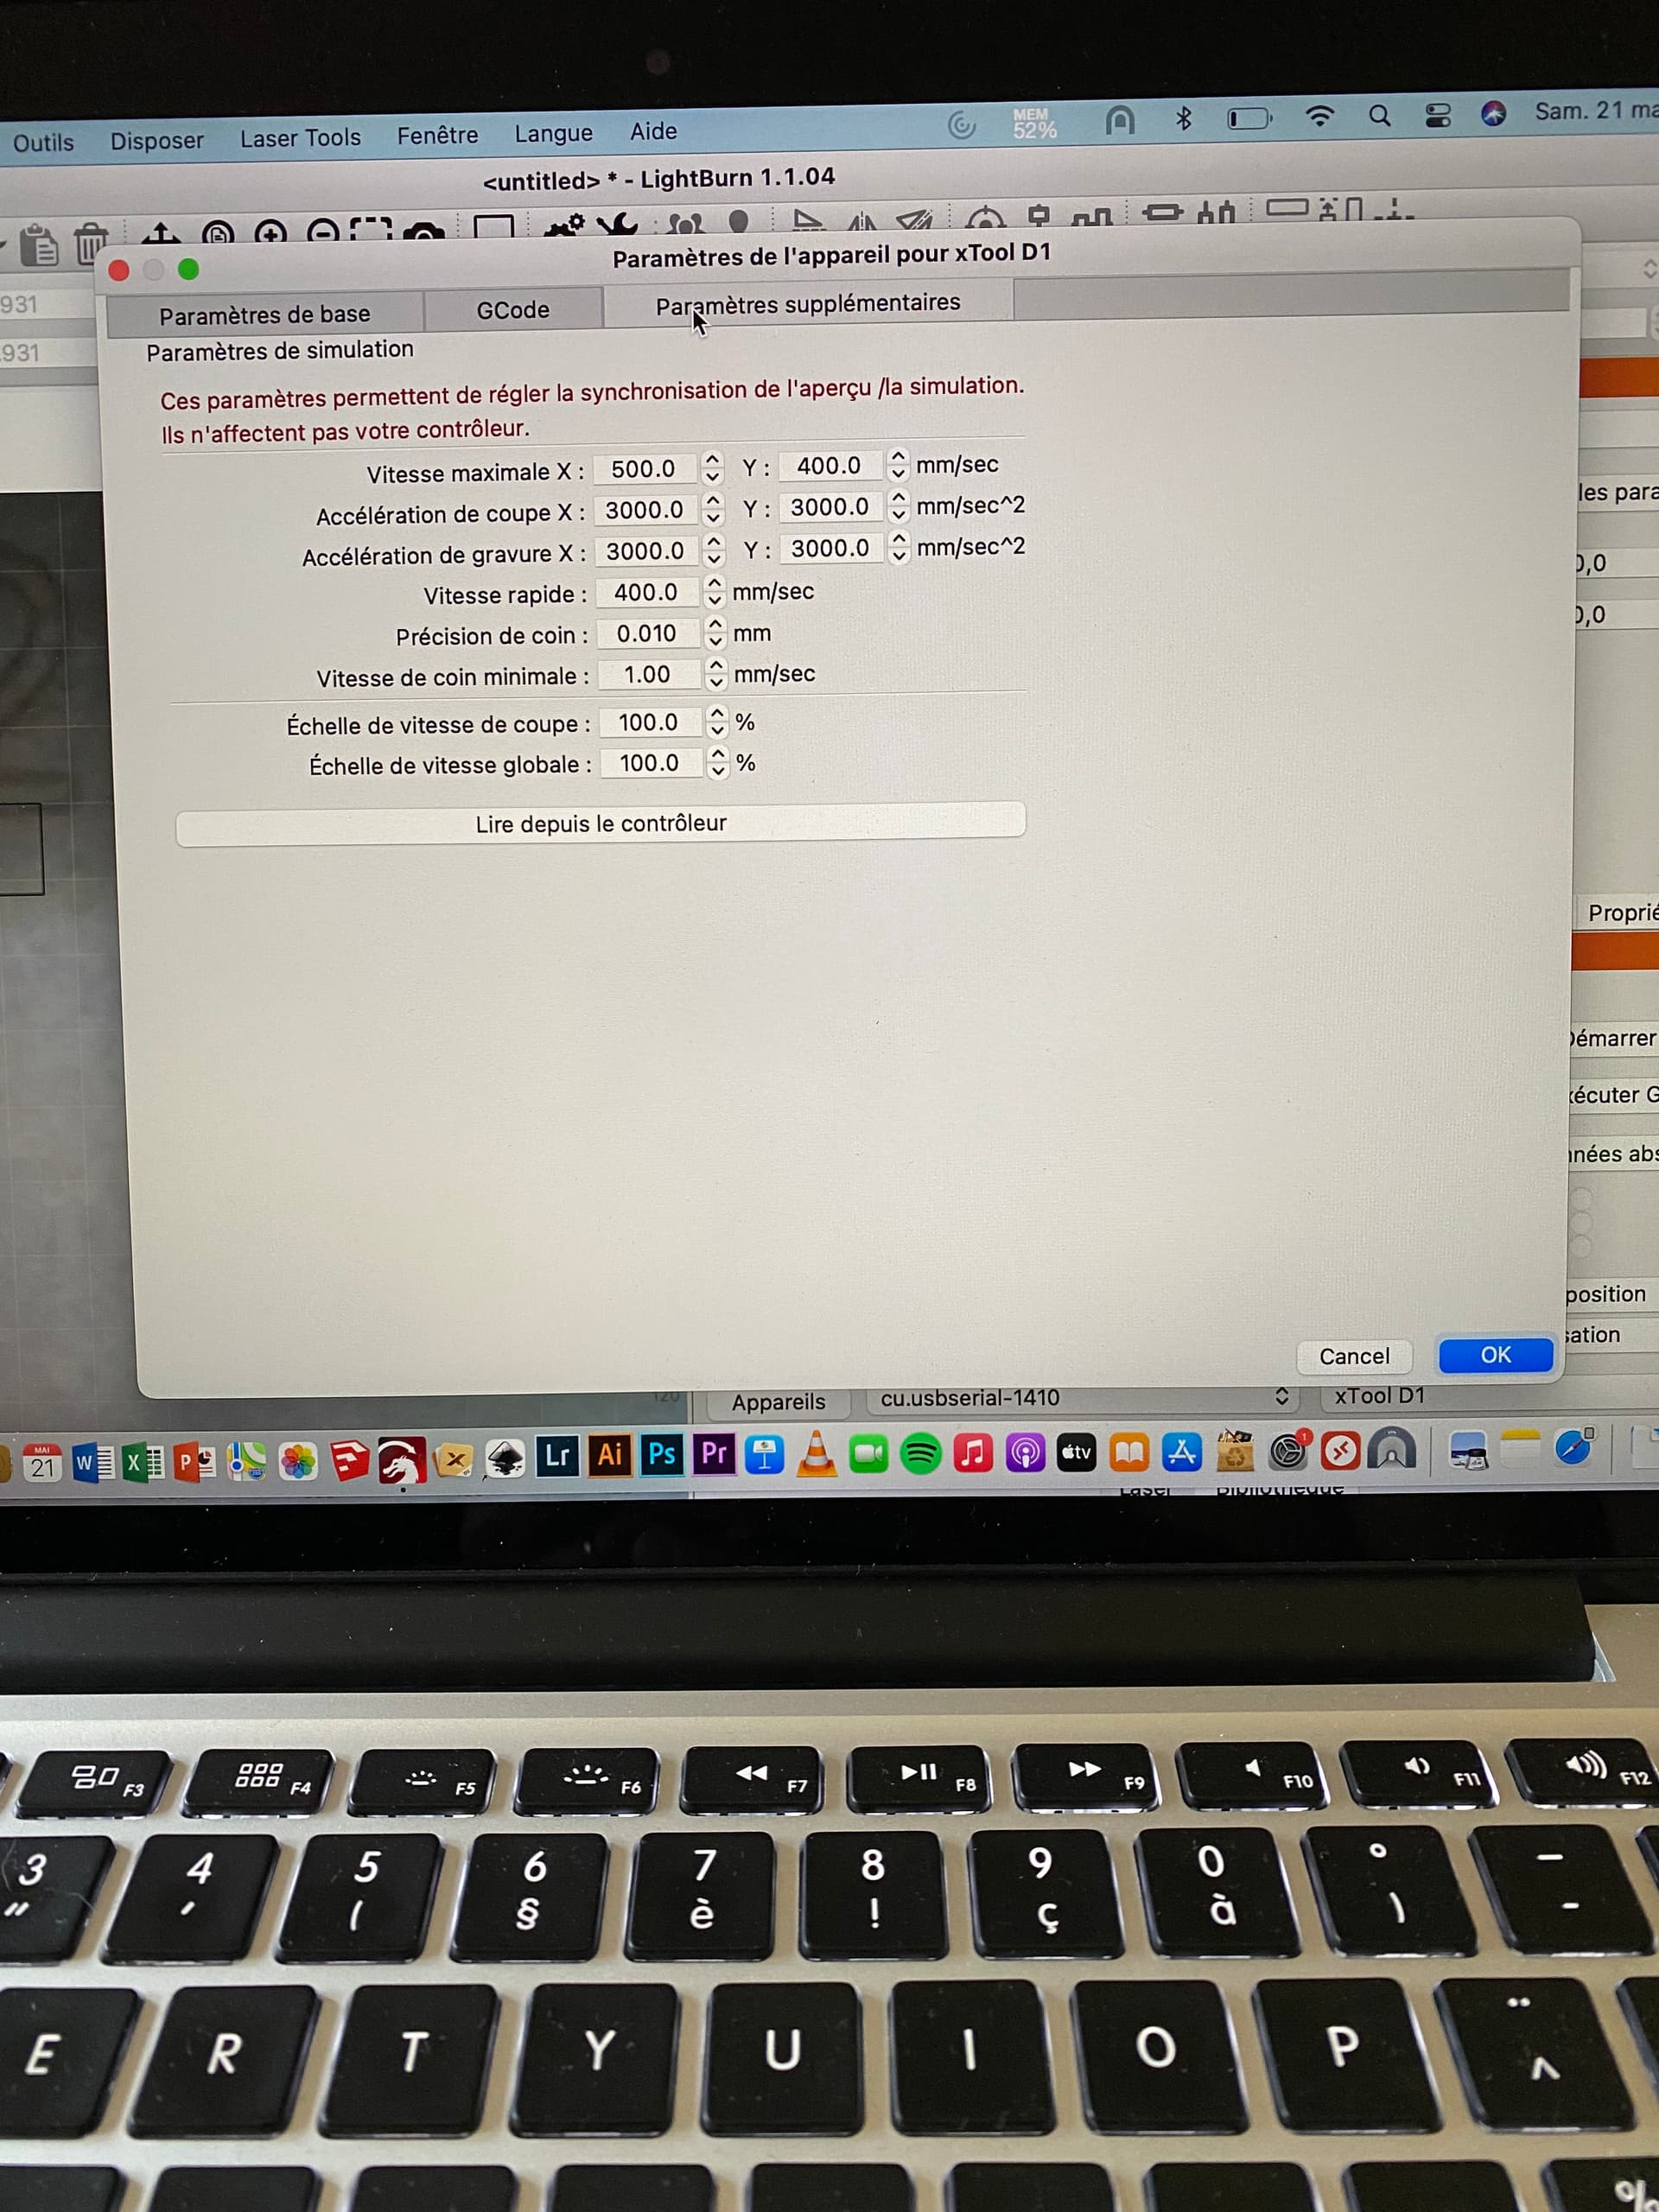
Et ensuite le dernier fenêtre
And then the last window
Merci pour ton aide.
Thank you for your help.
Est-ce que chaque fois que je dois graver sur une pièce je dois exécuter à nouveau l’alignement de la caméra ?
Every time I have to burn to a part do I have to perform the camera alignment again?
The very simple way to do this is with no camera and no crosshairs.
Generate the work in LightBurn that you want to engrave on the pencil.
Set the Power in the layer to 0.5%.
Set the Focal height to engrave on your pencil.
0.5% power is not likely to mark your pencil.
Put on your safety glasses. (Always…)
Start the job and place the pencil under the moving laser head to confirm placement.
Repeat the job at low power to ensure the start / stop positions remain repeatable and robust.
Change the power level to your best estimate for your particular ‘test pencil’ / test case.
Expect to ruin a couple of pencils as you proceed.
Repeat the job at the required power level for your engraving.
Camera calibration is only required when the camera moves, when the focal distance of the camera moves or when the calibration information is lost. The angular correction of the field of view introduces a displacement error with elevation change.
Bonjour John,
merci encore pour tes explications, Tu as été très clair mais du coup à quoi ça sert d’installer une caméra si on peut pas placer le dessin sur la pièce à graver ?
Hello John,
Thank you again for your explanations, You were very clear but so what is the point of installing a camera if we can’t place the drawing on the part to be engraved?
The Camera was originally intended for larger CO2 engravers. The workflow for most diode lasers is slightly different.
Typically, larger CO2 engravers focus by raising and lowering the bed such that the focal plane (where the laser pierces the top surface of the work is a constant. The view-angle and position correction relies on this constant ‘top-surface’.
If you made a jig, with a pencil cut-out that was the thickness of the pencil and aligned your camera to the top surface of your jig and your pencil, I believe that you would have success with object placement using the camera. The displacement errors are caused most often by unintended elevation changes.
The calibration should hold for all the work done at that (pencil-thick) elevation. The CO2 Laser with the moving bed will have all work done at the calibrated elevation. When the camera-to-bed angle is more shallow (less steep) the change in elevation appears to move things on the bed even more. In our minds the top and bottom of most objects is the same distance away but in angular corrected views this is not the case.
You can place the drawing on the part, but you can not put the part on top of the focal plane without introducing the error. You can drop the part into a hole or slot in a jig so that the plane is known and the top surface is located.
Merci beaucoup pour vos explications je n’hésiterai pas à faire des essais En espérant de réussir à utiliser la caméra correctement, merci encore.
cordialement
Thank you very much for your explanations I will not hesitate to do tests Hoping to successfully use the camera correctly, thank you again.
Warmly
1 Like
This topic was automatically closed 30 days after the last reply. New replies are no longer allowed.