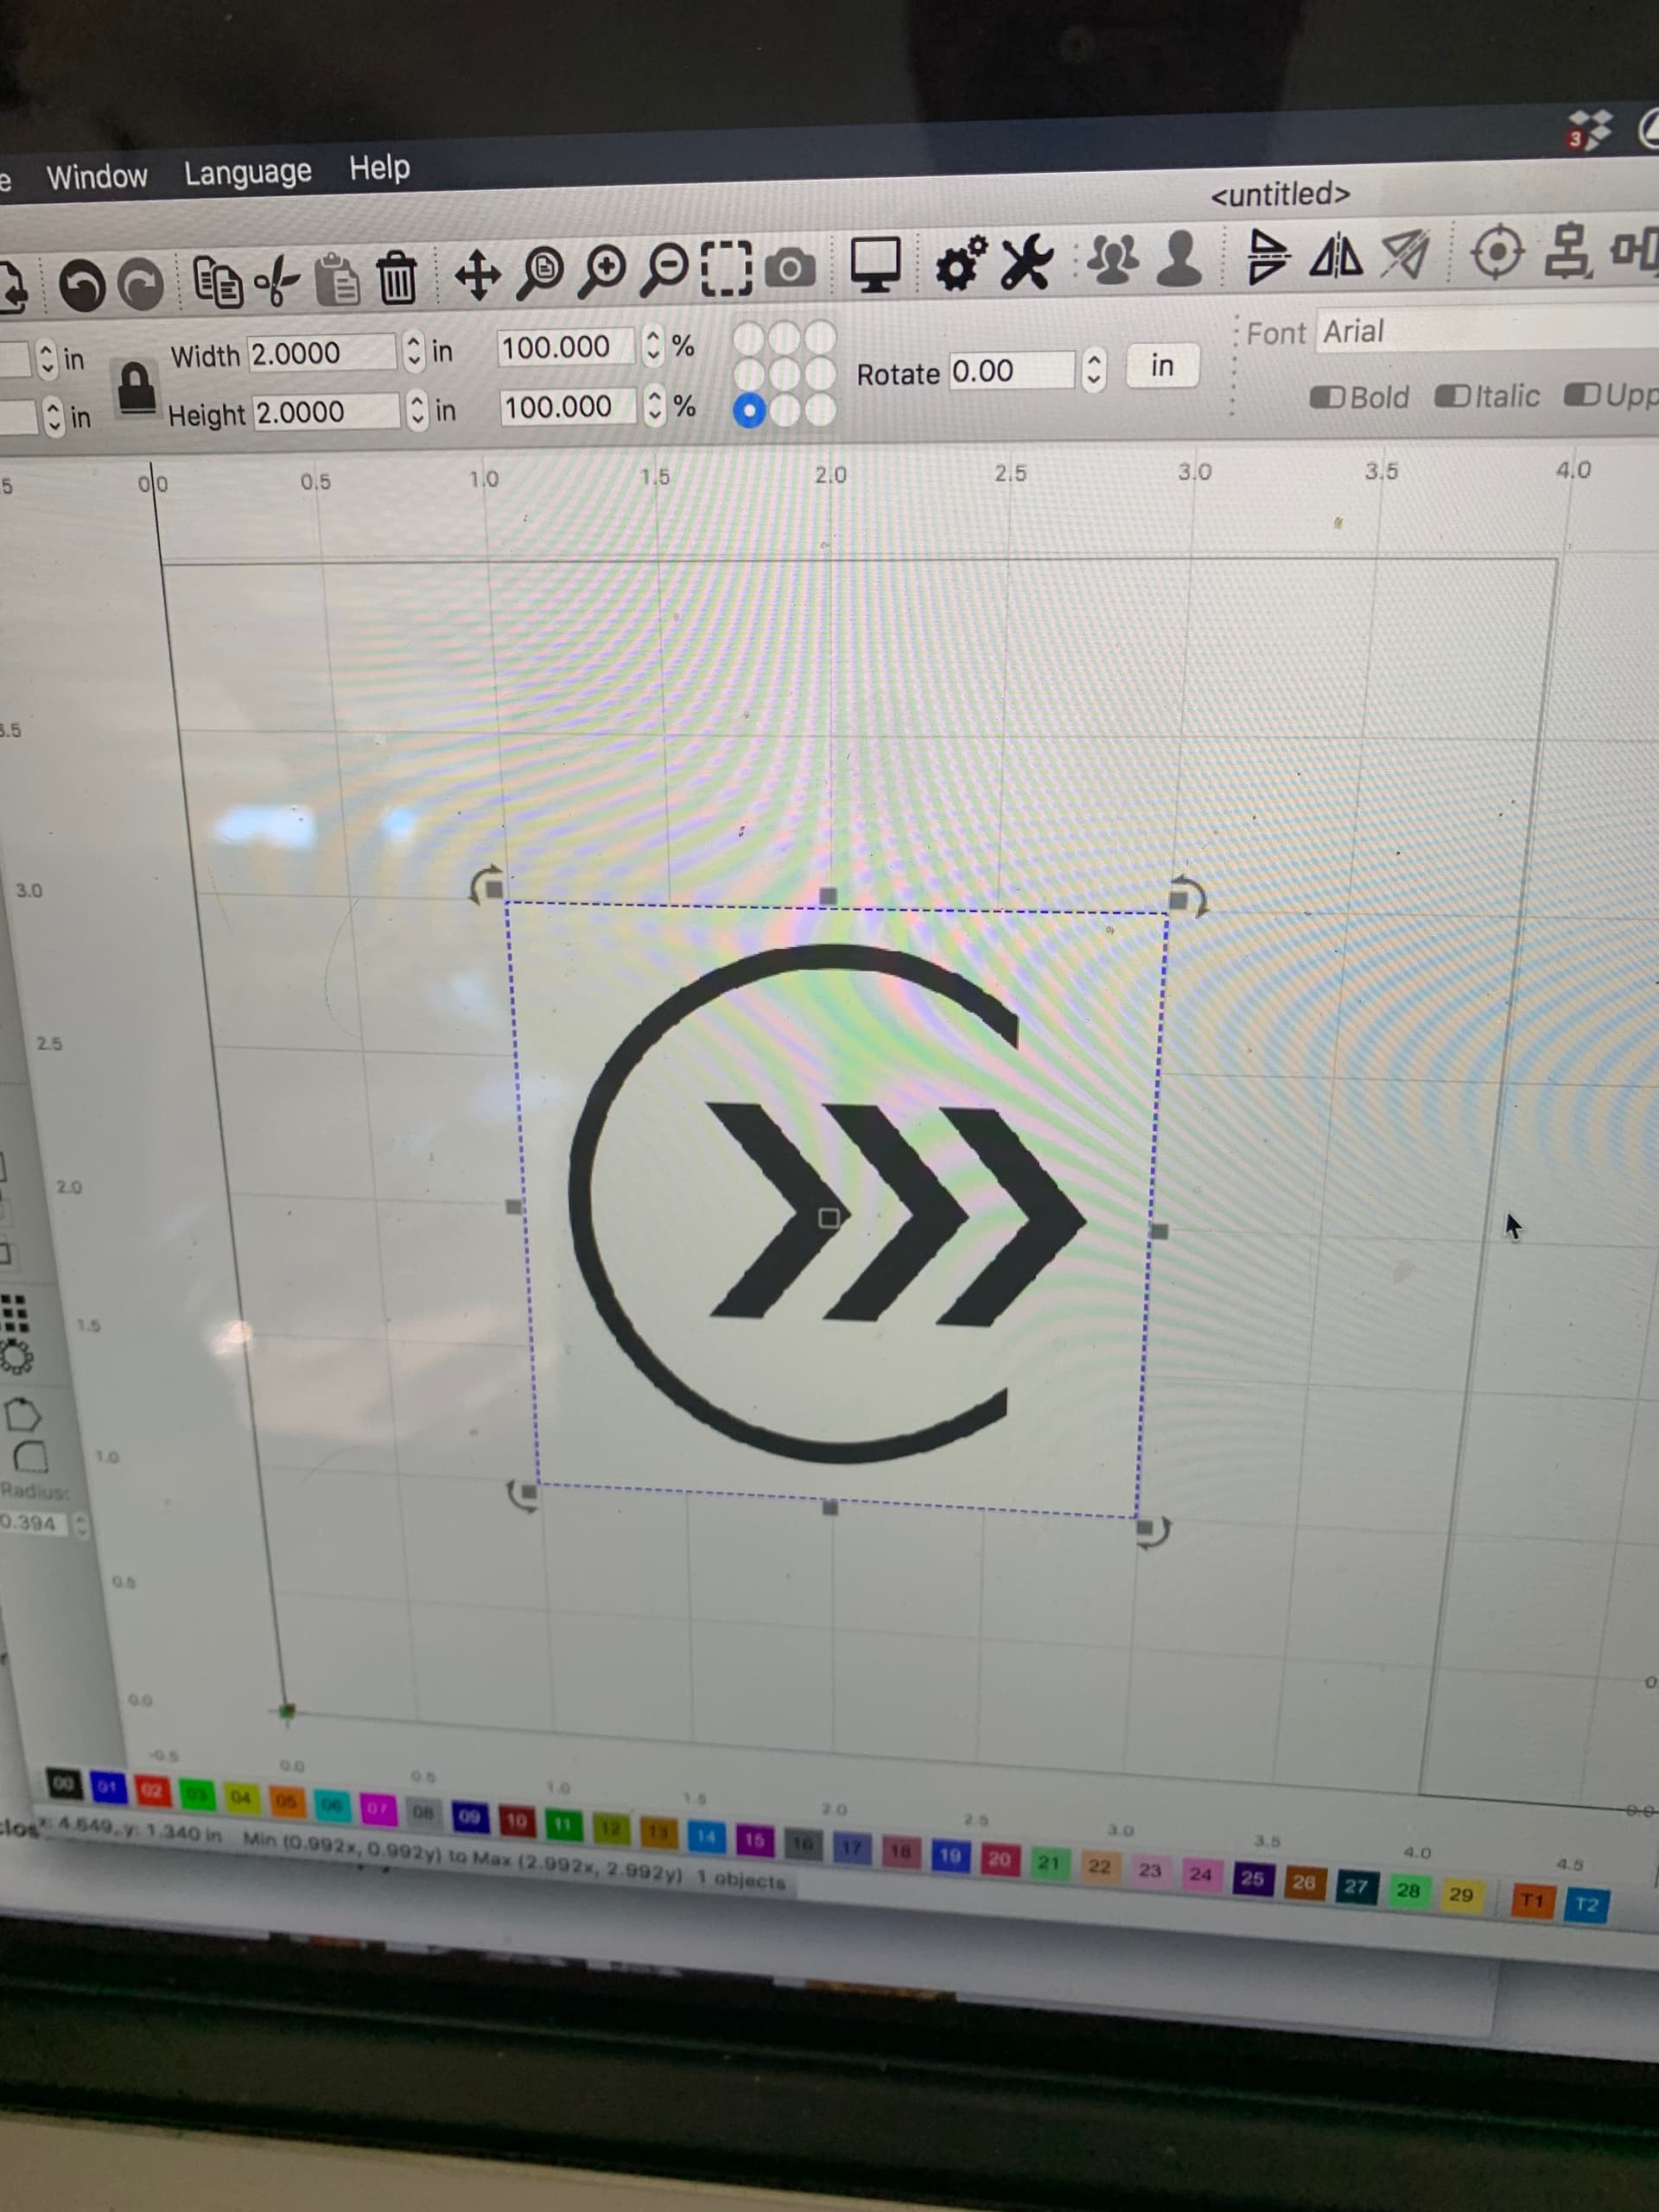
My images are not coming out to the size specified in my design. X - side to side - is fine. Y is getting pushed down from the top. I have to add @ 25% in height to get it to be the actual size. I must have changed some setting without realizing it. How and where do I check for this? I have been scrolling through everything that I can think of to find a setting that is weird. Is there a way to reset the software to the default settings? I uploaded a screen shot and the final result.
maybe you modify your stepmm of Y axes?
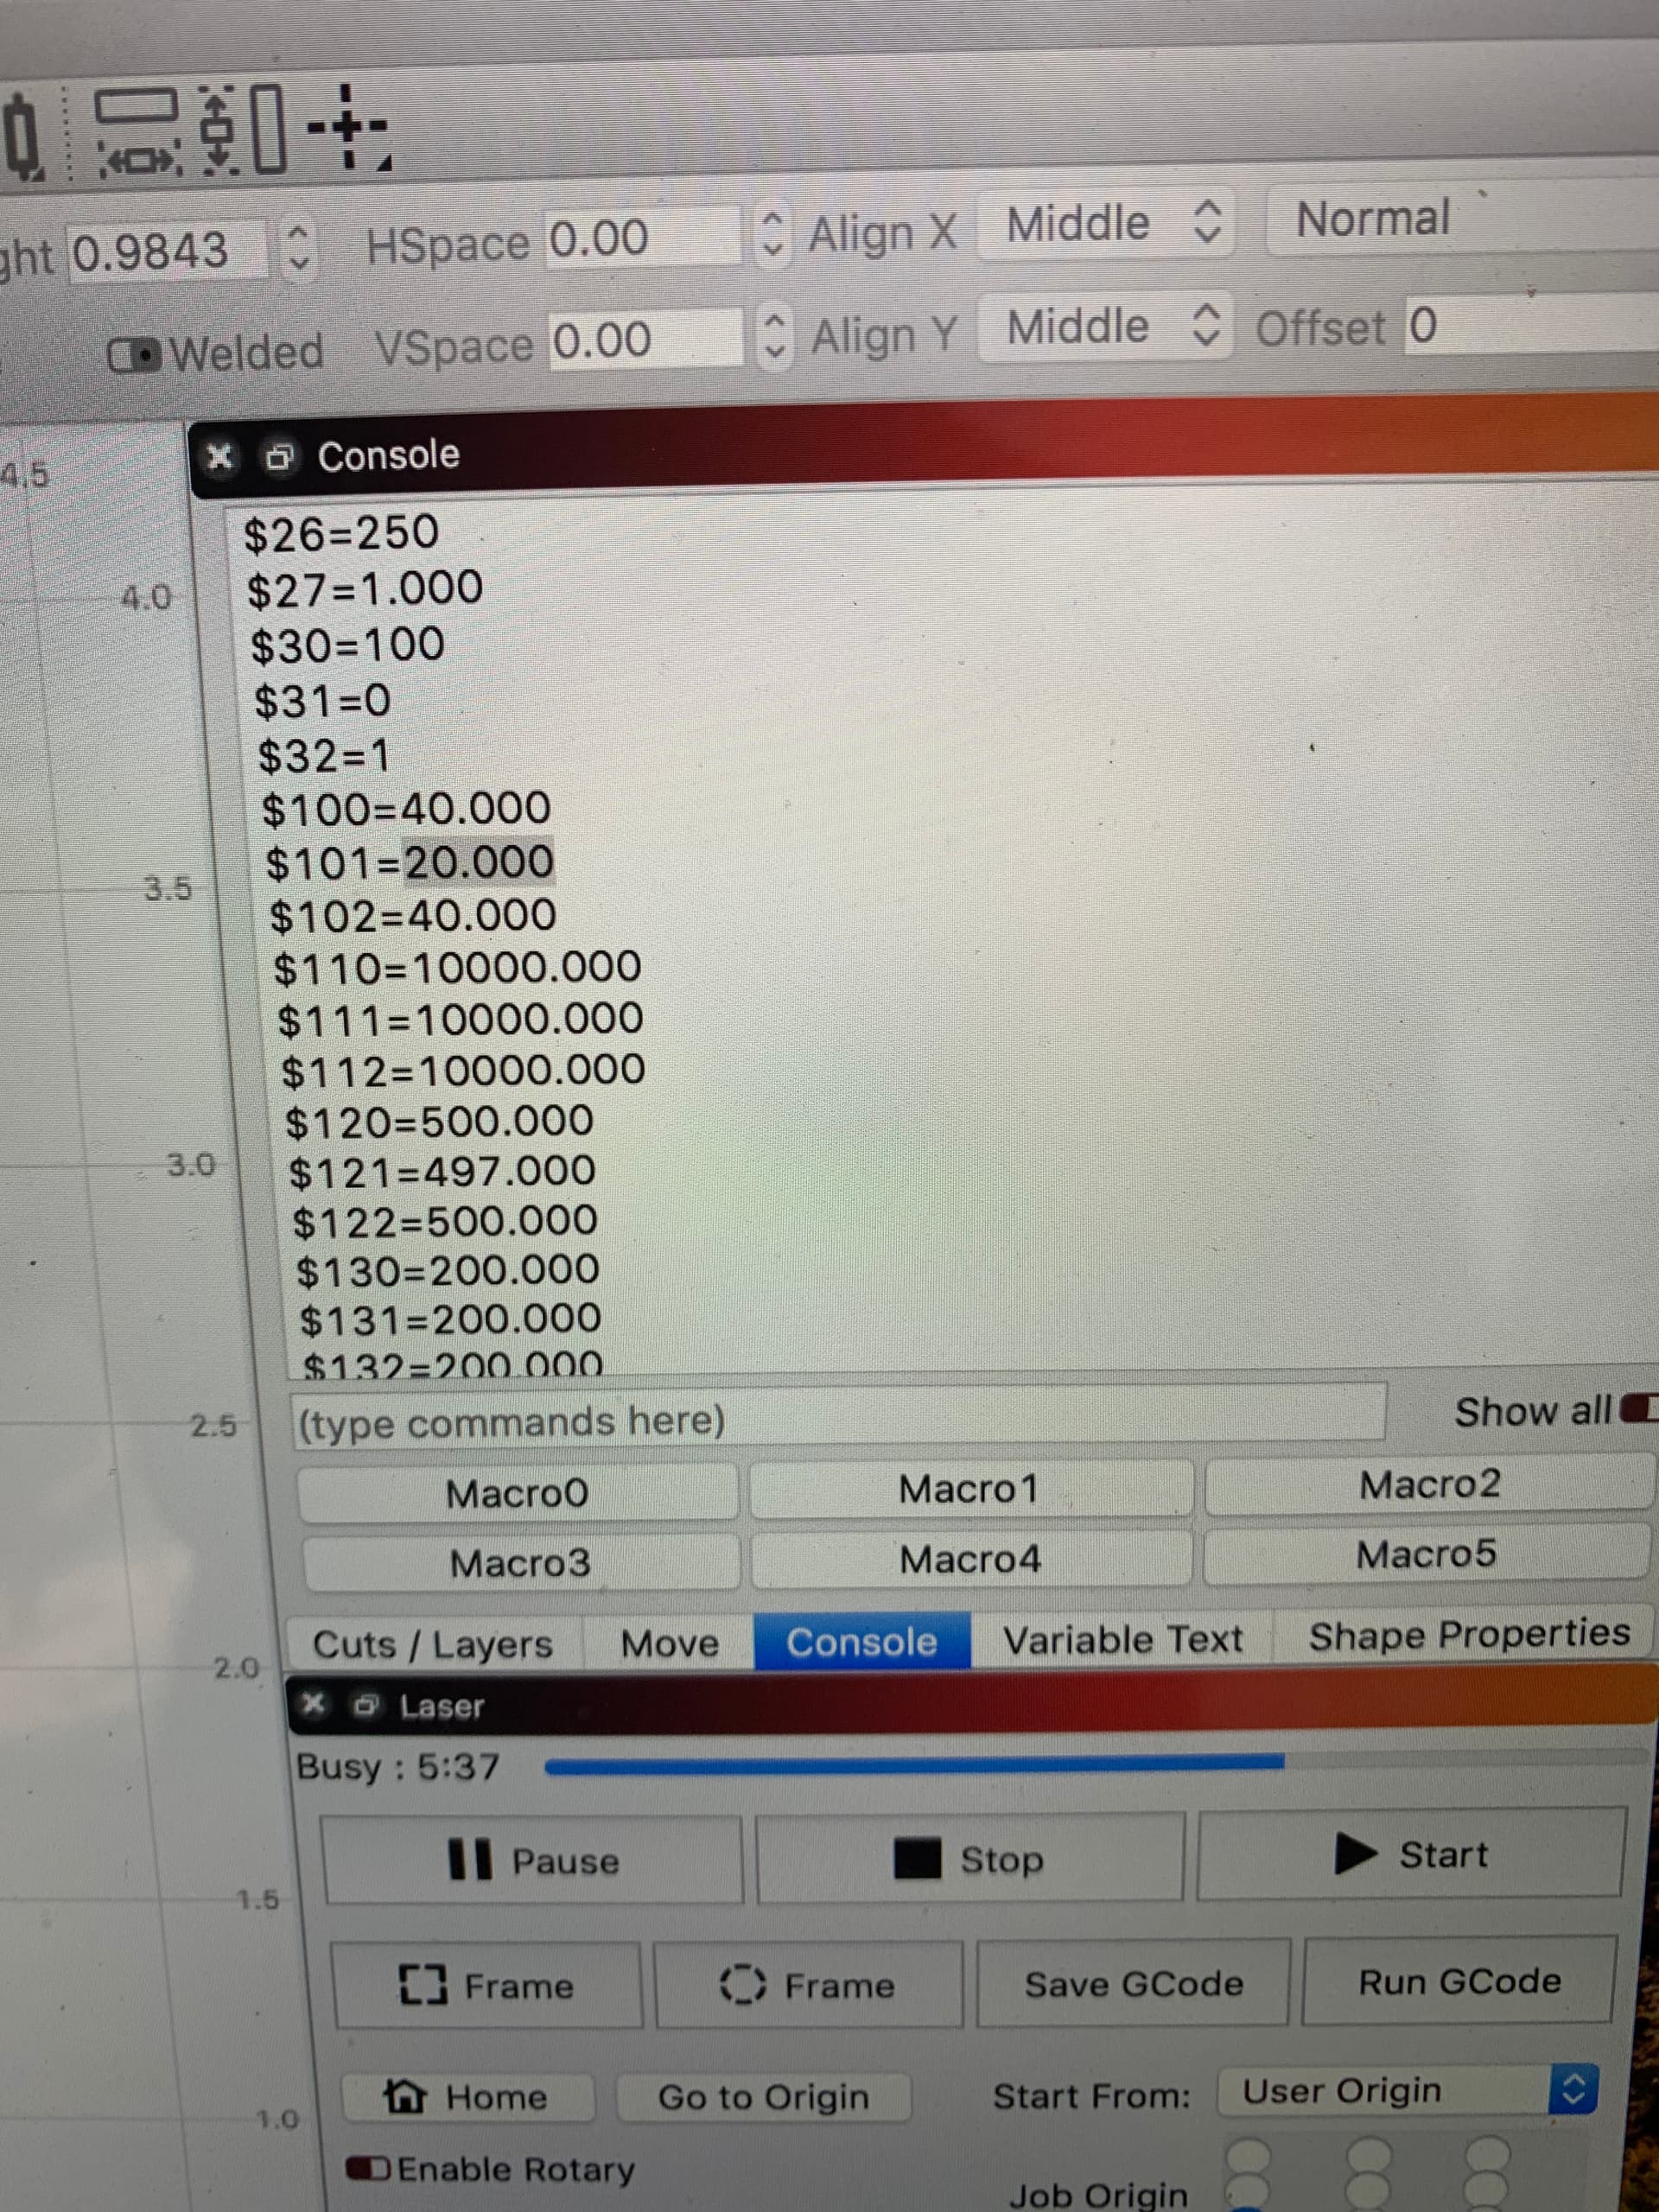
in console digit $$ then check $100 and $101, if you got the same pulley with same tooths you must have the same value in both.
Ok, I found that. It’s not the same, but I was told X had to be at 40 and Y was at 20 for the yora 6550. I only make Y 49 when doing things on the rotary attachment.
there is a rapid test you can do, take a ruler engrave a line on Y of 100mm the measure it if are not the same make this calculation:
100/the measure you take * 20 the result is your new stepmm of Y
If the measure is the same you got some other problem like Y belt too loose
You can have the software compute the scale for you by using Edit > Machine Settings, then clicking the Calibrate Axis button. You enter the size you requested and the size you got, and it computes the difference.
For rotary, it’s simpler to use Edit > Rotary Setup. It will remember the values you enter there, and then you can just click a toggle switch to flip between rotary and flat work. LightBurn does the scaling internally so it’s not constantly re-writing your settings.