I ran the Z-Probe but it did not stop. My probe has a green/red light that works. The light was green, I ran the software, the bit touched and light turned red but the bit broke because the software did not stop Z travel. I ran it again and broke a second bit. I tested the probe by hand, having lifted the probe to the bit, but it never stopped. Is this software or hardware failure?
Both, but not a LightBurn issue. The probing is a firmware function. LB only sends the start command, the machine does the rest. So if it doesn’t work, it’s either an electrical issue or a software / settings issue in the firmware. There is nothing LB can do about it.
Can you confirm that the magnet is attached to the tool or the spindle collet nut - not the spindle housing itself? Often ceramic bearings in the spindle do not permit the circuit to close, or if it does, the signal is weak. Connecting the magnet as close as possible to the tool being probed is important.
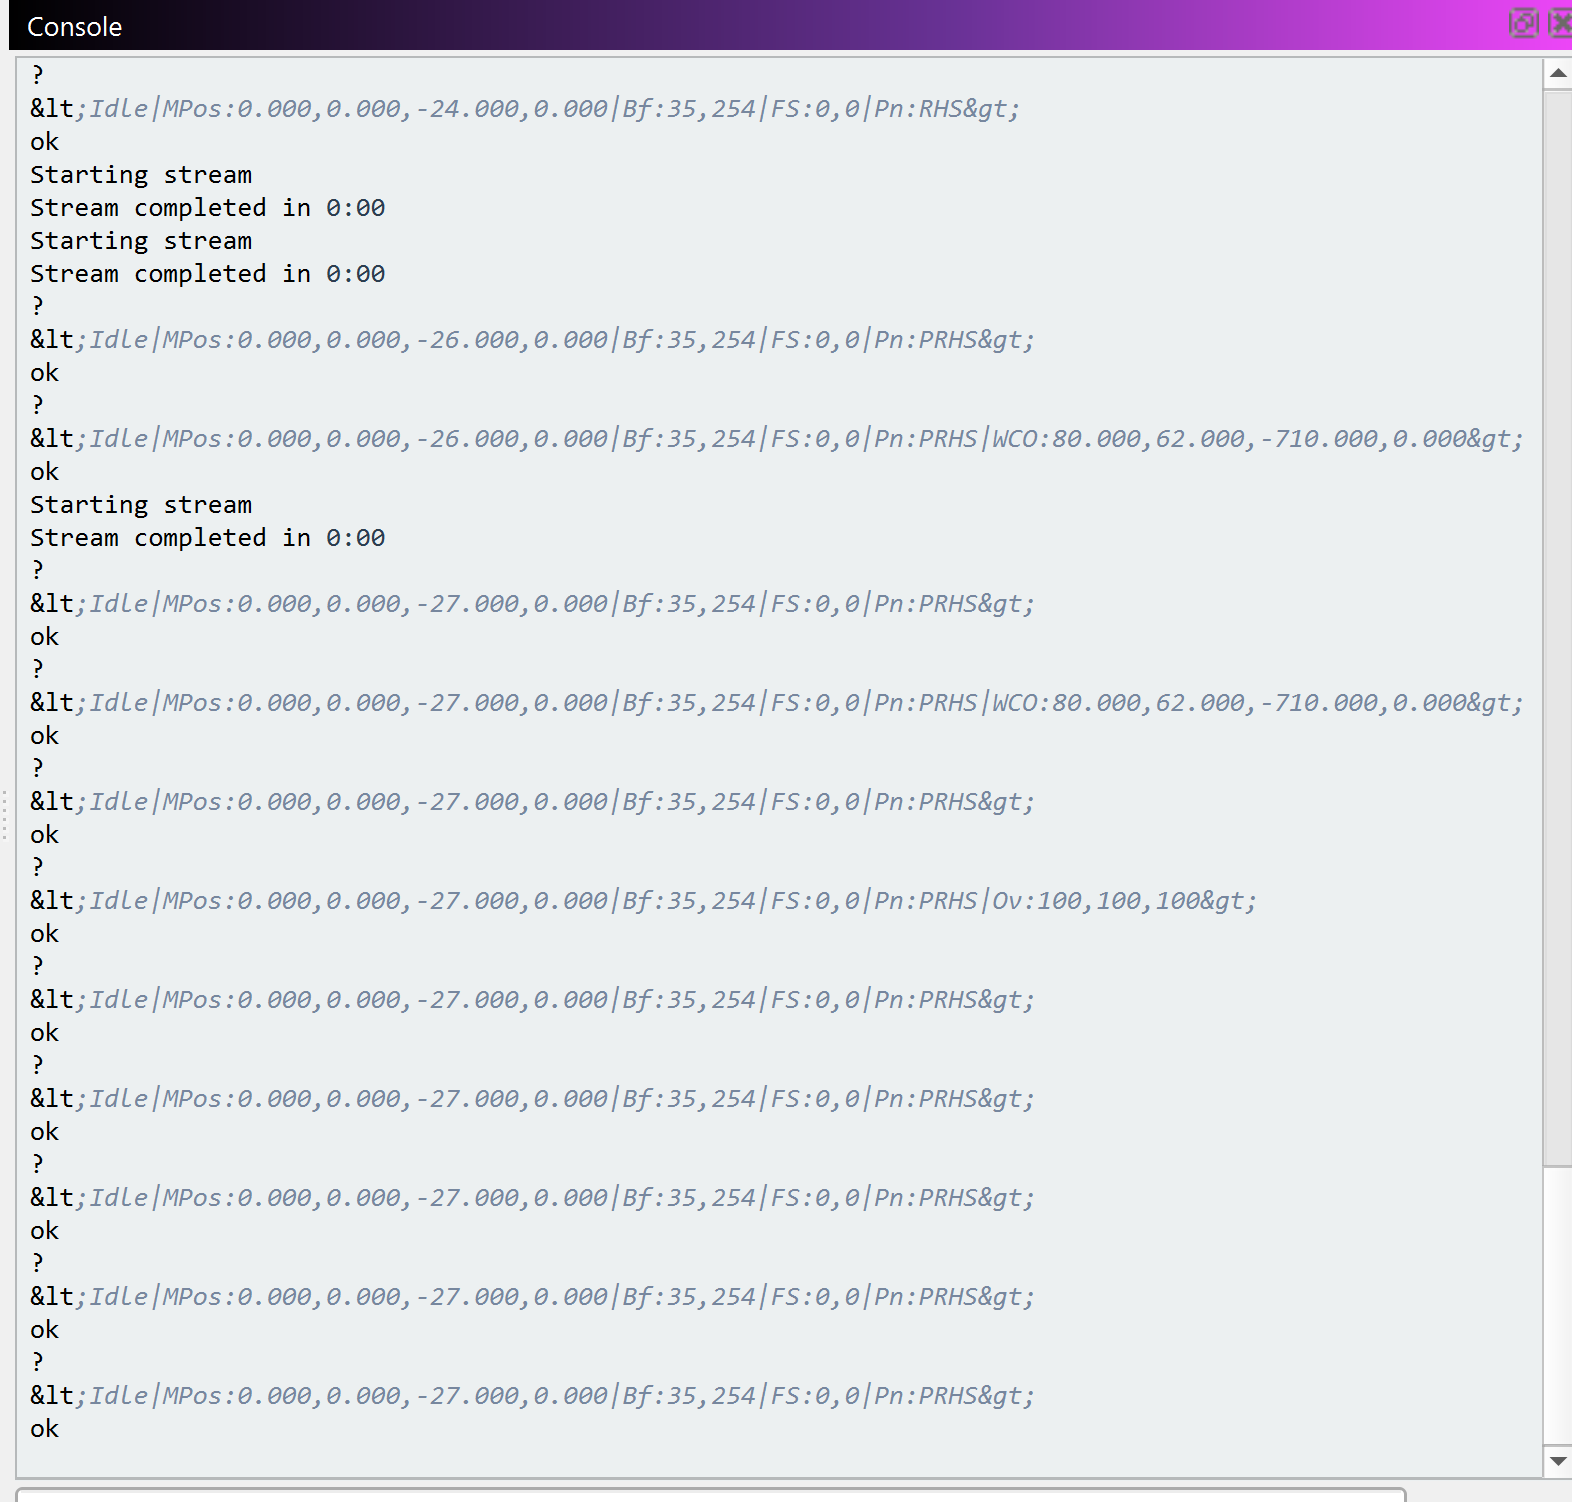
You can see the ?’s at the bottom of the screen shot. The first was NOT touching. The second WAS touching. The only code I saw in your message was a ?. Was that correct?
Did some diagnostics to see if I could tell what was going on. Found a loose connector. My CNC manufacturer uses JST-XH Connectors. Absolutely the worst connector for this use. I was removing the probe when not in use. I see why they make a wireless probe or a mount to store the probe and keep the wire connected. I’ve ordered the XYZ probe and will use better wire, keep it connected to the board, and build a storage cup.
I wonder, could it be possible to build in a continuity tester (software driven) into the probe test? A simple Red and Green light would be acceptable.
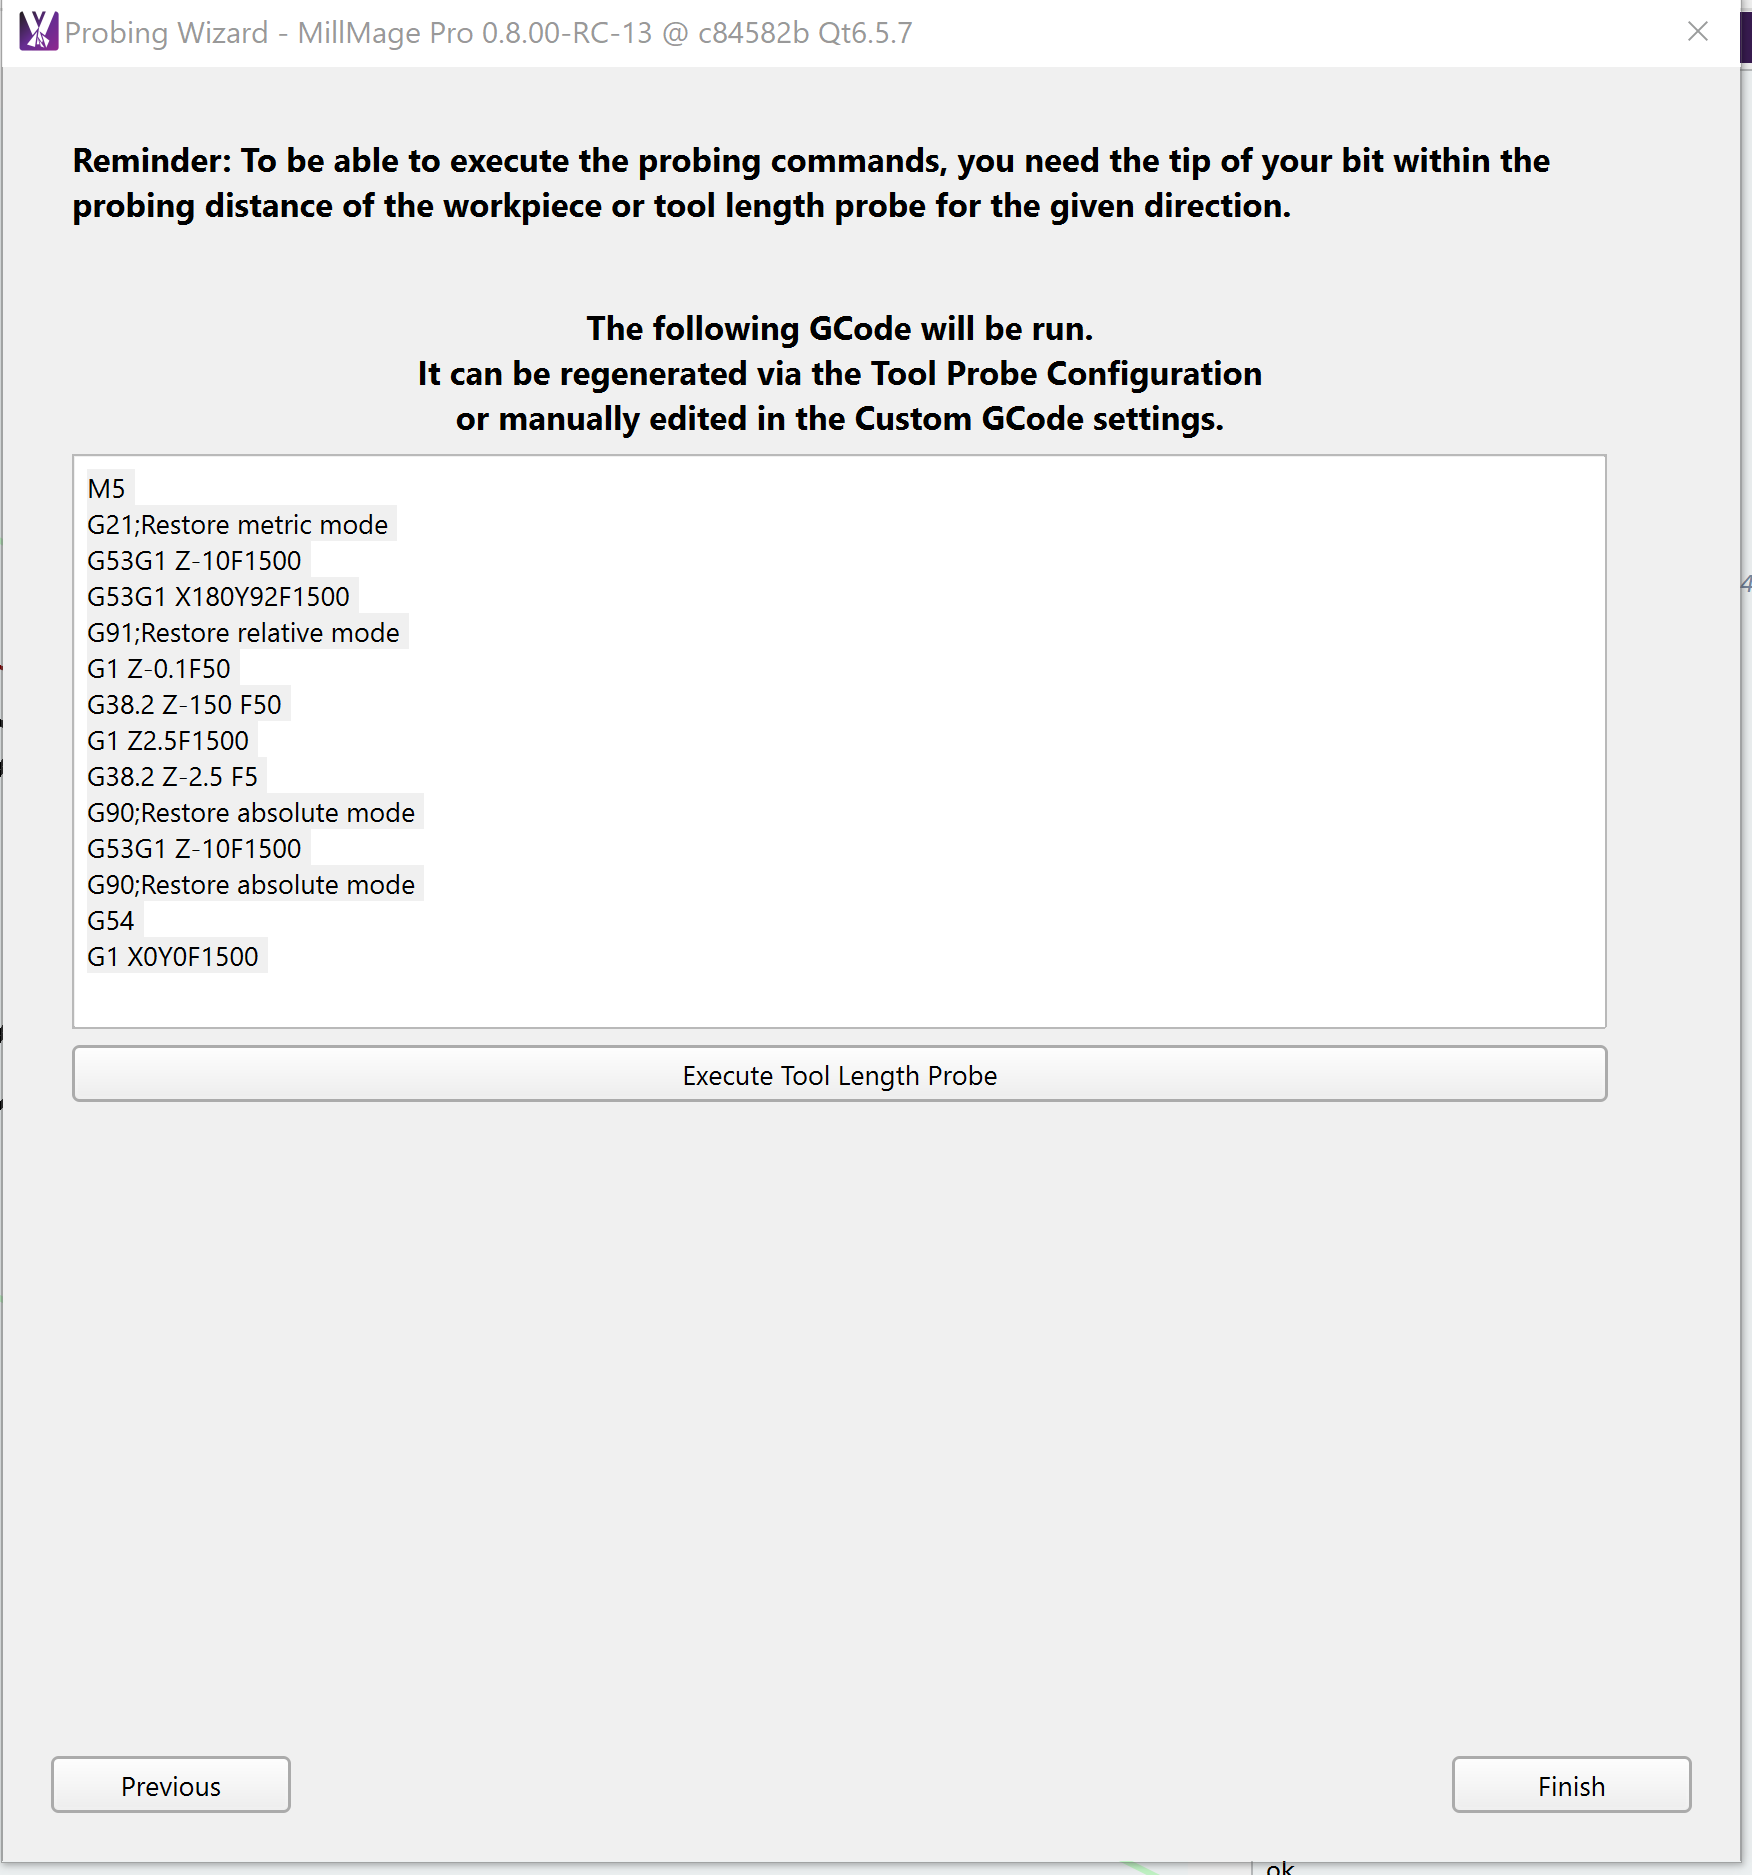
I got confirmation that the G38.2 command is handled on firmware.
I find it odd that the Z-axis moved at all, but your controller might be using a different command for probing.
Forwarding some serious advice: When testing something like this, attach a piece of wire or something flexible to the spindle and make sure it has proper connection to the probe. That way you have time to hit the estop before something breaks. - I read that you already found out why
Can you give us specifics about the make and model of machine you’re working with? How is the probe connected? What is the controller it is connected to?
@Colin sorry about delay, had to find some time. I noticed $32 was =1. That sets my machine in laser mode, not router mode ($32=0).
Can you give us specifics about the make and model of machine you’re working with?
I have a NymoLabs NBS 6040. I have router (air cooled and water cooled) and 10W laser. I use LightBurn and MillMage. Thank you for making these programs.