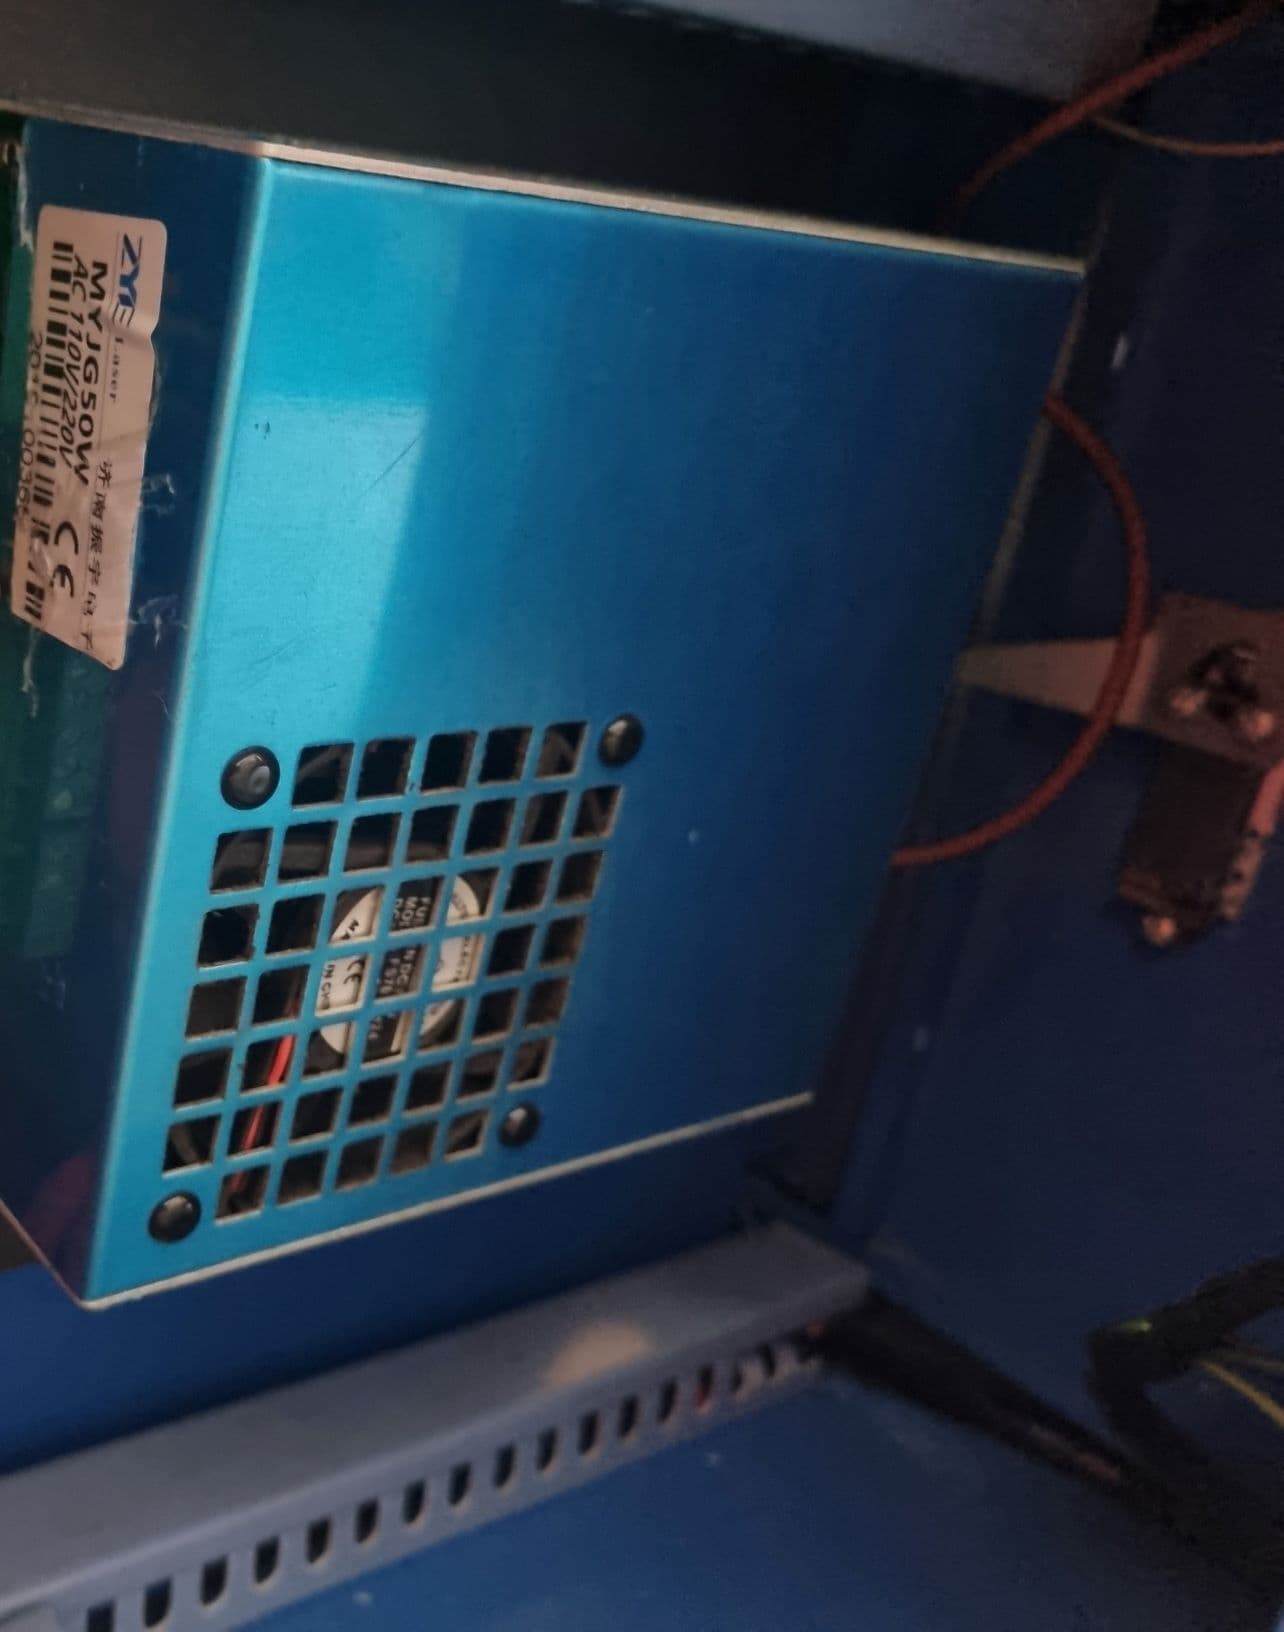
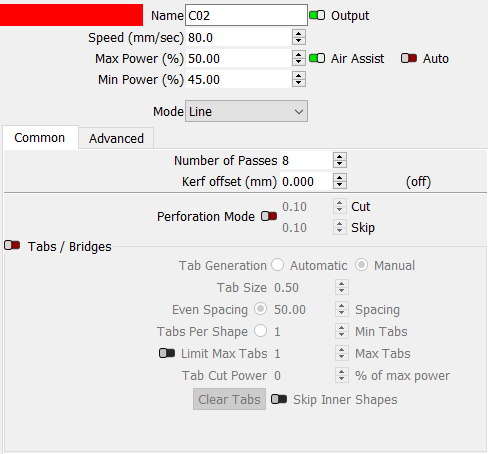
Hi all and thank you for having such an active forum. I have a Chinese 50w blue and white laser that has been working fine. Today i went to simply cut some paper and the cut lines were as if they were perforated - not a consistent cut. Secondly i had the raise the power to 50% at a speed of 80 and 8 passes to simply cut through 250gsm card stock. I have the air pump working (which is from an aquarium), the mirrors are aligned and clean, the focus is accurate based on a ramp test, the laser tube is emitting a pink glow when working so i am perplexed to what is causing this. The only unusual thing is the power supply emits a weird fan noise when initially turning the machine on and disappears after 15 seconds, sounds like the fan or something… If someone with some previous experience could help or point me in the right direction in terms of trouble shooting it will be greatly appreciated as i am lost to what the cause could be… Thank you very much

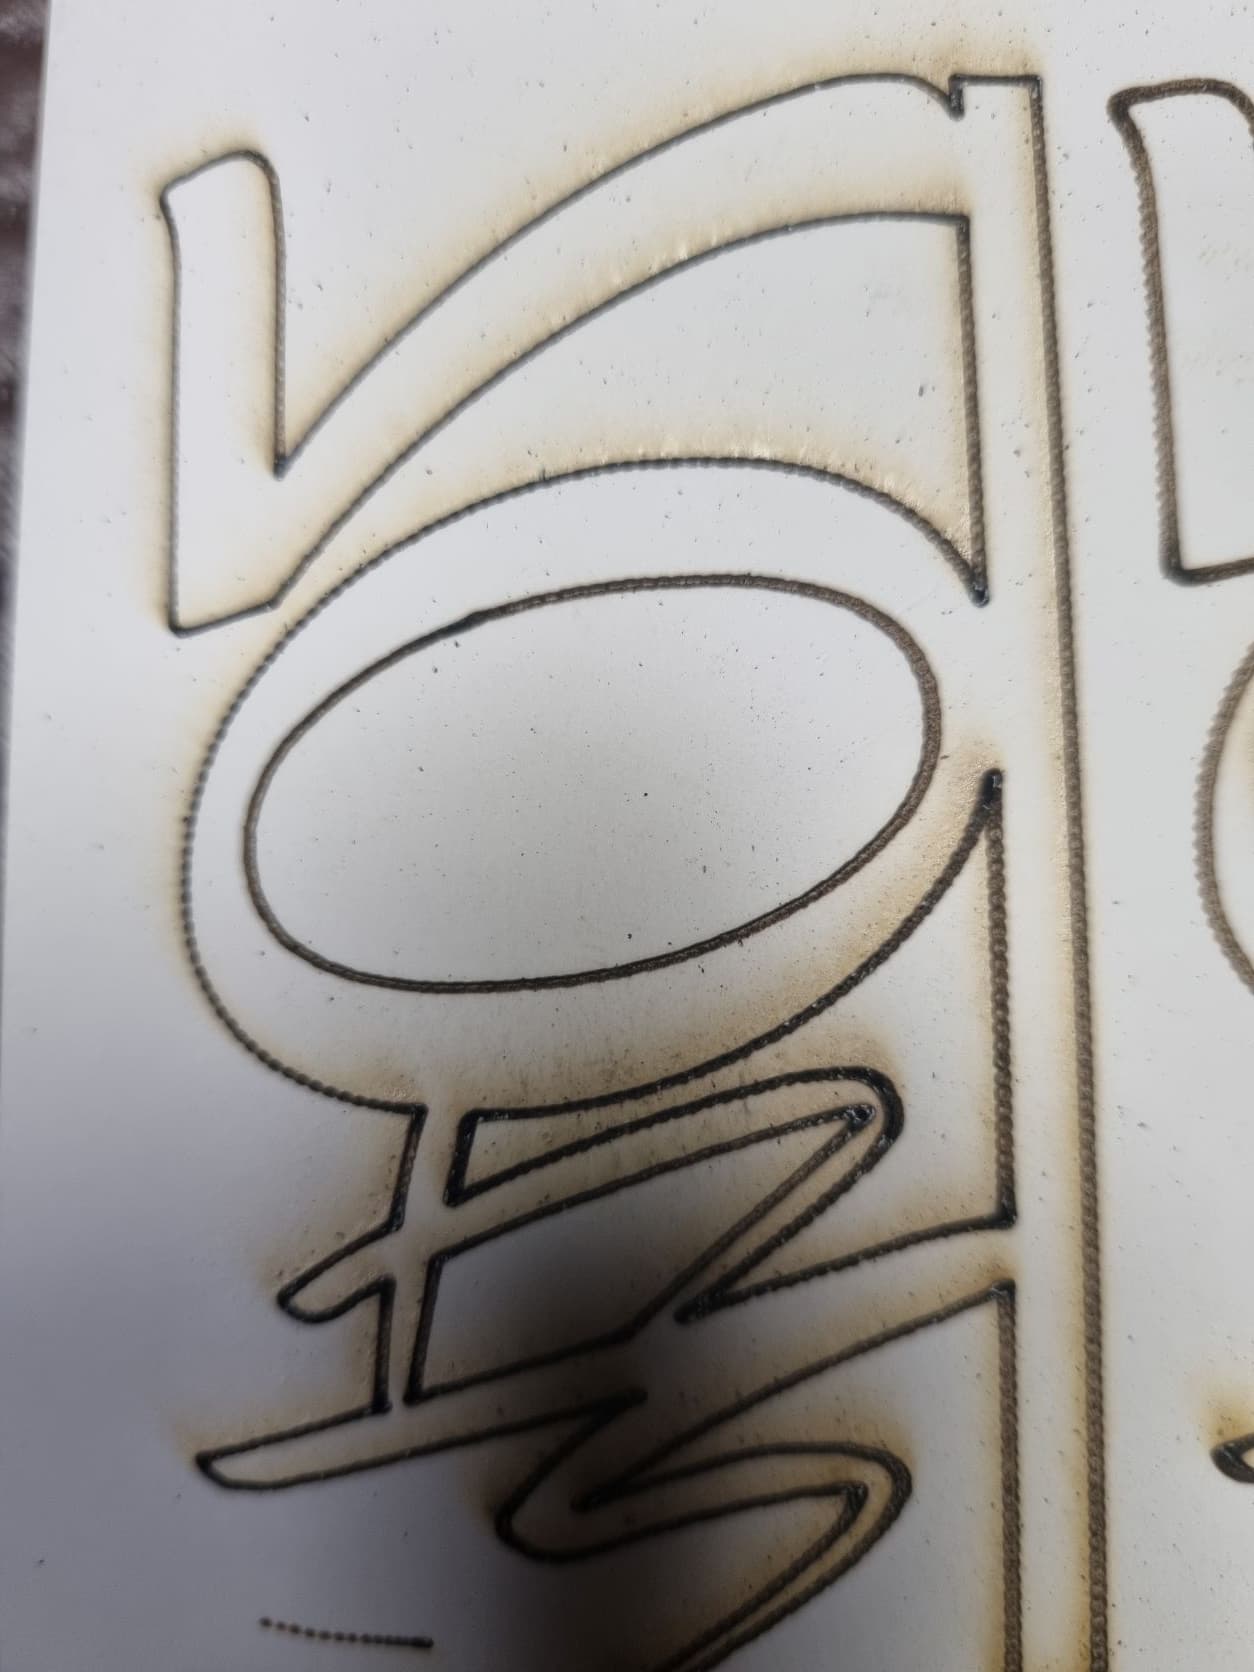
Check your layer setting, it looks like you have perforated line mode on. As far as fan noise my machine has always hard a weird vibration noise when I start it up. I think it comes from the fans vibrating the sheet metal. It goes away in a few moments or I tap the side of the case and it stops.
Thanks Glenn for the quick response, appreciate your time. I triple checked the settings and perforated line mode seems to be off
How long have you had this machine?
What kind of a ‘dot’ does the beam produce when you fire it on m1? Make sure you are in TEM0 resonance.
It looks to me that the lps is not maintaining voltage or the tube is failing.
Does it have a mA meter, if so, is it showing the proper current levels?
I doubt it’s the controller as it appears to be attempting to fire at the right time.
![]()
Not sure how to test the beam or what m1 means to produce those results as per your link, could you please elaborate… i have had the machine for 7 months and it worked fine till recently… i will purchass a ma meter and install it this week if i get the time… is there a way to test the lps or tube… attached is a link to the video of the tube while running. Thank you for your reply
https://easyupload.io/j9eevi
M1 referrers to mirror 1 the first mirror your beam hits.
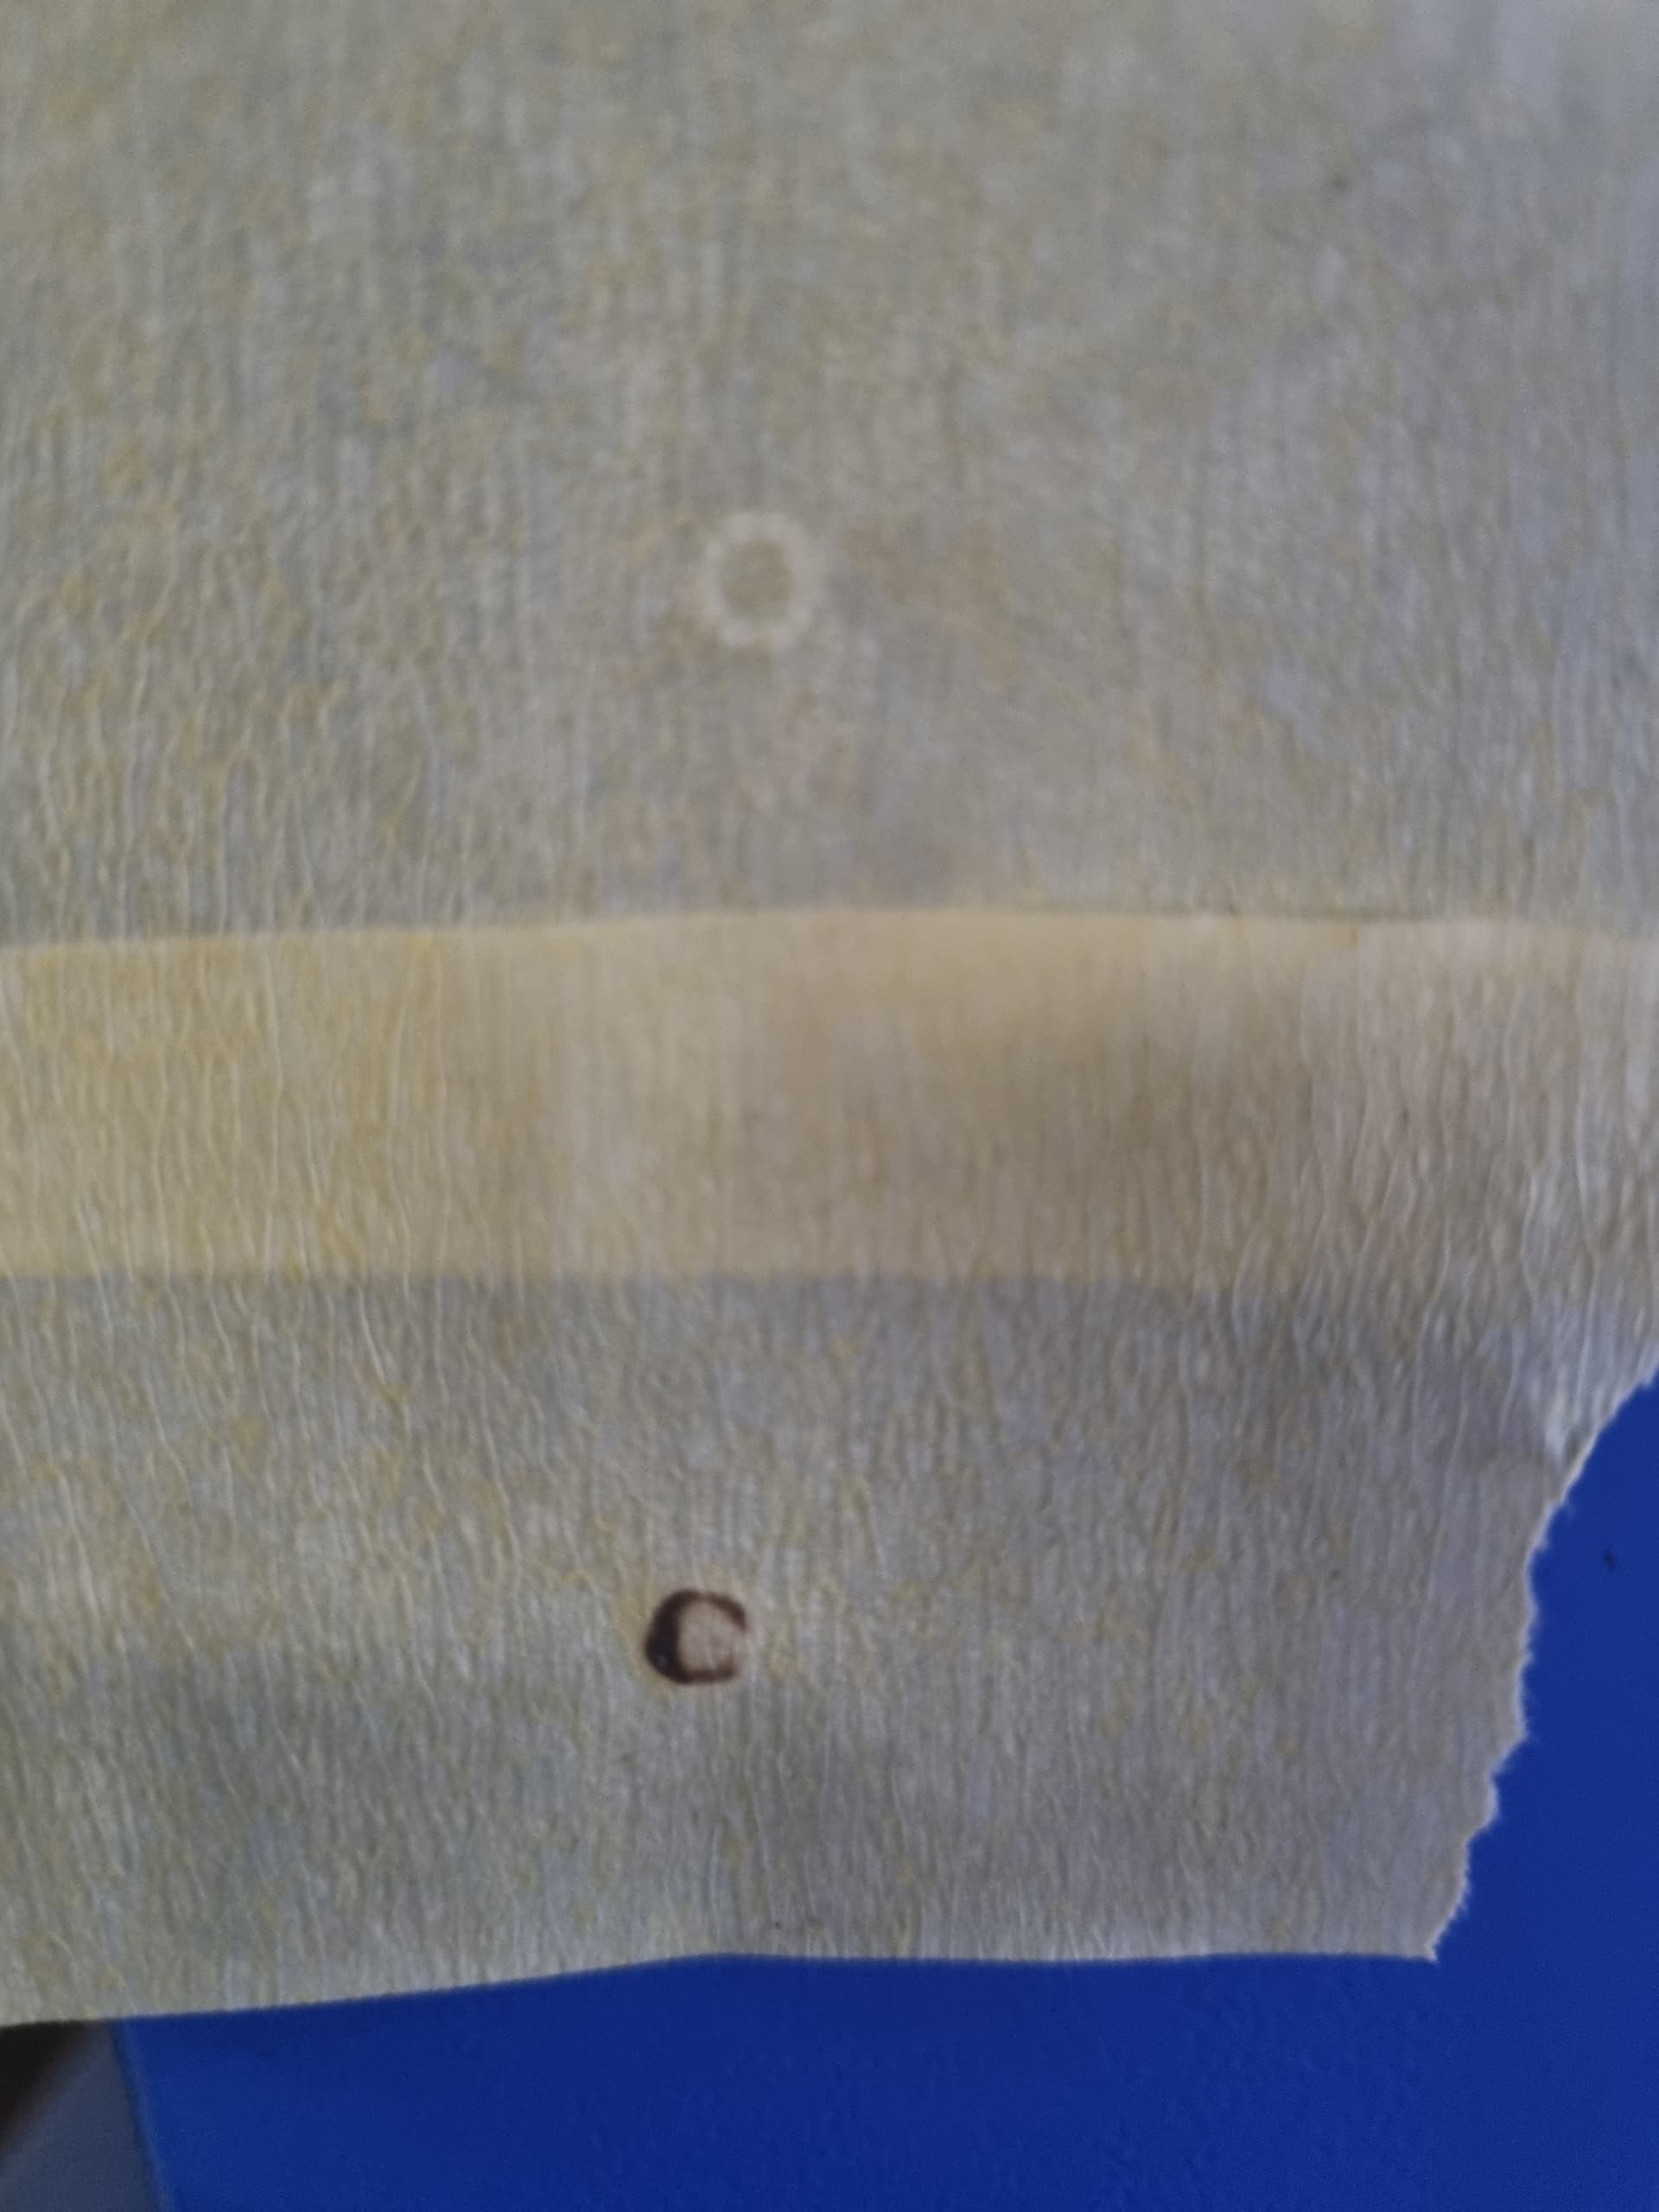
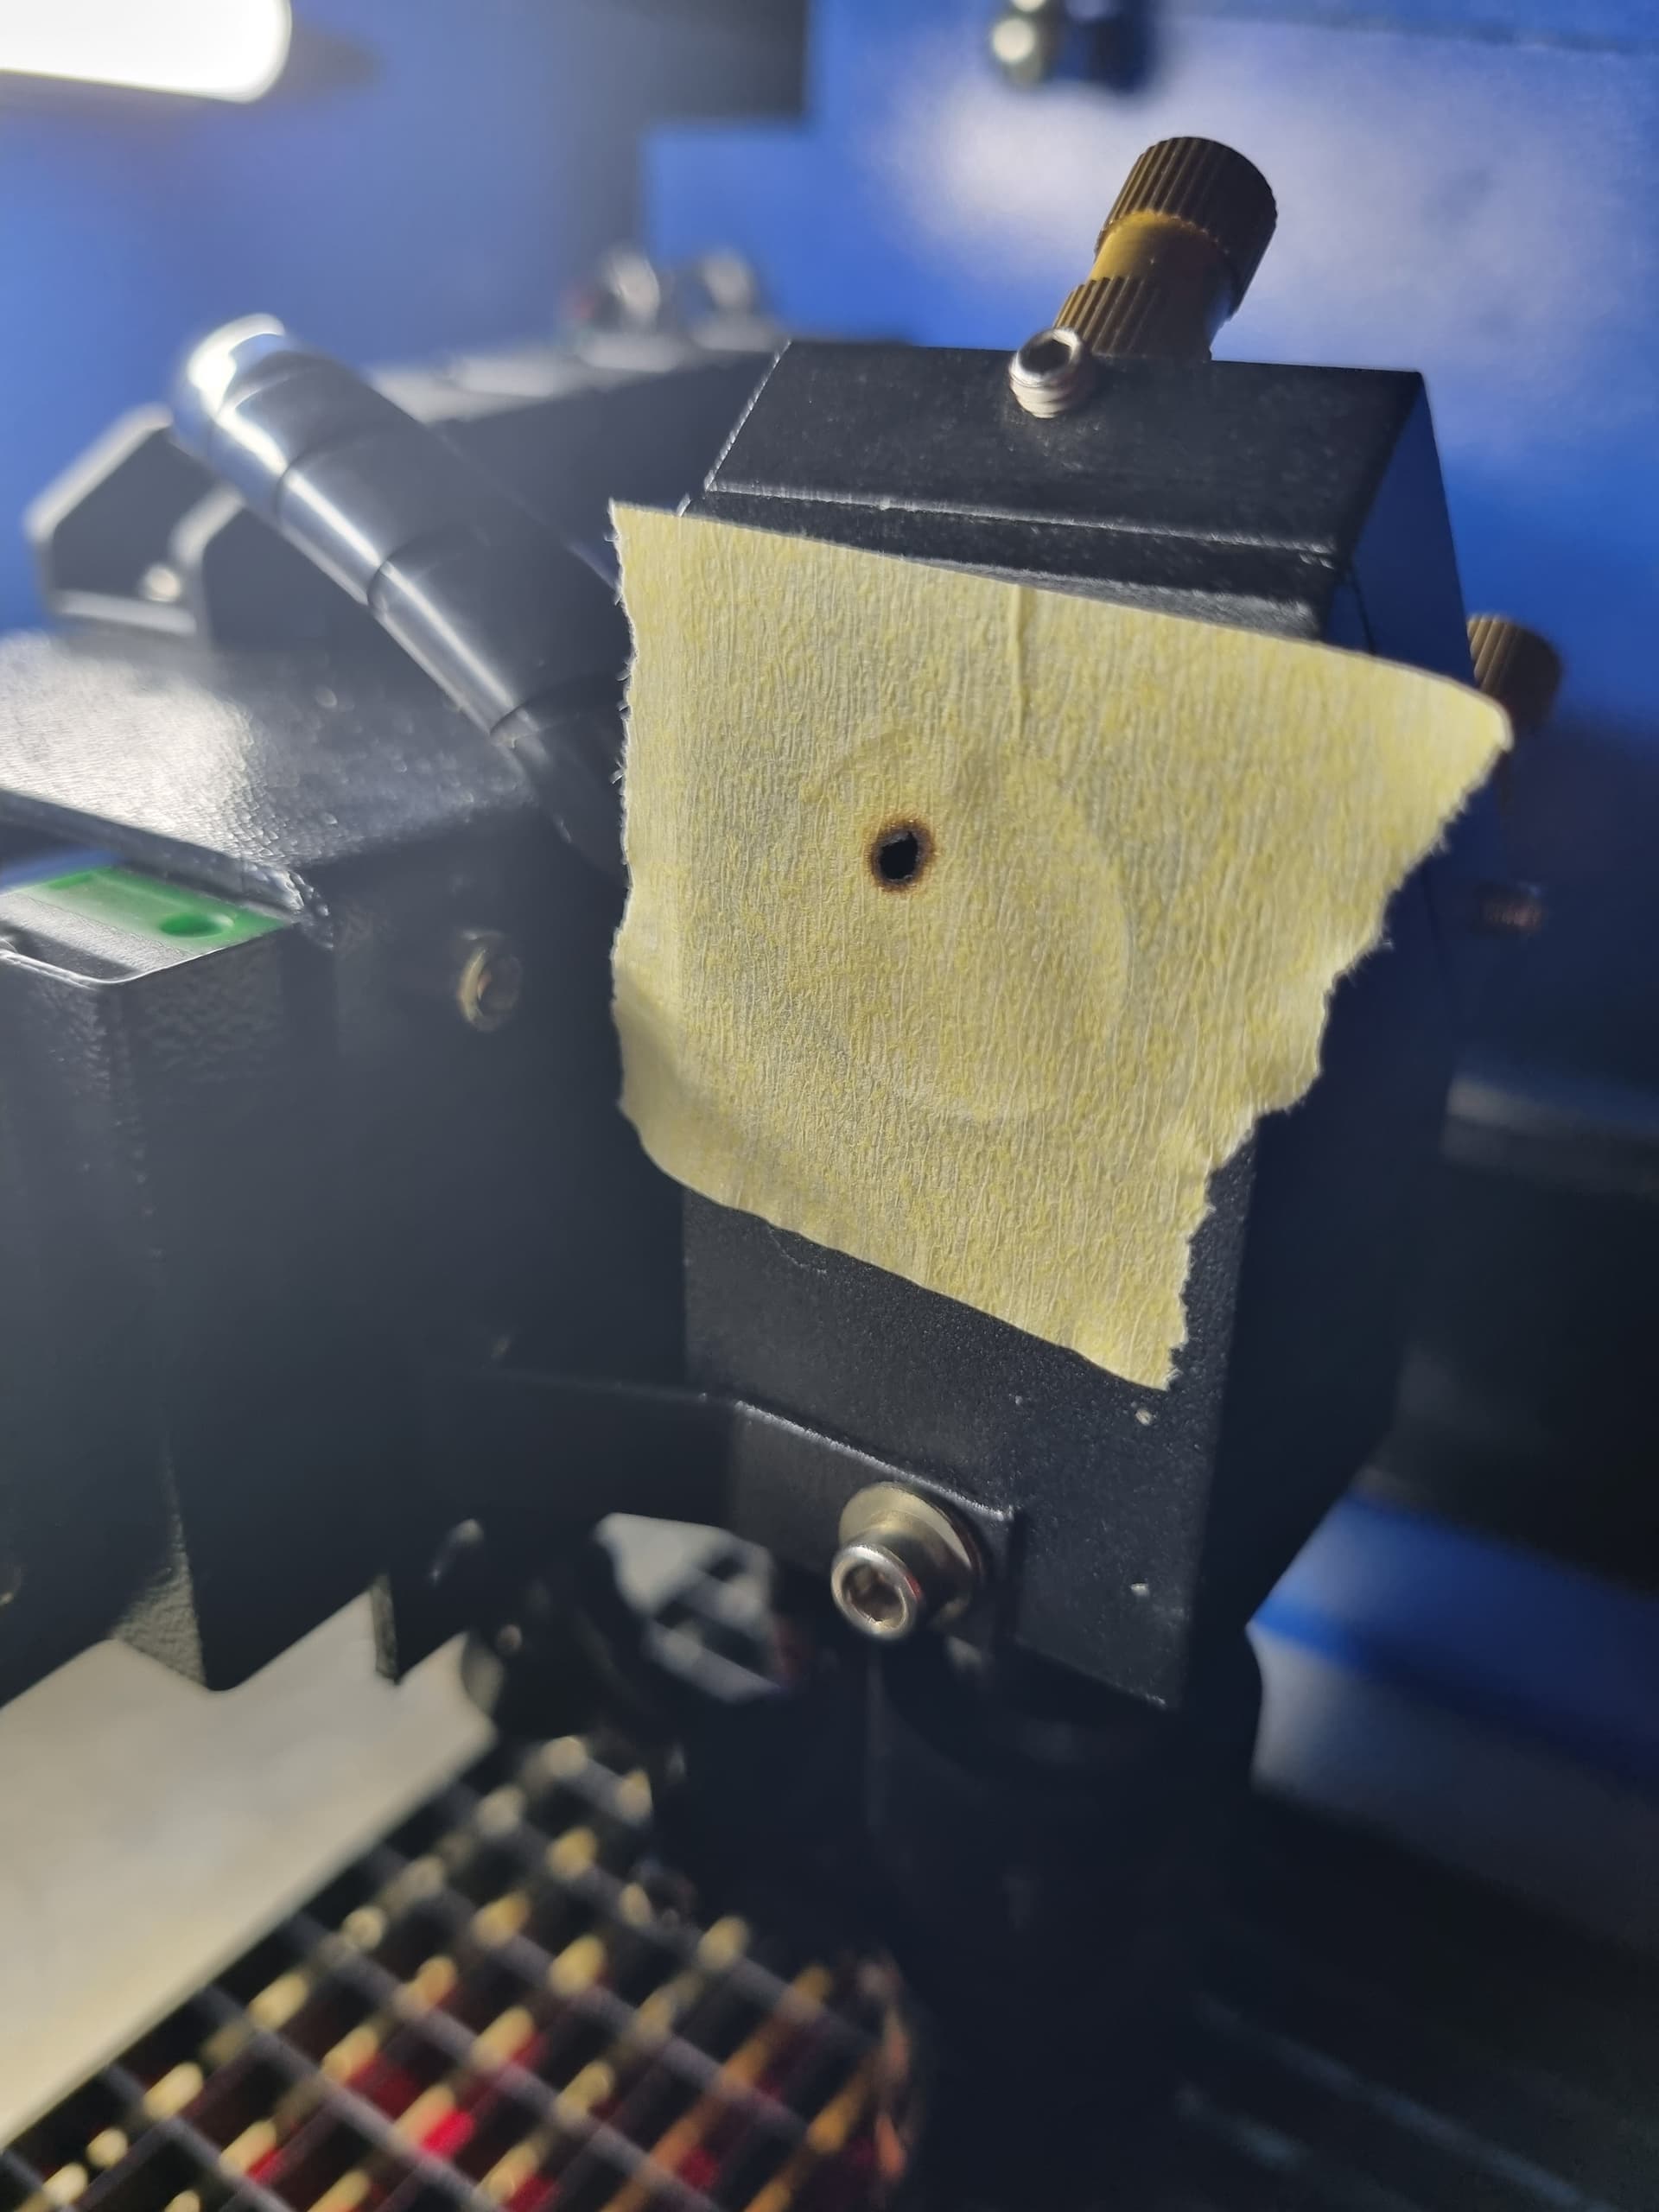
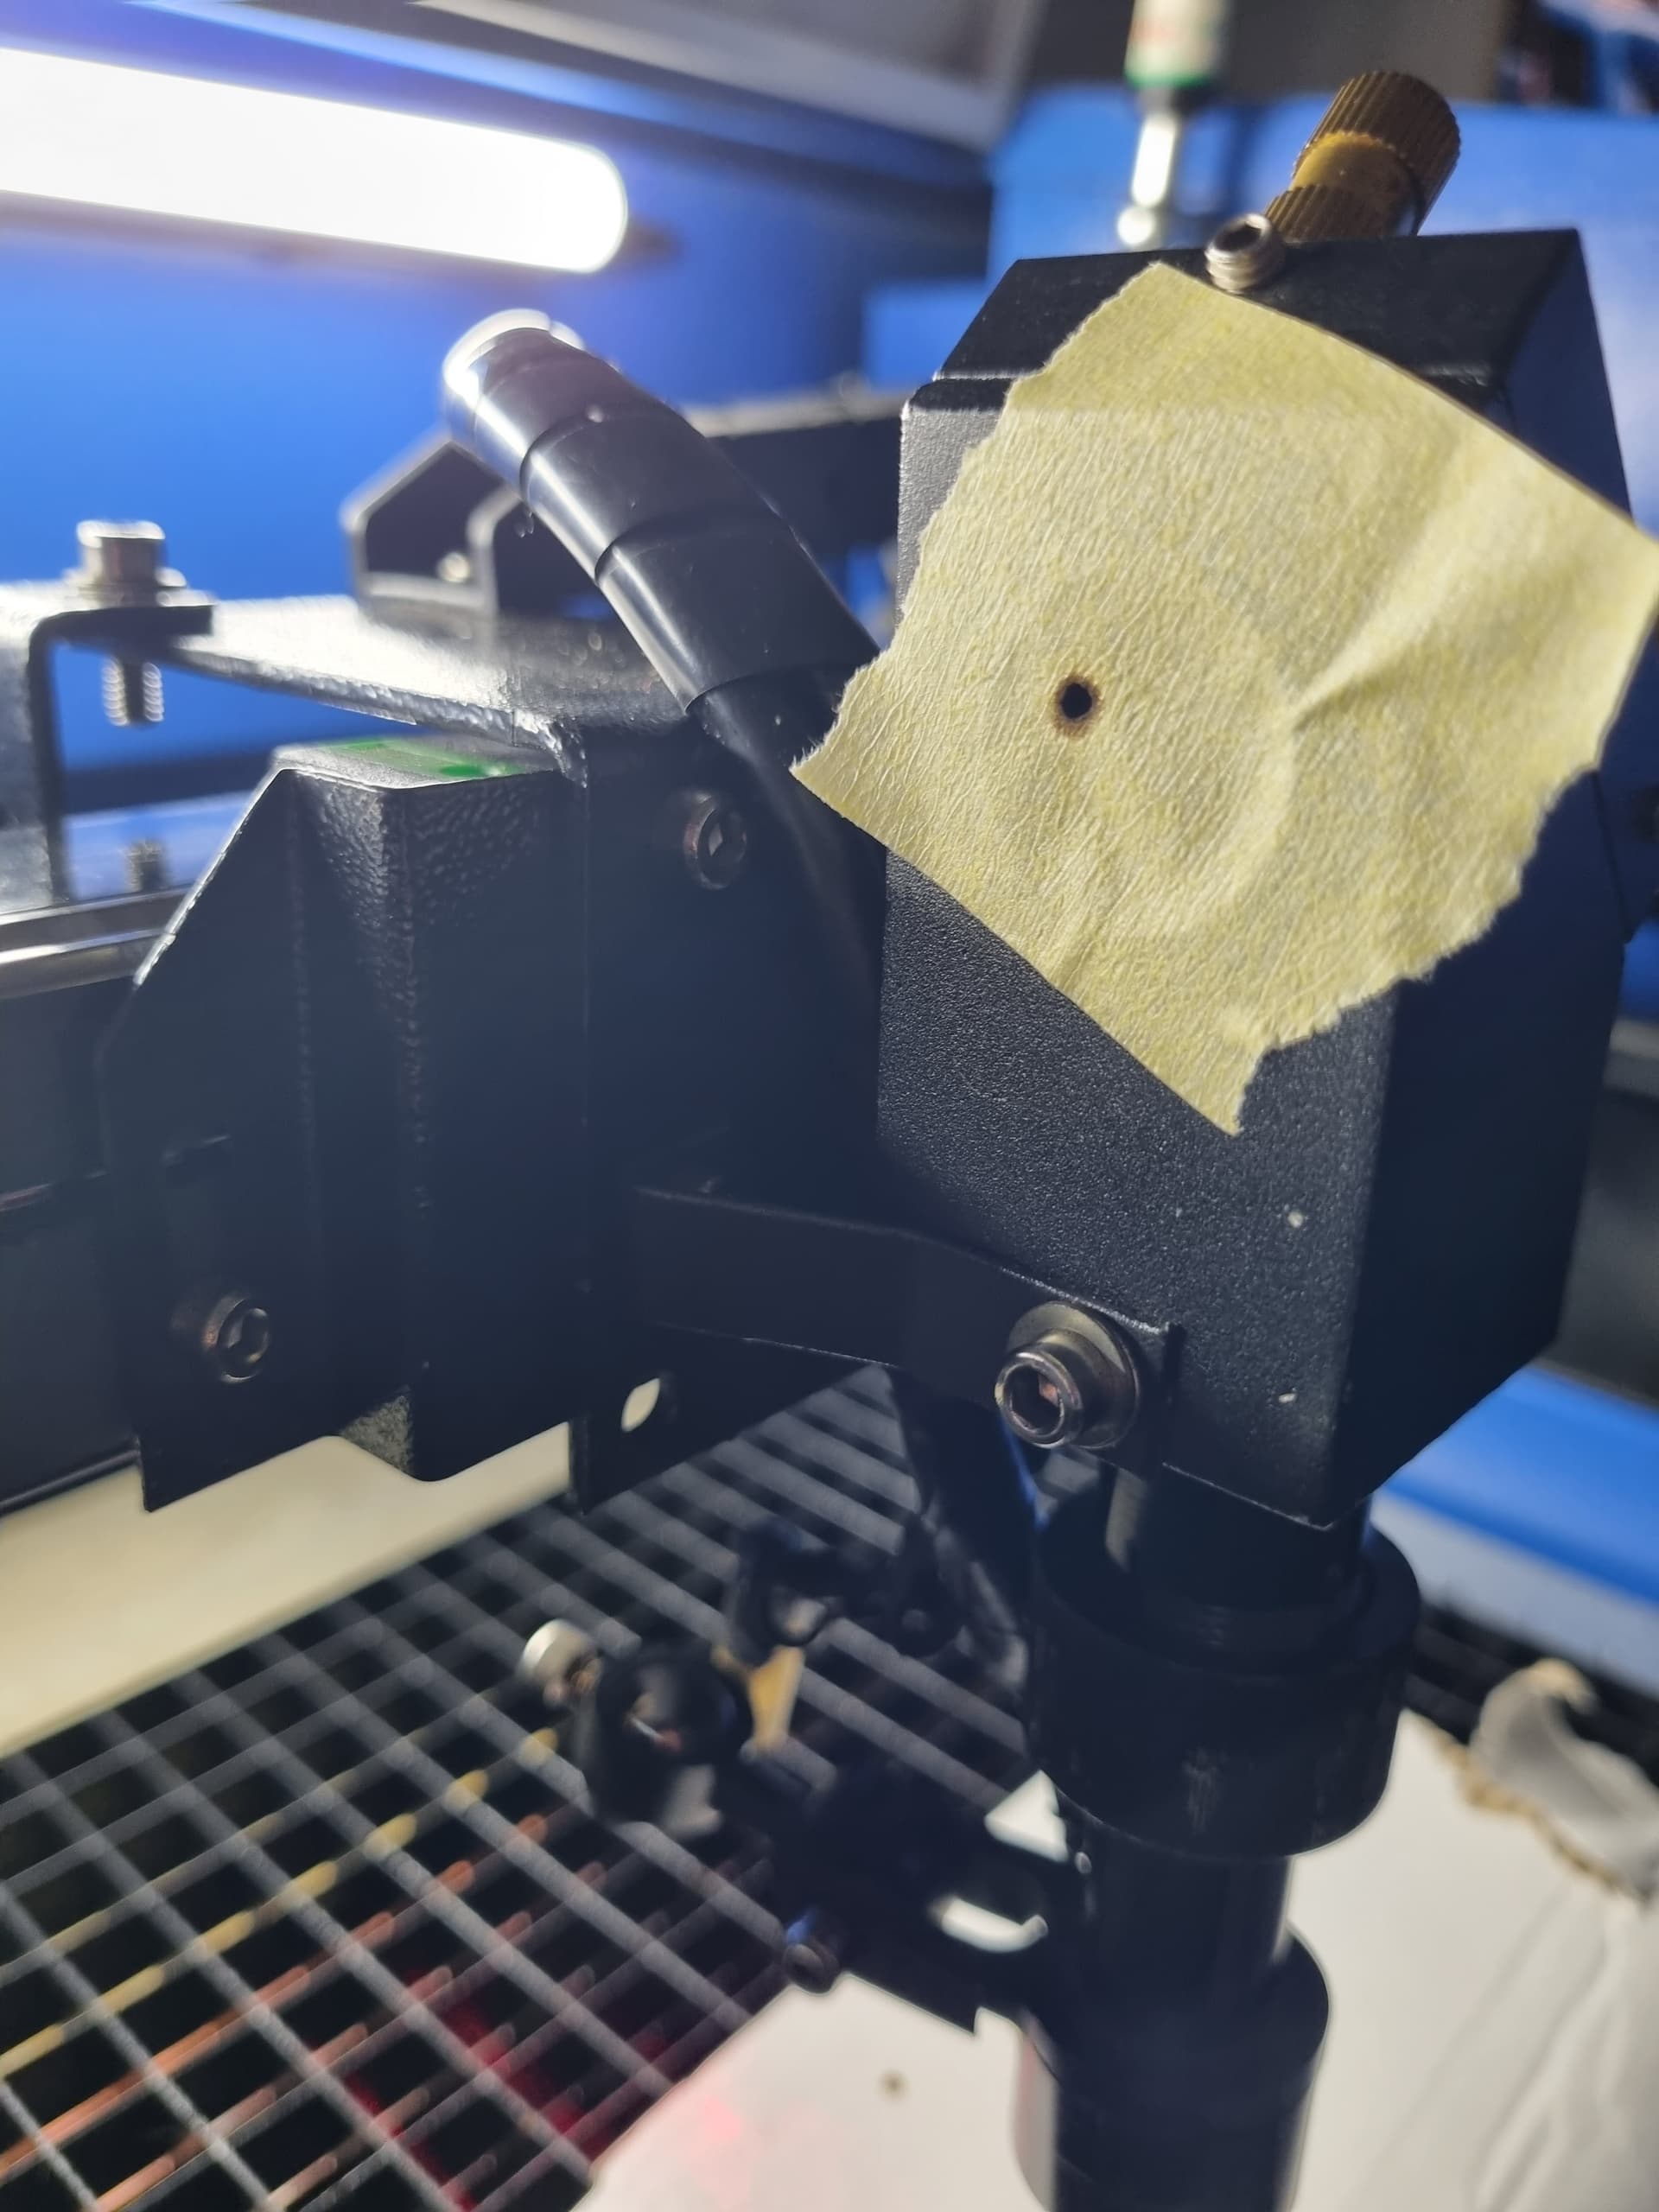
It’s the same as an alignment, tape or target on m1 and pulse the machine. You want a brown area that you can see the power distribution. Not a burnt hole…
That will ensure your tube isn’t going south… Hopefully it’s TEM0, you can then look elsewhere.
There is no ‘convenient’ way to test the lps or tube. Not knowing which is failing is a problem. The lps can put out 30kV… shocking eh?
Watched the video, the tube doesn’t look like it’s operating ‘smoothly’… Some strange behavior around the cathode.
Good luck
![]()
Thanks, i will test mirror 1 and report the findings… yeah i noticed some weird arching around the silver part of the tube and wasn’t sure if it is normal as i have nothing to compare it with…30kv is huge, i think my life is worth more than opening up a lps
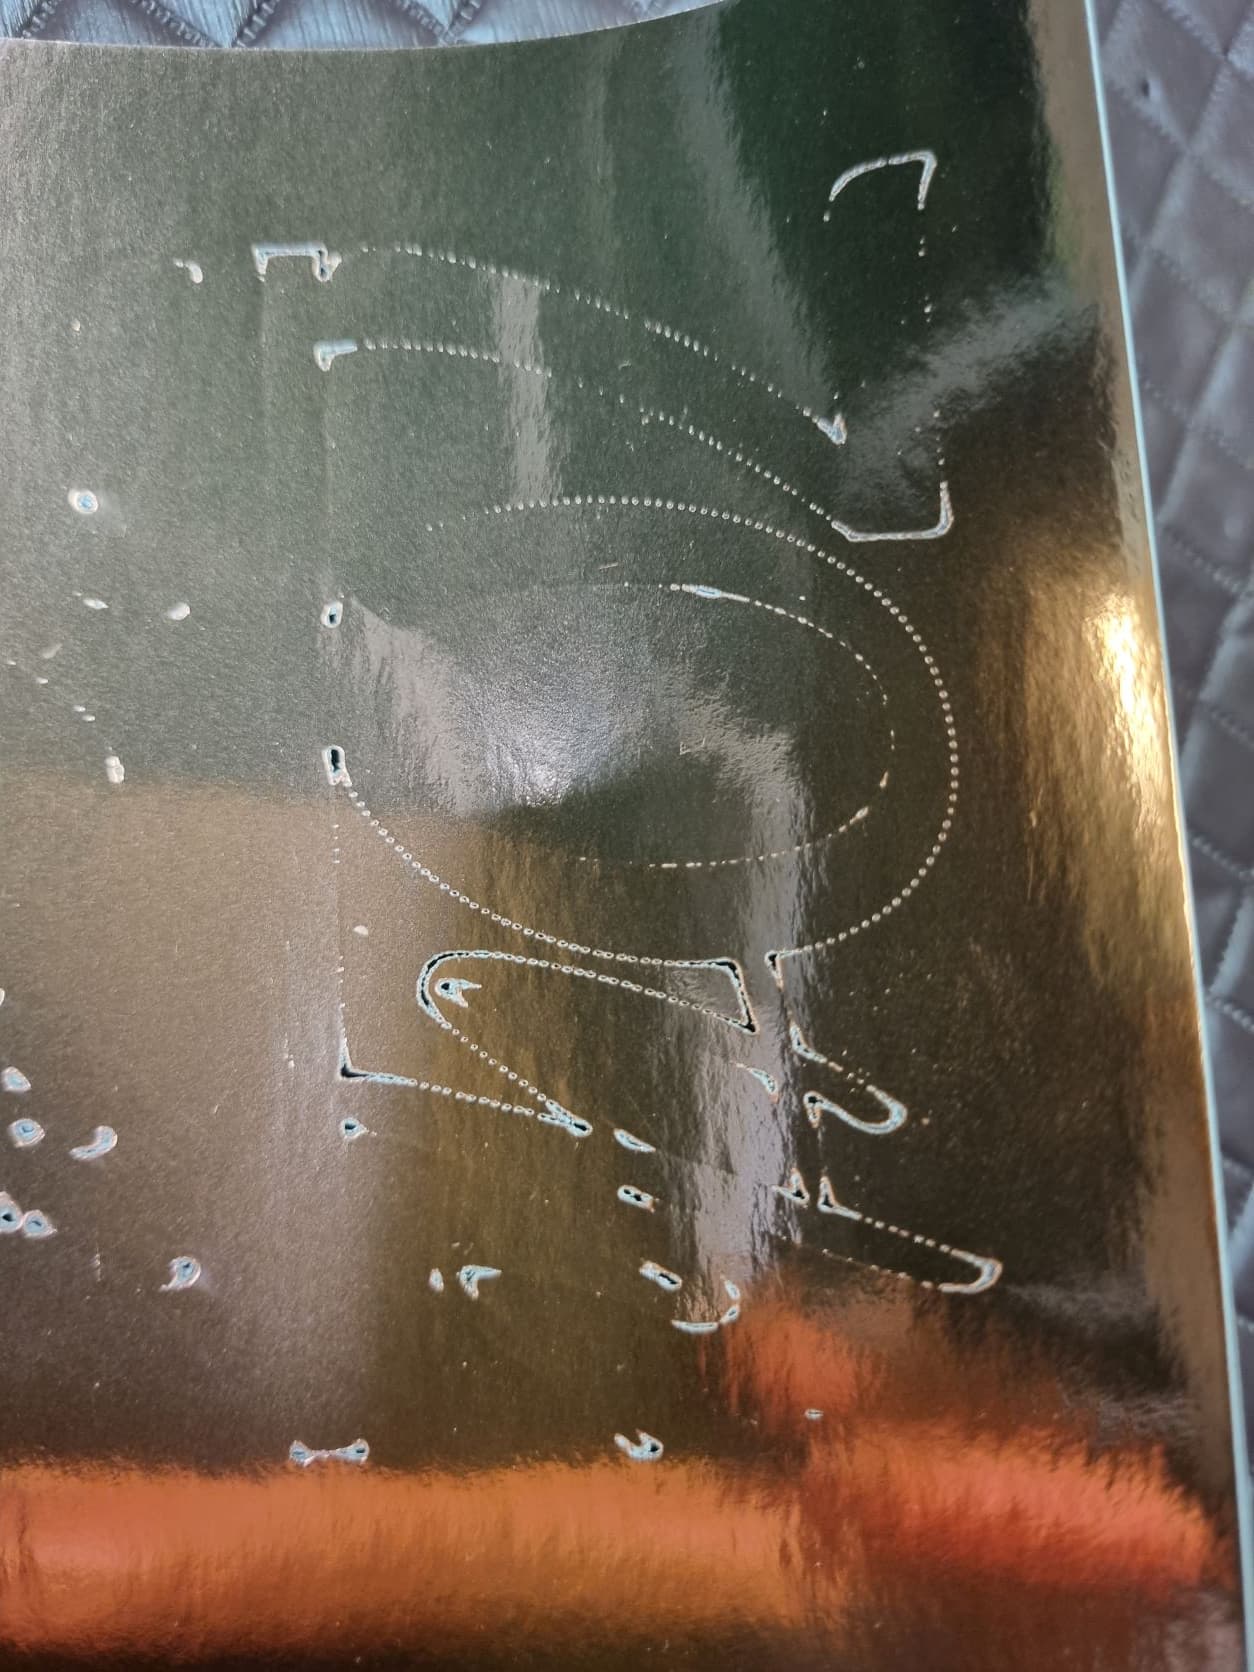
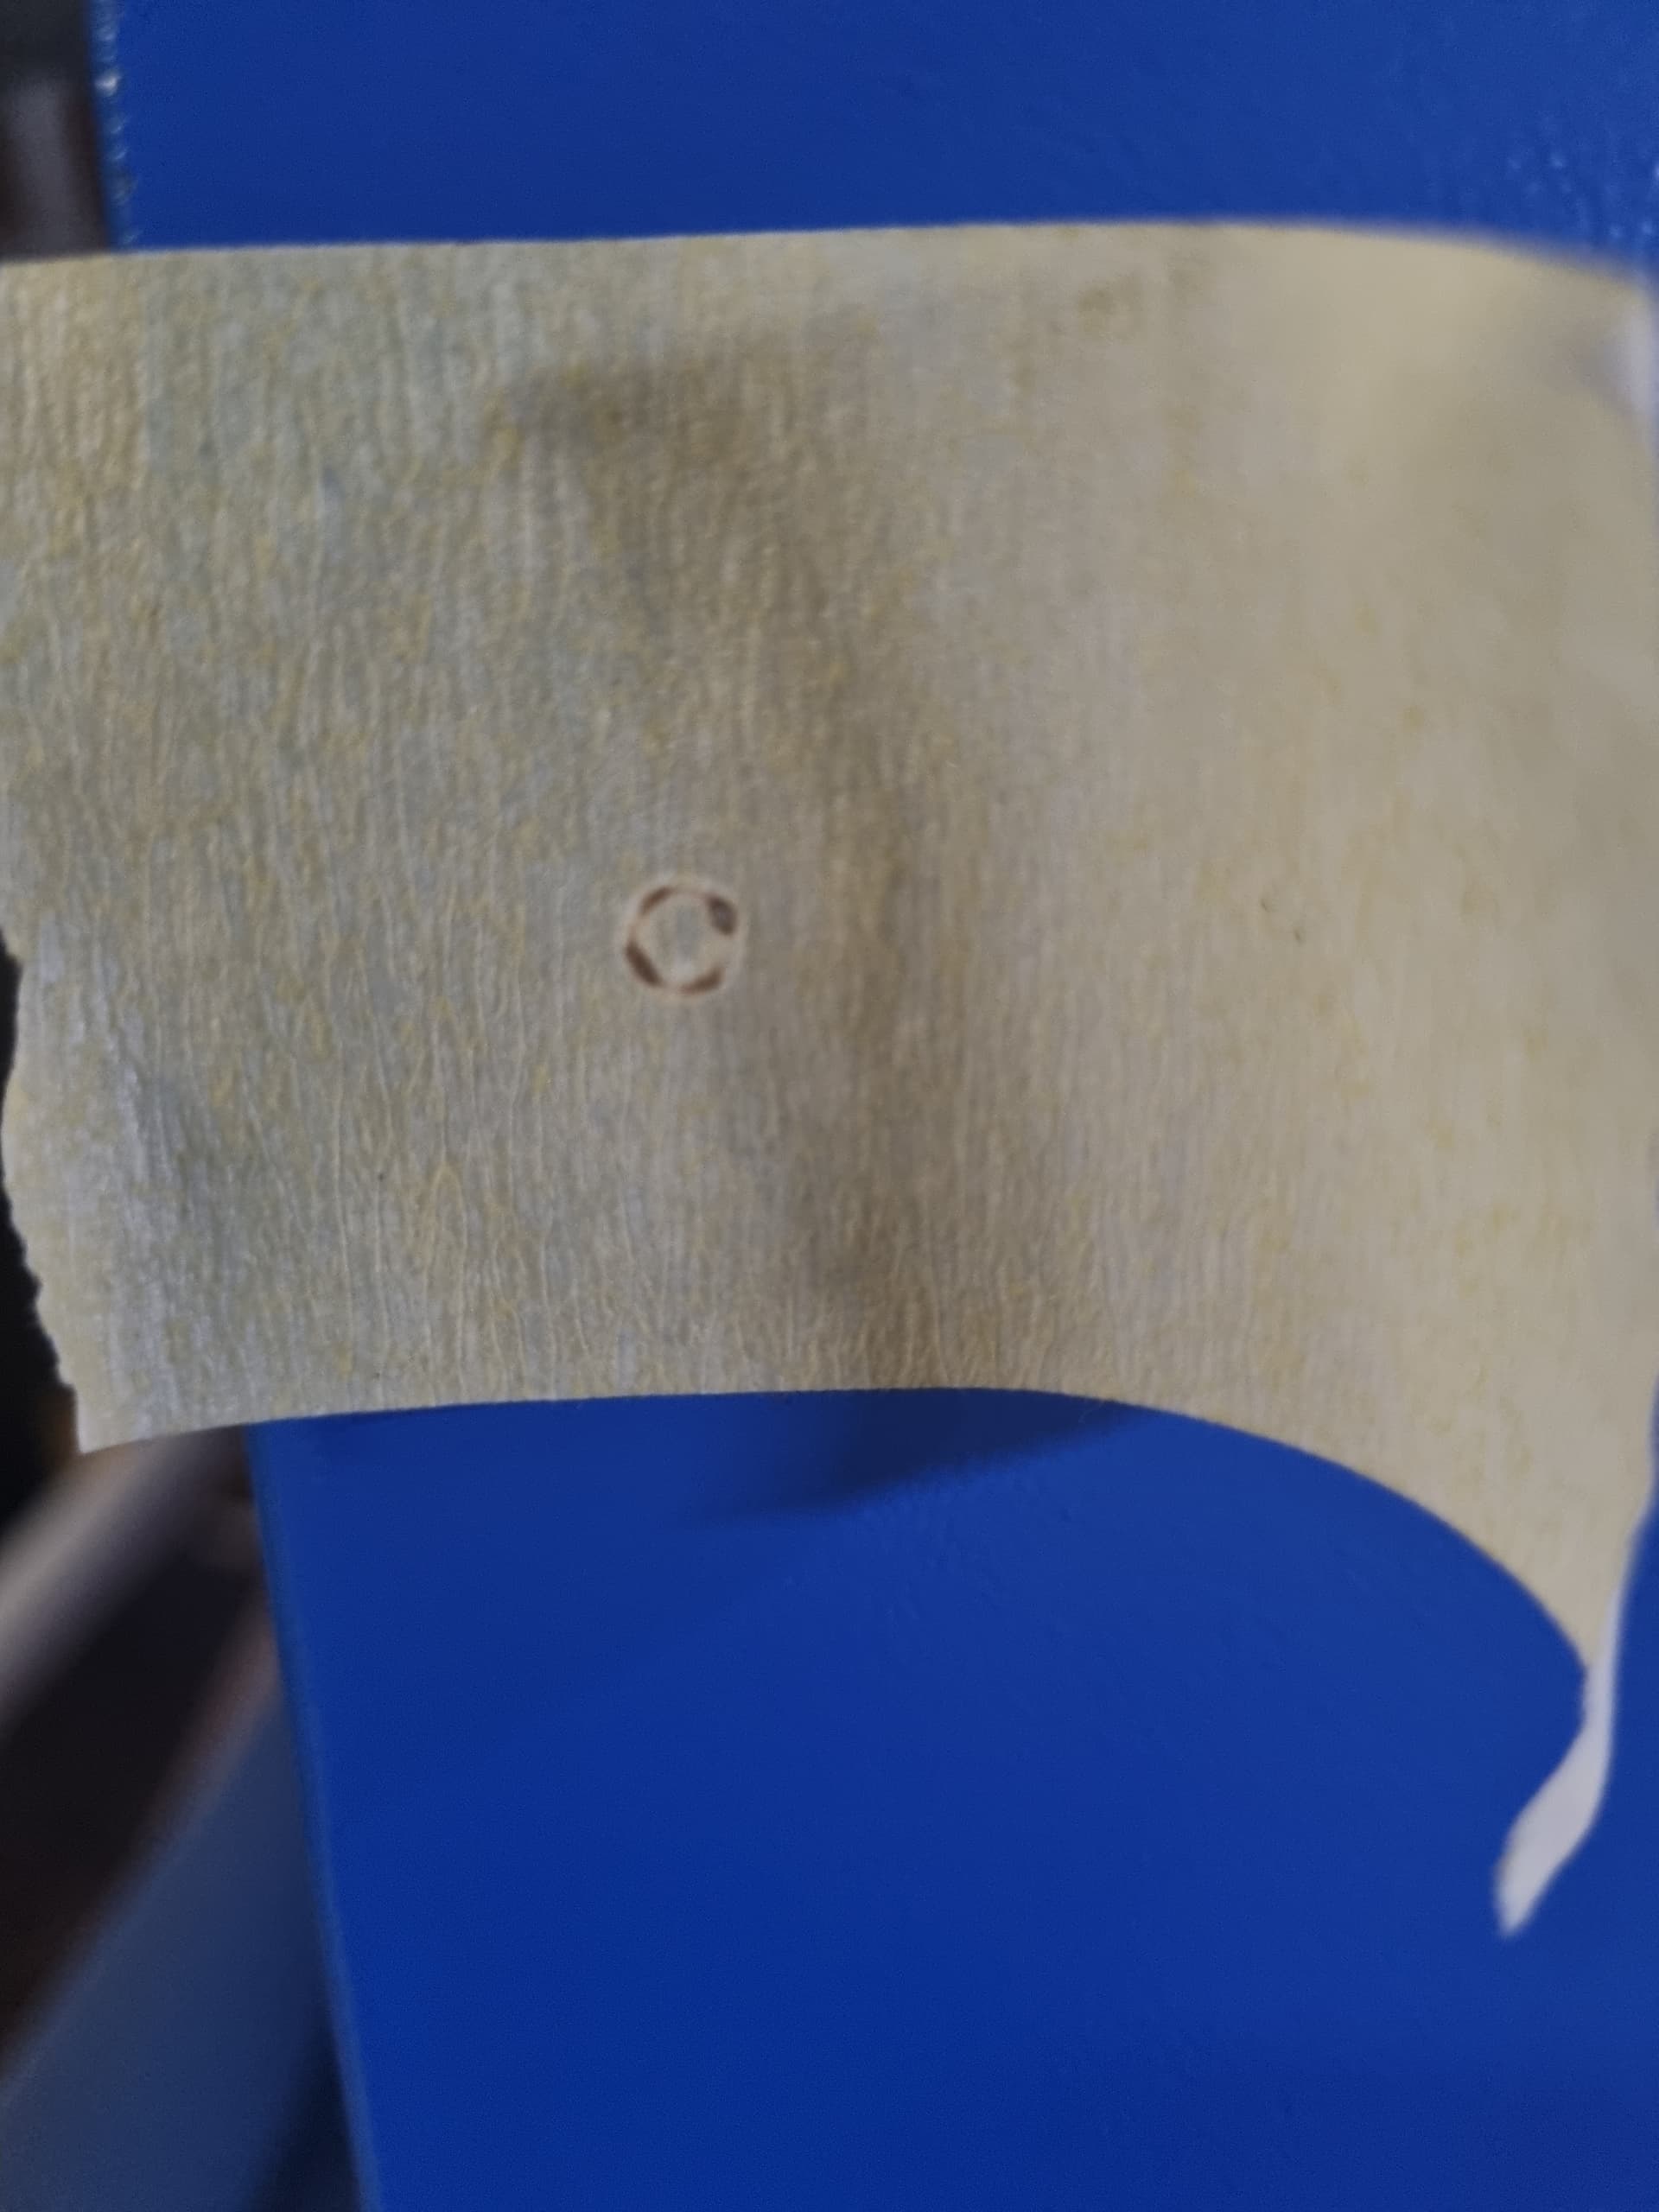
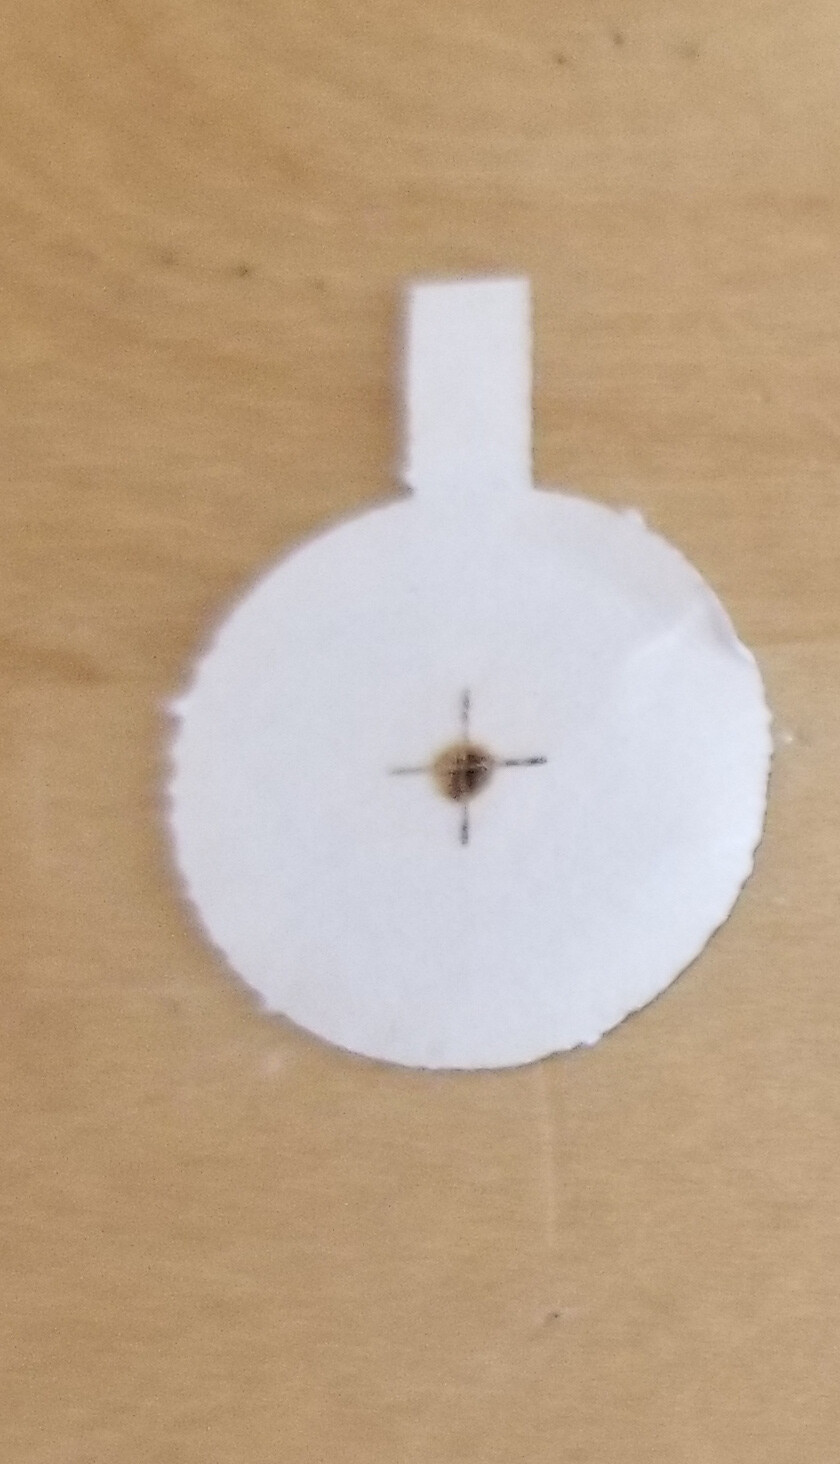
Did the m1 test with pulse button, attached are the results, had to press it twice to make it darker
b
The saga gets deeper ![]()
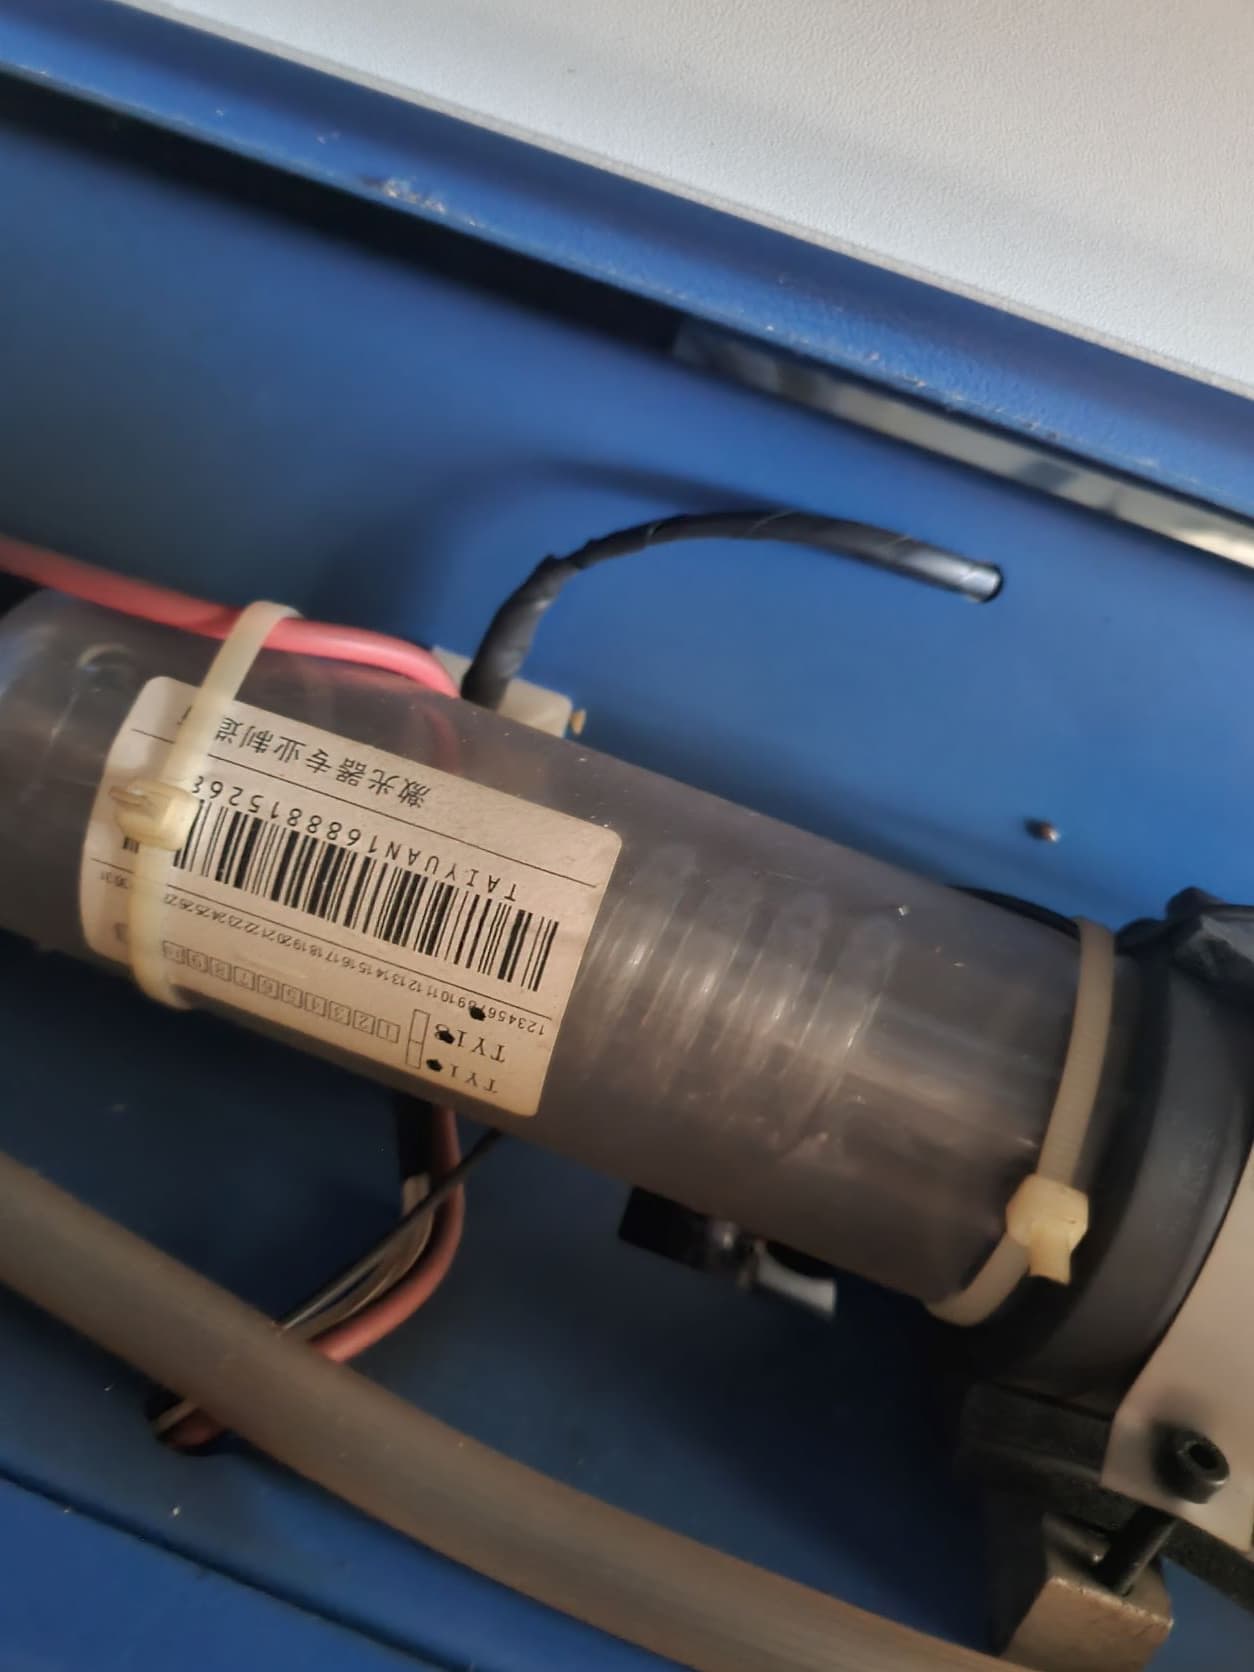
Laser making a sparking / arching electrical sound, recorded the following while running it for 15 seconds, didn’t sound too good so didn’t run it any longer than that for my safety… also noticed water/ condensation on the tube… im guessing it needs a new tube but hoping you have an easy not so expensive solution instead…video link below…

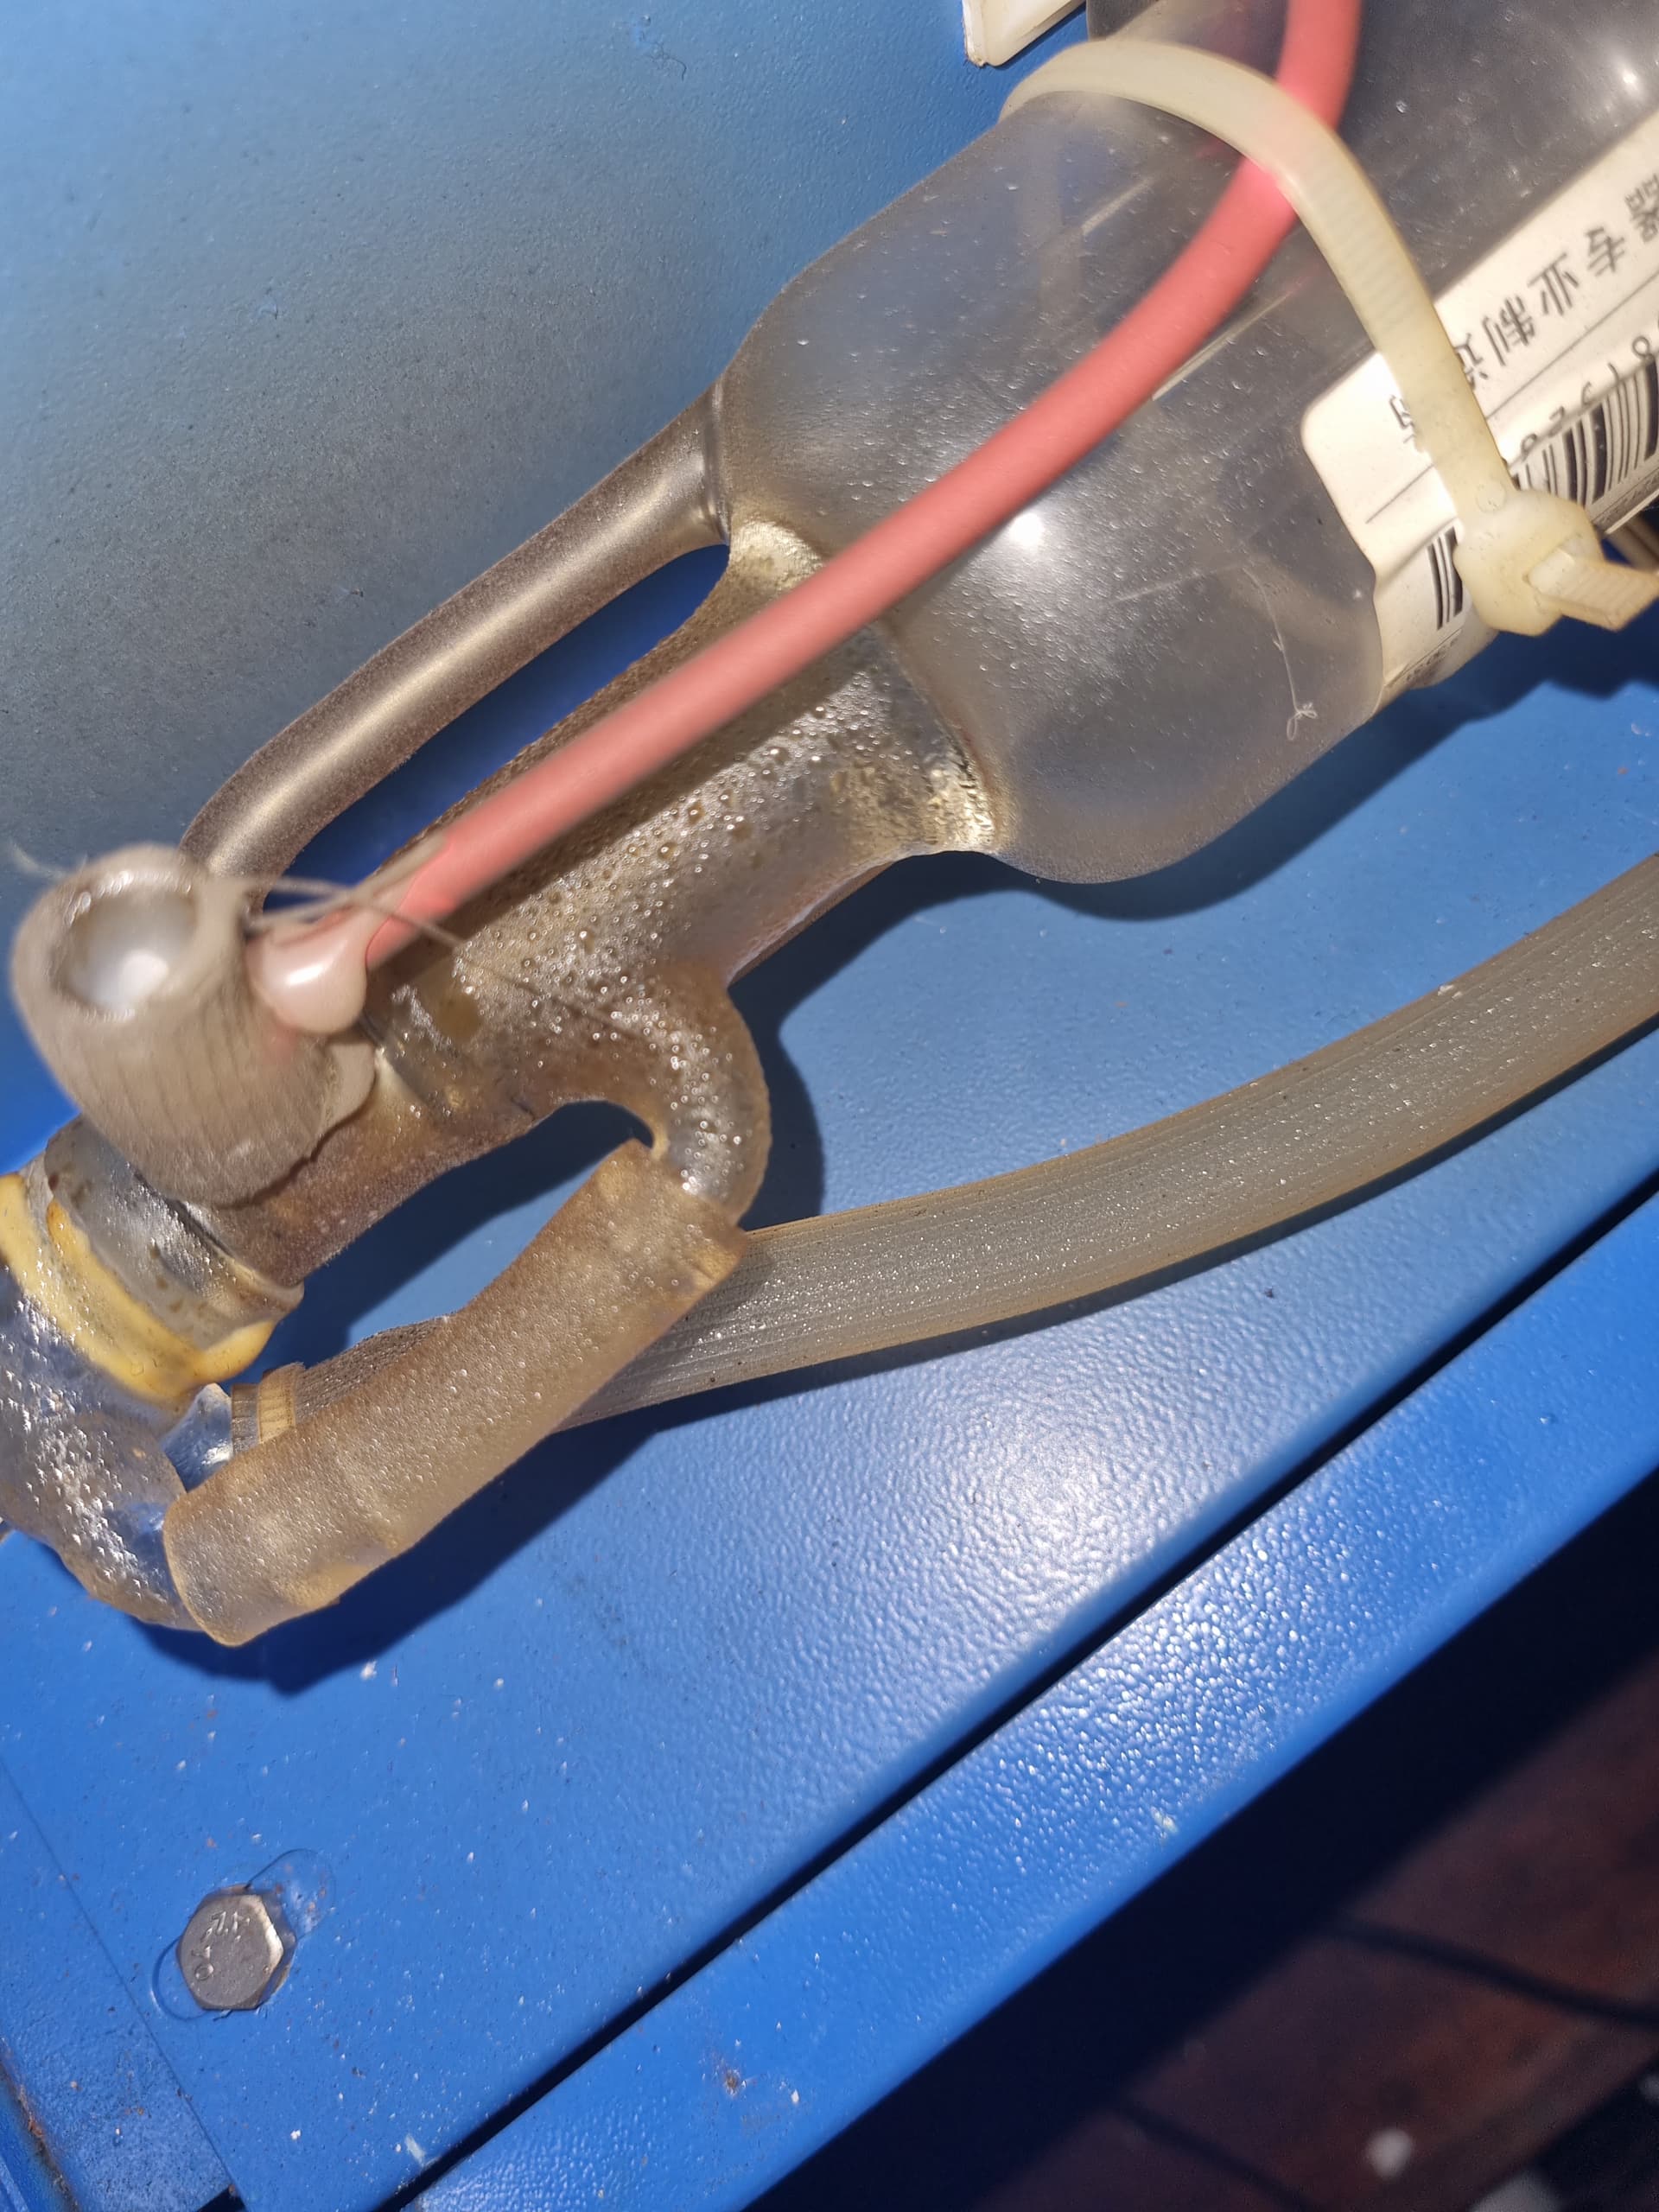
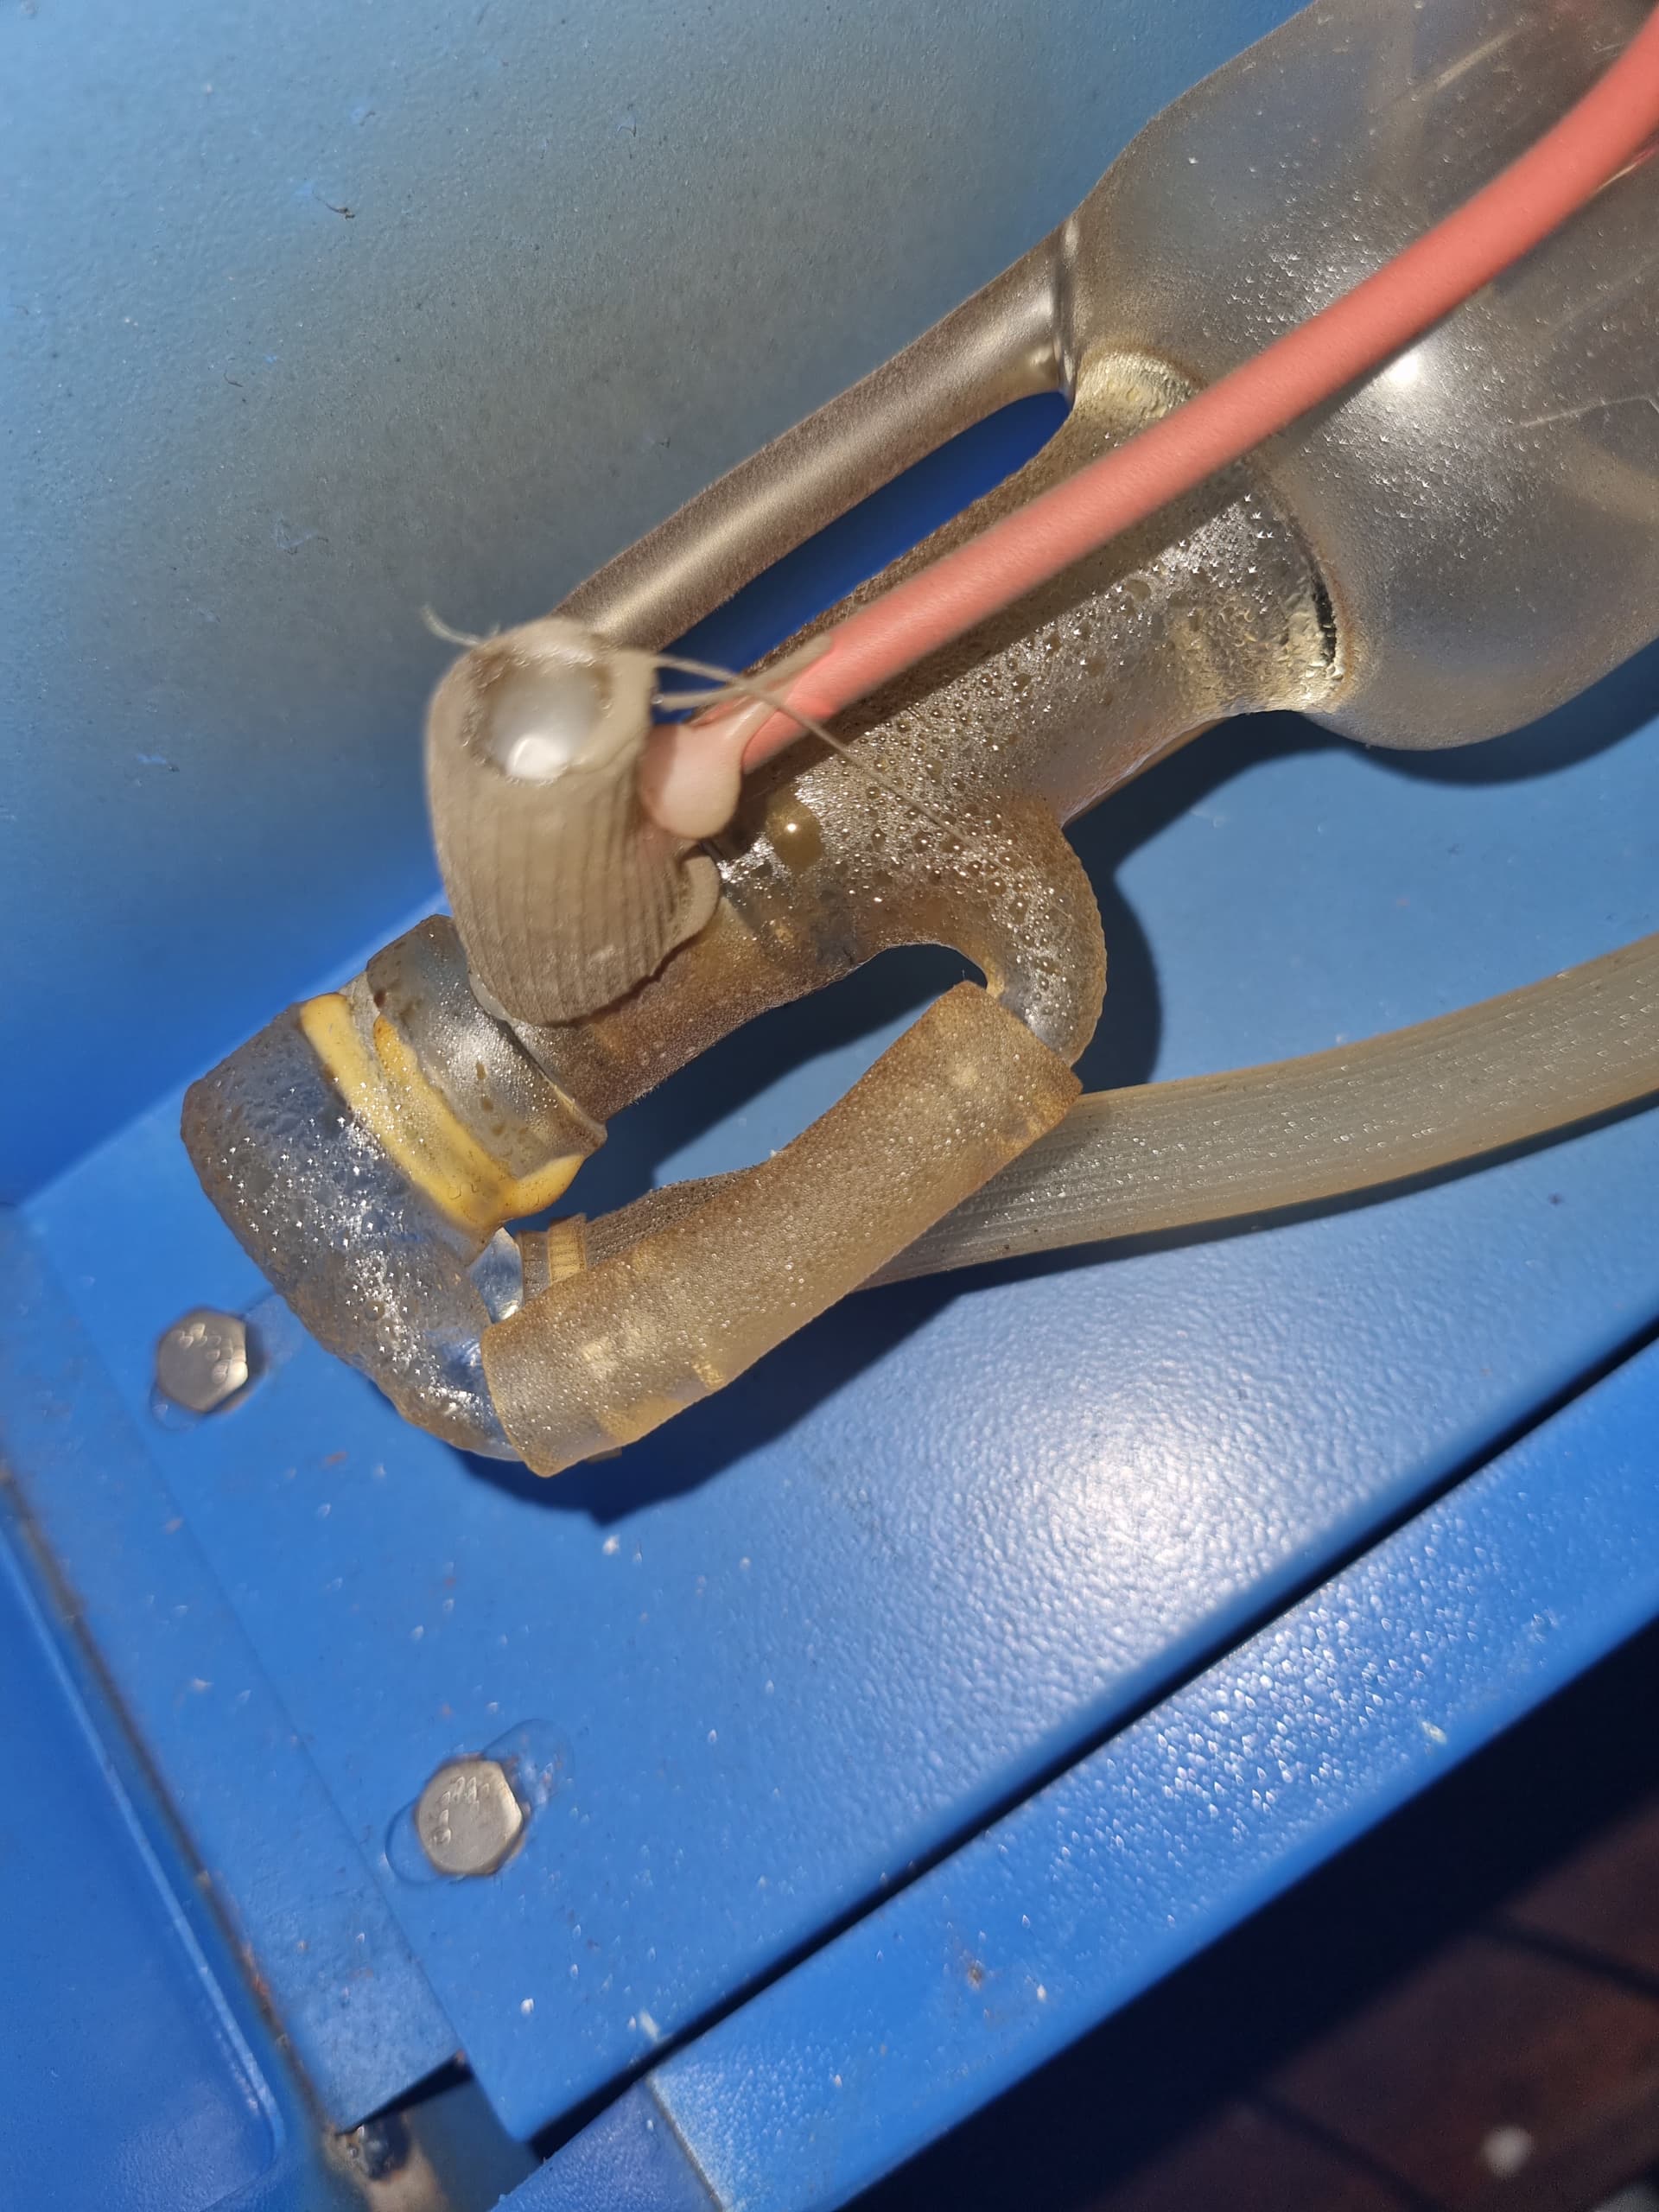
Arcing from the HV connection joint on the tube. The tube might not be scrap, but redoing the HV joint is a task not fraught with pain. I have the same laser from the looks, and I replaced my tube, the HV wire isnt socketed, so I had to splice. Im curious as to the condensation though!
Your tube is history… operating in TEM1

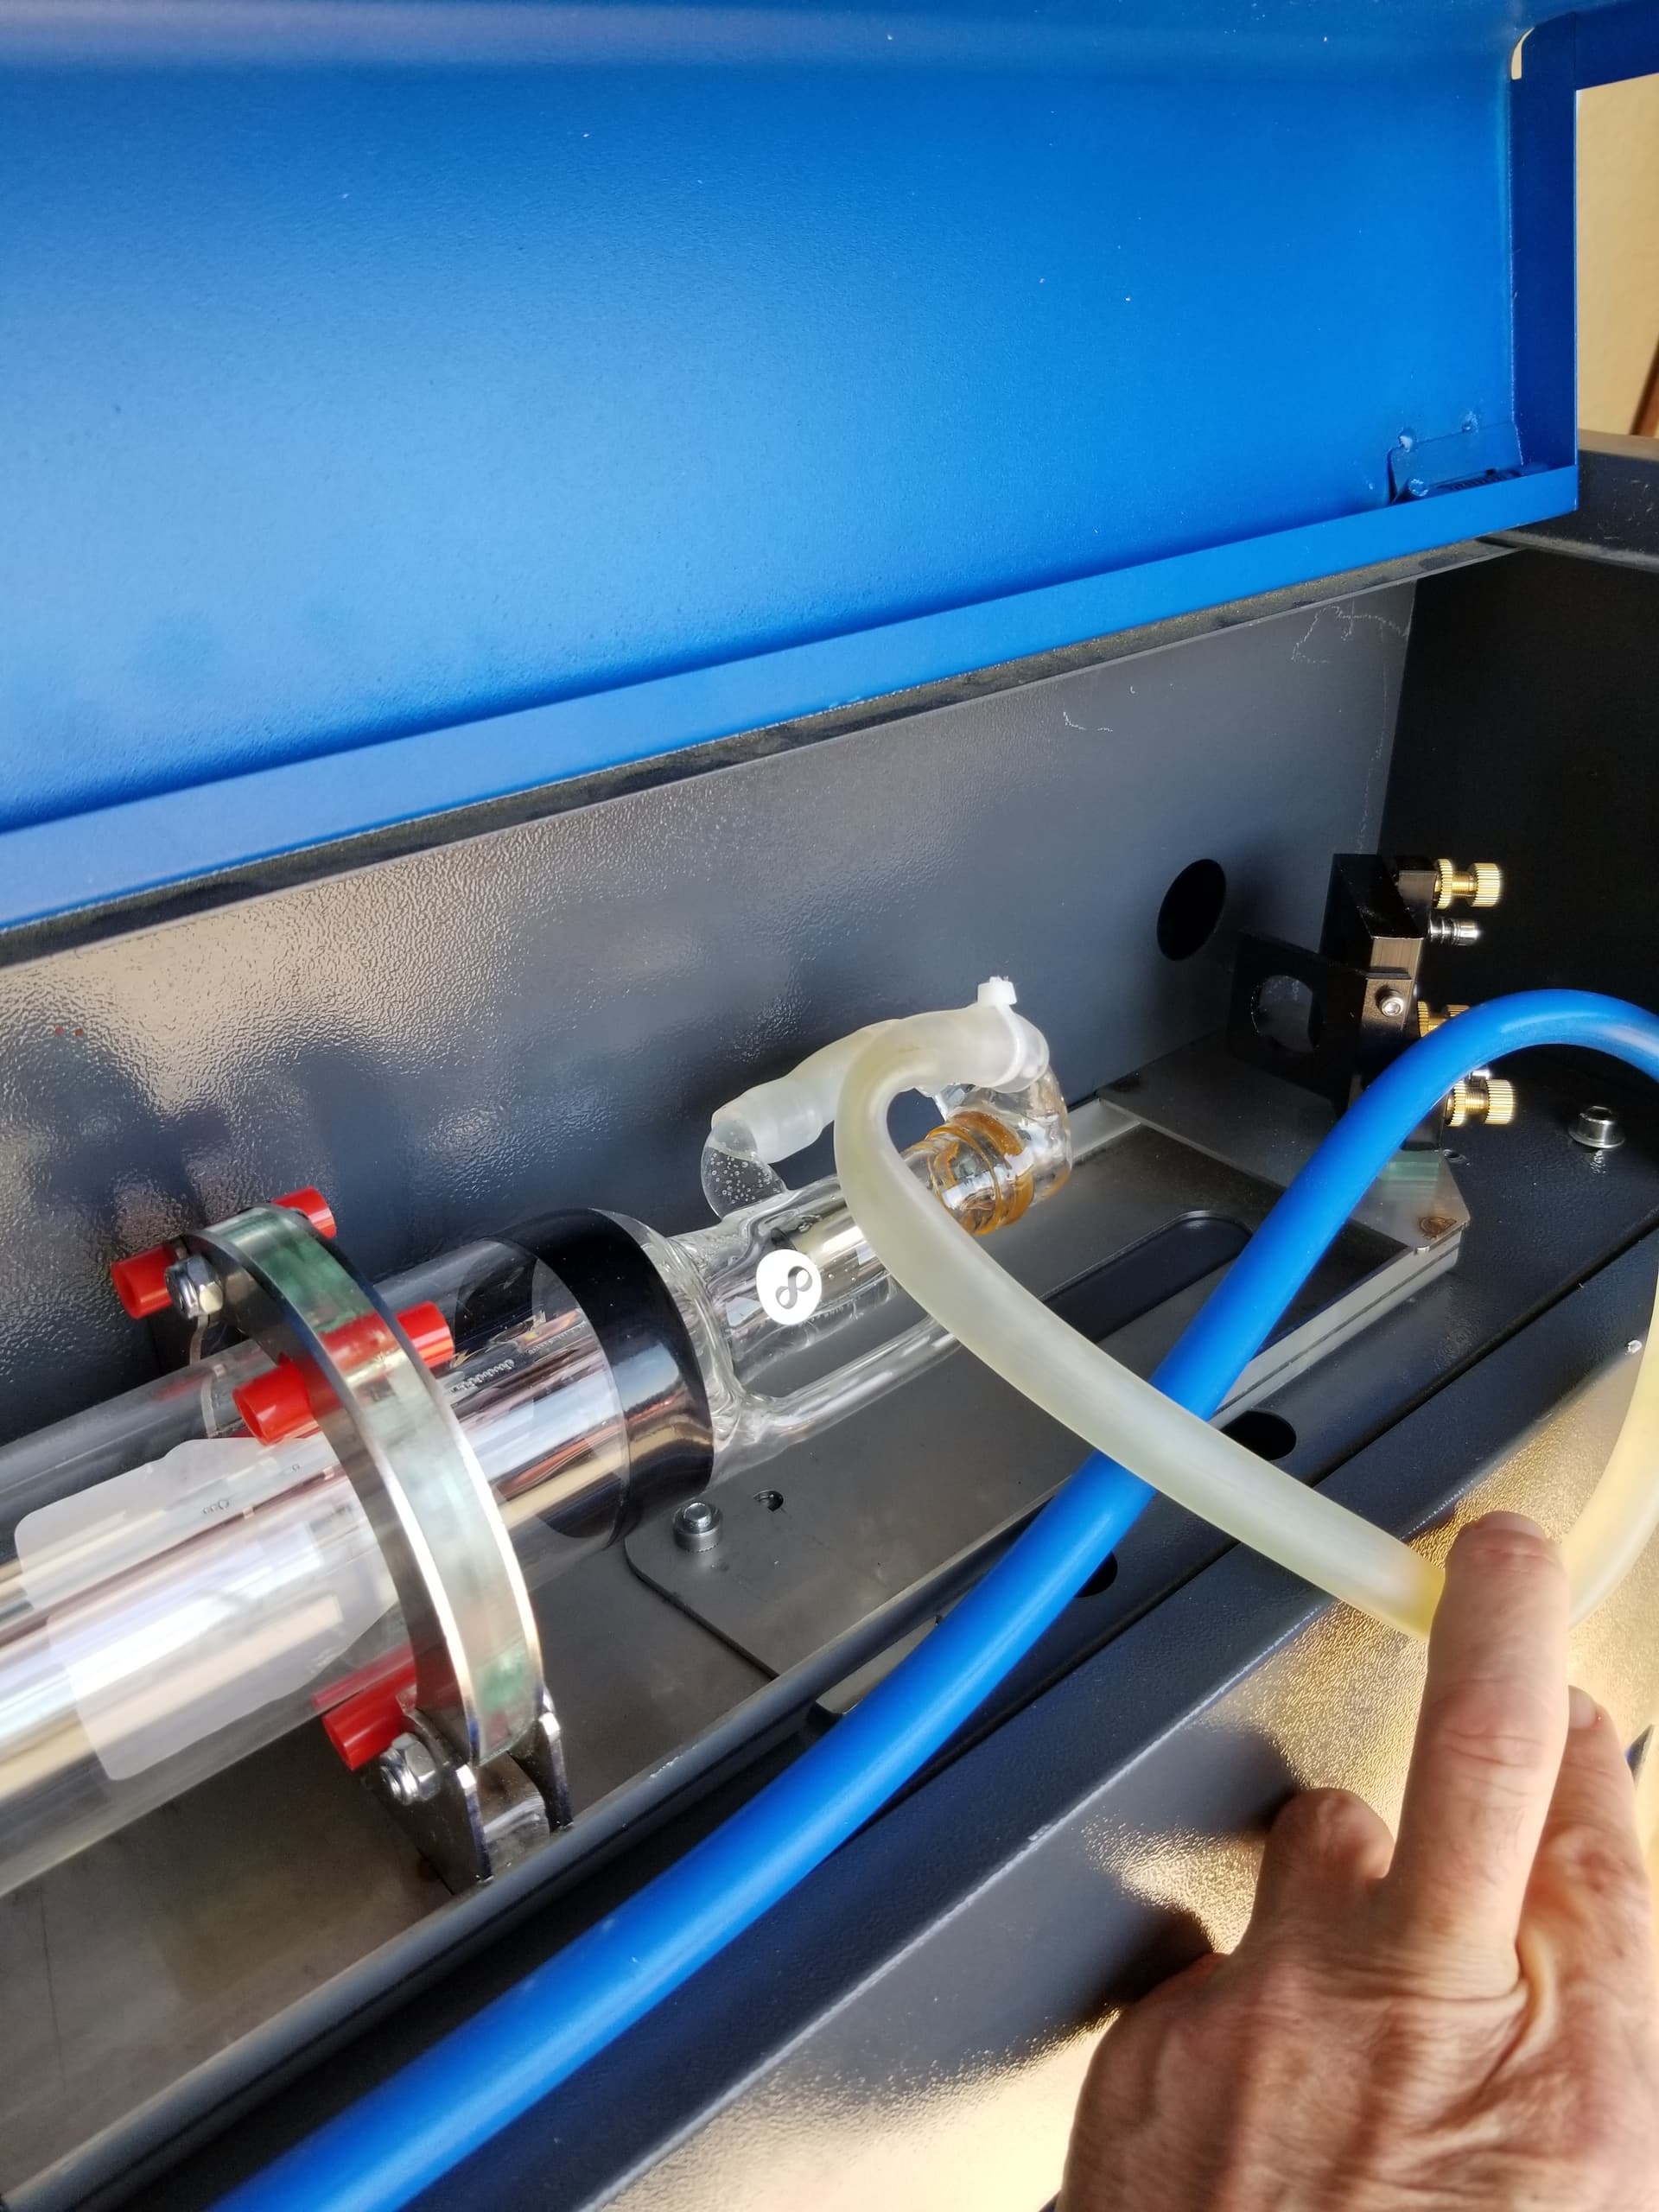
When you replace it, orient the ‘exit’ coolant hose ‘up’ so any air will easily flow out of the tube.
Don’t let the propaganda of these high voltages scare you. They will ‘reach out and touch you’ if you’re not careful, but understanding how it works helps you stay safe. Nothing is more dangerous than ignorance.
I’ve been bit with 15kv which was nothing compared to the 440v I got across. I know of nobody and heard of no one that has lost their life, to one of these lps. Just a lot of bs on how lethal they are.
78% of all electrocutions in the US are from the house mains. Probably have a much better chance of electrocution around the house from it’s mains than an lps…
There is really no user serviceable parts in these supplies to be worth getting in them. I see no place that ‘fixes’ them on the Internet, so the value of repair is probably rather low. It’s costly to ship, from the weight, and then you have to have someone technical to diagnose/fix, add the cost of the part and return shipping…
Use common sense around them as with any electrical device and realize you don’t have to actually touch the wire, it may touch you. Keep in mind they will ‘store’ a high voltage as the only path to ground is via the tube. The tube will quit lasing at a fairly high voltage, so that potential is there for a few hours.
Take care, keep us updated…
![]()
I will go a step further and claim that this way that the tube is installed now, invites air bubbles and the accompanying temperature increase. This can easily lead to an earlier death of one’s tube.
Thank you for the informative update and reassurance . I will order a replacement tube today… the store the machine was initially purchased from was vevor… they have a replacement tube which seems reasonably priced and should be a direct fit hopefully without too much modification…
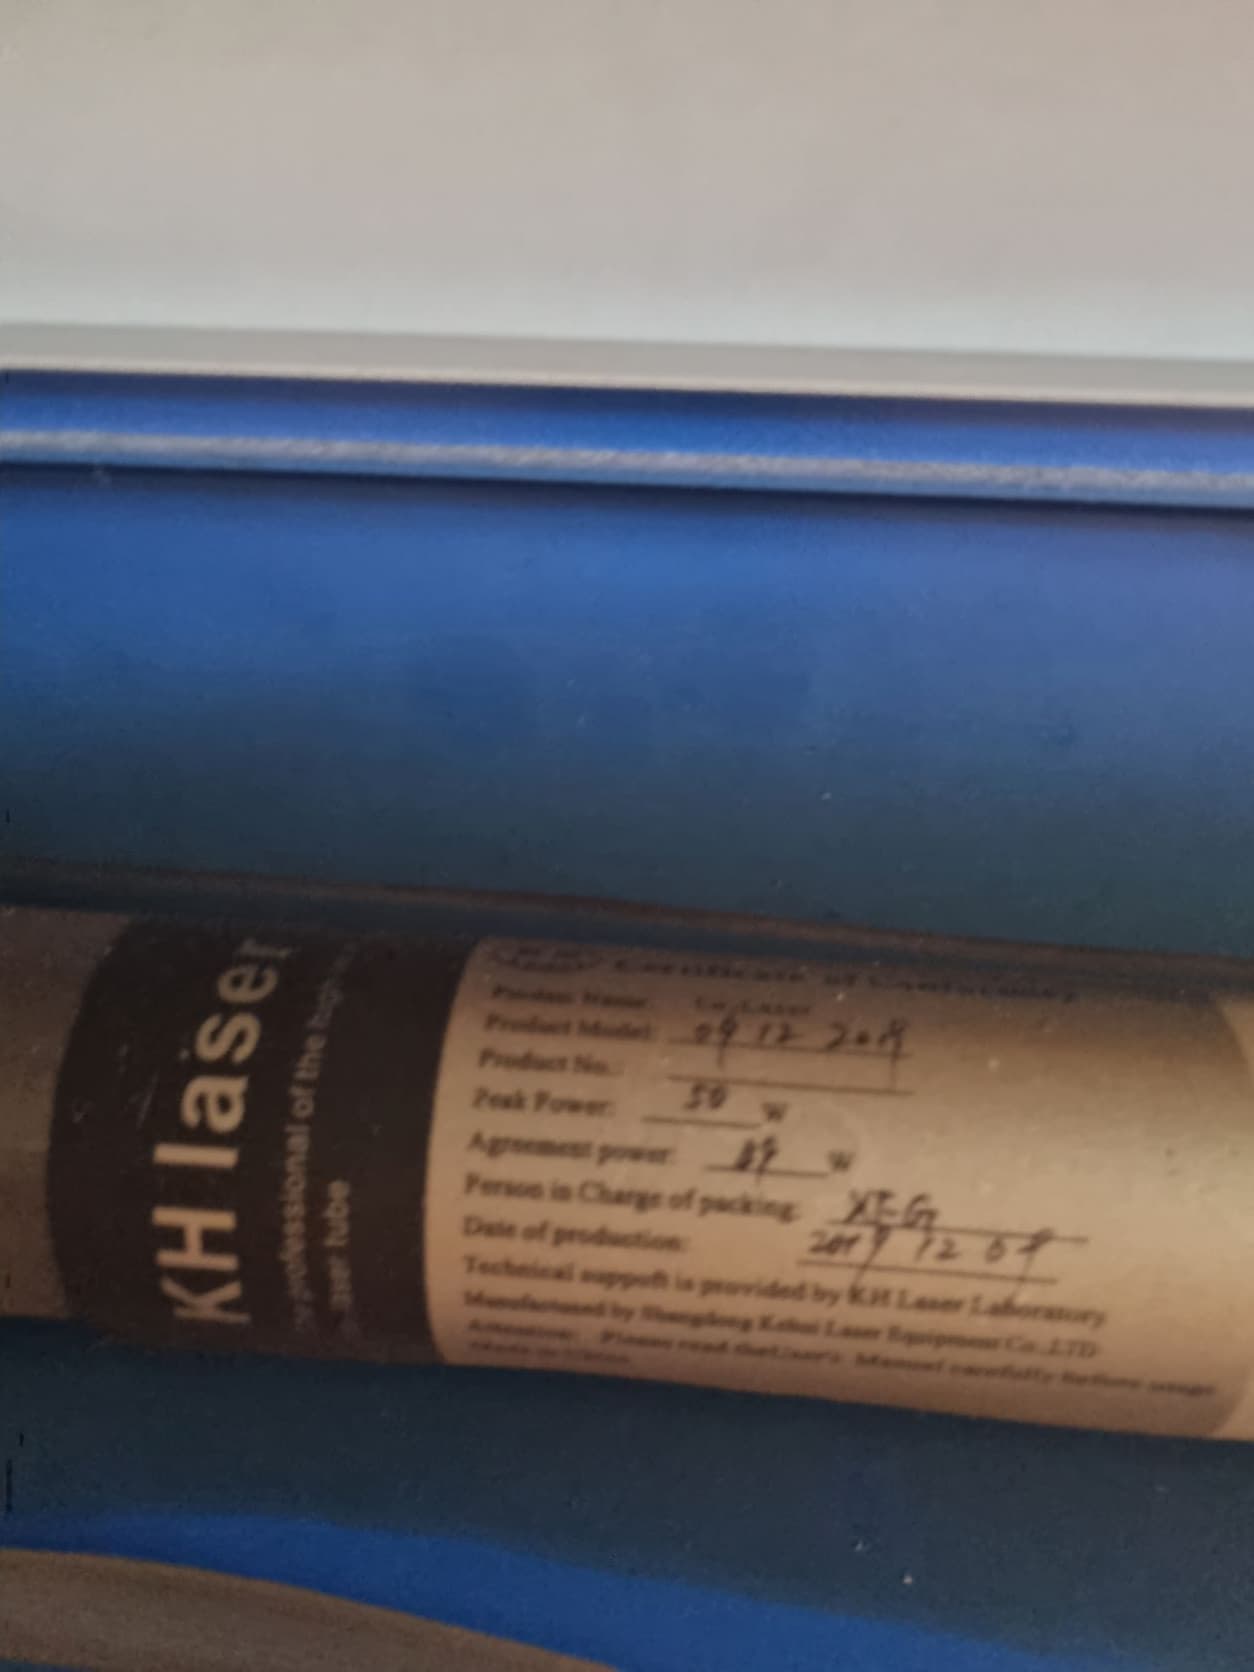
My laser is an OMTech ‘China Blue’ 50 watt… The tube is 880mm in length and 50mm in diameter.
It actually produces 44 watts on a Mahoney wattmeter. This is about right for that length of tube. If it’s smaller it’s lower wattage.
I’d measure your current tube before ordering a new one…
Good luck
![]()
Got the tube installed and now the dreaded aligning of the mirrors. After 4 hours i have given up for today… so far this is as close to the centre i can get… thank you to everyone for your help and guidance to date…

You are facing what most of us have faces. The alignment game is very simple in theory, but people don’t think in 3 dimensions very well.
How is the alignment on m1 and m2? Maybe a photo?
I think what you will find is that you will have to ‘catch’ the beam with m3.
Here is a very good video from Russ Sadler on alignment.
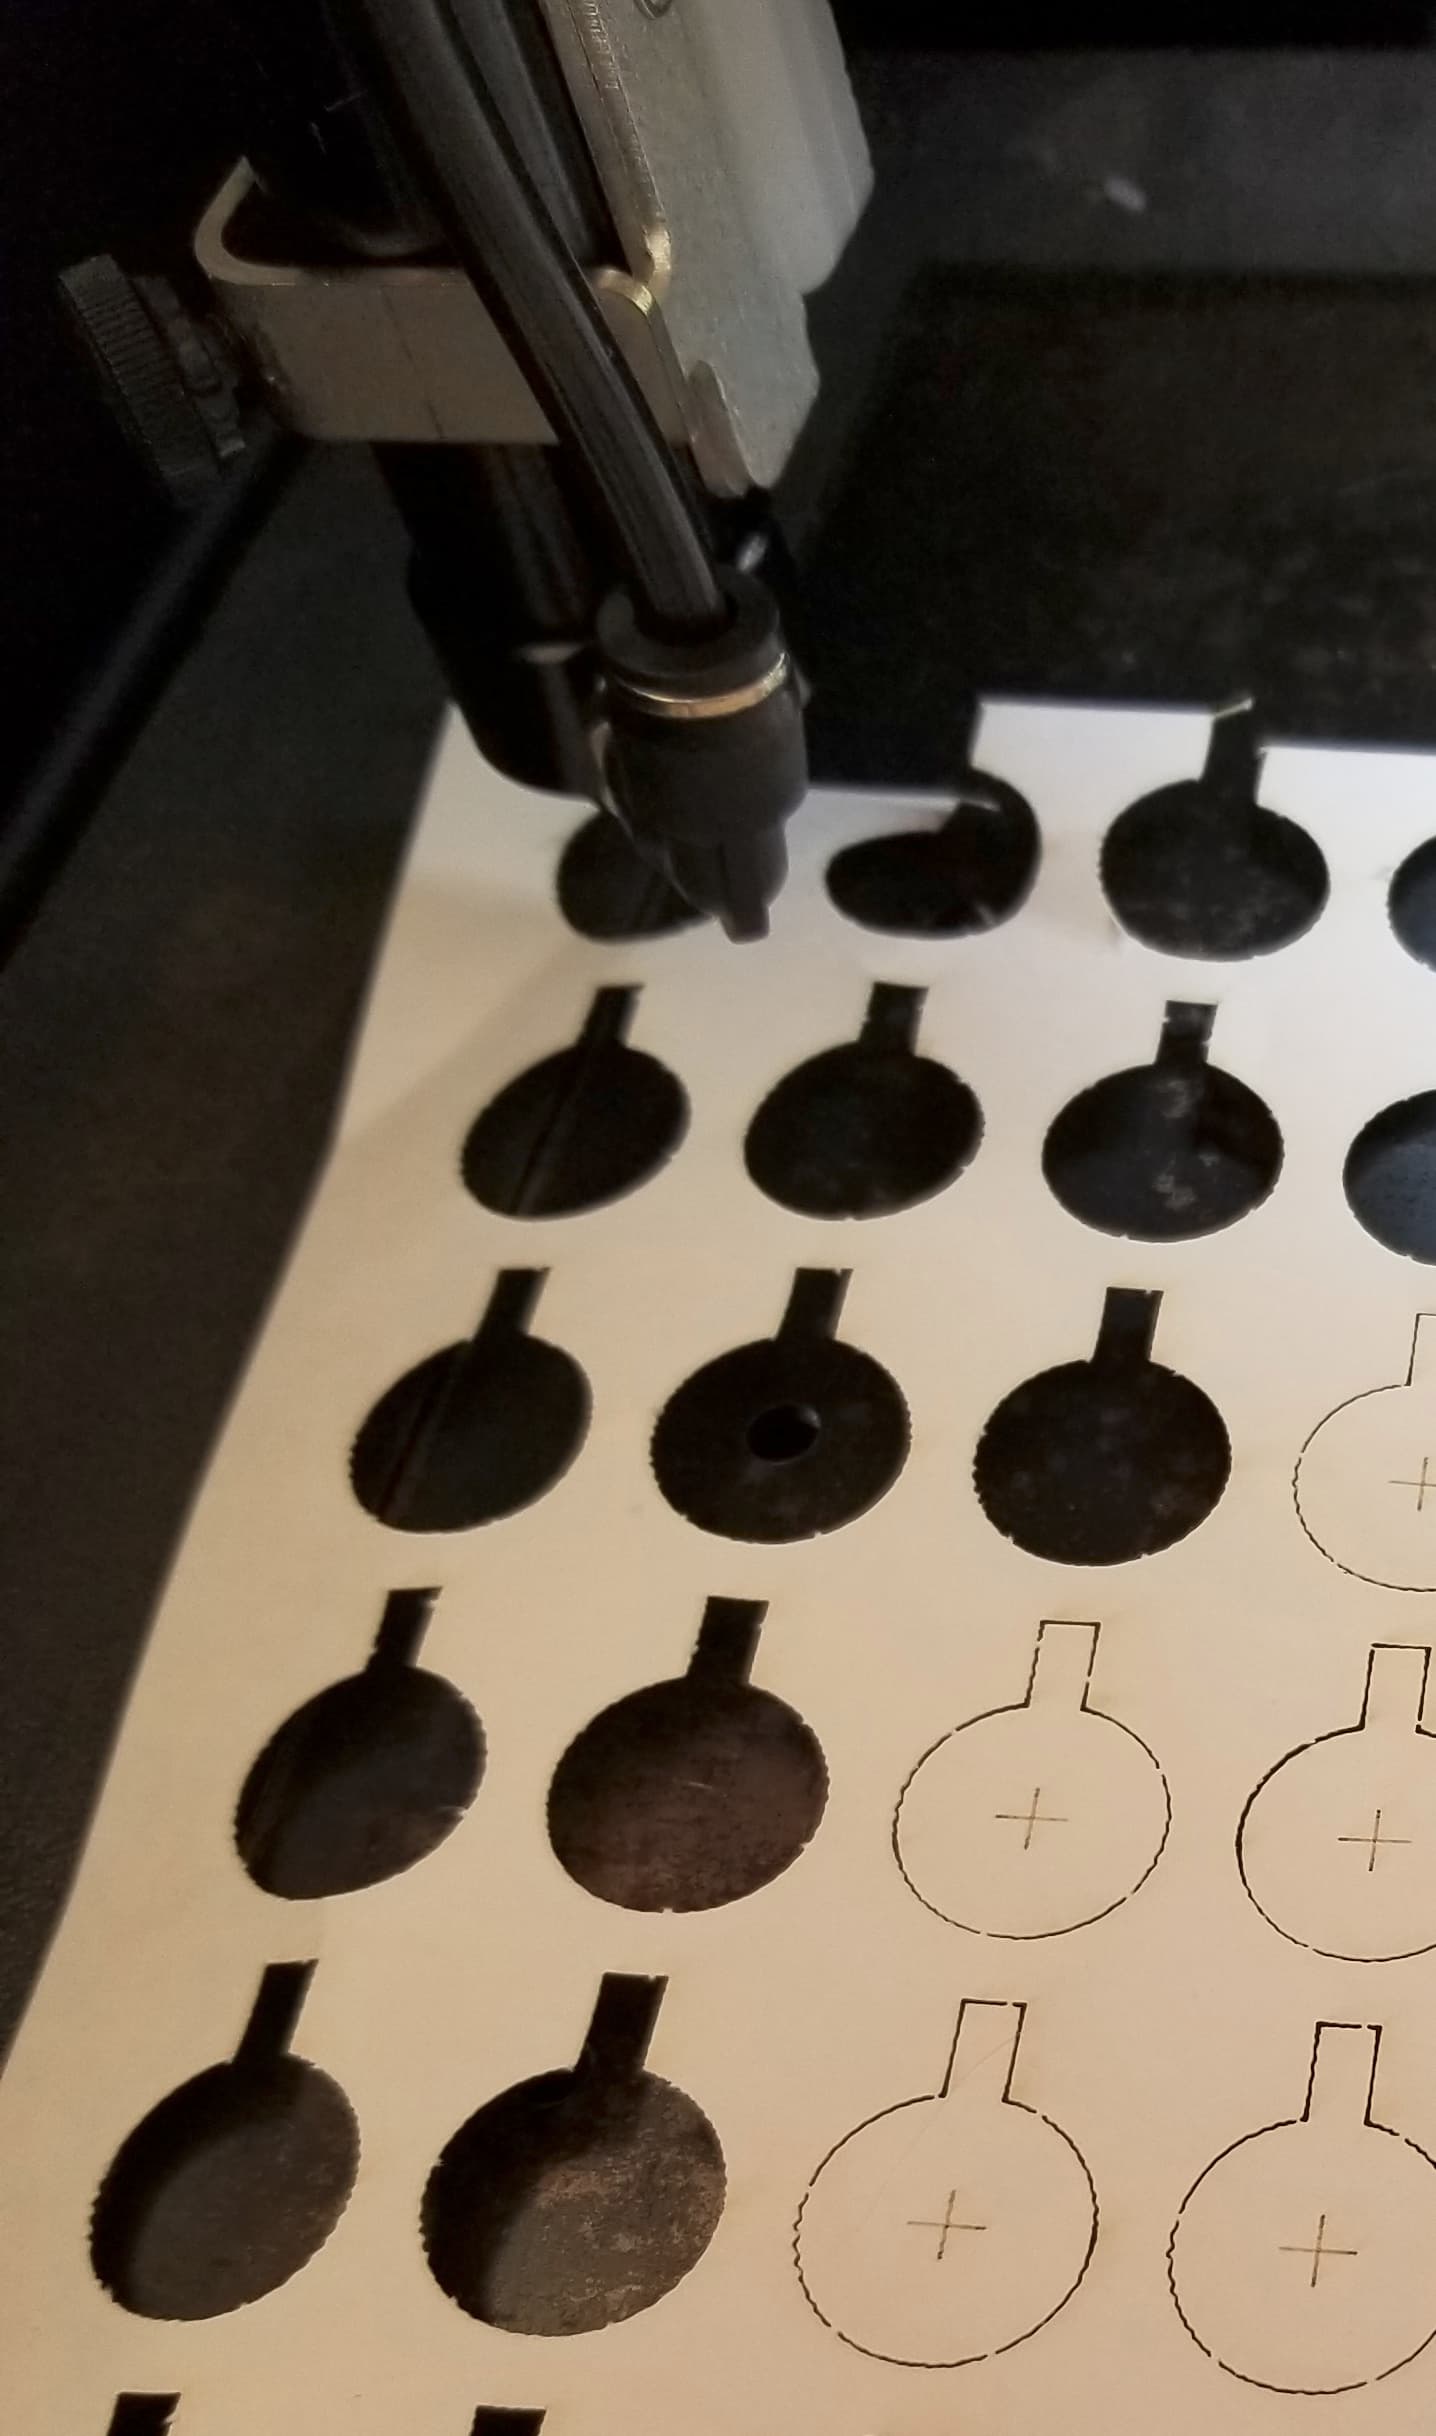
Might not help now if you can’t cut paper, but I make targets that are the diameter of the ‘hole’ going to the mirror.
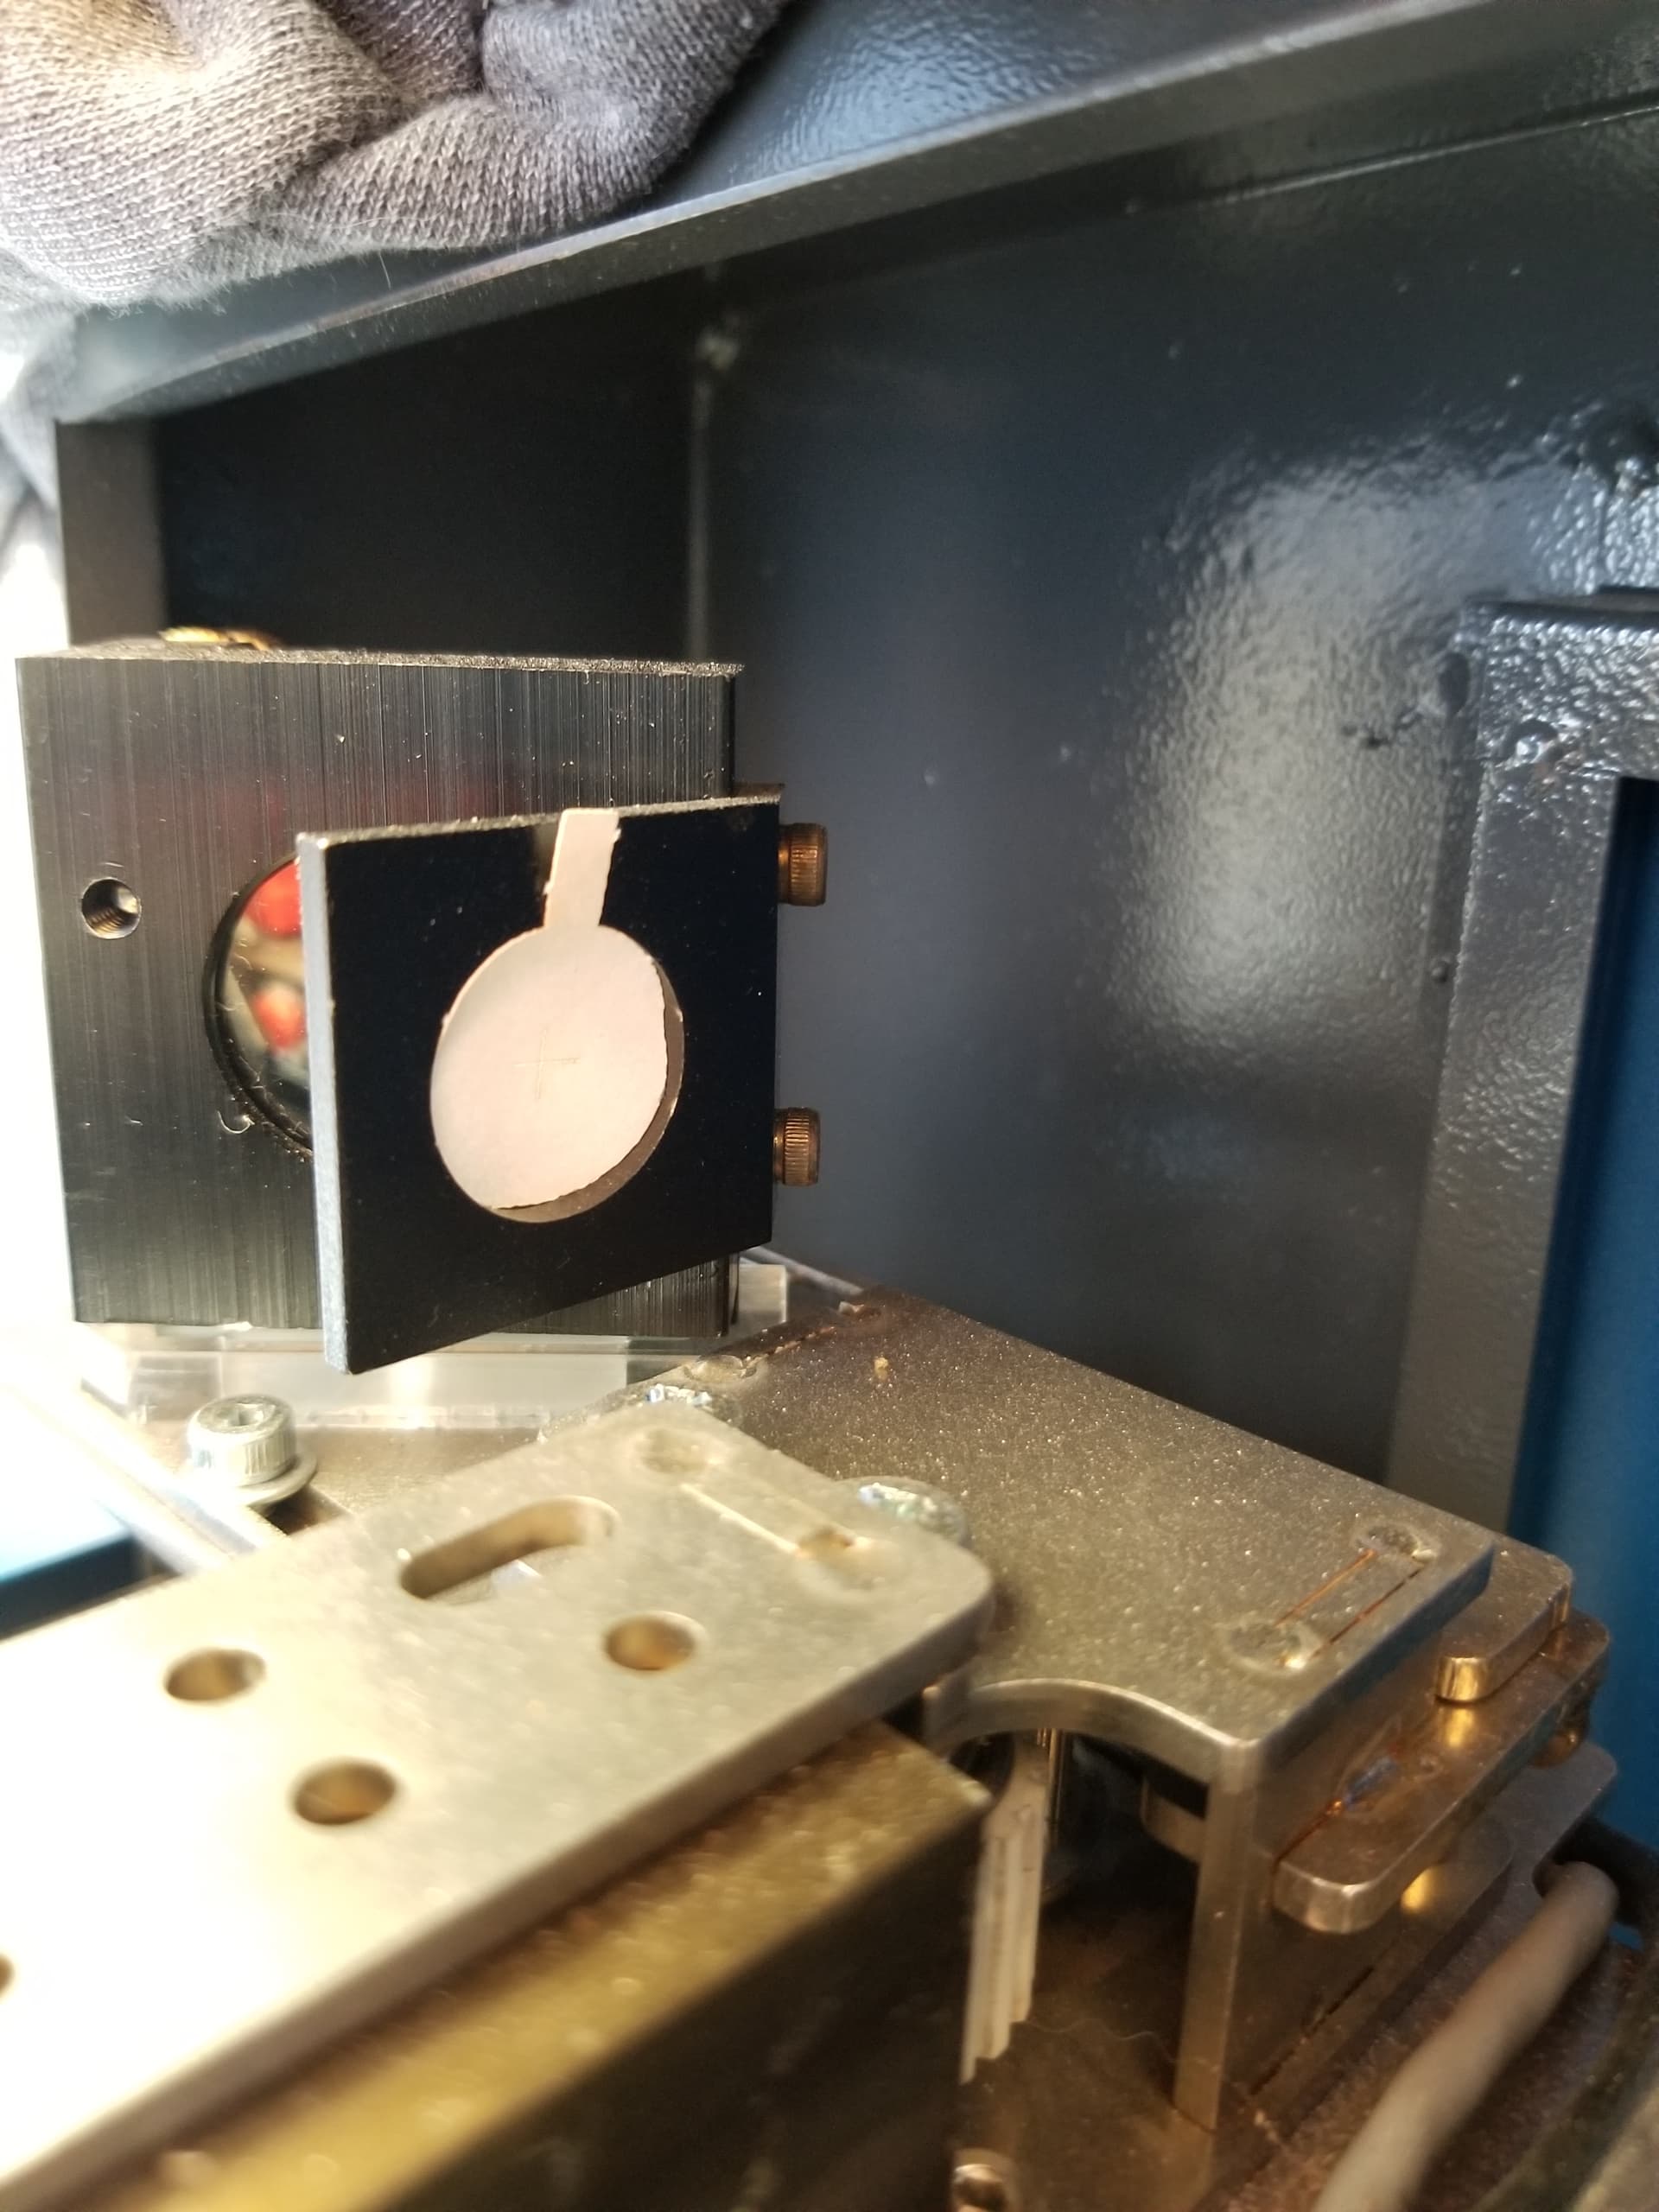
I cut mine out of water coloring paper…
Got feed up with ‘sticky’ stuff…
The problem with Chinese lasers are they lack adjustments that make the alignment process easier. Many of us have changed out the head (and other optical path parts) because of lack of adjustment with the original supplies head.
I can align mine from the tube to table in about 15 minutes or less.
Good luck
![]()
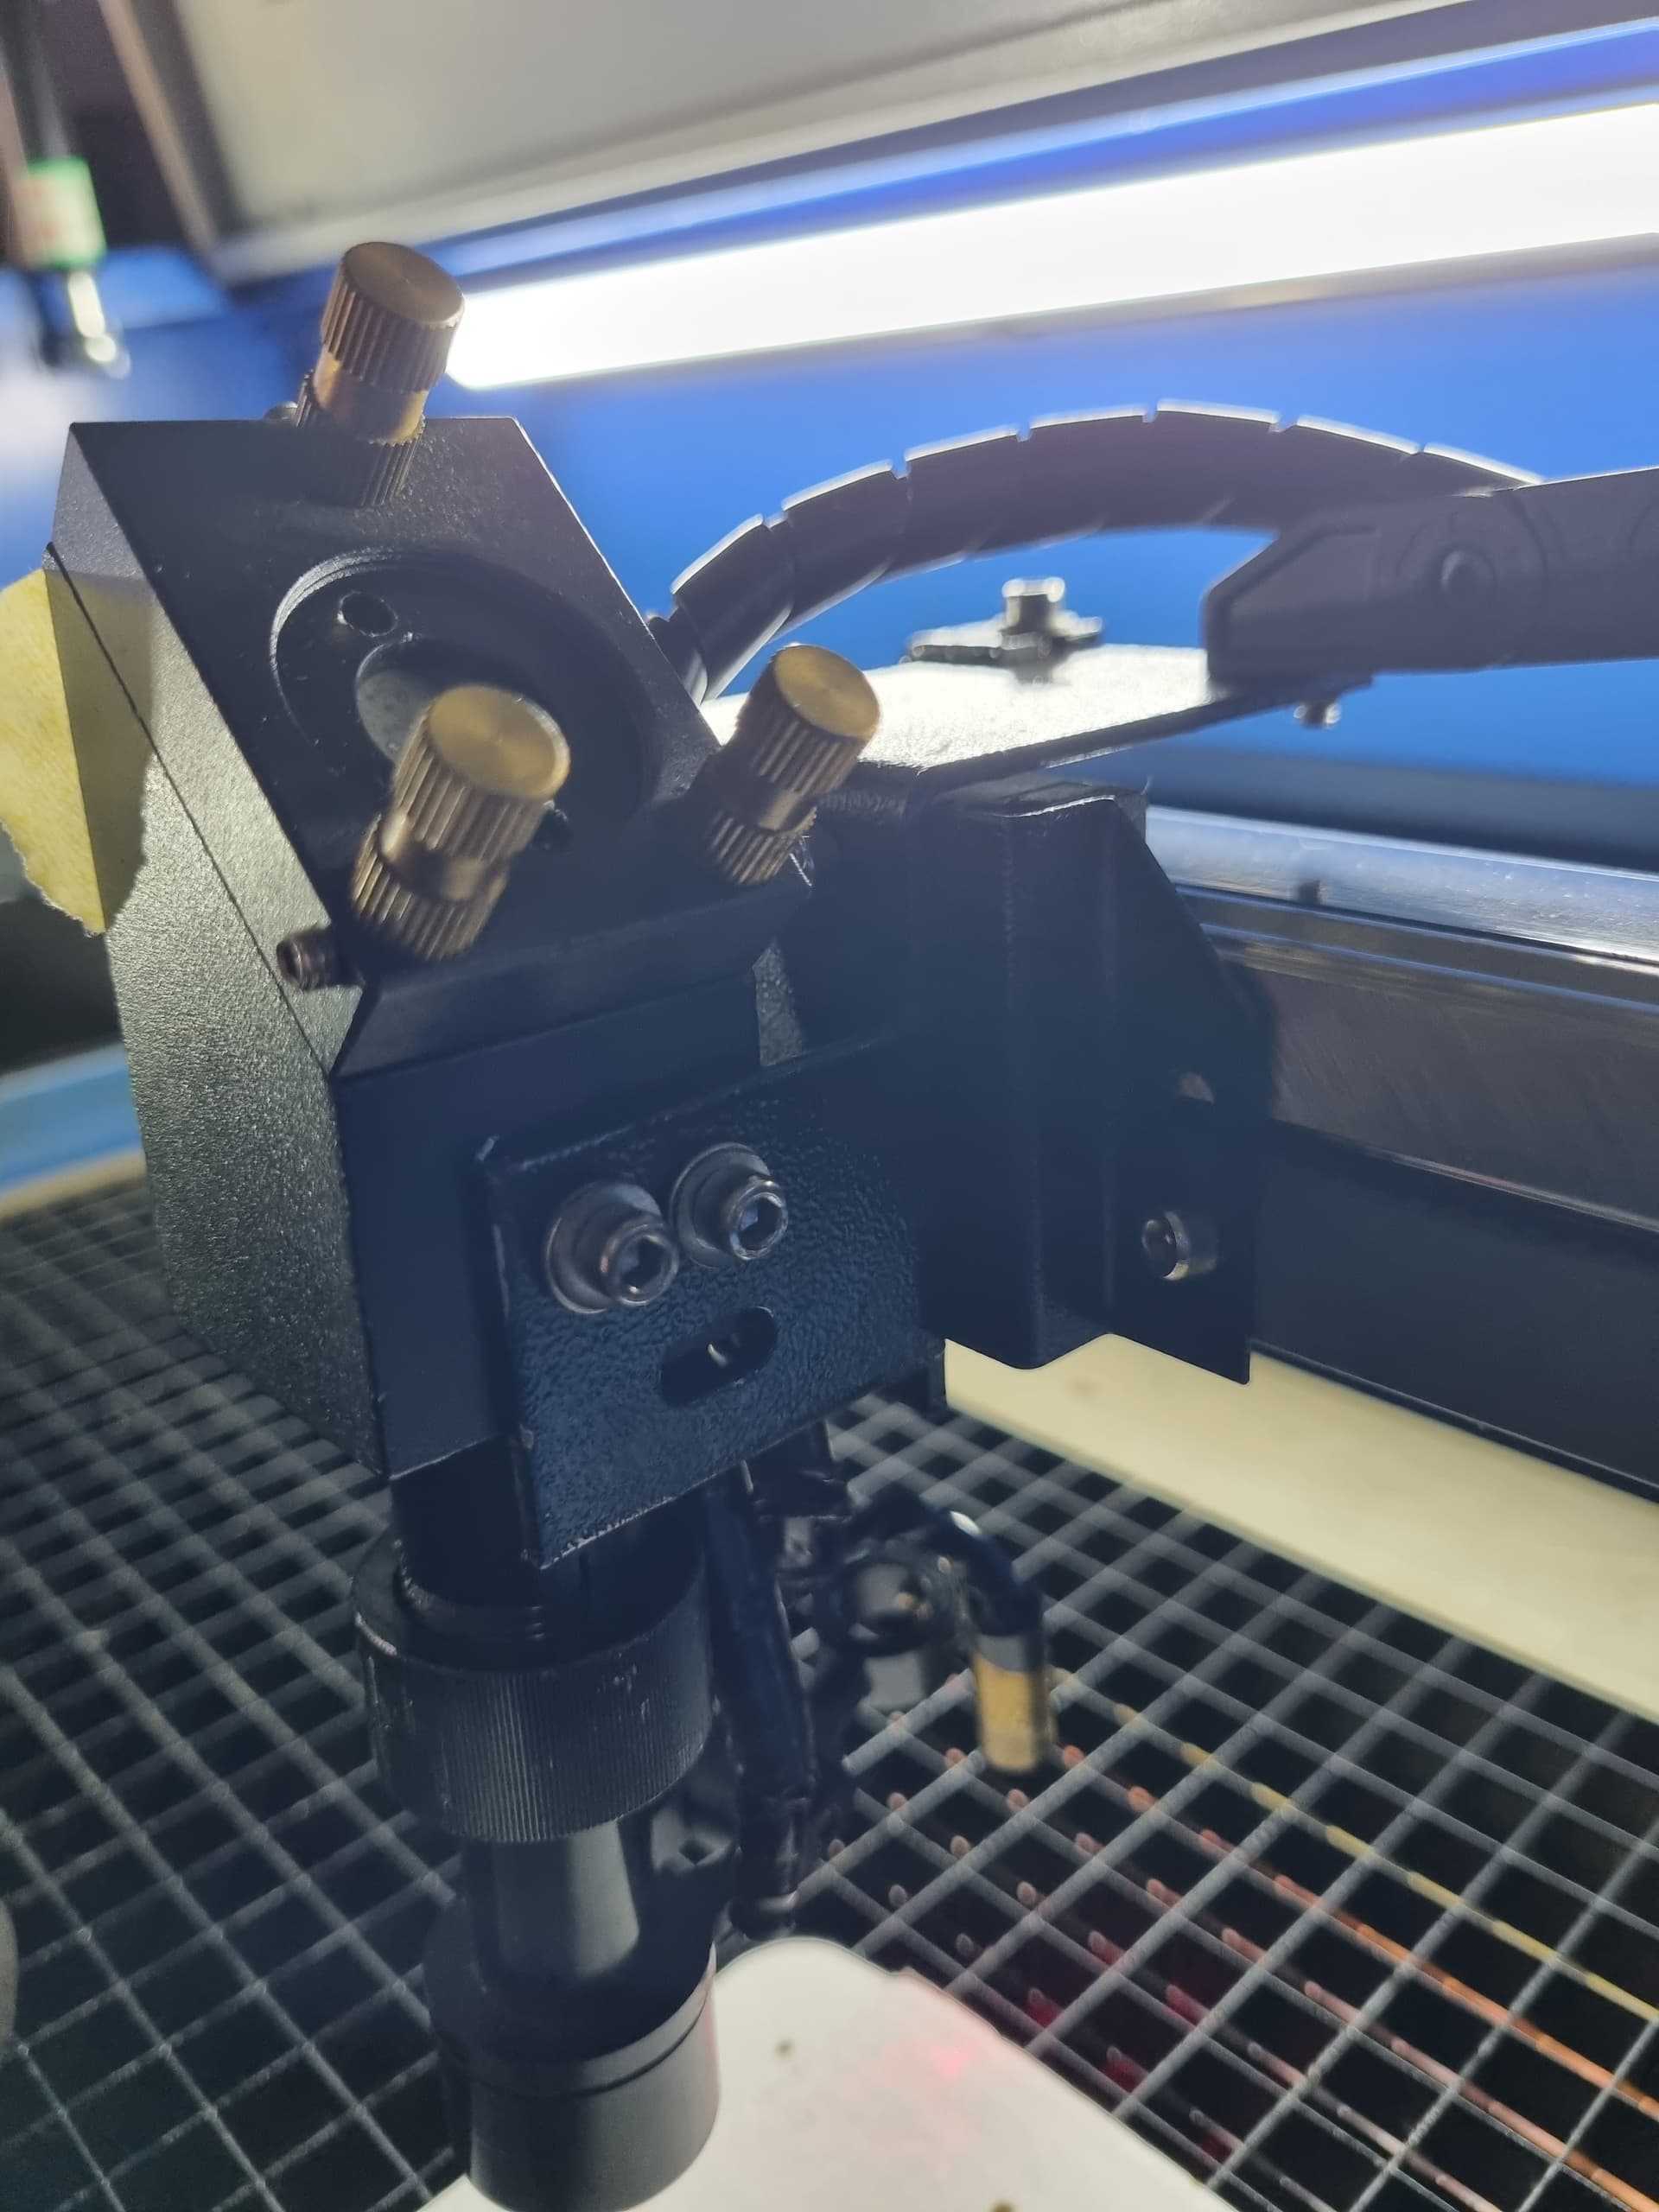
Still struggling to align…got it precise but just not centred…, can’t get it to move to the right… can i move the laser head to catch the laser using any of the bolts?
Damn i wish there was someone in Sydney that could come over and assist for a case of beer
After watching the video again i realised i got the same crap mirror that he said was near enough impossible to adjust. Im thinking of replacing it with the following… with your experience would you recommend changing mirror 2 only or do i need to change the head also
What is precise? Precise would be centered, at least to me…
You can’t move the head very easily in the Y axes, since it and m2 are connected to the Y carriage.
If you look at the picture of the head with tape… You can move where it hits the head in the Y direction by moving m2, in this case towards the front. That will move your ‘dot’ on the head more towards the front.
The Z direction on the head will be a problem, since there is no Z adjustment on these.
Keep in mind that the center of the hole in the head may not be center of the mirror/optical path.
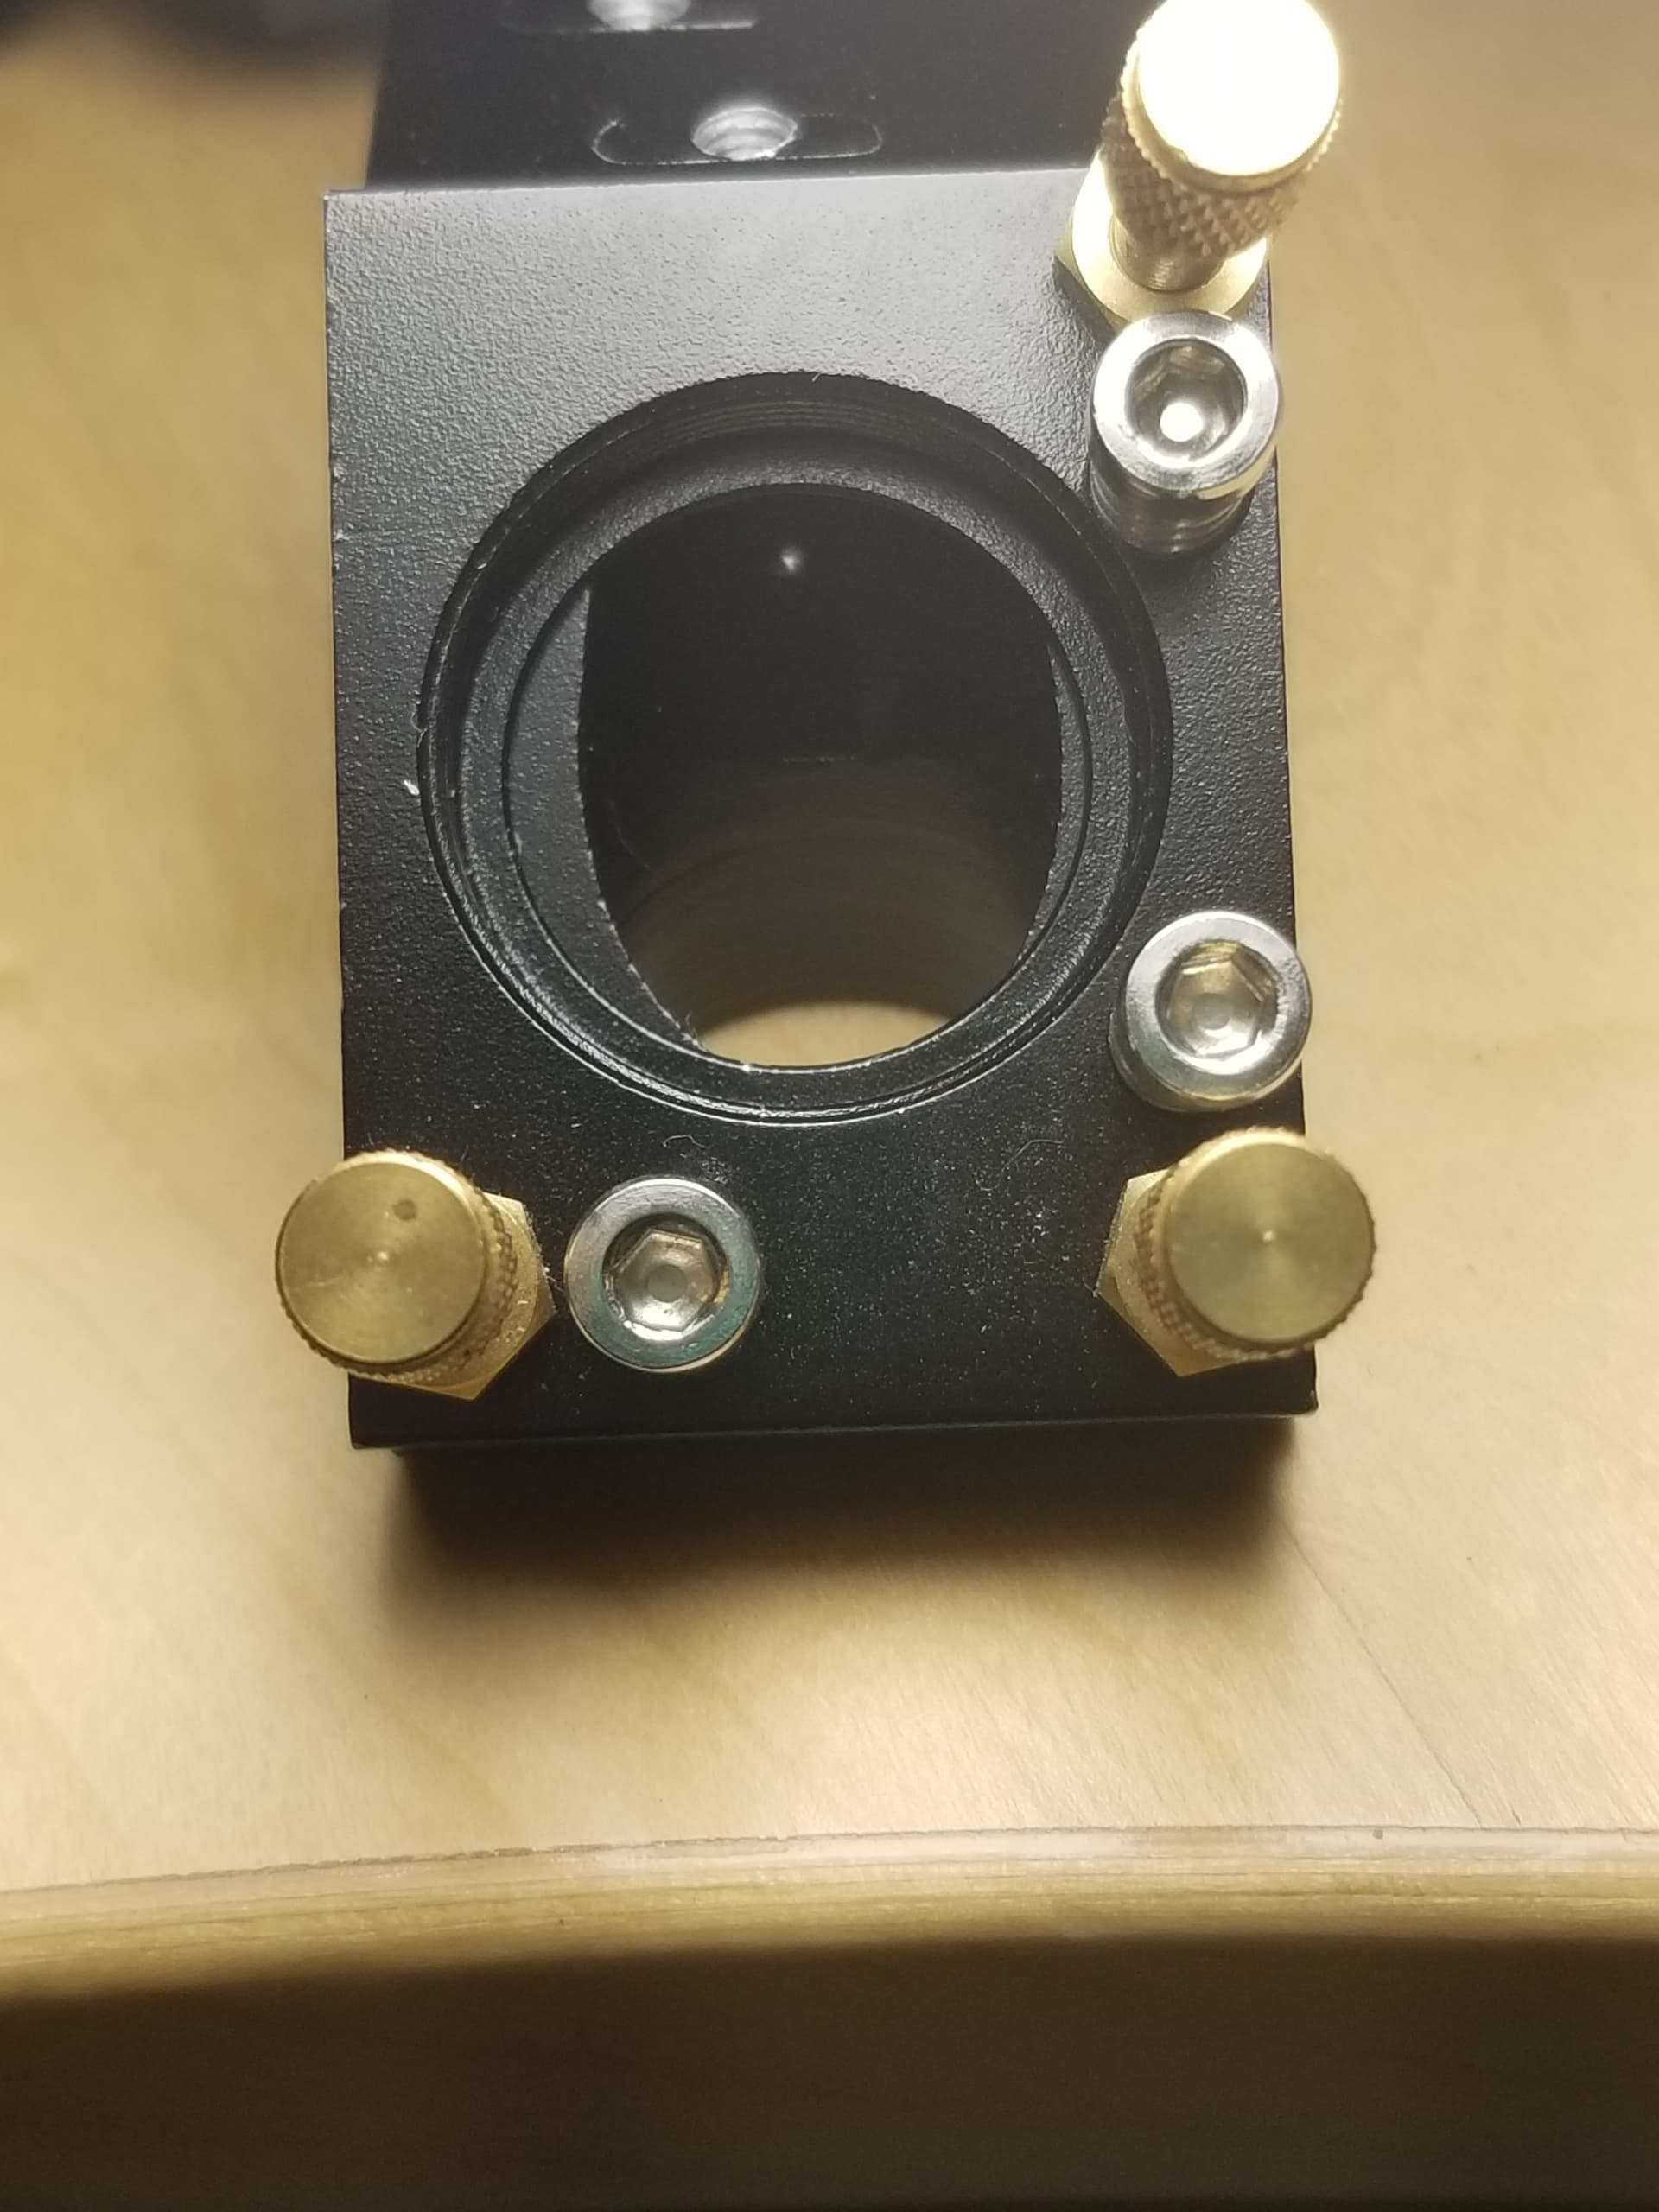
This is my original head… it’s clearly not centered…
This think worked before tube replacement, and you replaced it with the same diameter tube… I’d think it’d work to some degree.
How is m1 and m2 alignment? Haven’t see a photo yet…
If you are going to move a mirror that will mess up it’s 45 deg, you need to figure some way to ensure that’s it’s at 45 degrees when you move it. If not it will complicate your alignment. I use a small speed square that will fit in the machine. But anything for that angle will work. Try not to ‘eyeball’ it if possible…
![]()
Thanks for your help, im going back to the beginning being the tube and m1 tonight to make sure it is perfect and make my way from there… damn never thought it would be this time consuming… lucky this is just a hobby and not a business ![]() … will post photos once i get to the rear of the machine… location is difficult as it is against a wall
… will post photos once i get to the rear of the machine… location is difficult as it is against a wall