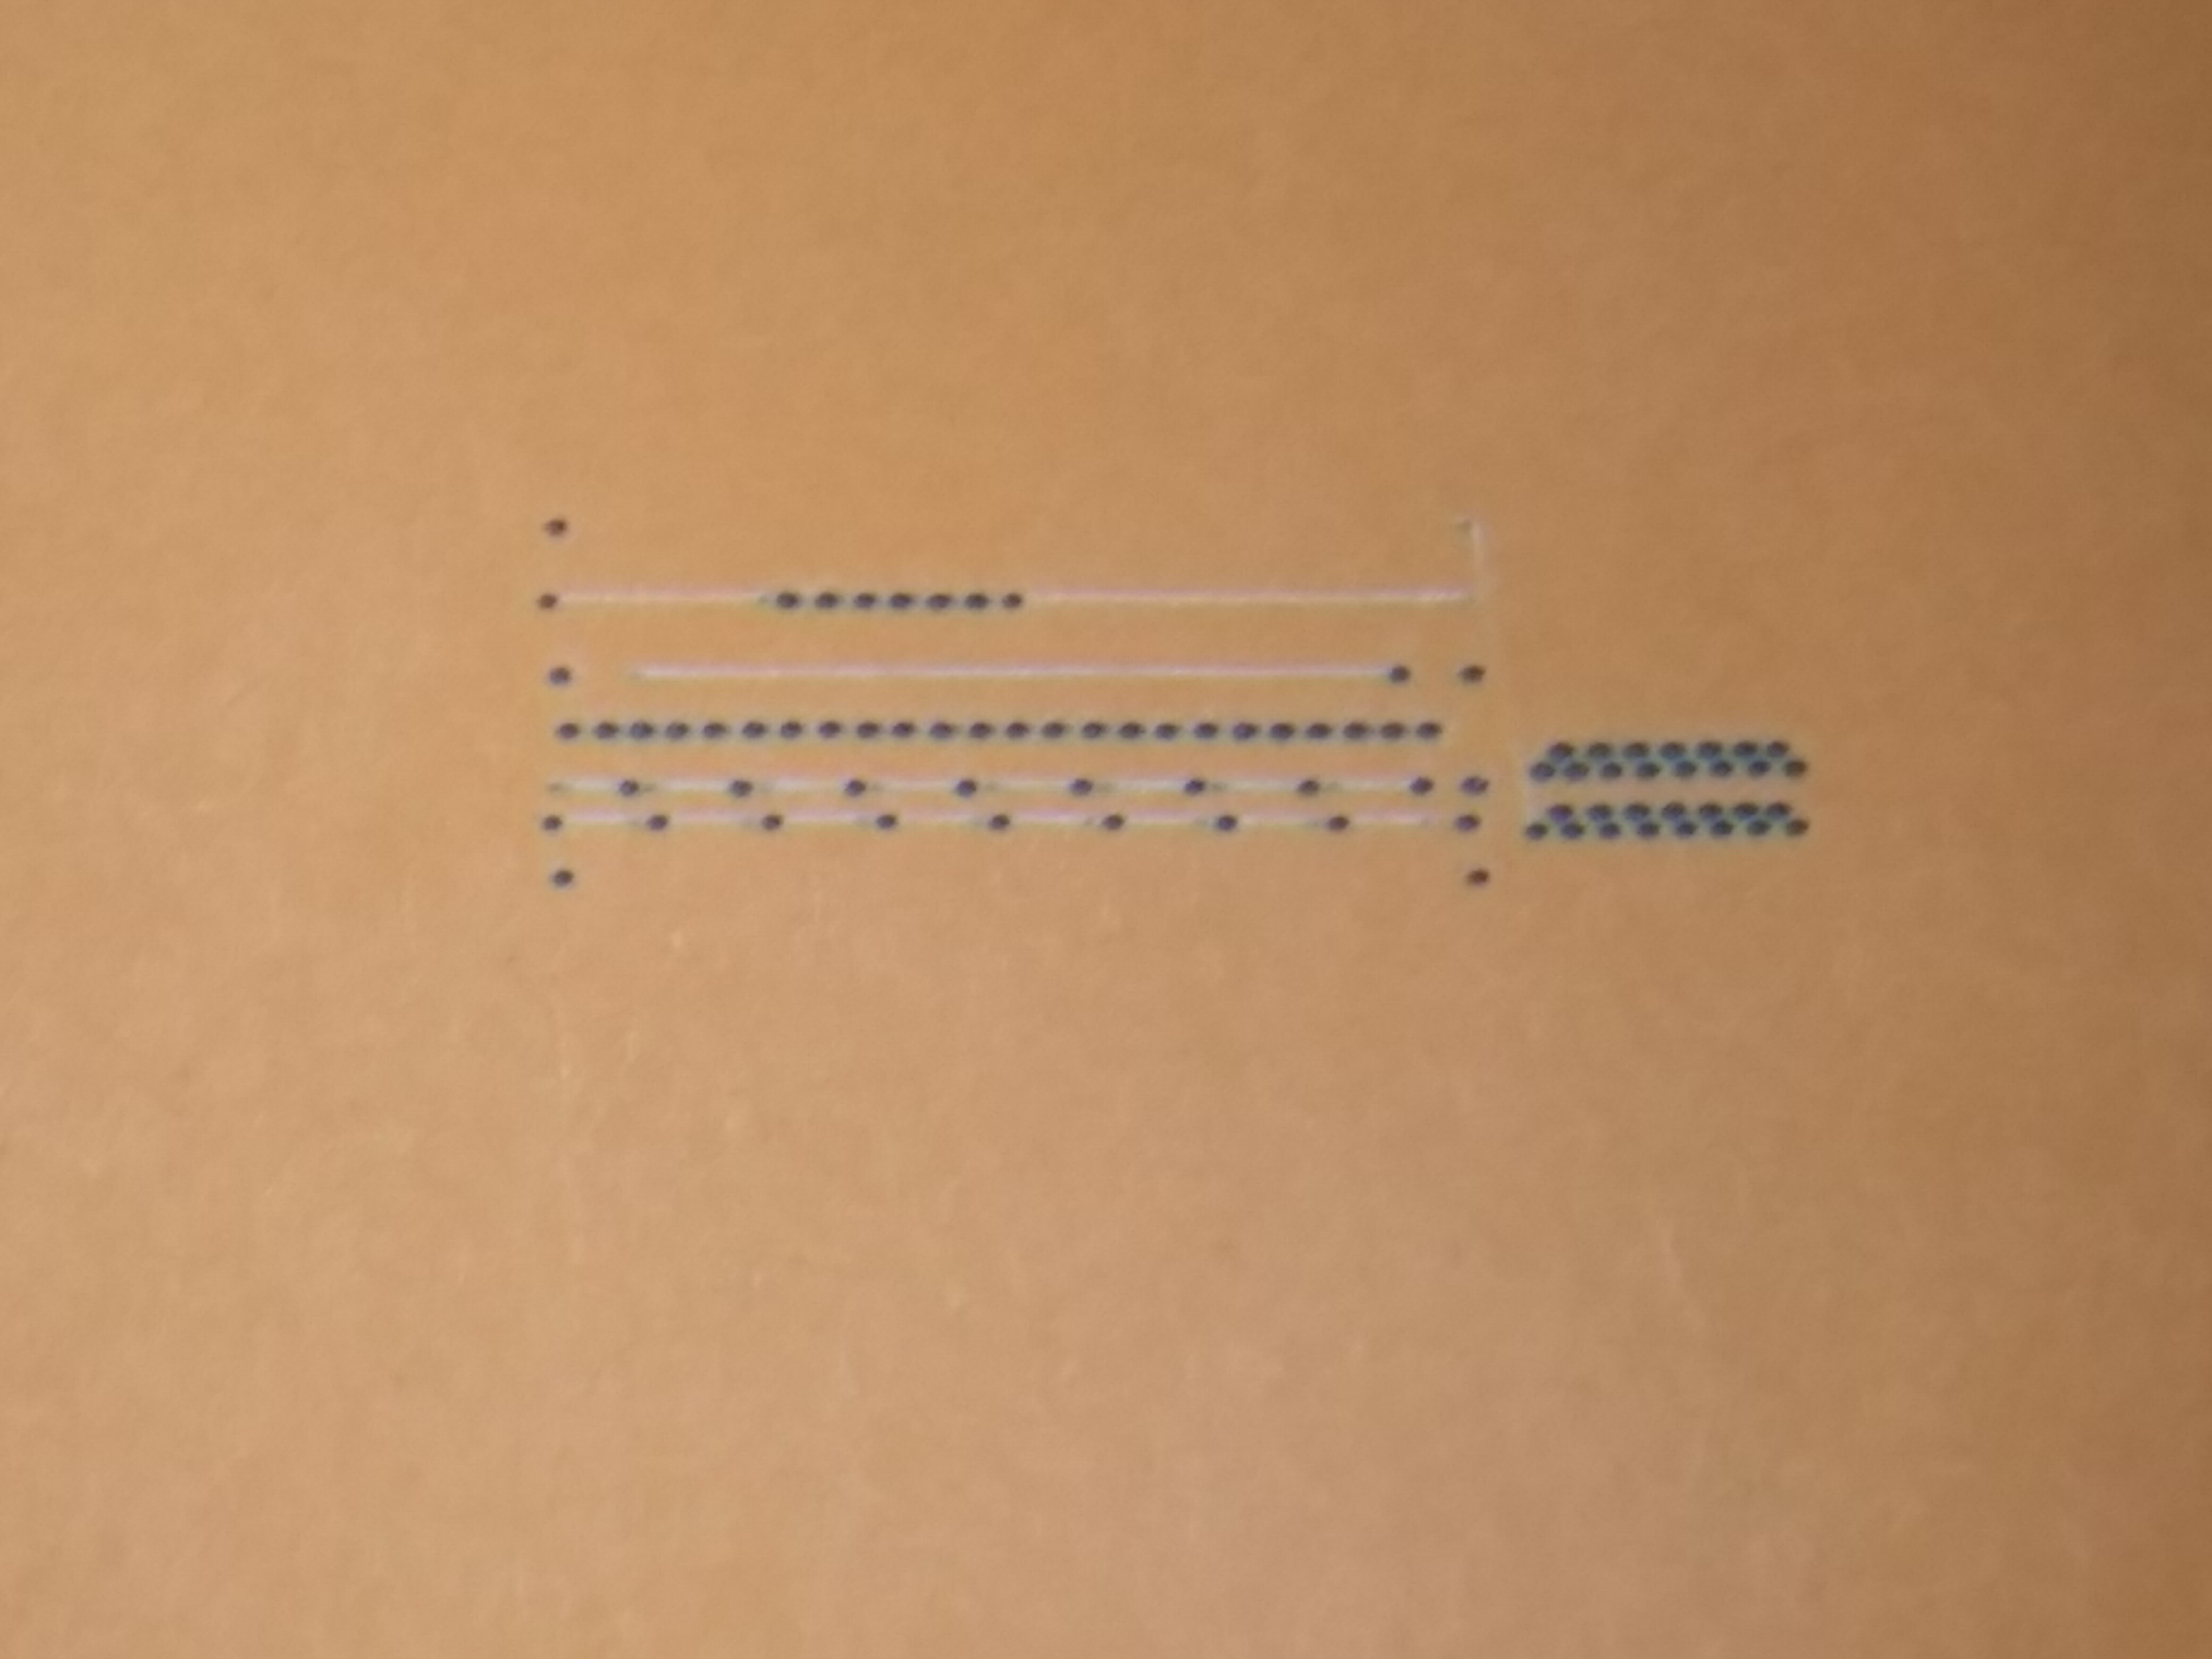
I have a bachin laser and when I put dots that have space in between they are burned correctly but when it is a continuous line it is not.
If I increase the power the dots get burned more and get bigger, same as if I keep the power and reduce the speed. I have tried with 66mm/sec & 15% power on paper and moving the values but can’t find a balance yet. Any idea how to fix it?
Grbl 1.1f [’$’ for help]
[MSG:’$H’|’$X’ to unlock]
[MSG:Caution: Unlocked]
ok
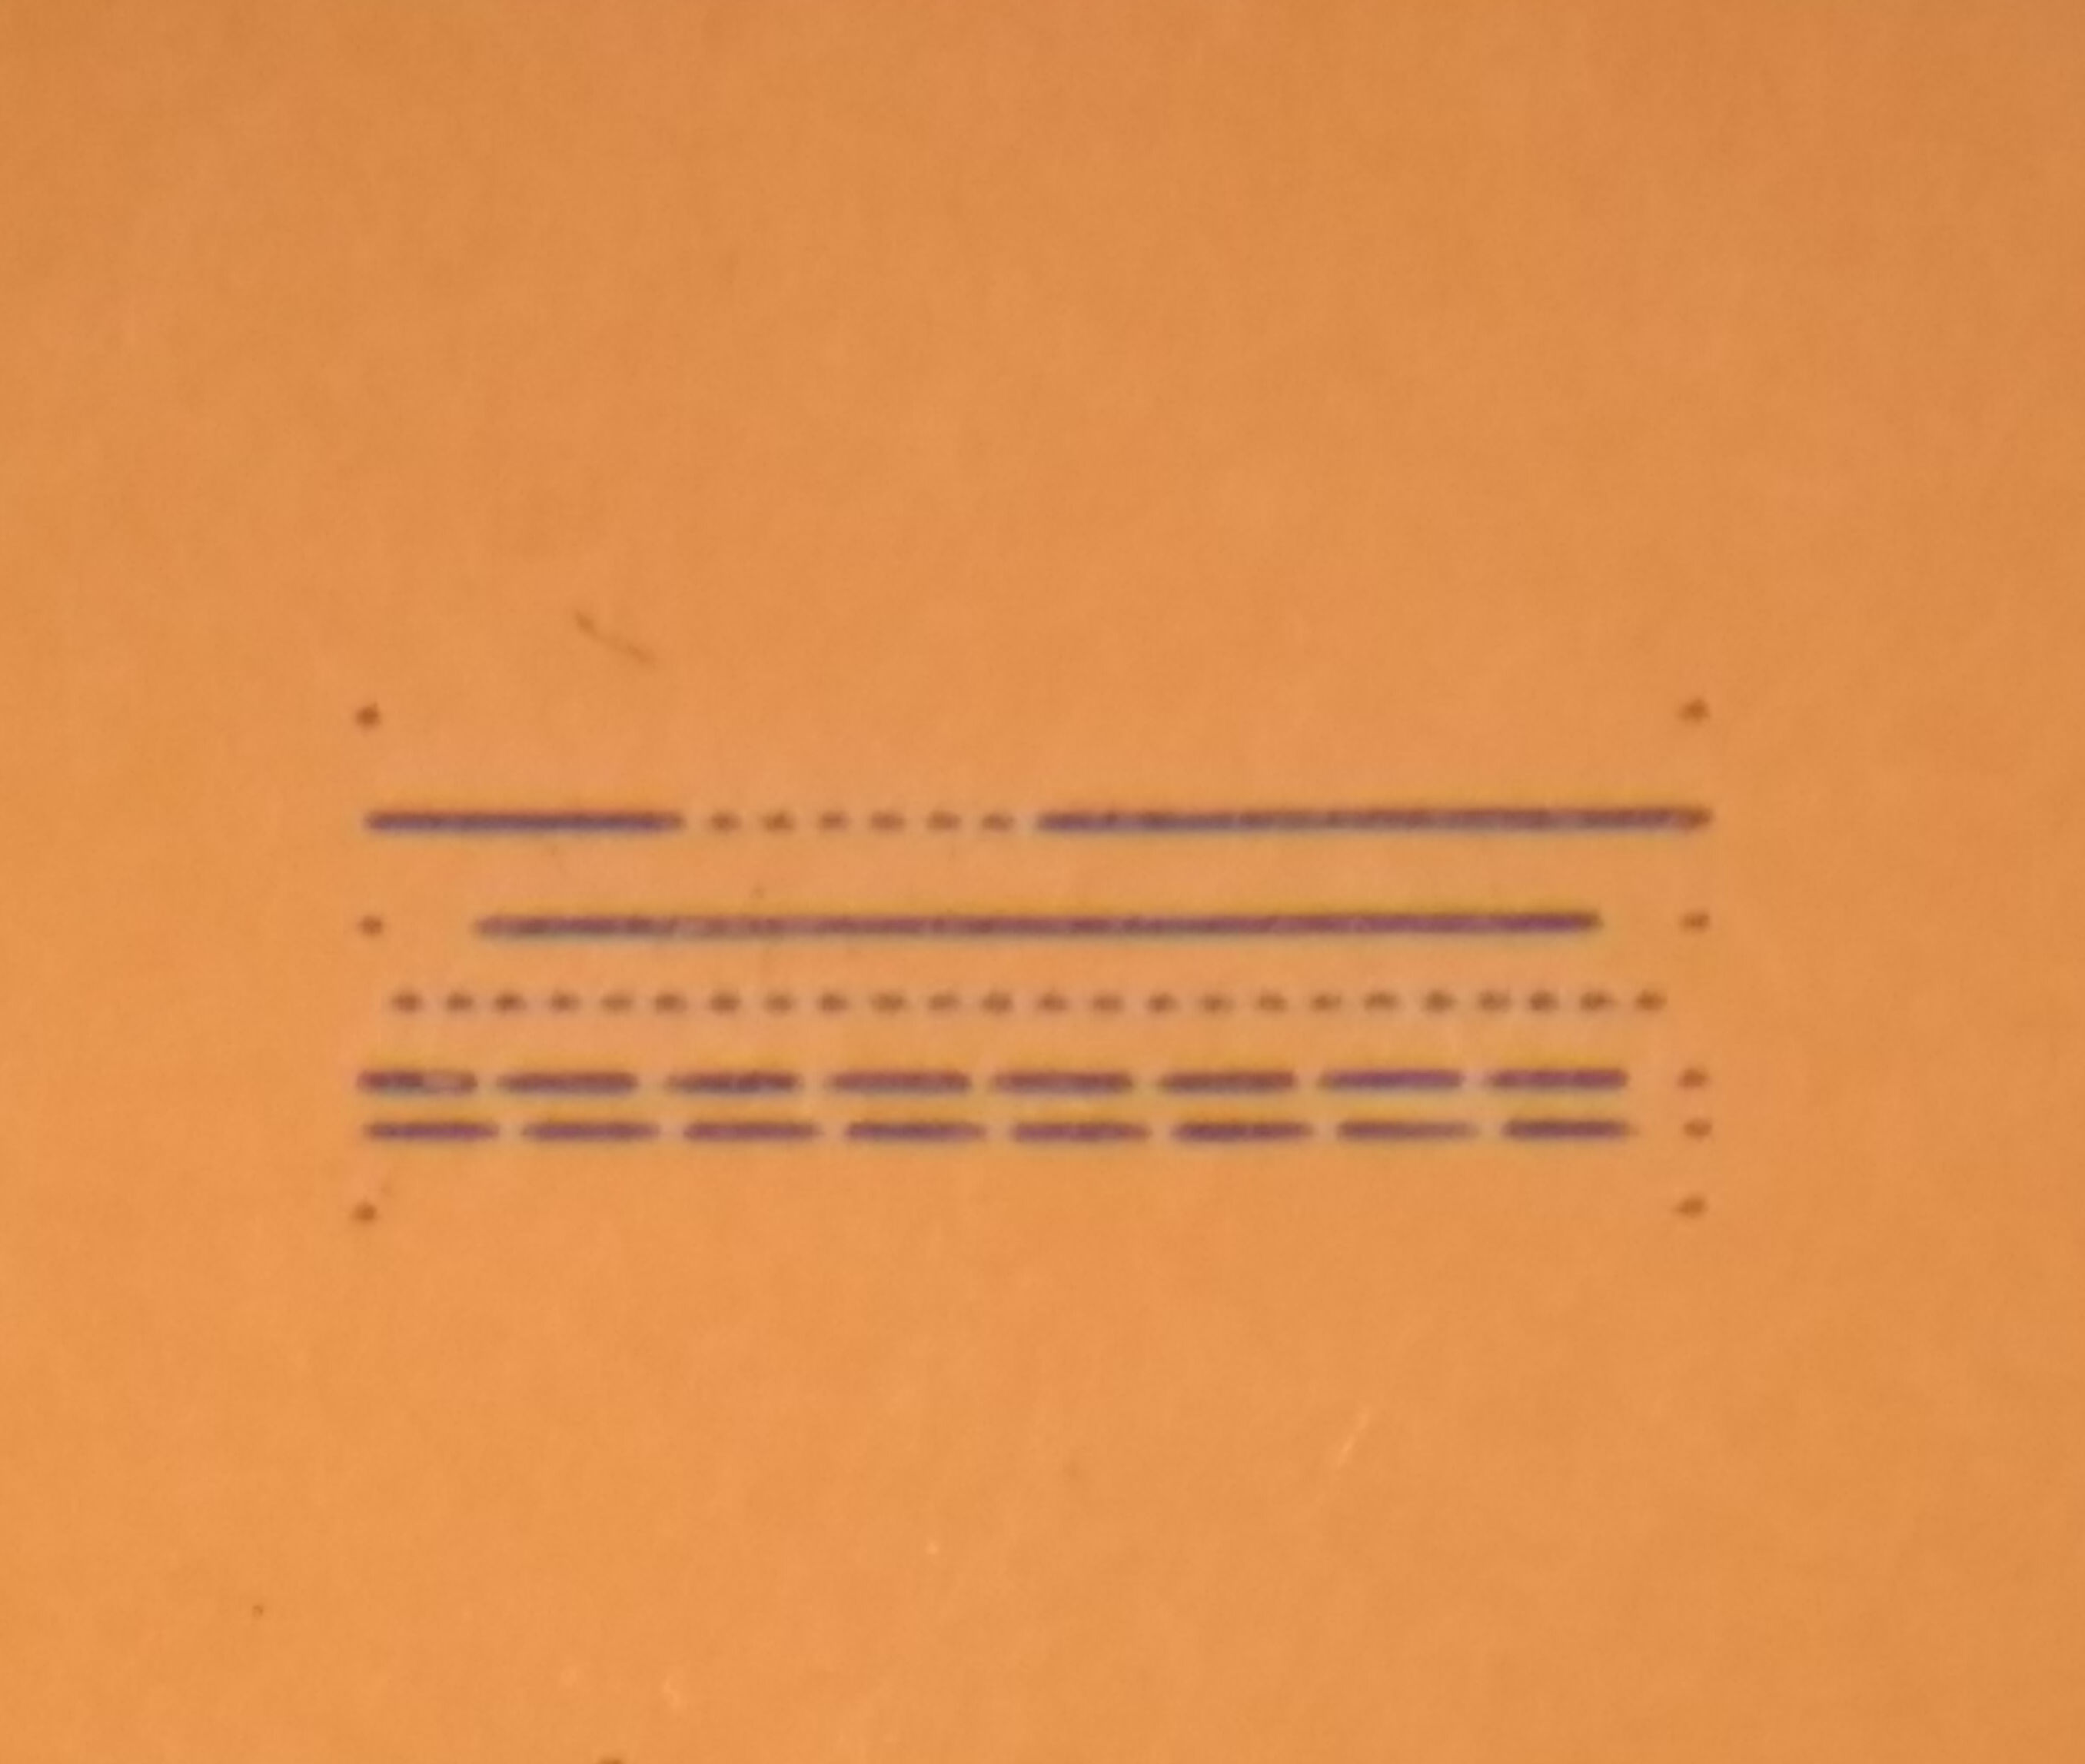
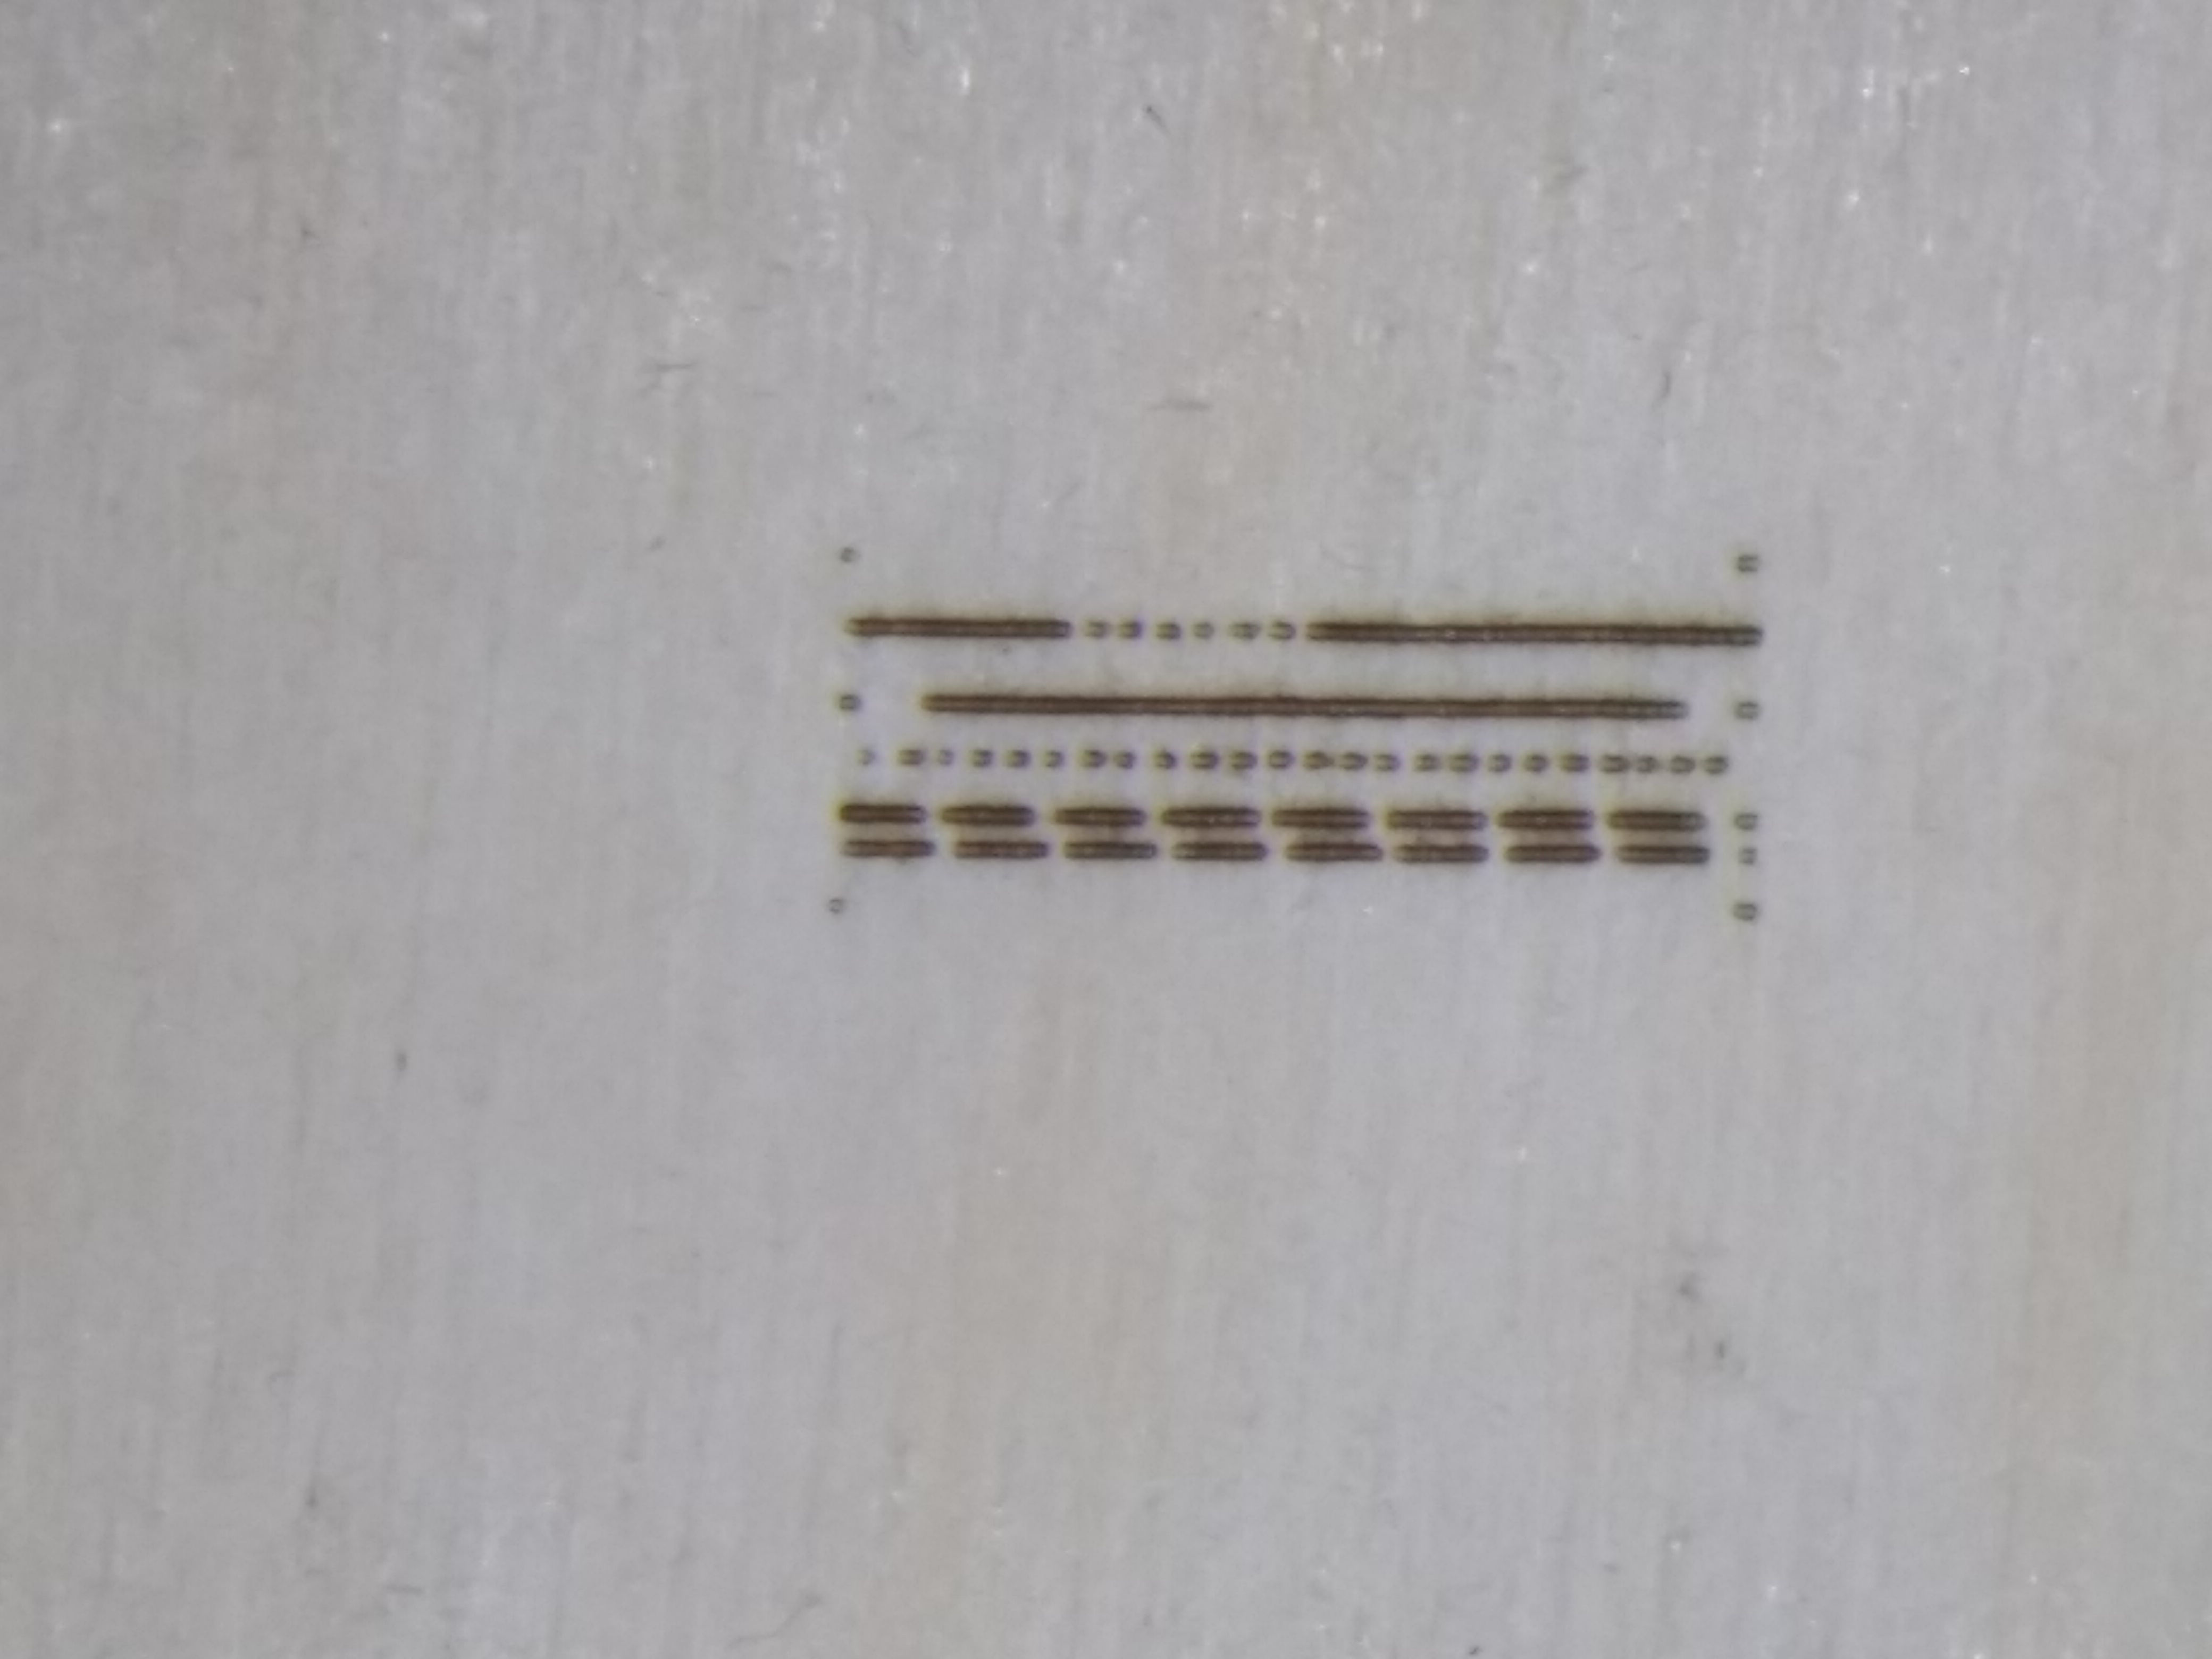
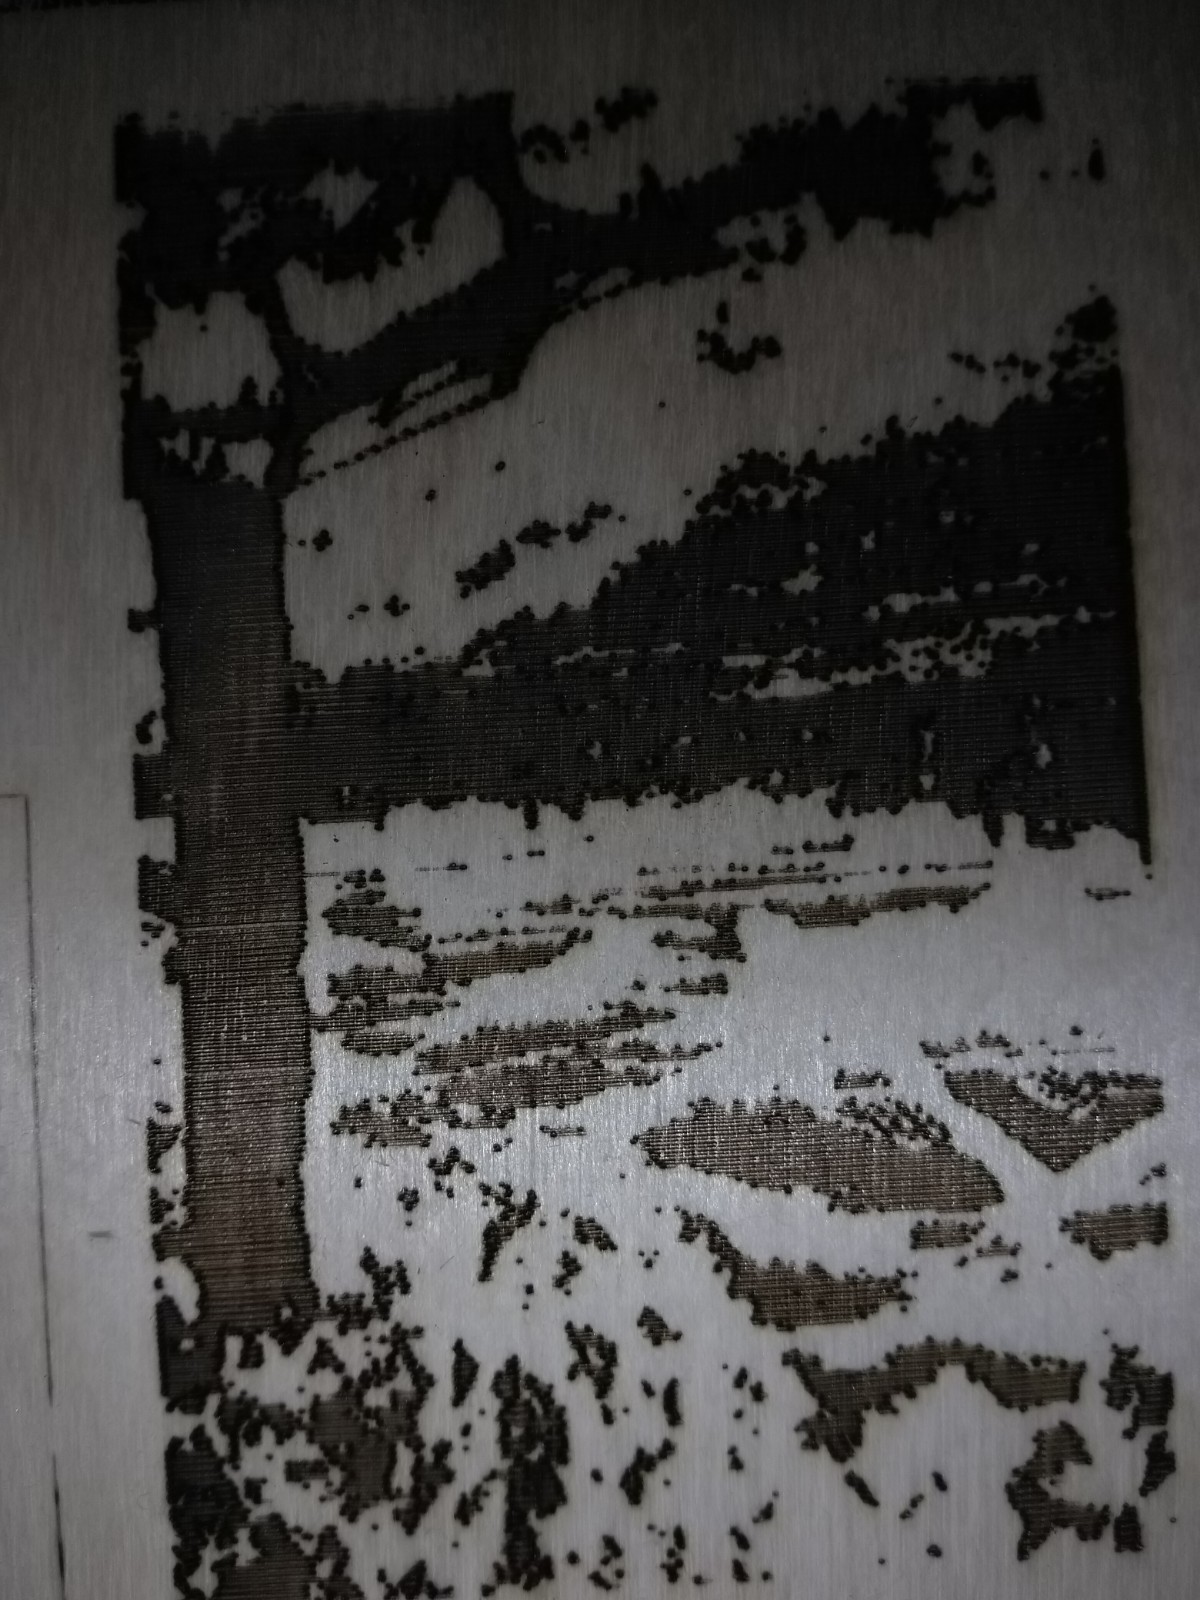
After a lot of playing I managed to have a good print in paper and then tried on wood. For some reason on the wood the issue was inverse, the lines at the beginning were very strong but the dots were not burned. Anyways here is how they look.
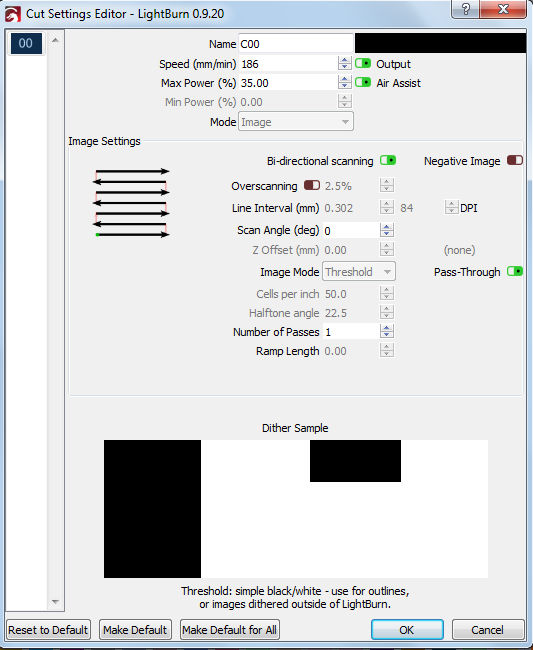
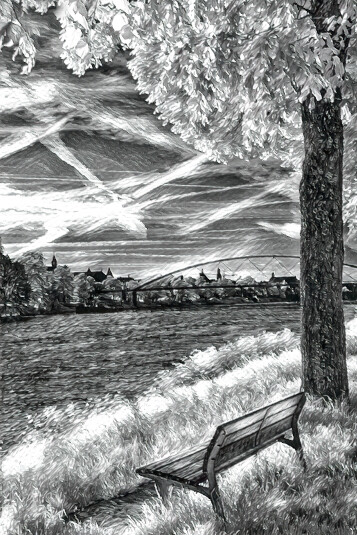
Using the same settings that I used to print on my pattern in wood I tried to print a picture using passthrough, as I already changed the DPI considering the size of the laser dots (0.3mm). The process is just burning the wood with no as they appear on the screen. Attached the settings and the pictures
First, change $32 to 1 (enable laser mode) - that will shut off the laser between engraving lines. Enable overscanning, then turn off pass-through for images, as that is telling LightBurn that your image is 1-bit (simple black and white) and has already been dithered and processed, and needs to be sent exactly as it is with simple thresholding.
Thanks for the advise, I tried but didn’t look fine. I tried with a 300dpi image and also 84dpi but none look good. I used Jarvis. I didn’t want it to finish so put the start
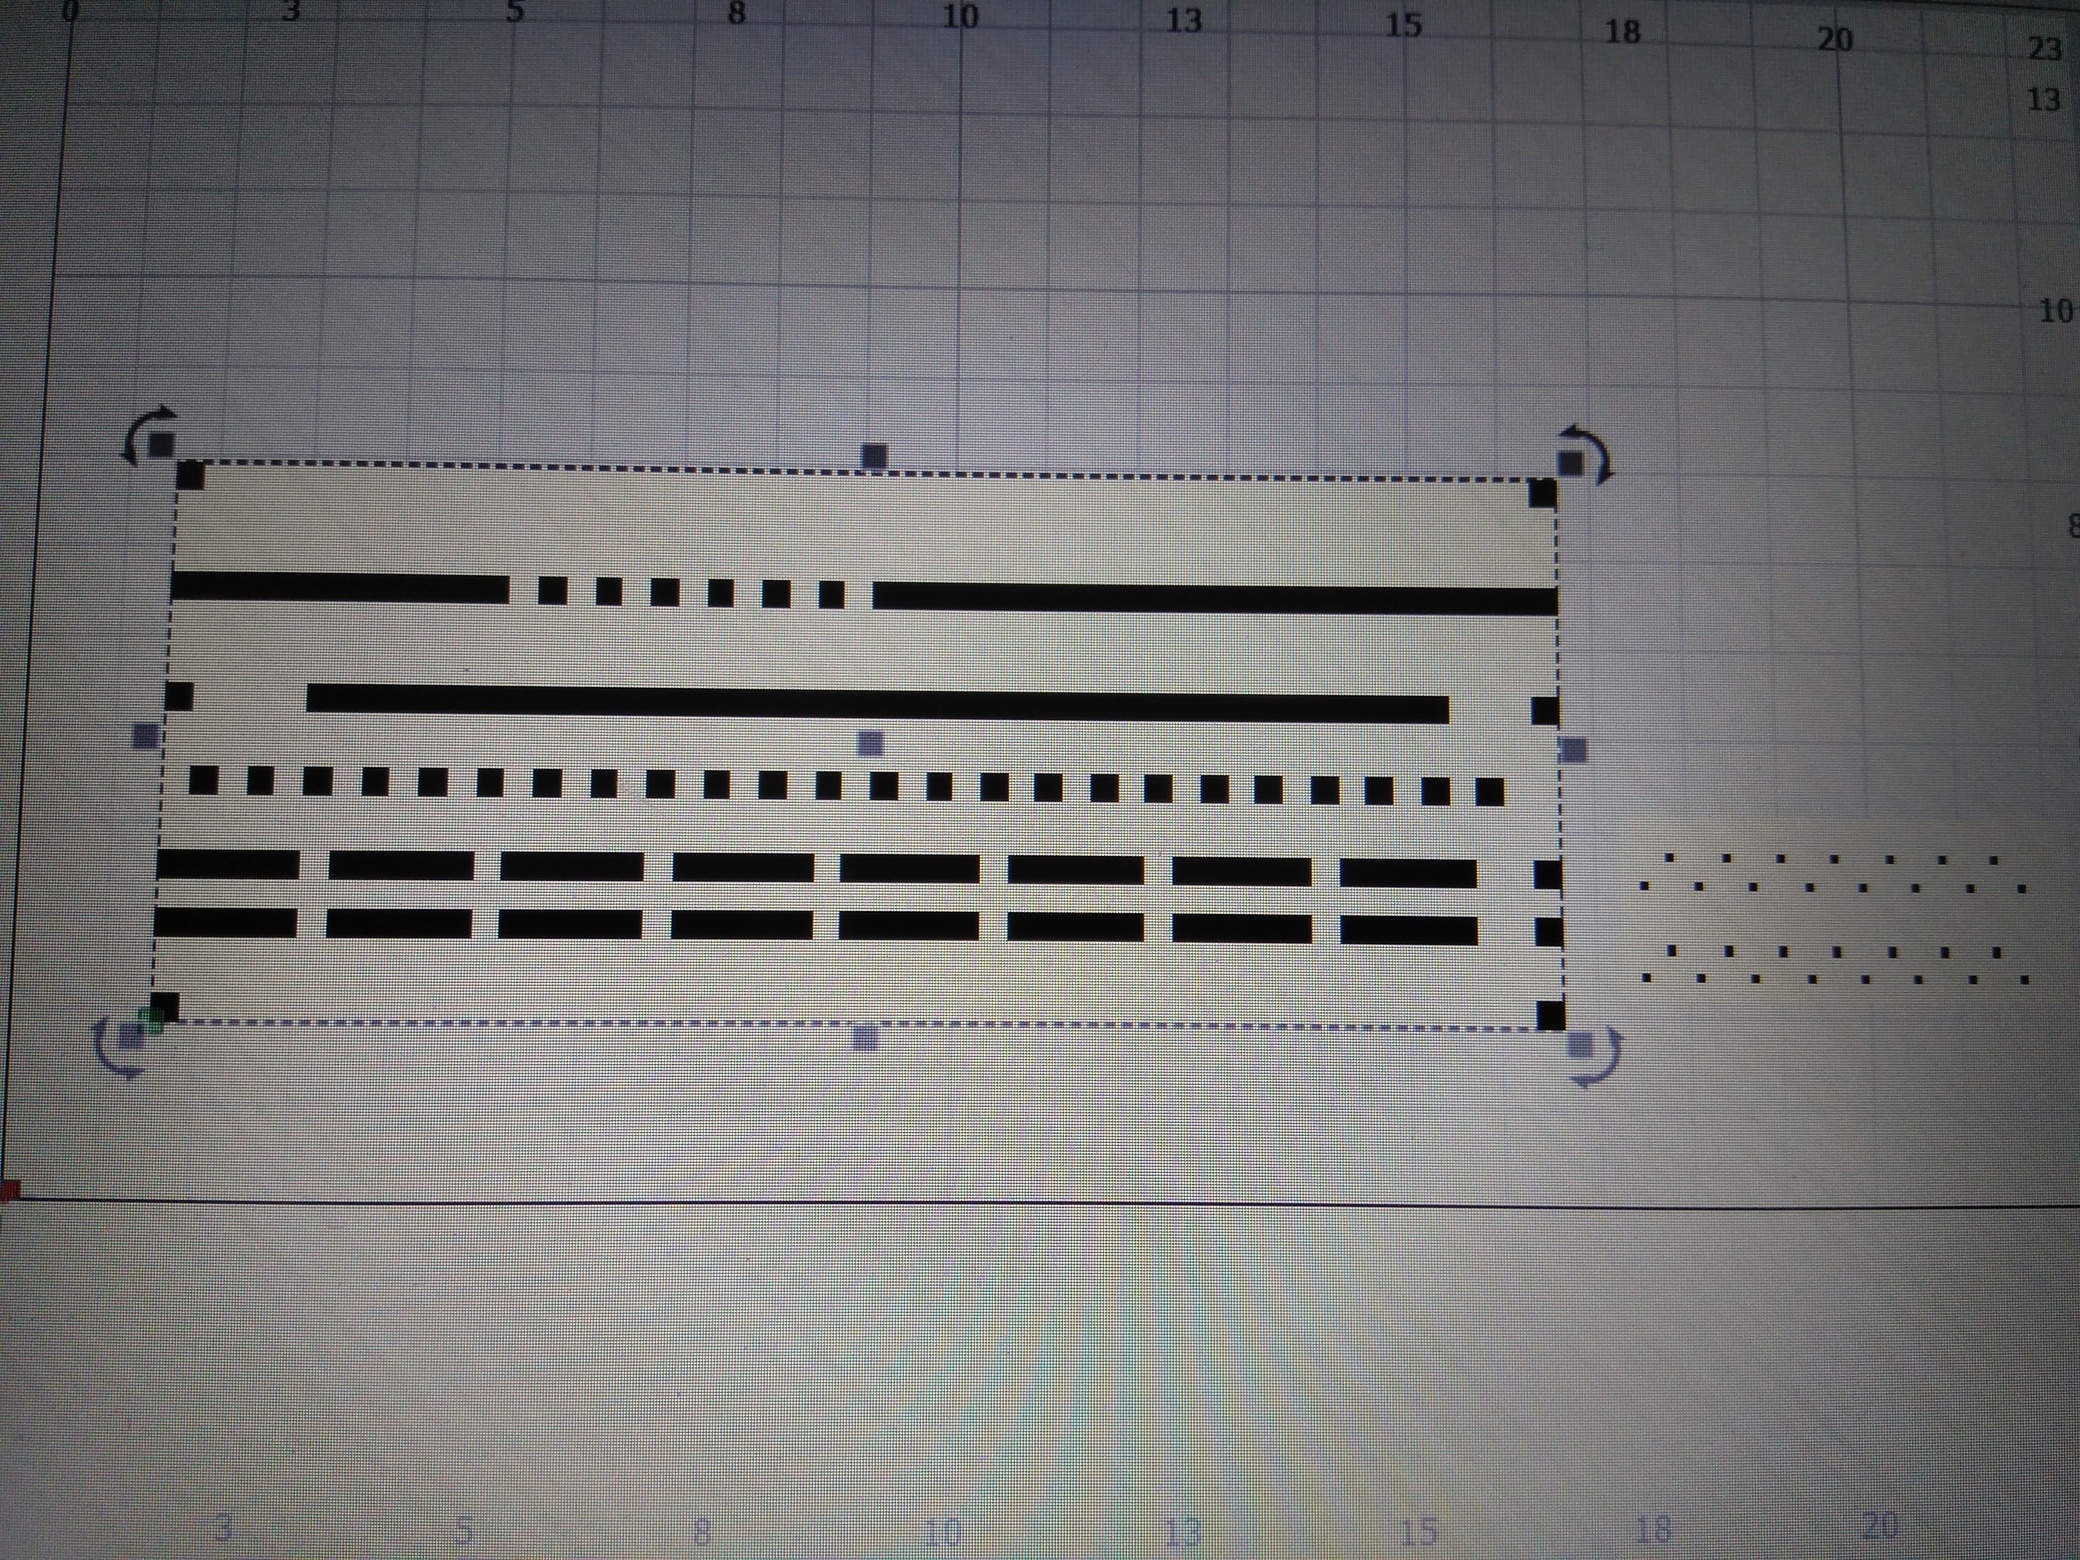
The pattern I printed was to identify the size of my dot. If you see on the pattern I’m printing it consists of 2 images, one is at 84dpi and the other 254 dpi. Both I used passthrough. On the image you can see at 254 dpi I have 3 pixels of separation and on the one at 84dpi only one, the result of the dot size and separation is the same.
I will try to see if I can focus better and make the dot smaller but with current setup if I run something grater than 84 the dots will overlap and will look even darker
I tried to focus again the laser and managed to have smaller dot when using 250dpi but still the power is an issue, it gets burned when engraving the photo. I don’t understand why that happens, I would expect that the power used when I do my pattern (which is black) would be the maximum power it will use when engraving and the other gray scales would use less.
Looking at the bottom of the image, I don’t see that it is so dark to burn it completely as it does. I think that the resolution could be one thing but at the end also something seems to be impacting the power.
Yes I did the change and all recommendations.
After many days of frustration I click the reset to default on the cut options and started with the highest speed and 100%, it was not burning… reduced speed until I got to 1000, tuned the power to be lower and adjusted speed and managed to do. I used the default dithering option and settings, also disabled the air assist. Now I feel it got a better print. But still don’t know why.
Thanks for the support