First things first: when you multi-post to the forum, our email, and FB in rapid succession in the hope of getting “instant help” just stresses us out. LightBurn is one dev and two support helpers, and sometimes we do inconvenient things like sleep or eat
I do appreciate that I will not get an immediate response. But when I spent 4 straight hours attempting to make it work last night, and then most of the morning into the afternoon today trying to get it to work, I will seek out other channels and other non-official opinions on the matter. Especially when I’m not entirely sure if what I’m seeing is in line with other’s experiences. I apologize if I stressed you out, I was just having quite a myriad of issues, and wanted to at least get something going before this weekend 
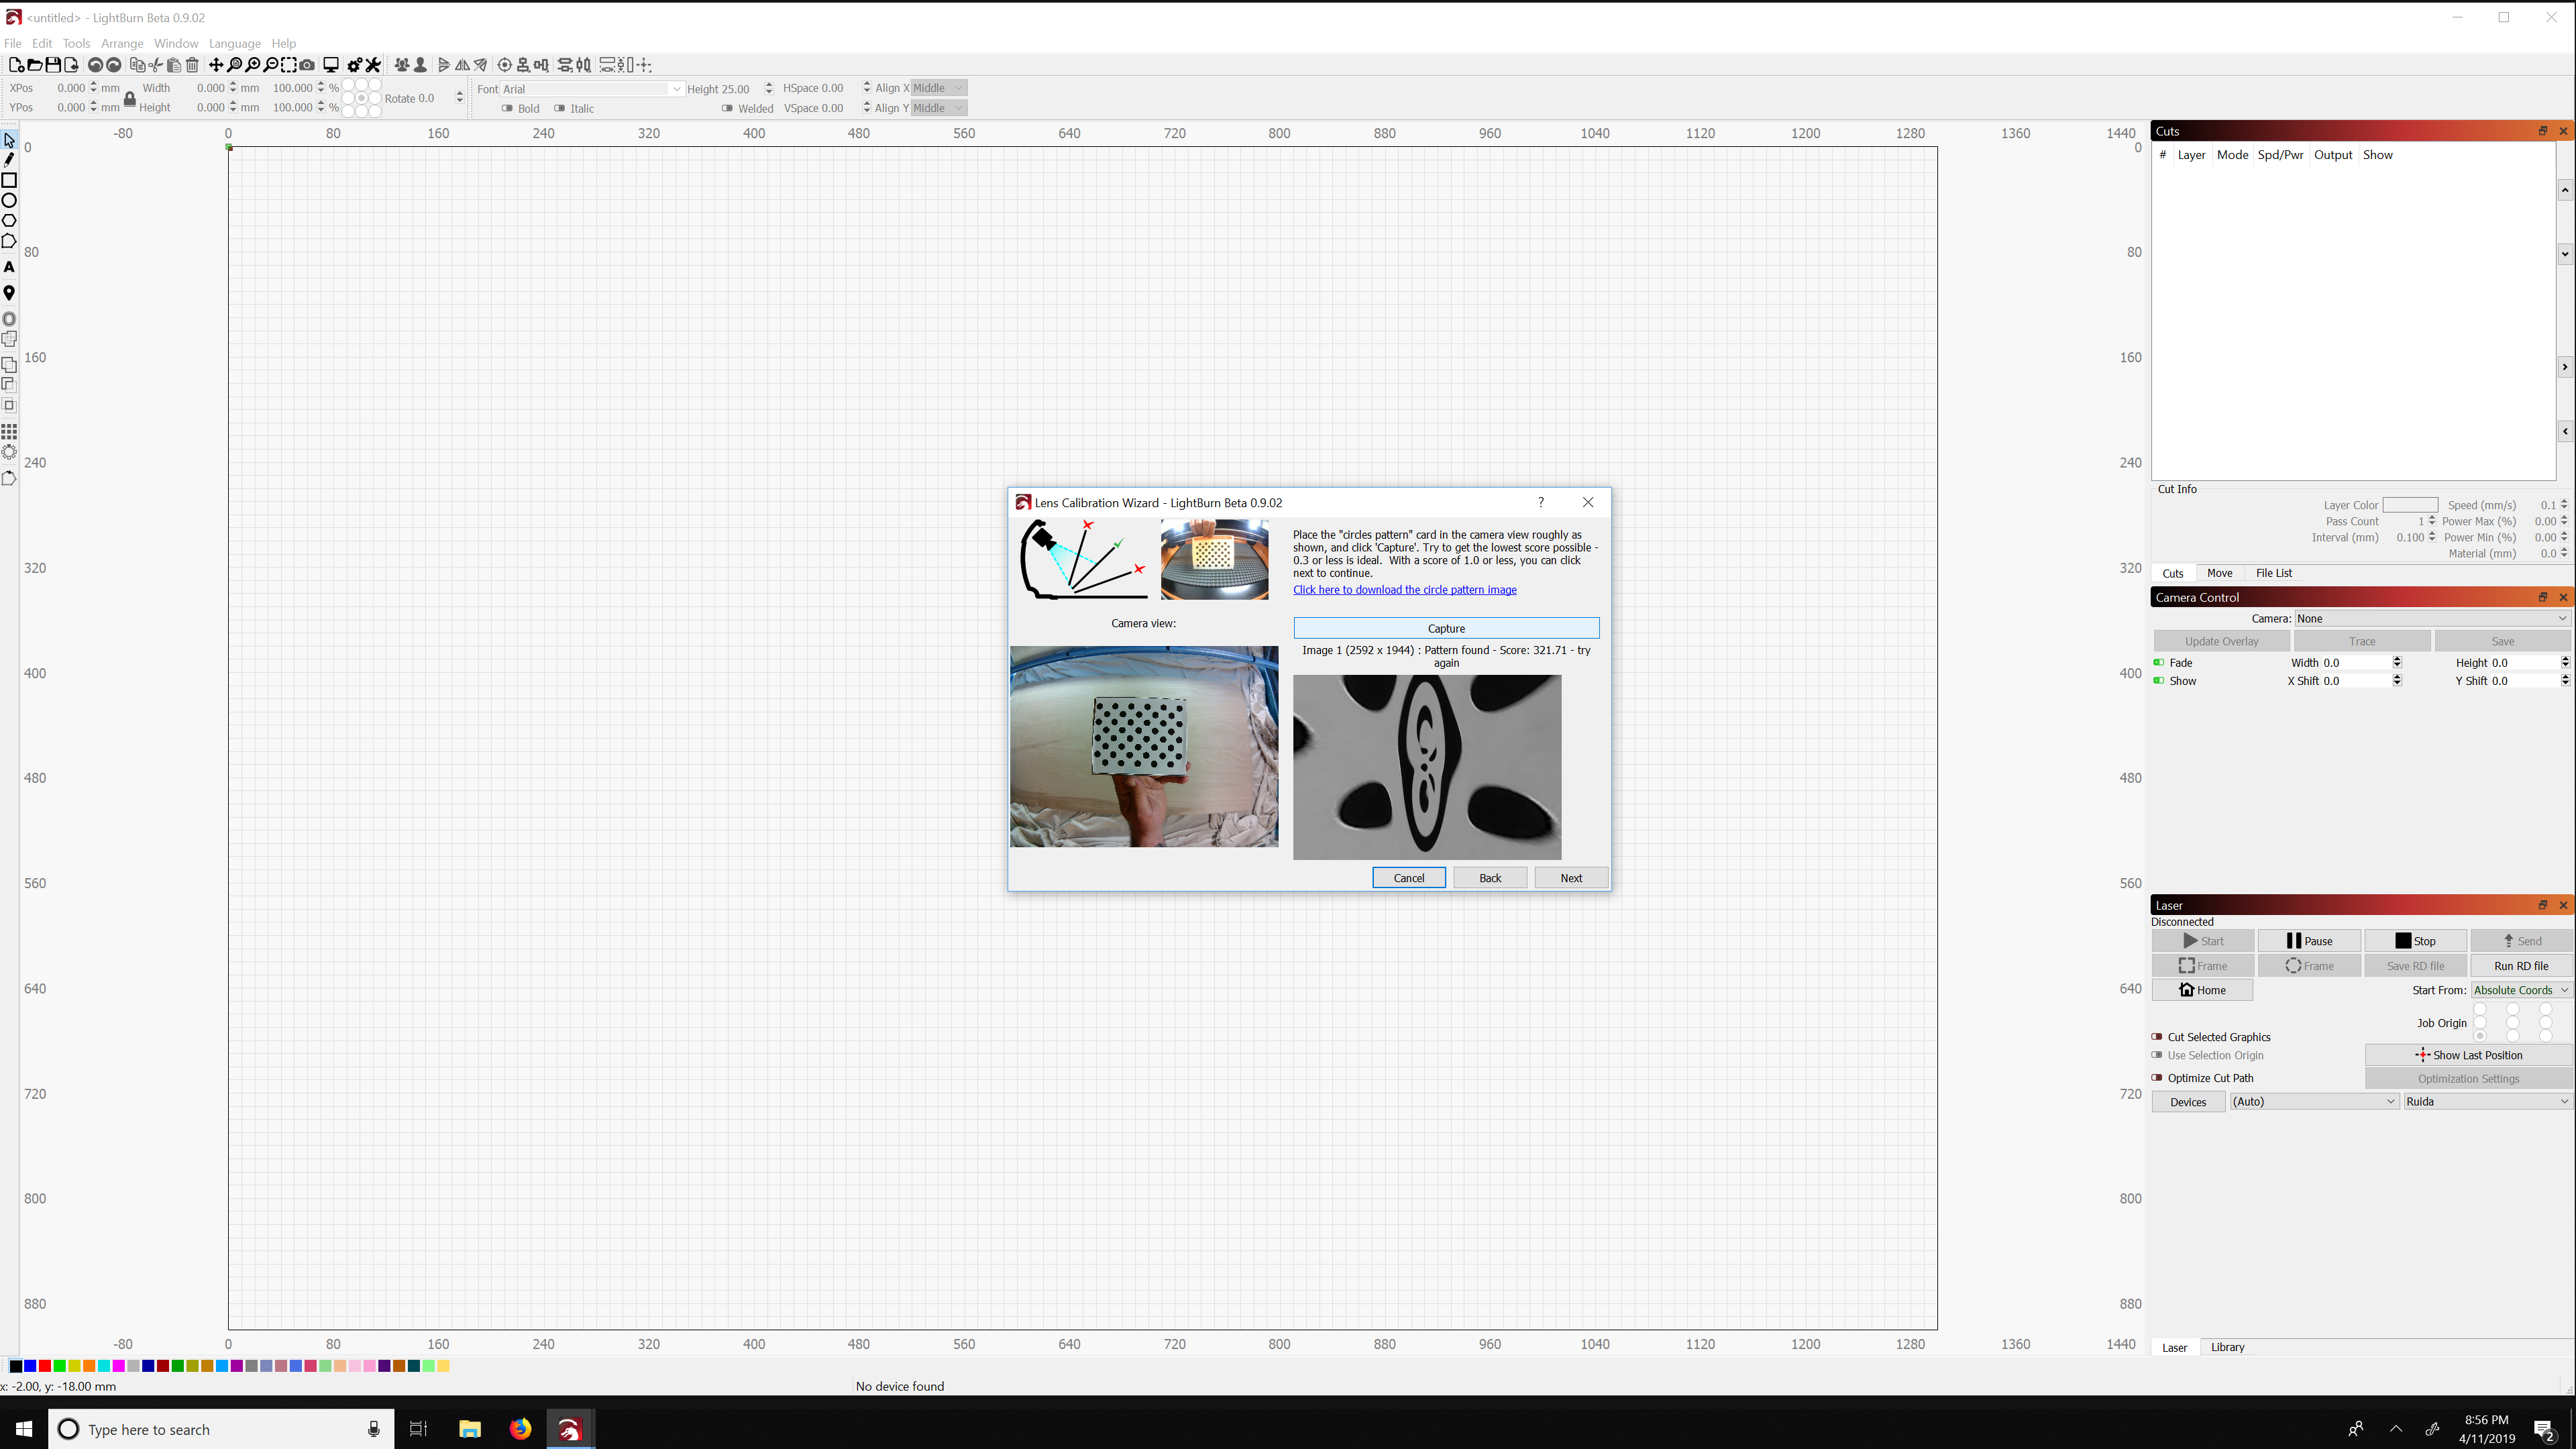
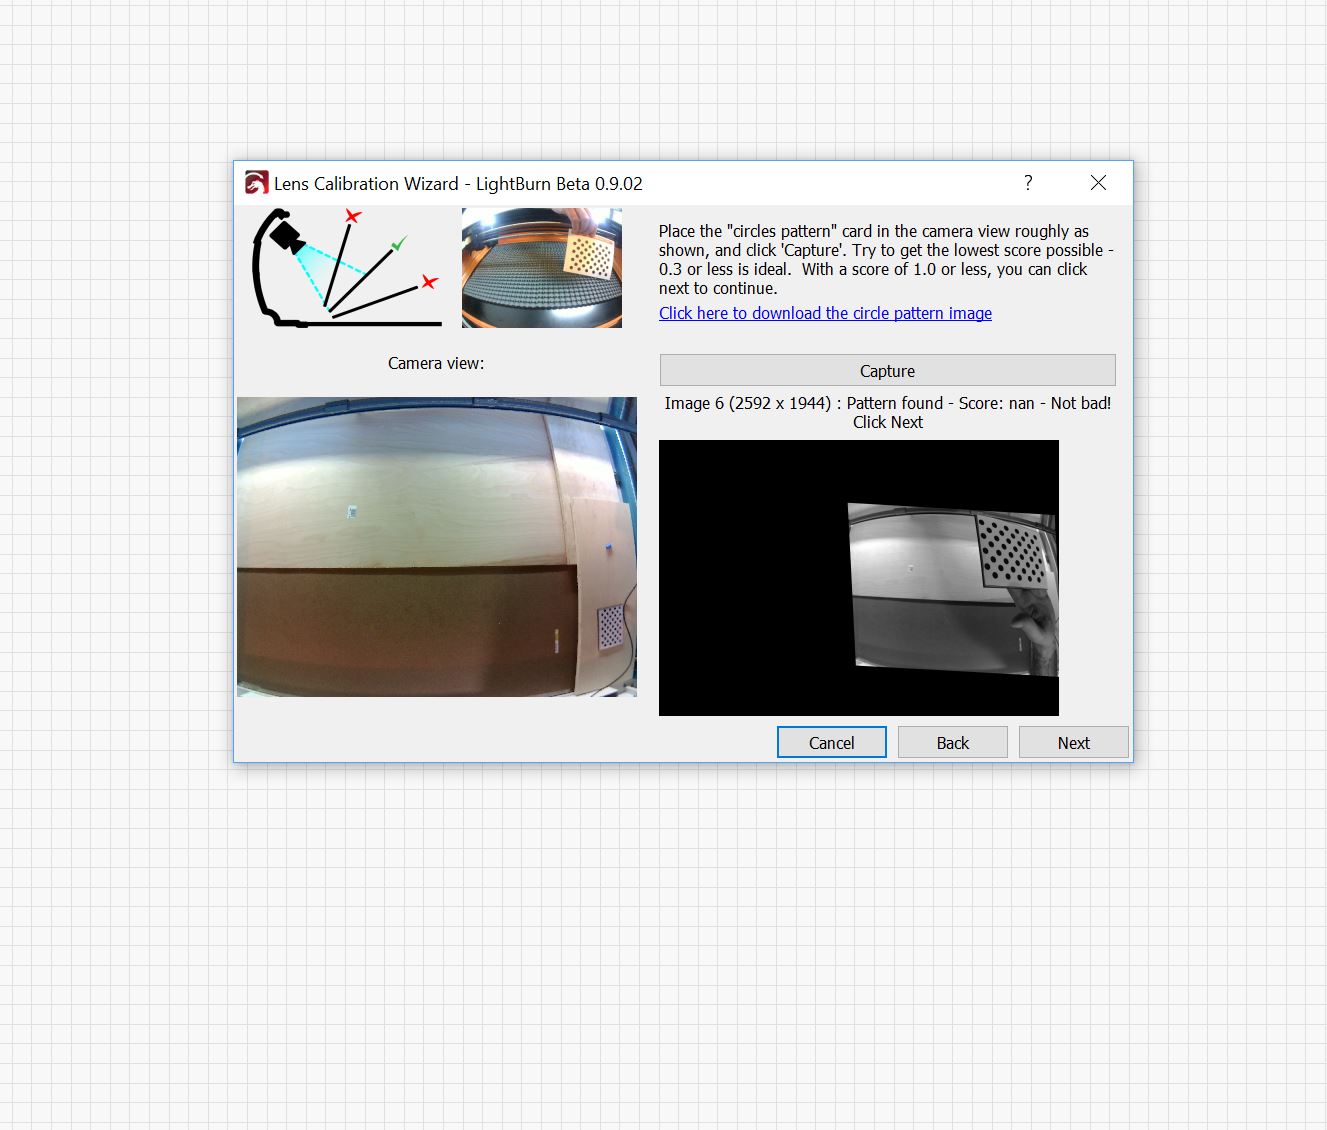
The first issue I can see is that your calibration picture is tiny in several of the pics you posted. It should be close to the size shown in the sample image. It’s important to hold it very still, so it’s best not to hold it by hand, but to place it on something like a box. The camera doesn’t even have to be mounted to the machine for this part.
I did realize that I was making an error there after watching the youtube video again. In the example photos that are driven in the software, the fisheye lens is so prevalent that it’s hard to make out what size it should actually be, or even which part of the 9 segment’s I’m supposed to be using. I’ve since corrected this though, but still have issues.
The second issue I got from your email - the camera does not look like it’s in focus when pointed at the bed. Have a look at this thread for a great suggestion from one of the forum members: Simple Aid For Focusing The Camera
I did find another post in the forum about camera focusing, and have already broken the glue and attempted to focus the camera. My issue is that it does appear to be in focus now, and even if it wasn’t I am physically unable to screw the lens in any more to make it more in focus. Here is an up to date picture of the focus:
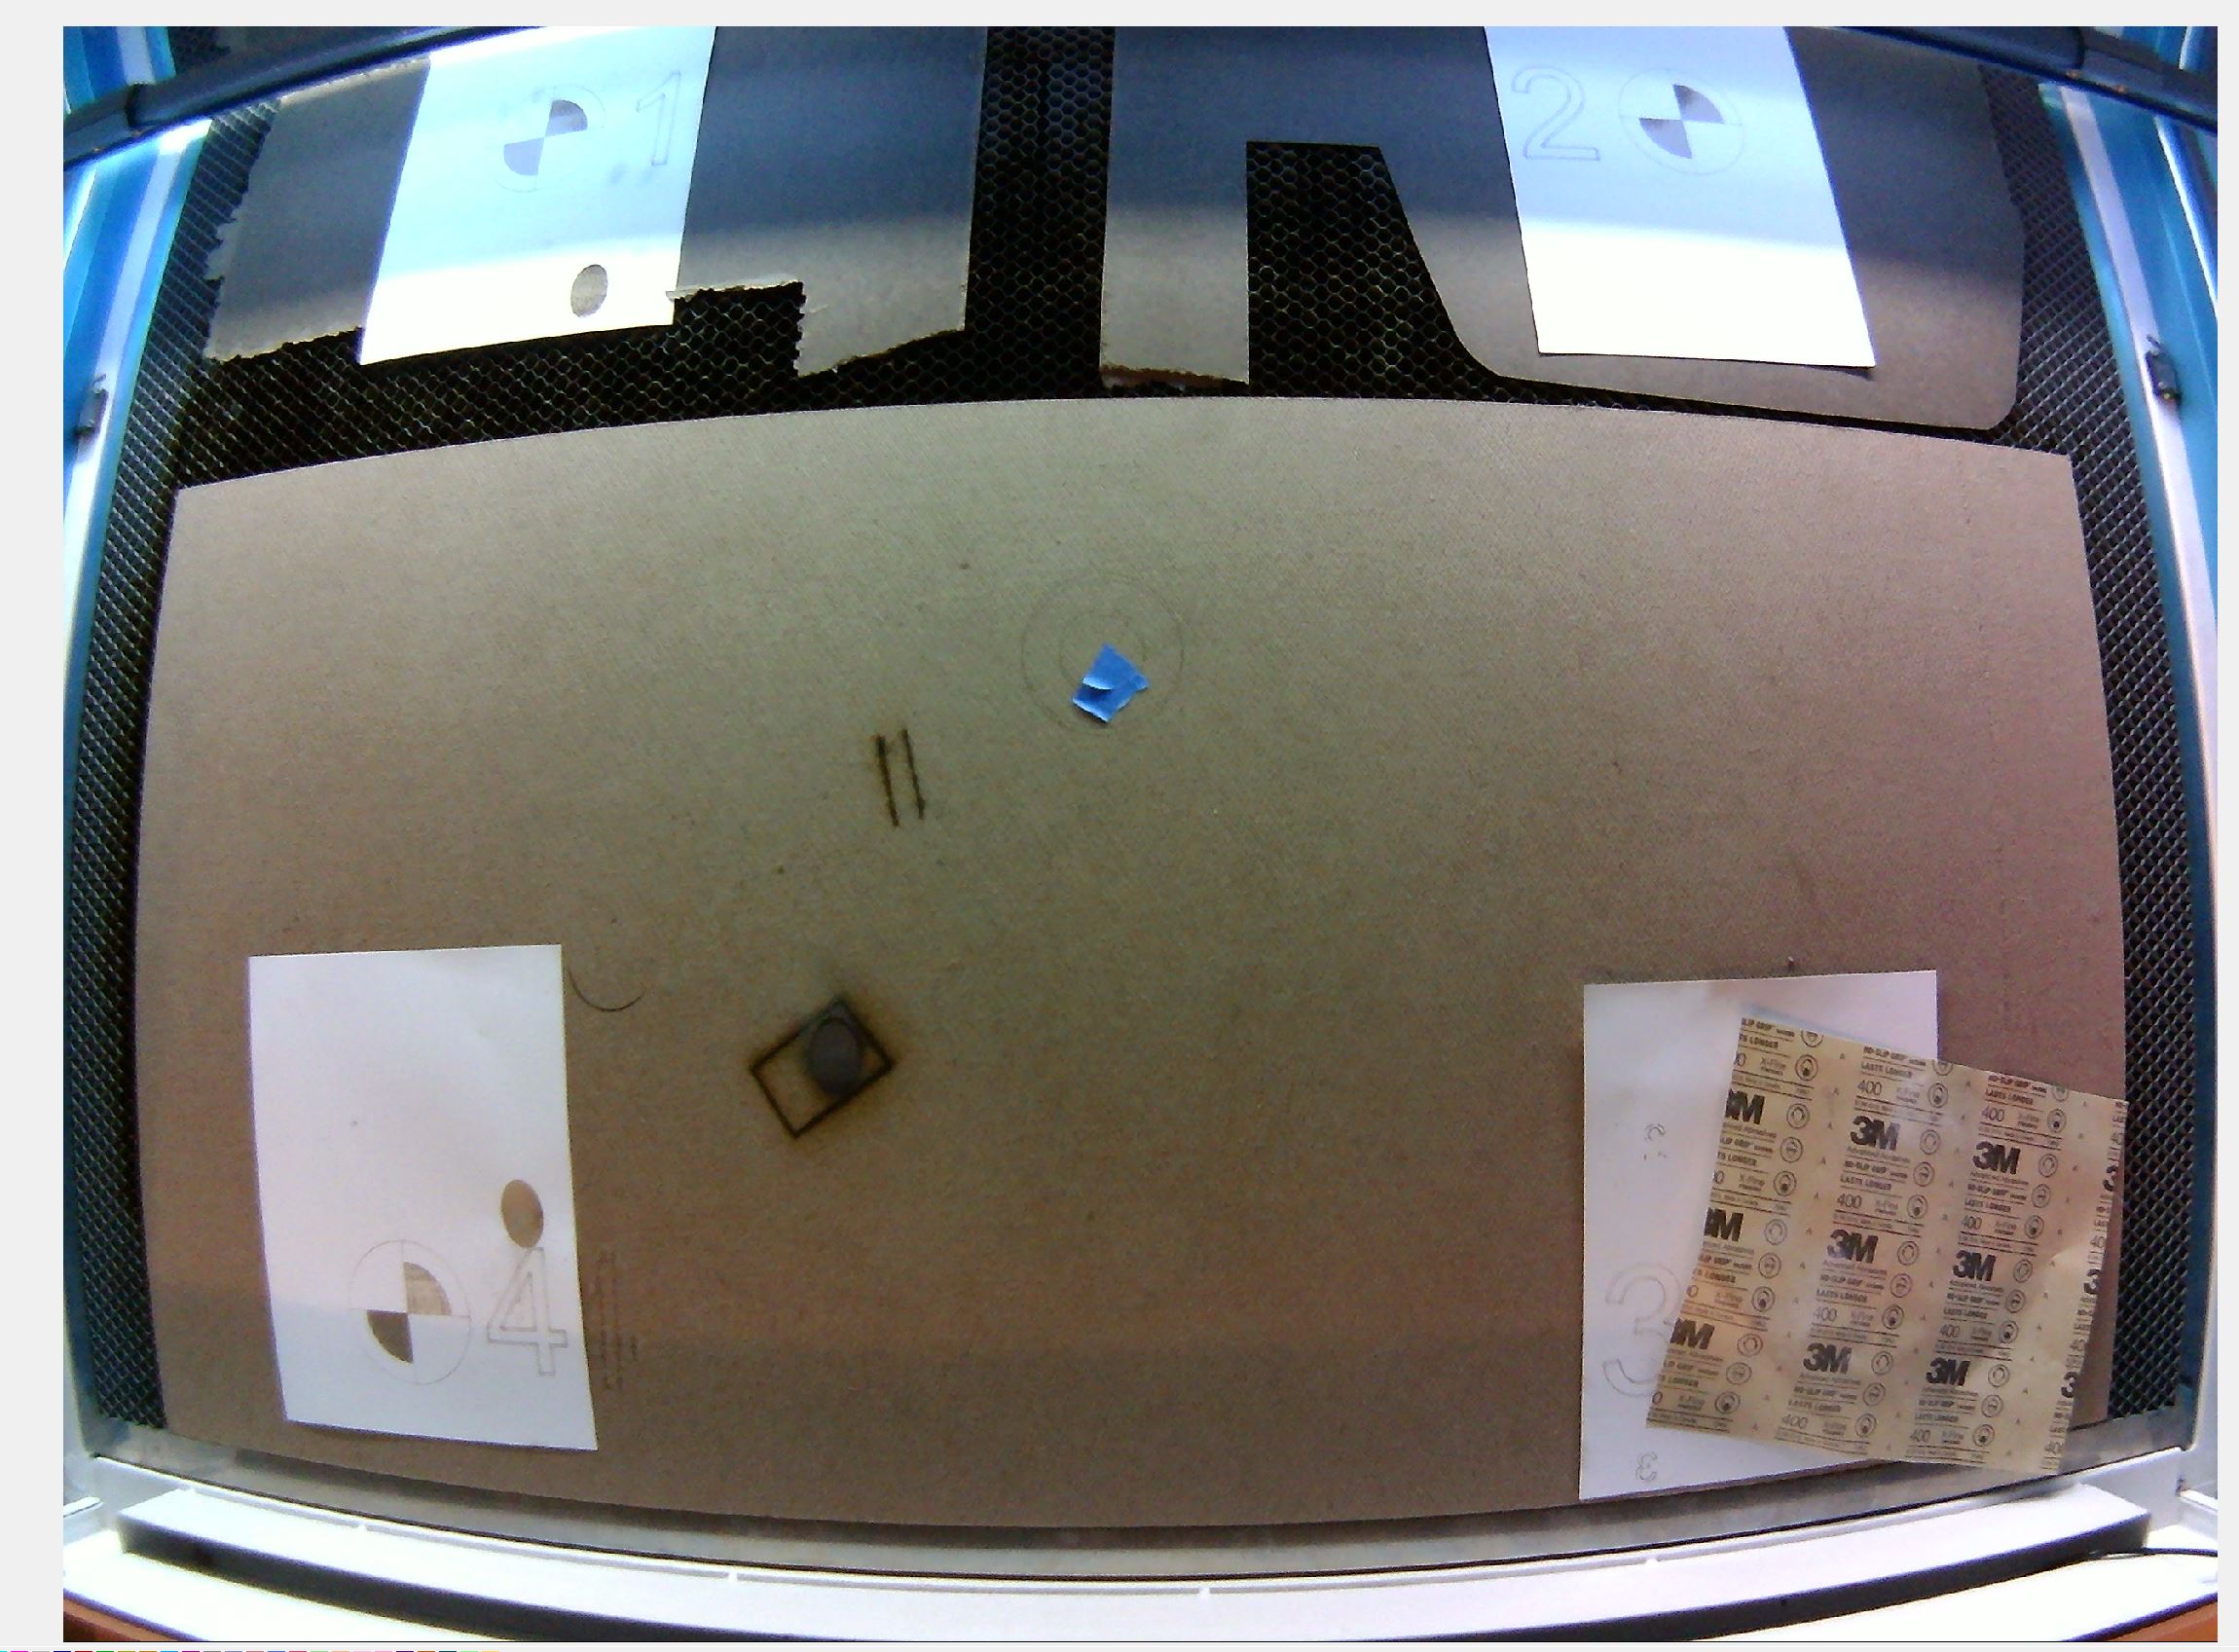
And finally, you asked about the corner being cut off. In the preview images you posted I can’t see the corner of the bed, so it makes sense that it wouldn’t be visible in the corrected image either. Try to aim the camera so it can see the whole usable region of your laser bed.
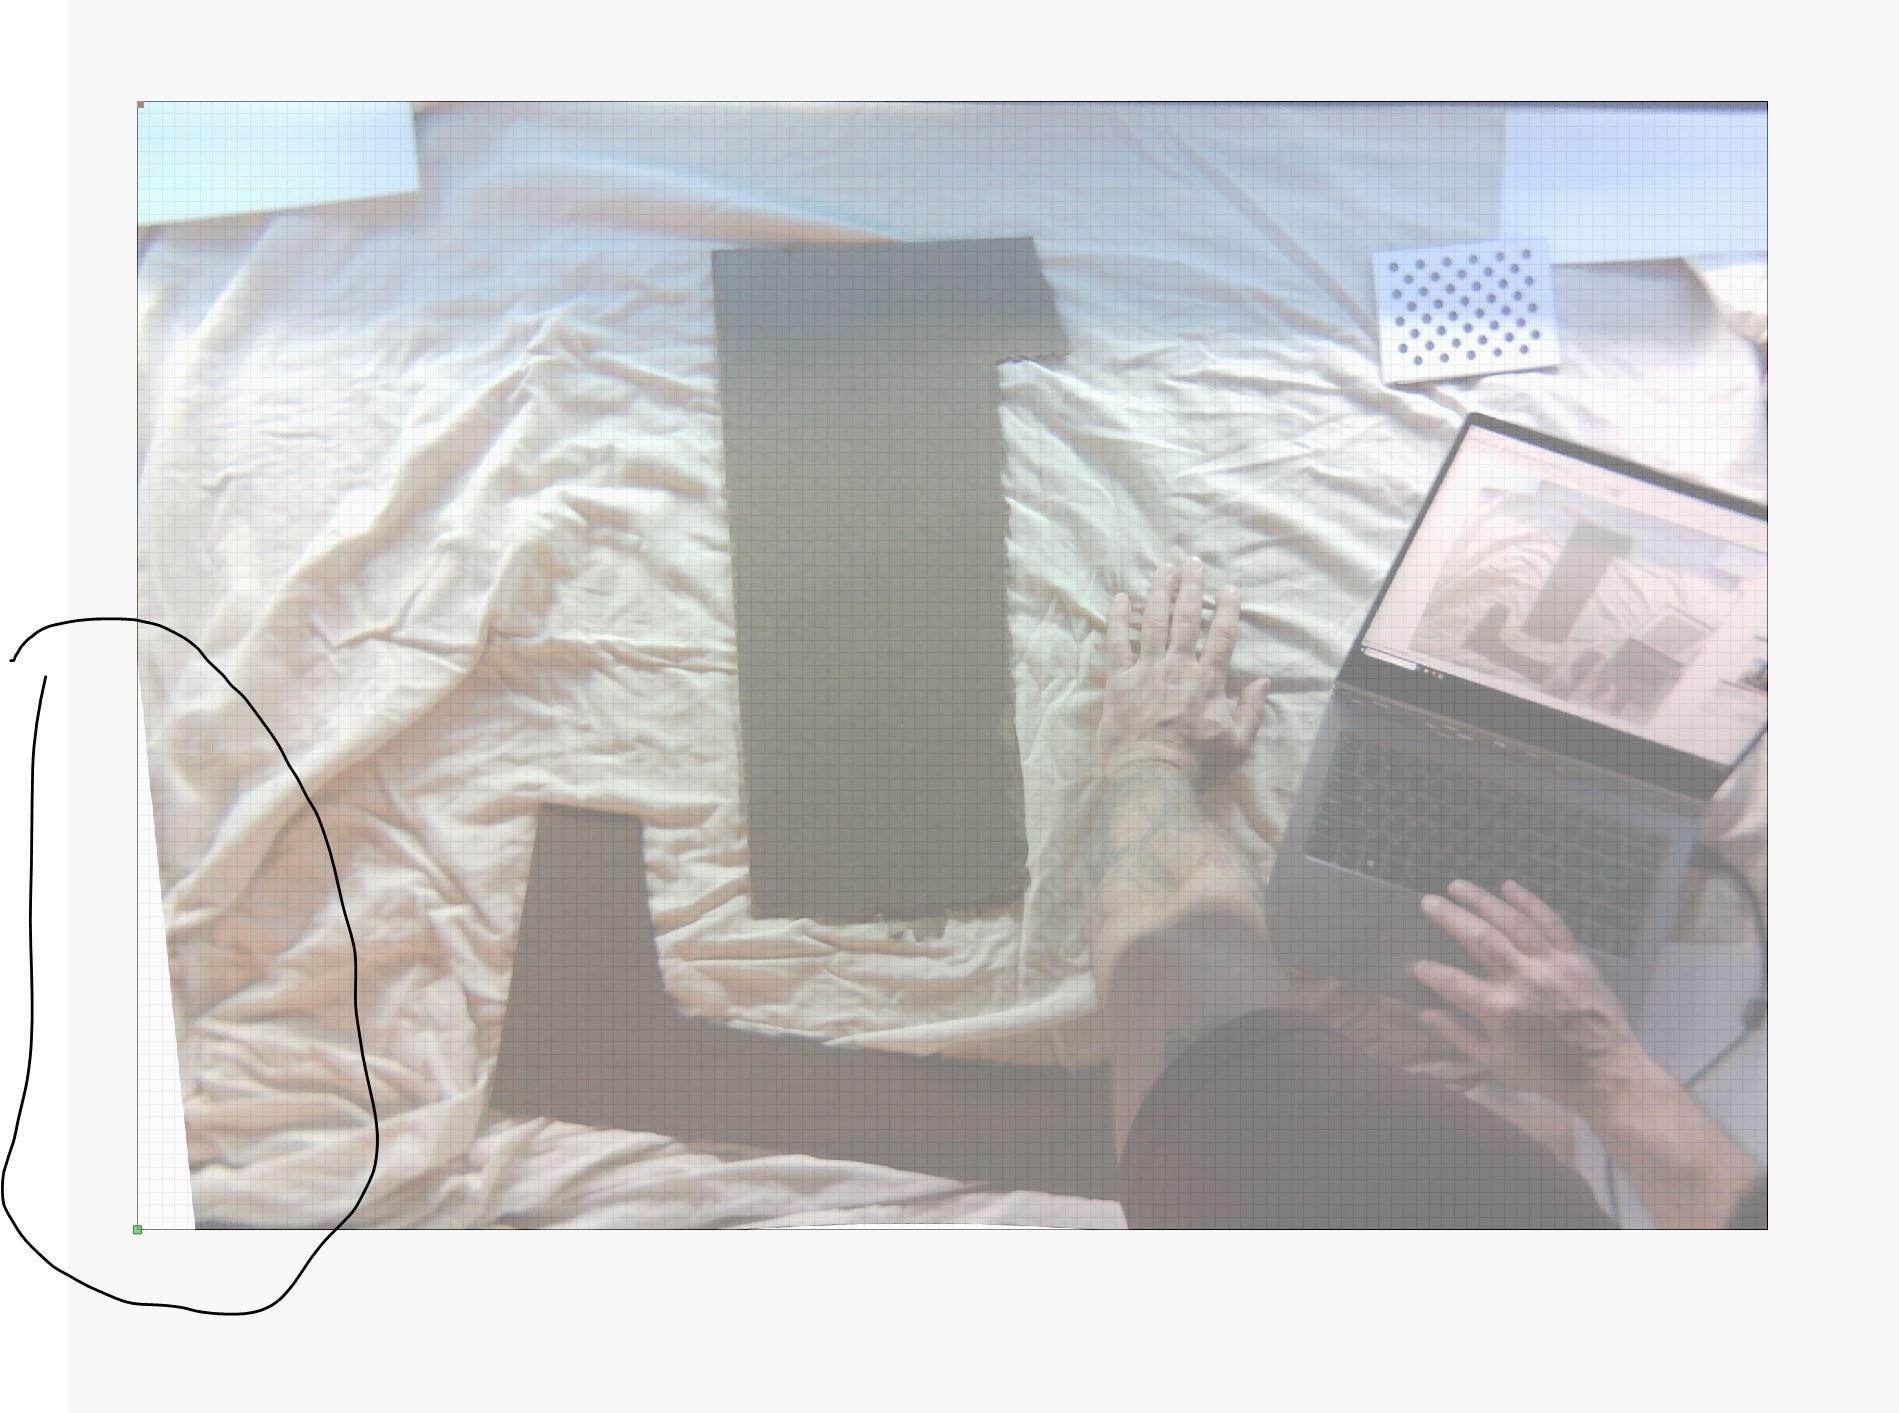
You can see in the current view that the lower corners are visible:
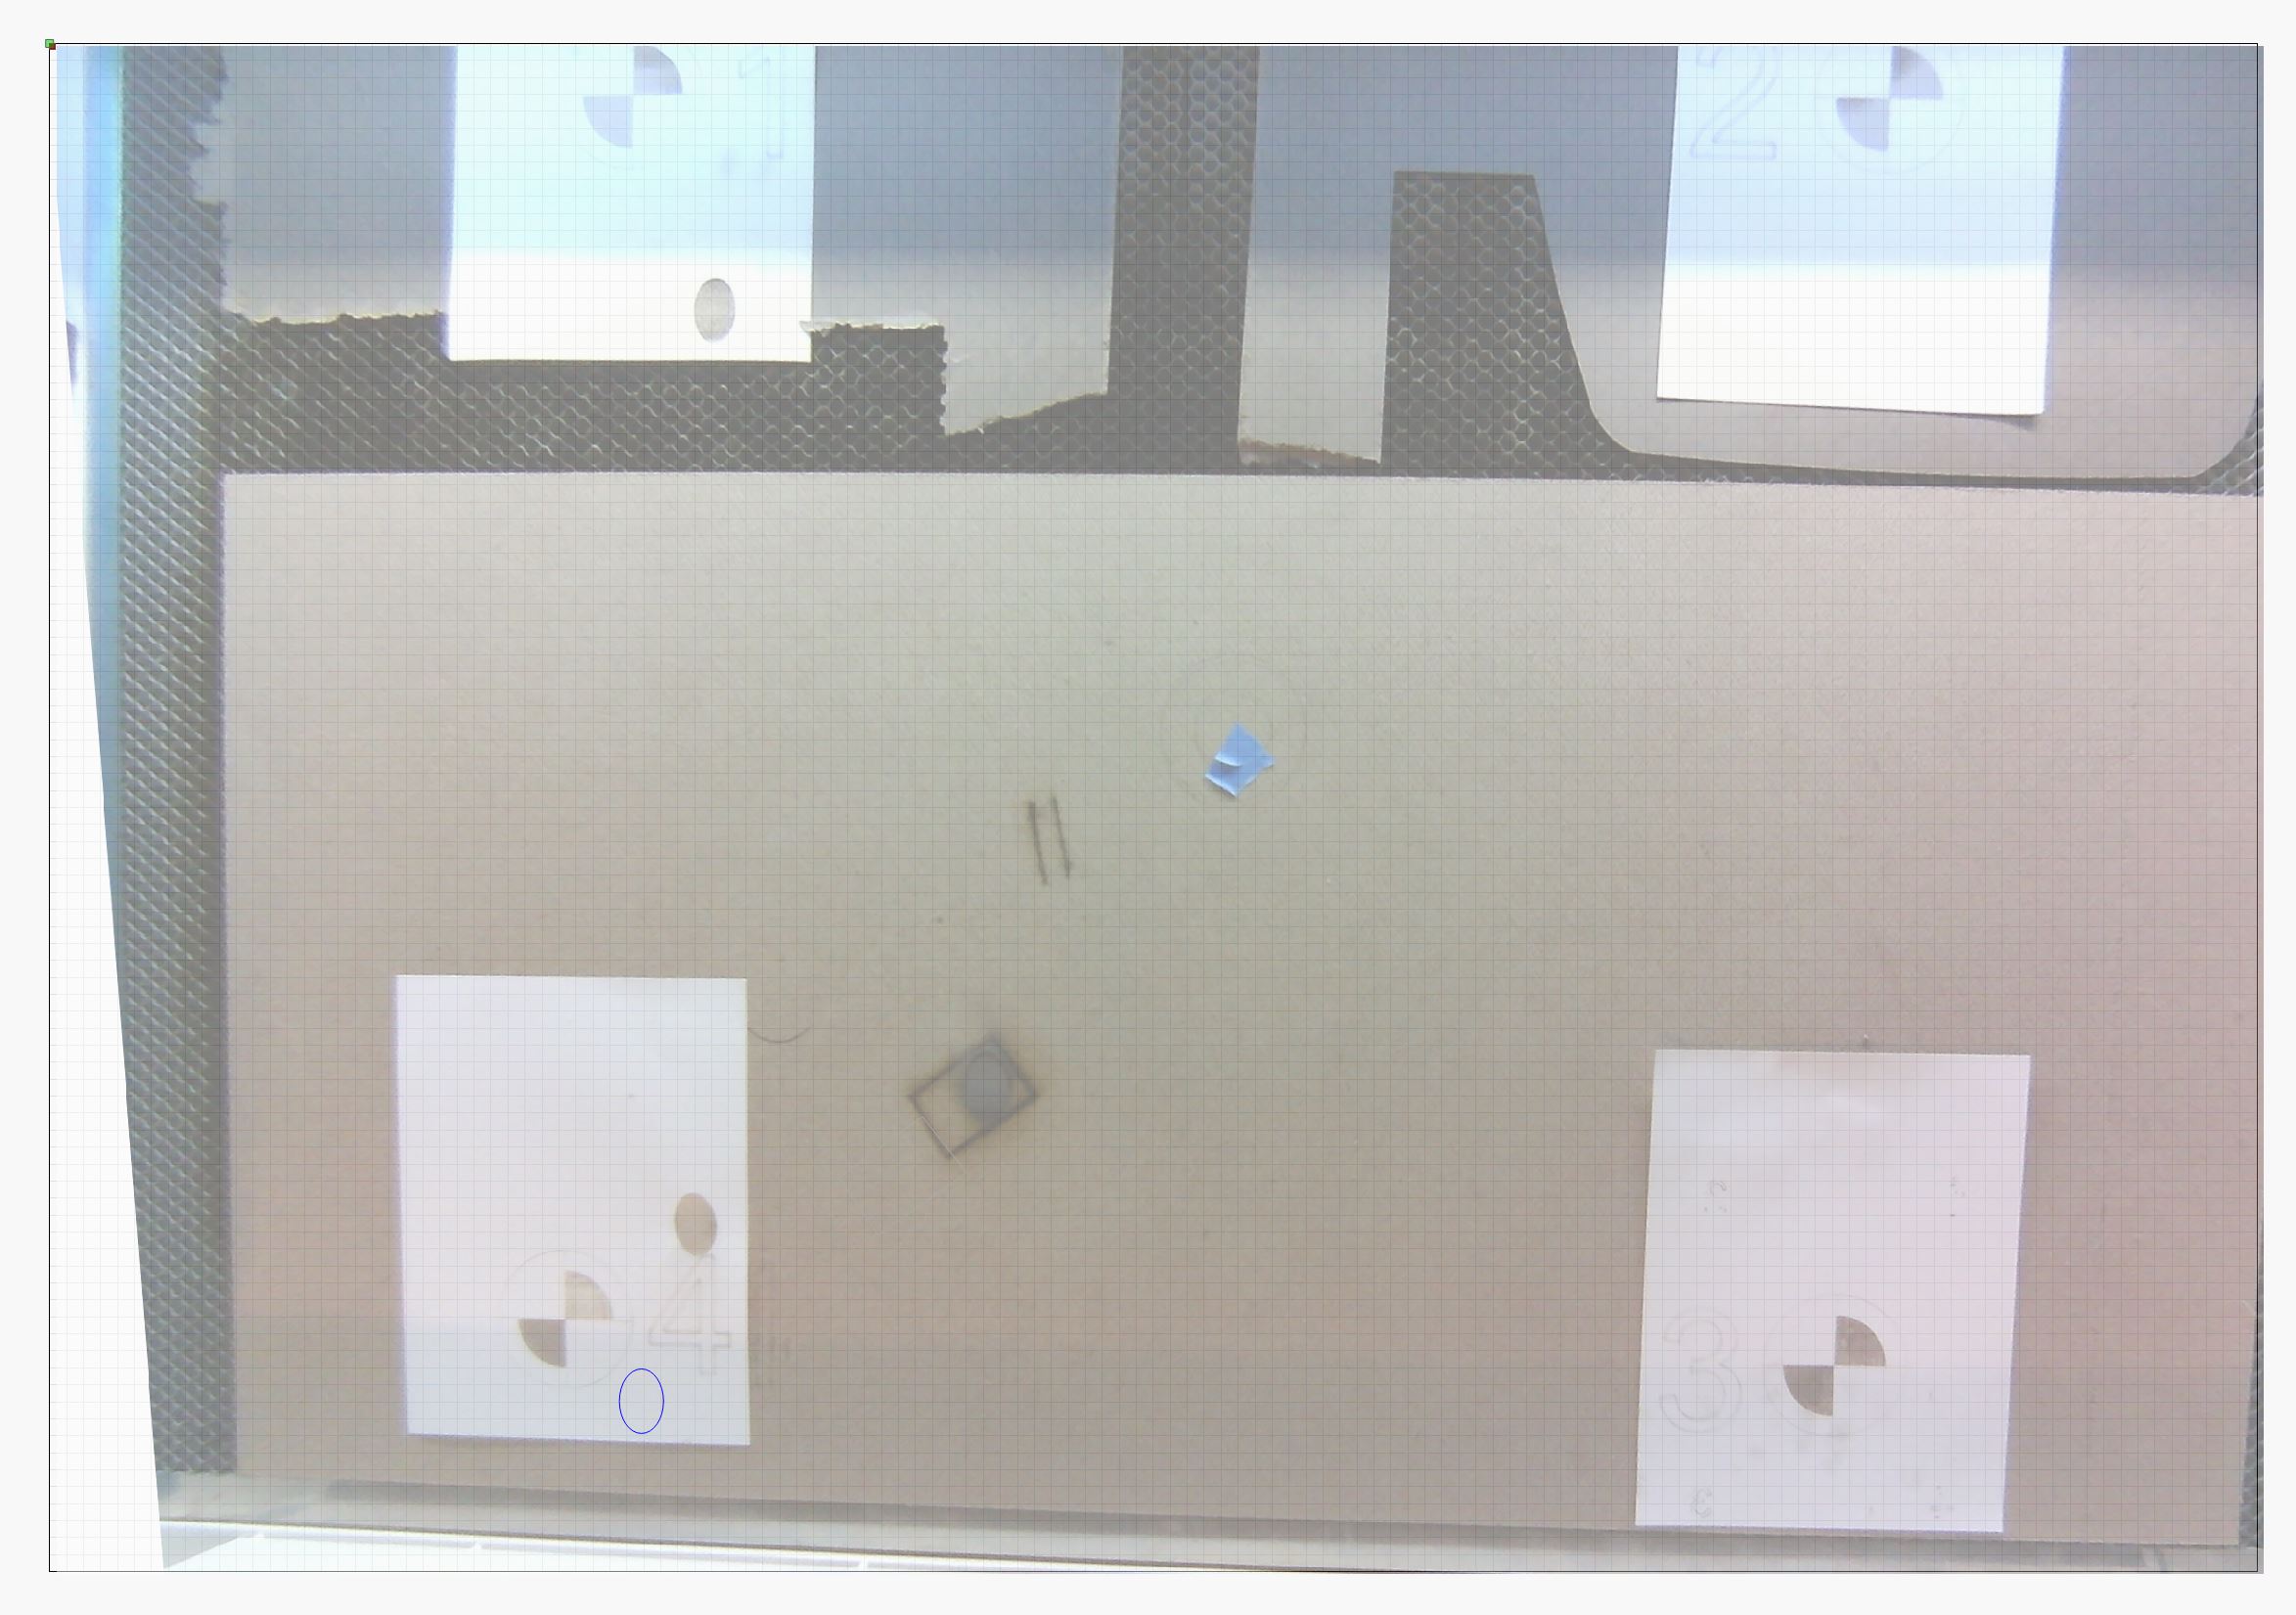
But I still get the cutoff:
Also, when doing the alignment process, make sure that the top of whatever you’re cutting for the alignment card is at the same height as your laser focus point, and that other things you’re trying to capture are also at that same height.
Yes, I always do this, I have a piece of acrylic that that I use to manually focus the laser head to be 5mm above the object to be engraved cut. I have an auto focus Z bed as well, but I never use it.
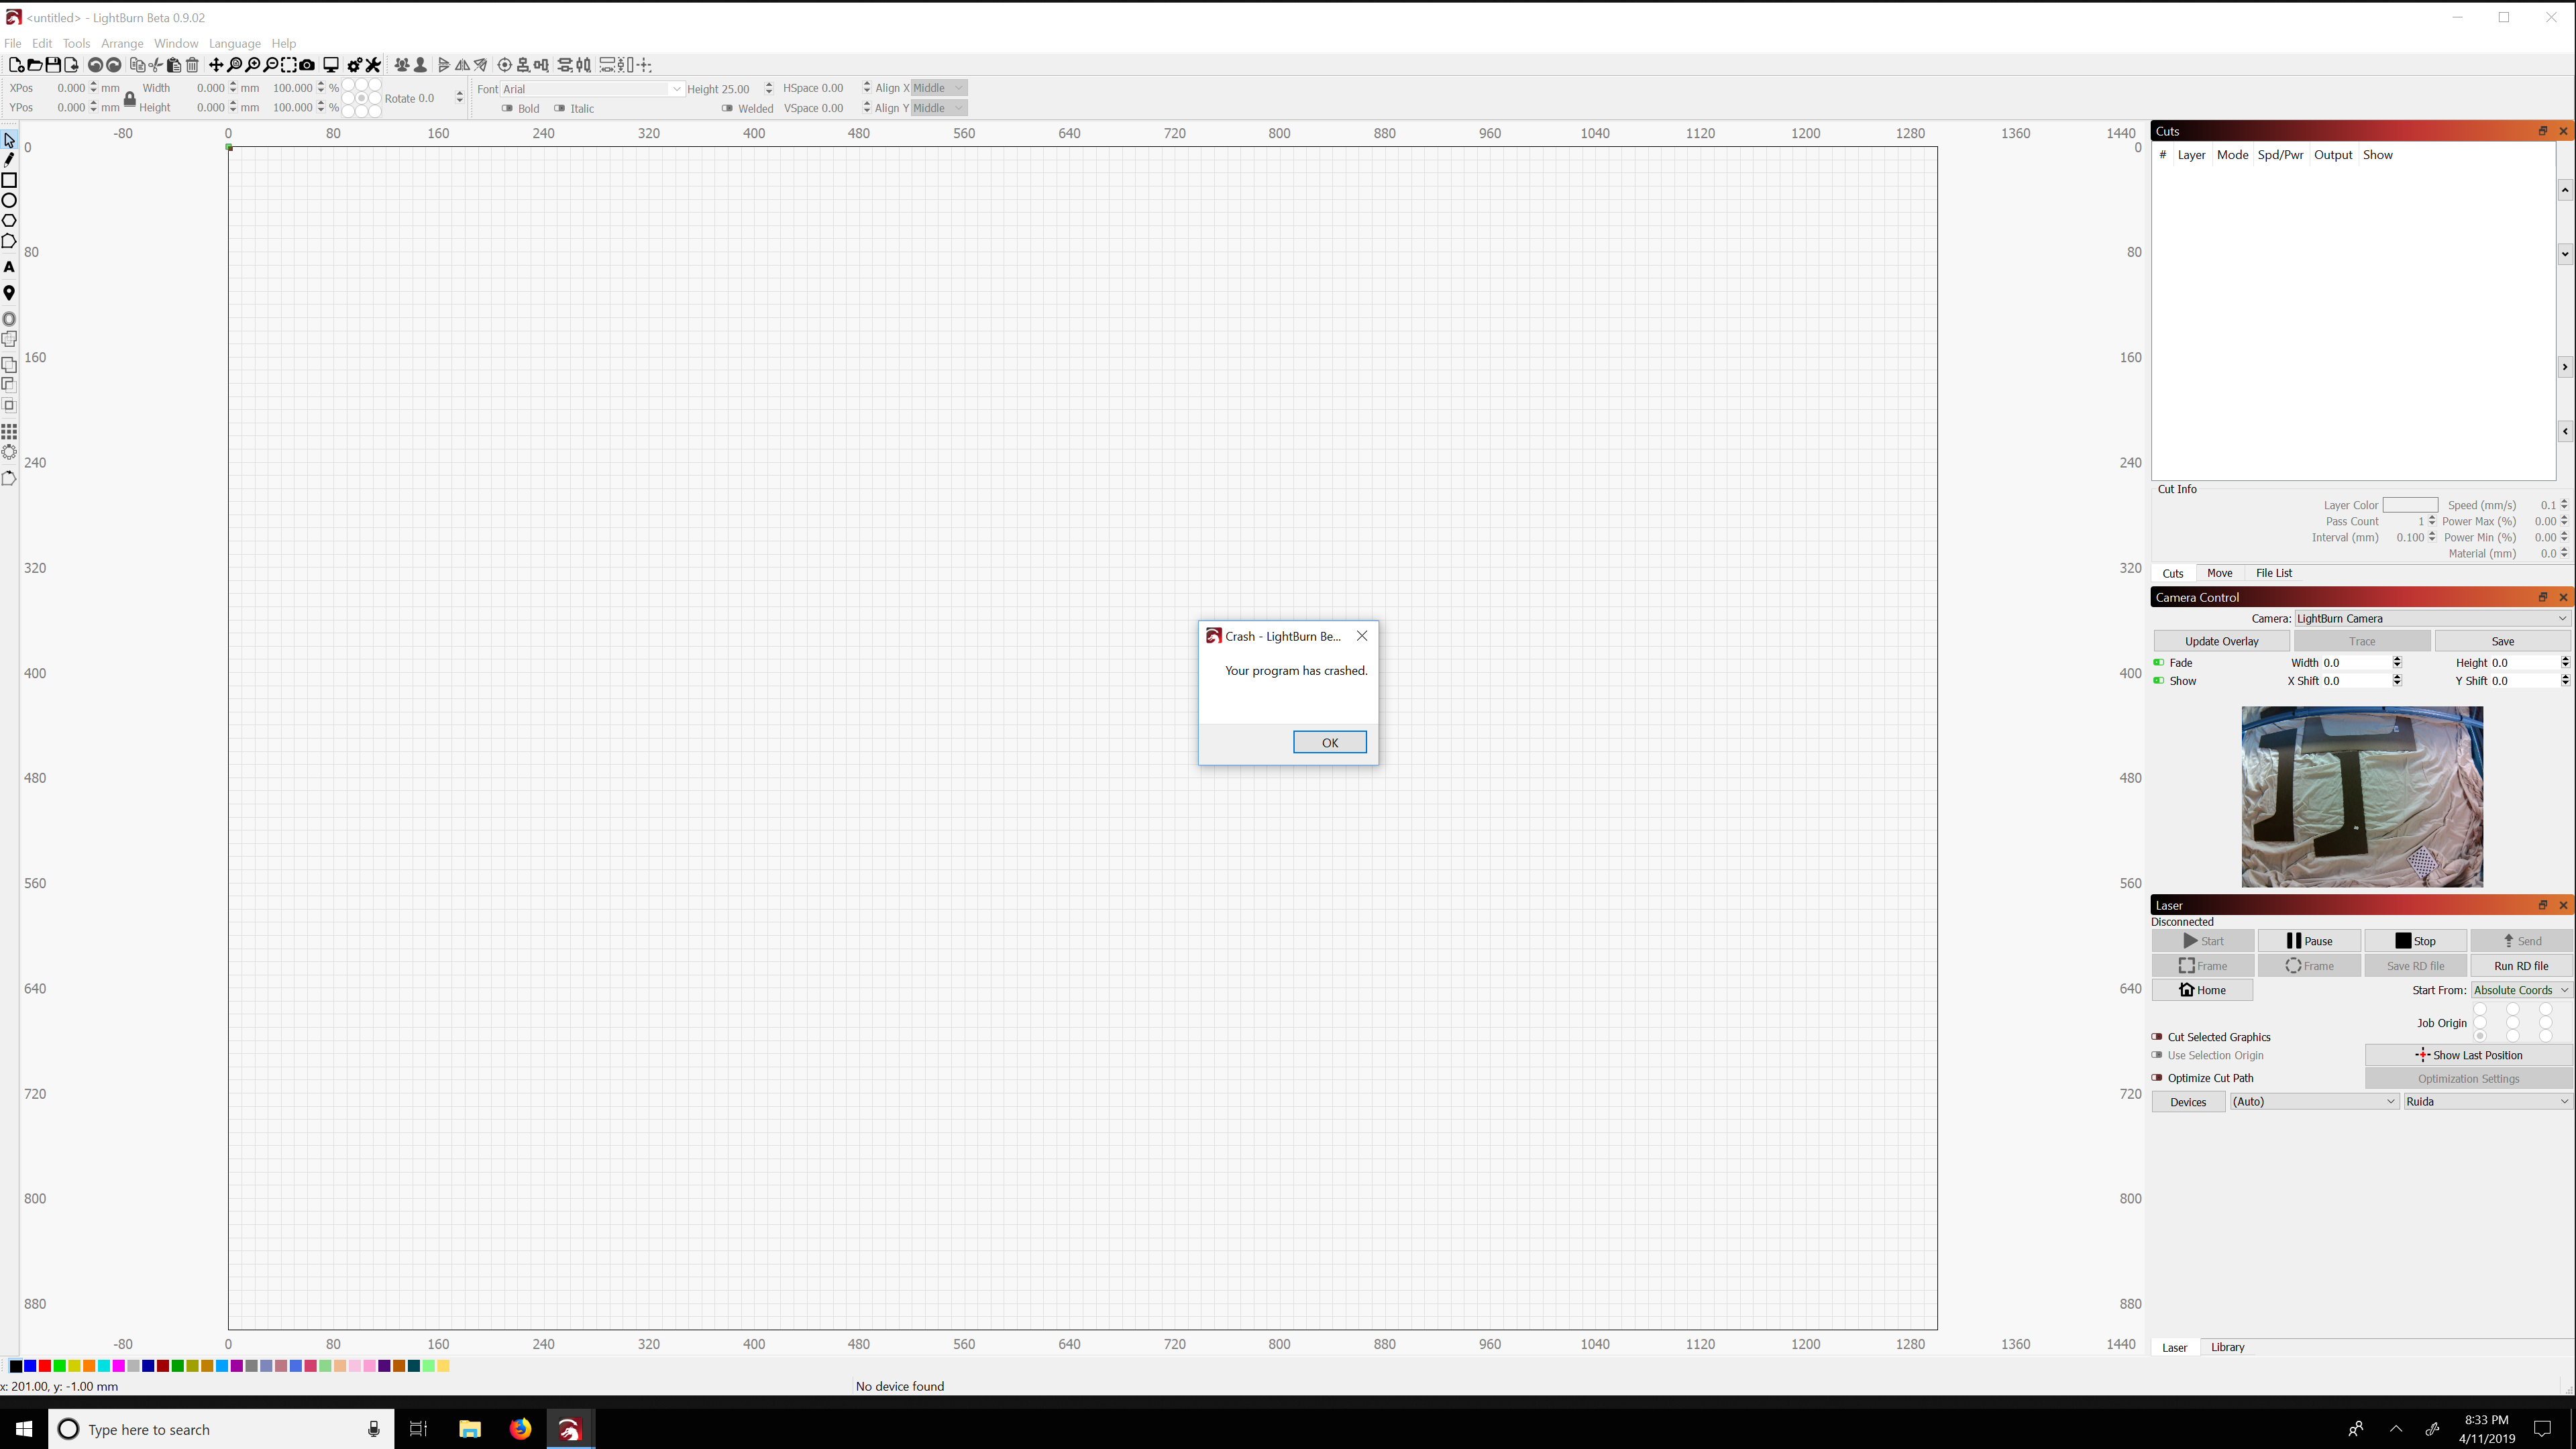
Were you able to watch the videos when doing the camera alignment? Is that normal?
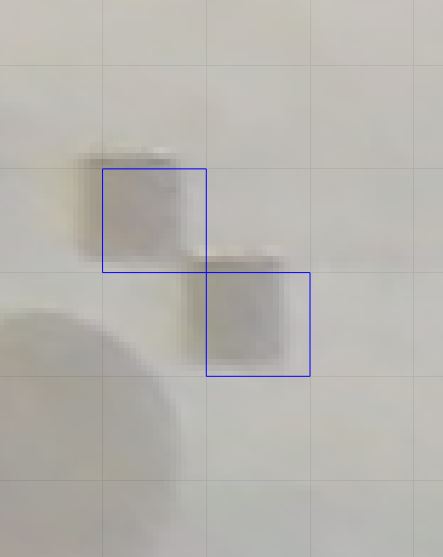
This is the current accuracy I’m getting:
On Screen:
Actually Engraved:
Some more examples:
10mm squares:
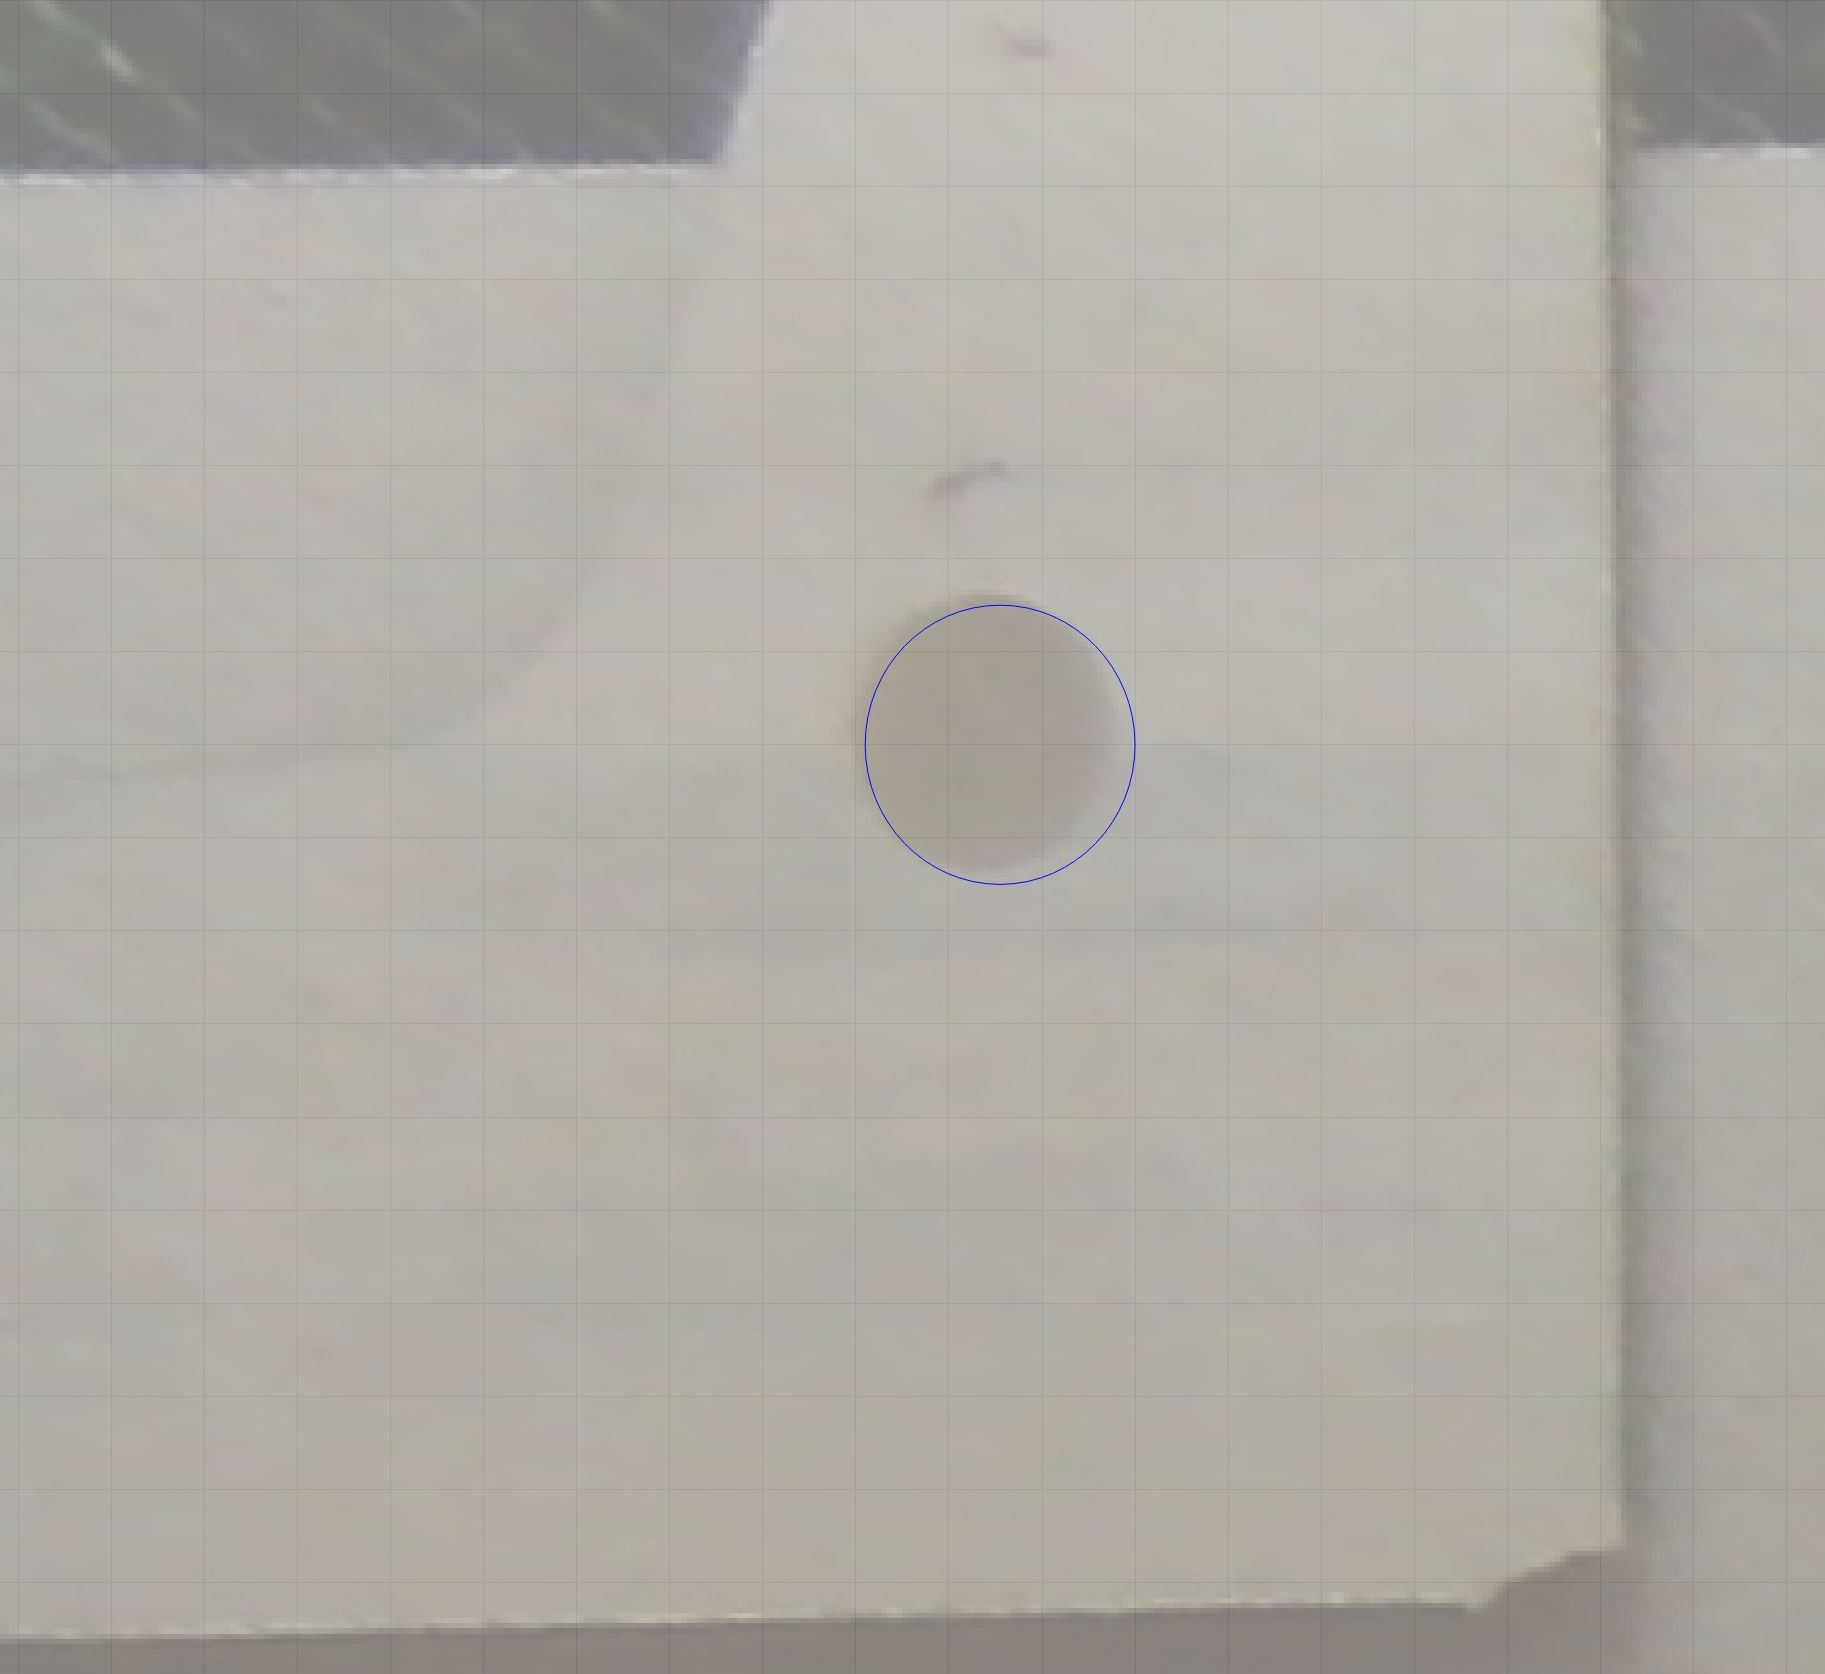
Oval:
Using the position laser command, I am able to use my micrometer to figure out I’m off by 2-5 mm’s.
 and I can’t calibrate to fix it.