would it help to prevent burn marks in wood to use the shops air pressure system instead of this ridiculous aquarium pump?
Would it even help against burnt cut surfaces?
Got the parts here, but I’m wondering if the ado is worth it.
I’ve read a bit about nozzle optimization reducing the diameter for better cut cleaning and less smoke residues. I might combine this.
Second, with a electric valve it would only blow when the ruida is operating. So there less noise (but I could do this also with the pump).
You definitely want a flowmeter, because “30 psi” doesn’t mean anything in terms of how much air comes out the nozzle.
Air flow around 12 l/m from the OEM air pump seems adequate for my simple needs, with a crude test showing skinny tubing & valves limit the flow even at higher pressure. It’s apparently possible to stuff enough air inside the laser head to fracture the focus lens, so don’t get carried away with compressor pressure.
Here’s my two cents based on experience with solved air assist problems.
In my case, being a constantly evolving Chinese diode laser machine, the structure and distances are completely different (or can be), but using a conventional air assist compressor makes it essential to bring the nozzle outlet as close as possible to the material.
The nozzle outlet should not be too thin, which excessively restricts airflow, nor too thick, which prevents the air from creating the necessary pressure to create a jet.
The air assist compressor simply does not create enough pressure or flow to project a concentrated jet of air beyond a very few millimeters.
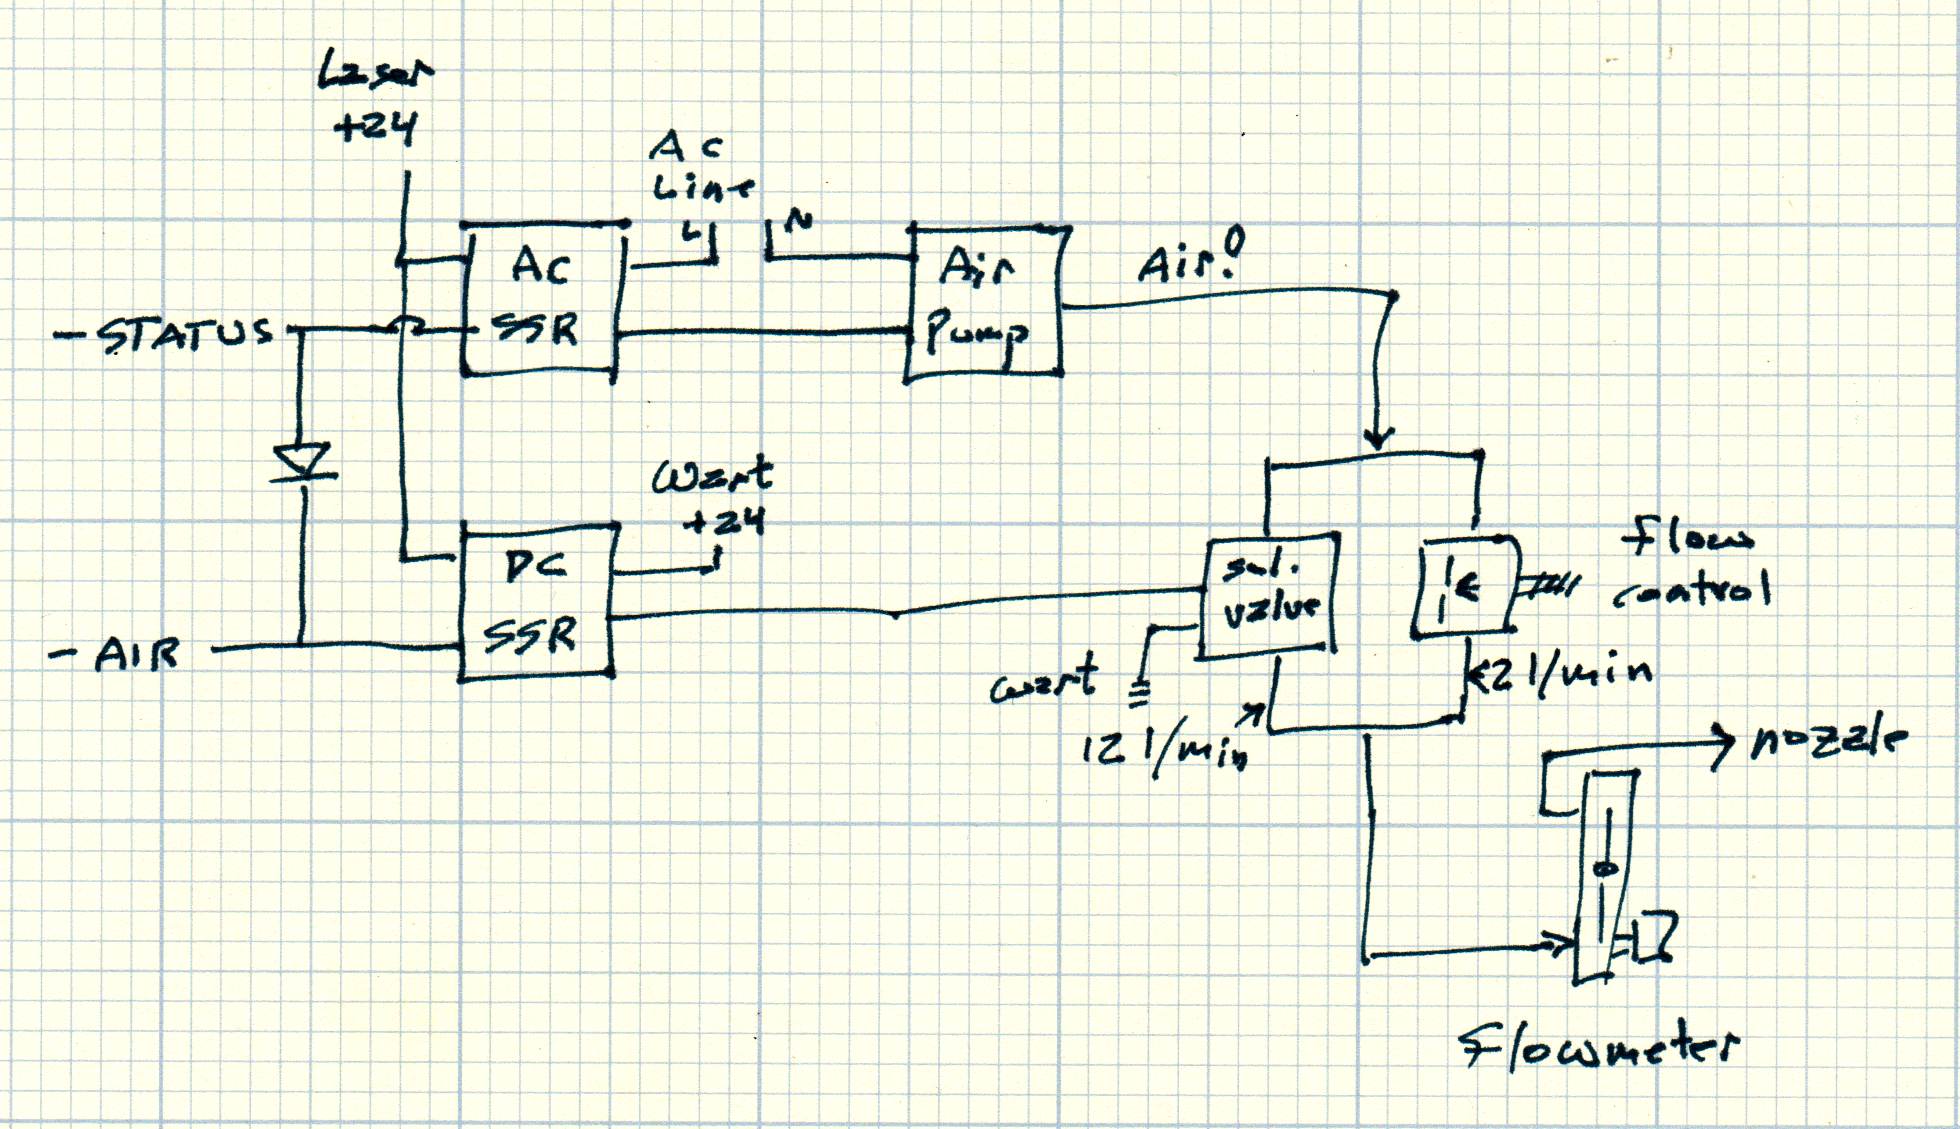
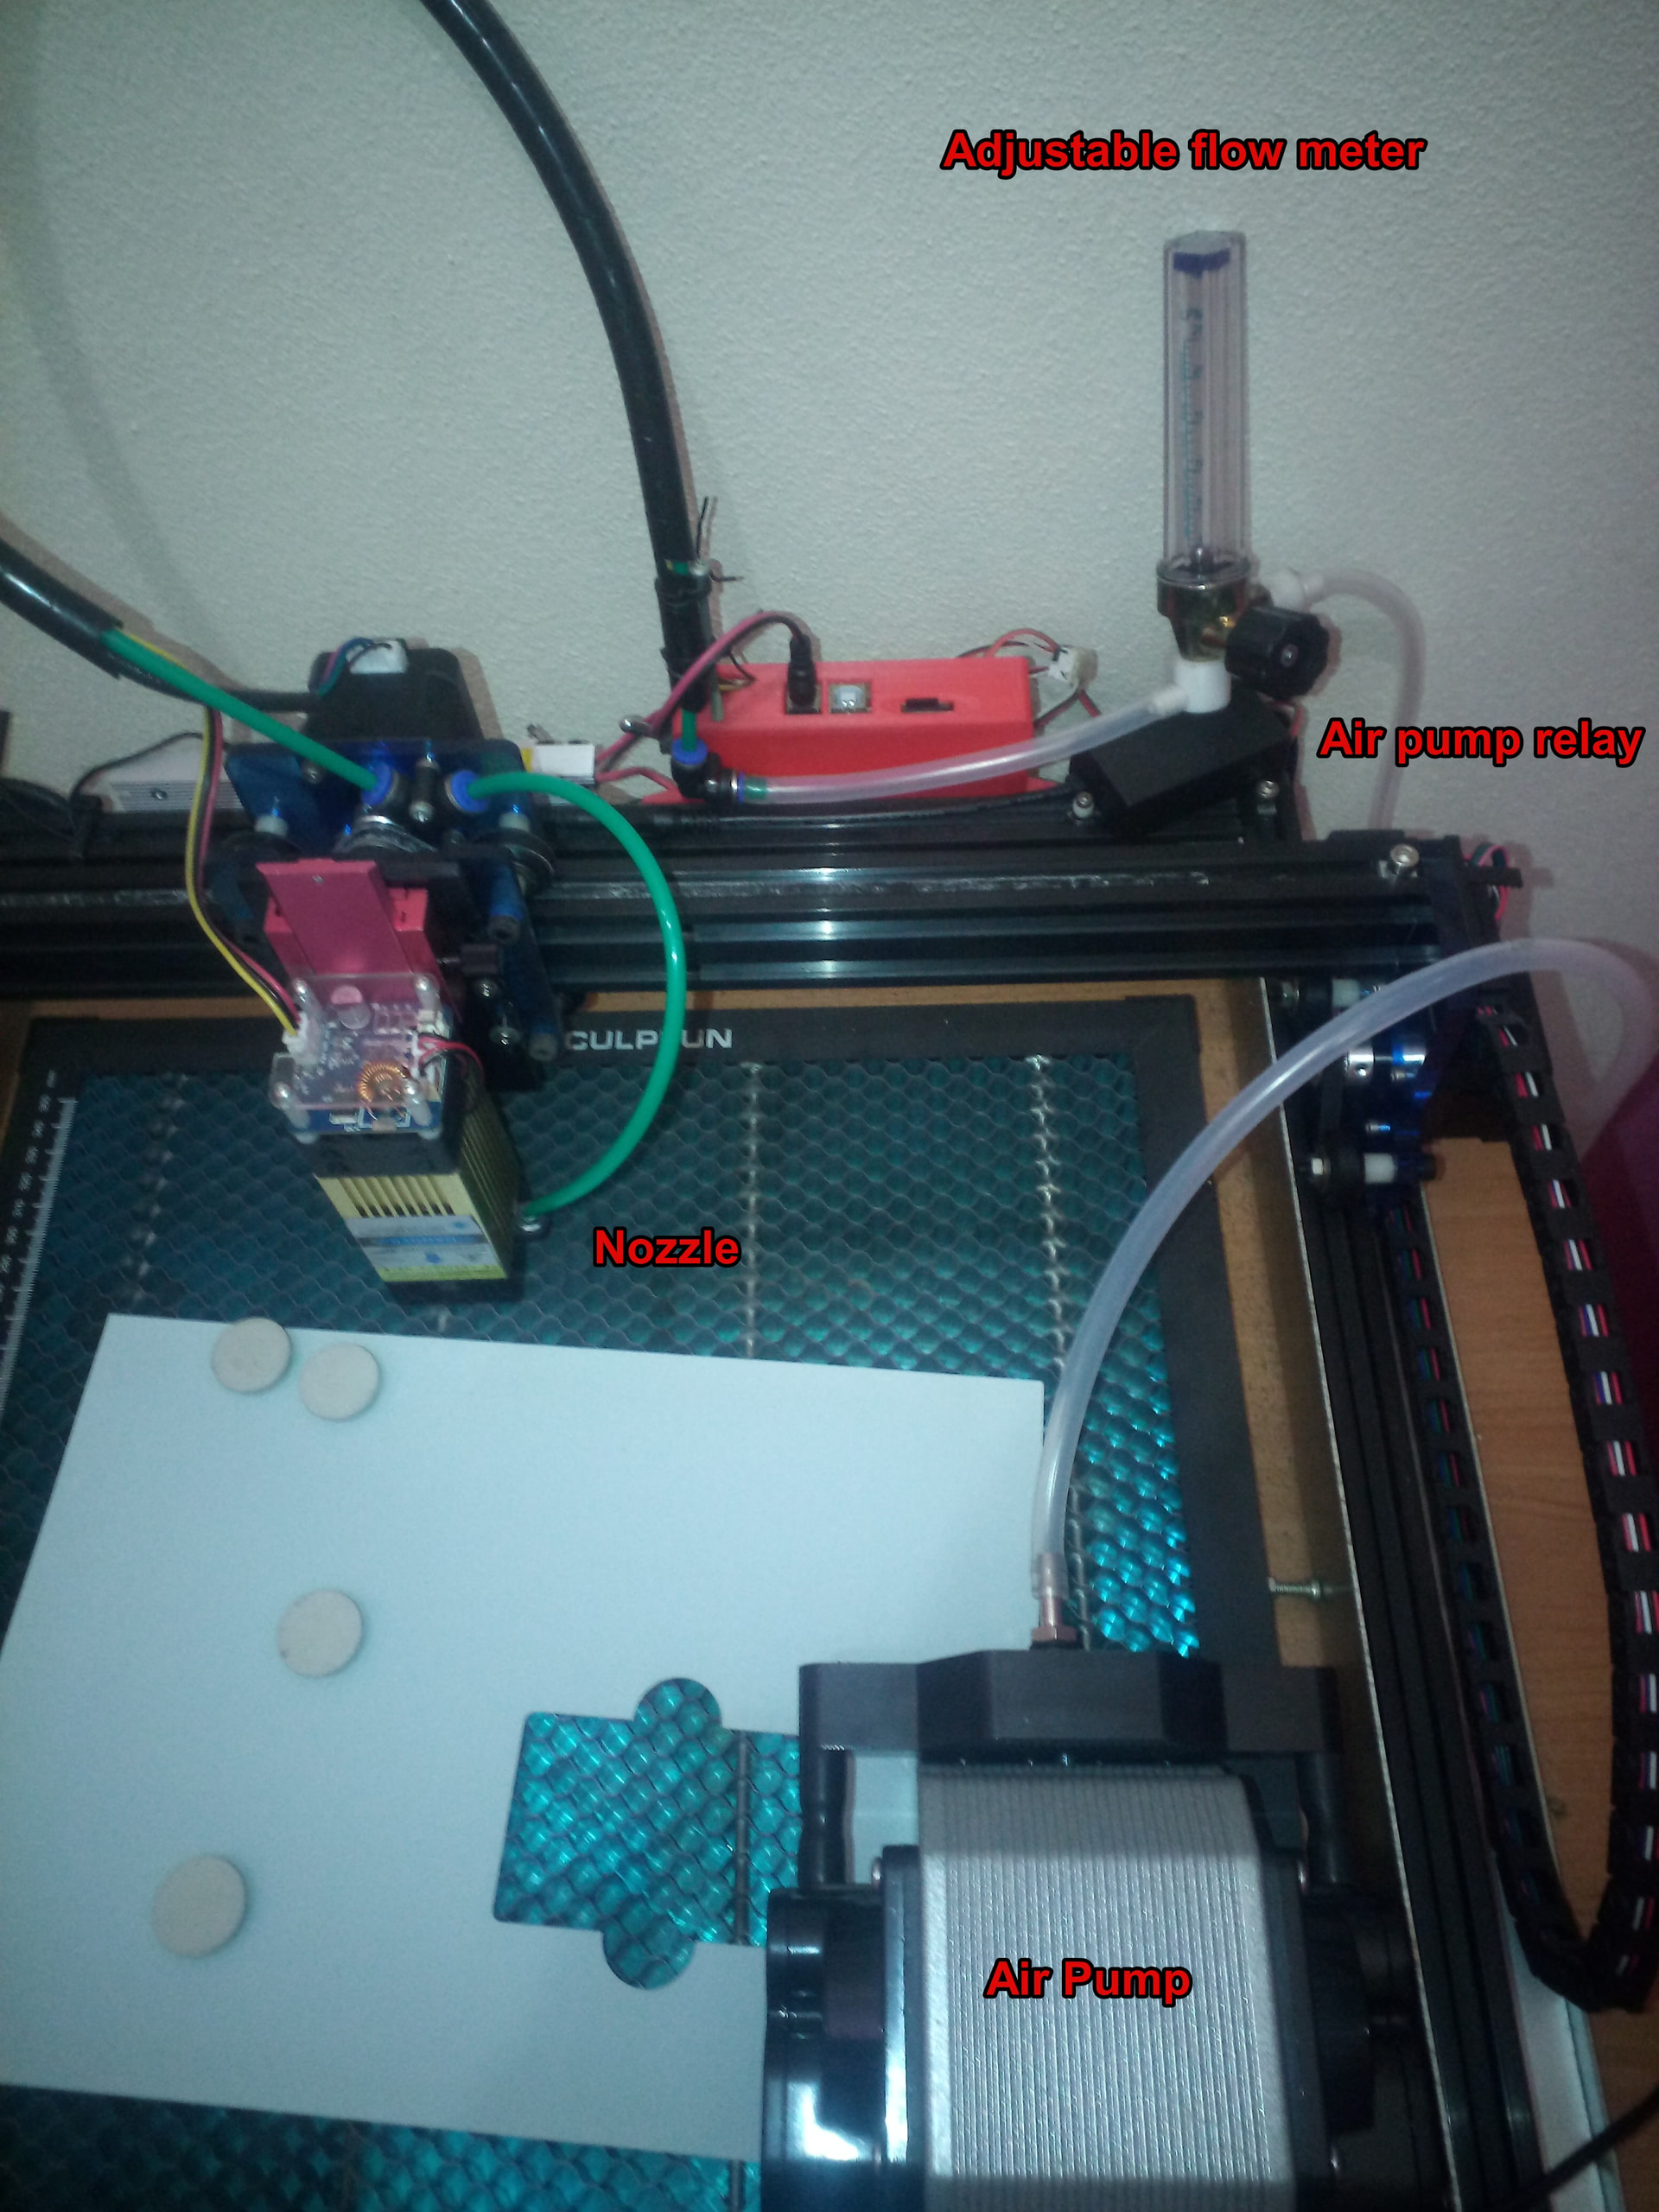
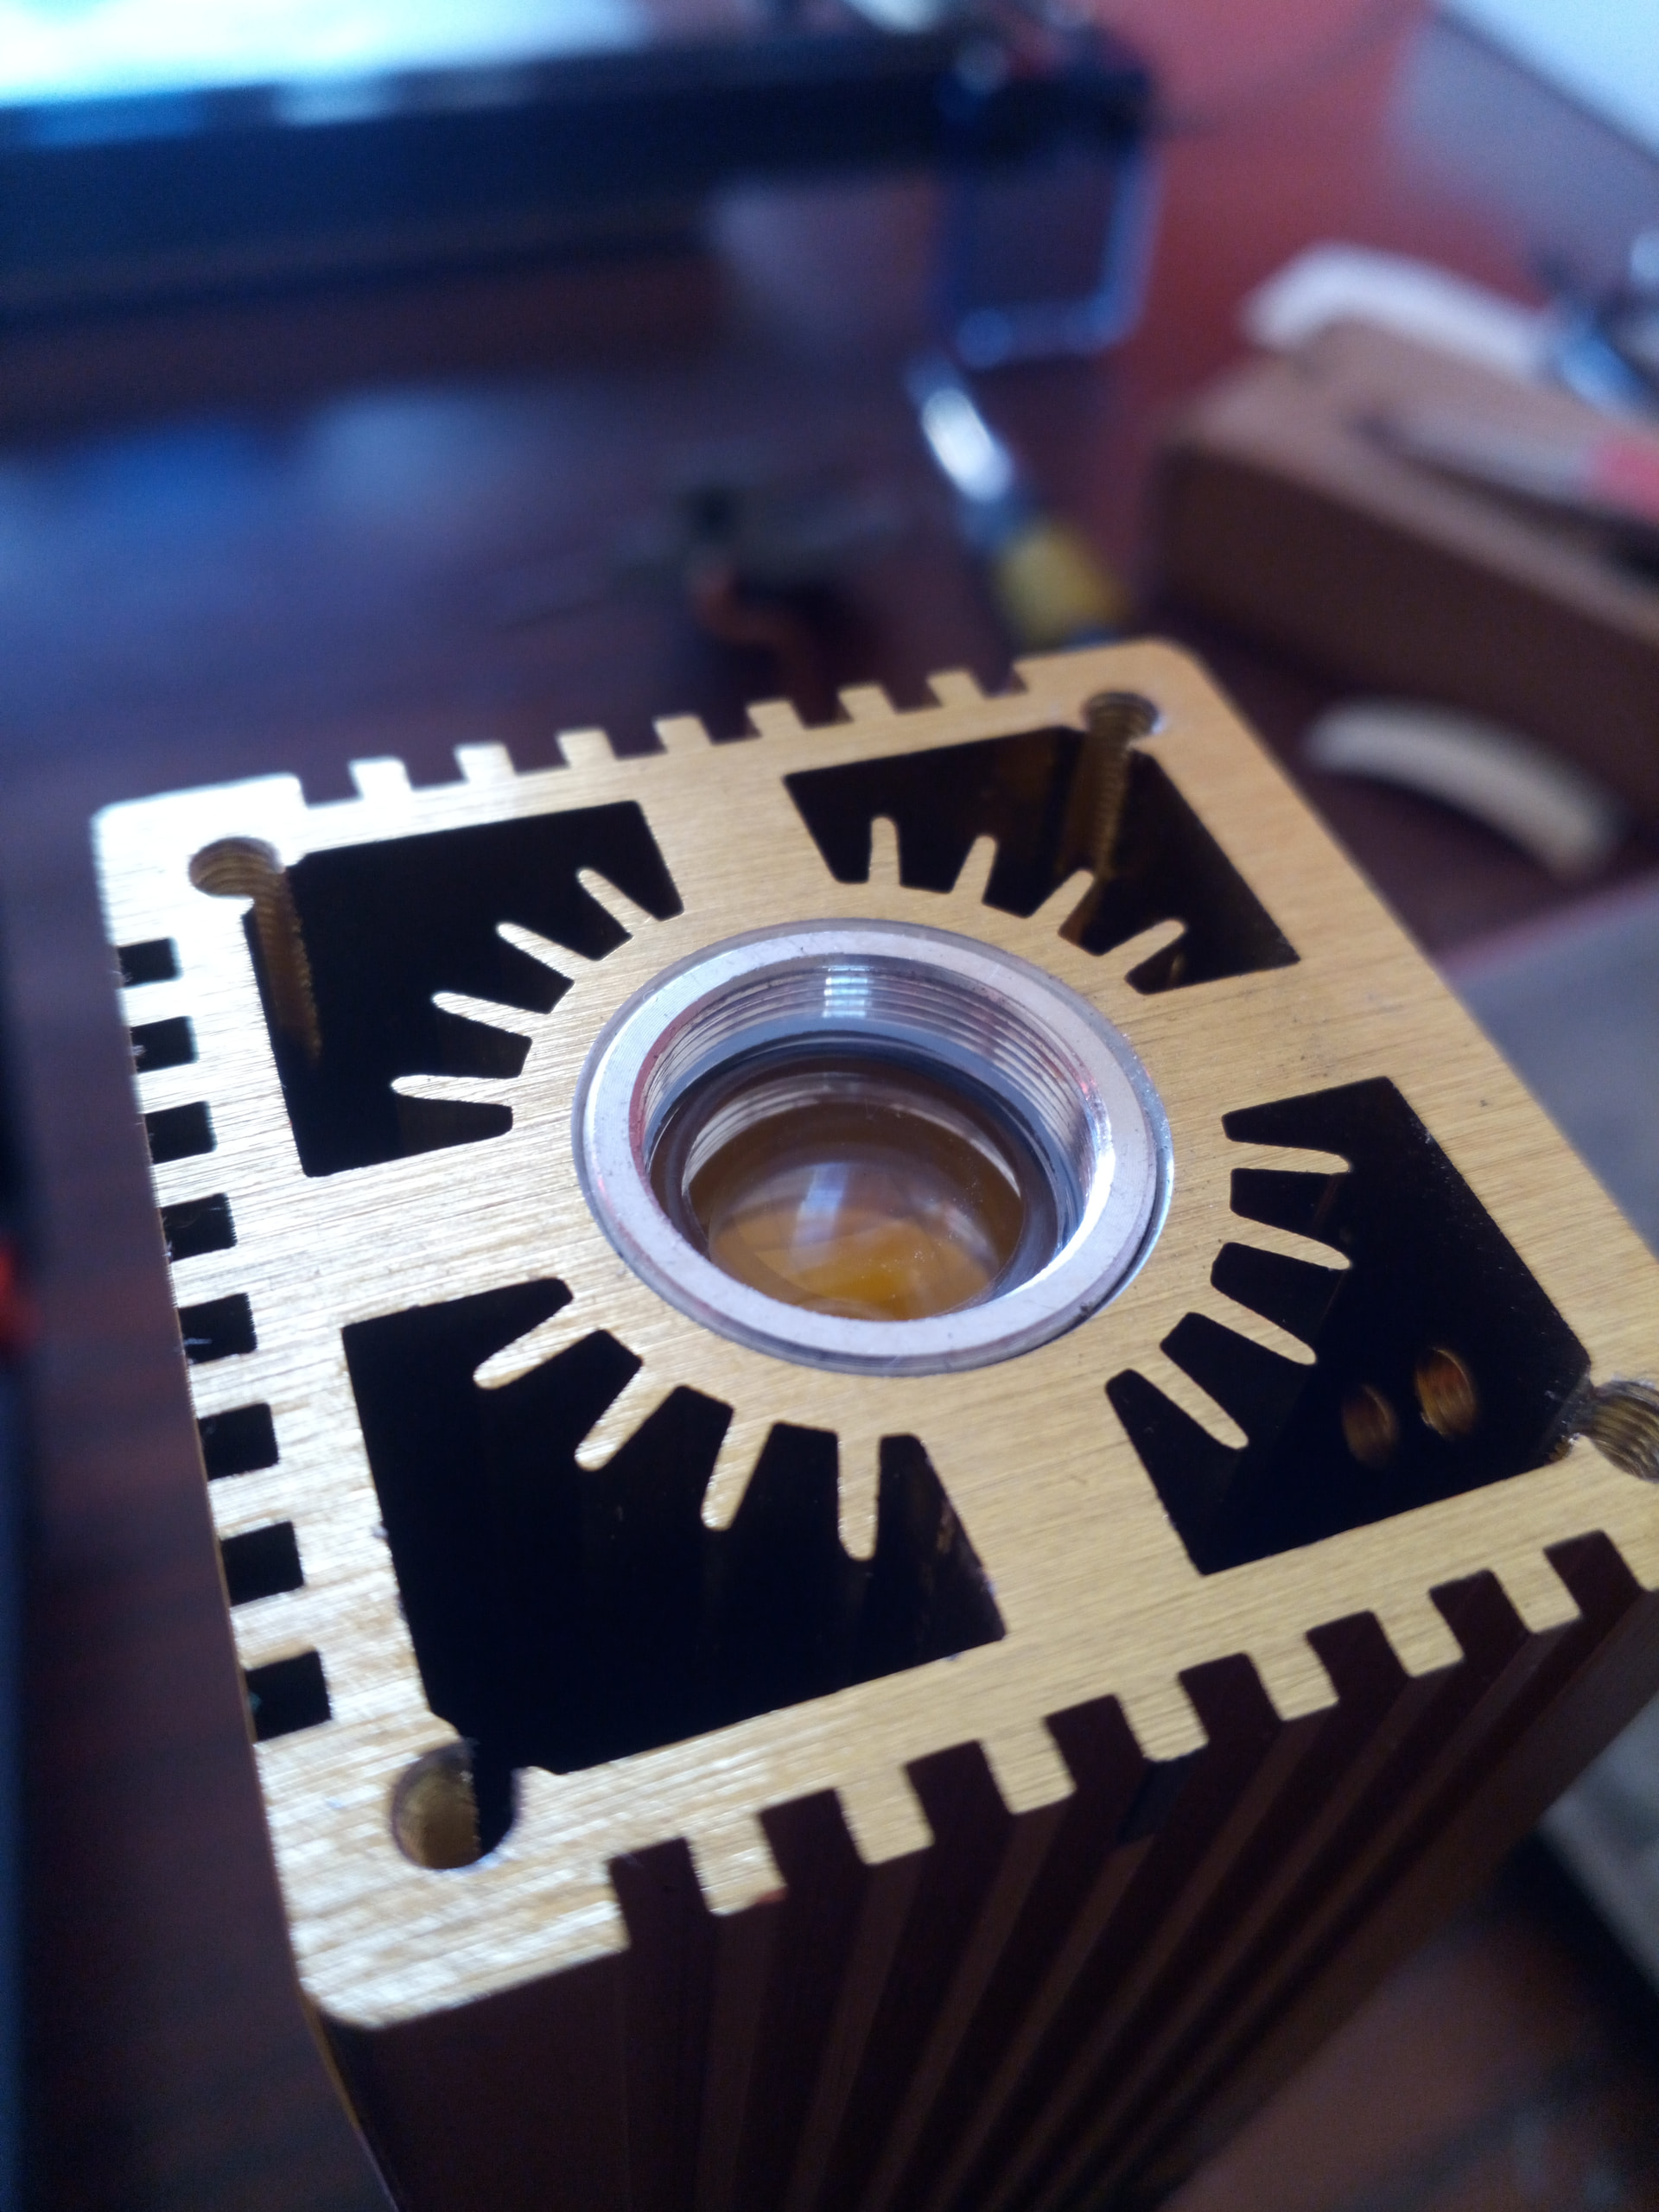
In my case, to protect the lens’s protective glass (which I can no longer find an equivalent for), I fabricated a nozzle (only because I have the ability and knowledge to do so), a 3D printed accessory (with the help of my brother, as I don’t have a 3D printer) to create a homogeneous air distribution, a switch (relay) that, through the board’s control, turns the compressor on and off, and an adjustable flow meter that allows me to manually adjust the minimum flow to keep the fumes out of the lens or a higher flow for cutting.
It’s a very basic system, but efficient enough for my needs.
For more professional use, this serves only as a tip/example.
With some simple automation and appropriate accessories, it’s possible to do very efficient things.
Furthermore, I’m sure that for cutting thick materials at speed, the use of an industrial compressor capable of delivering sufficient flow and pressure to generate an efficient air jet will be inevitable.
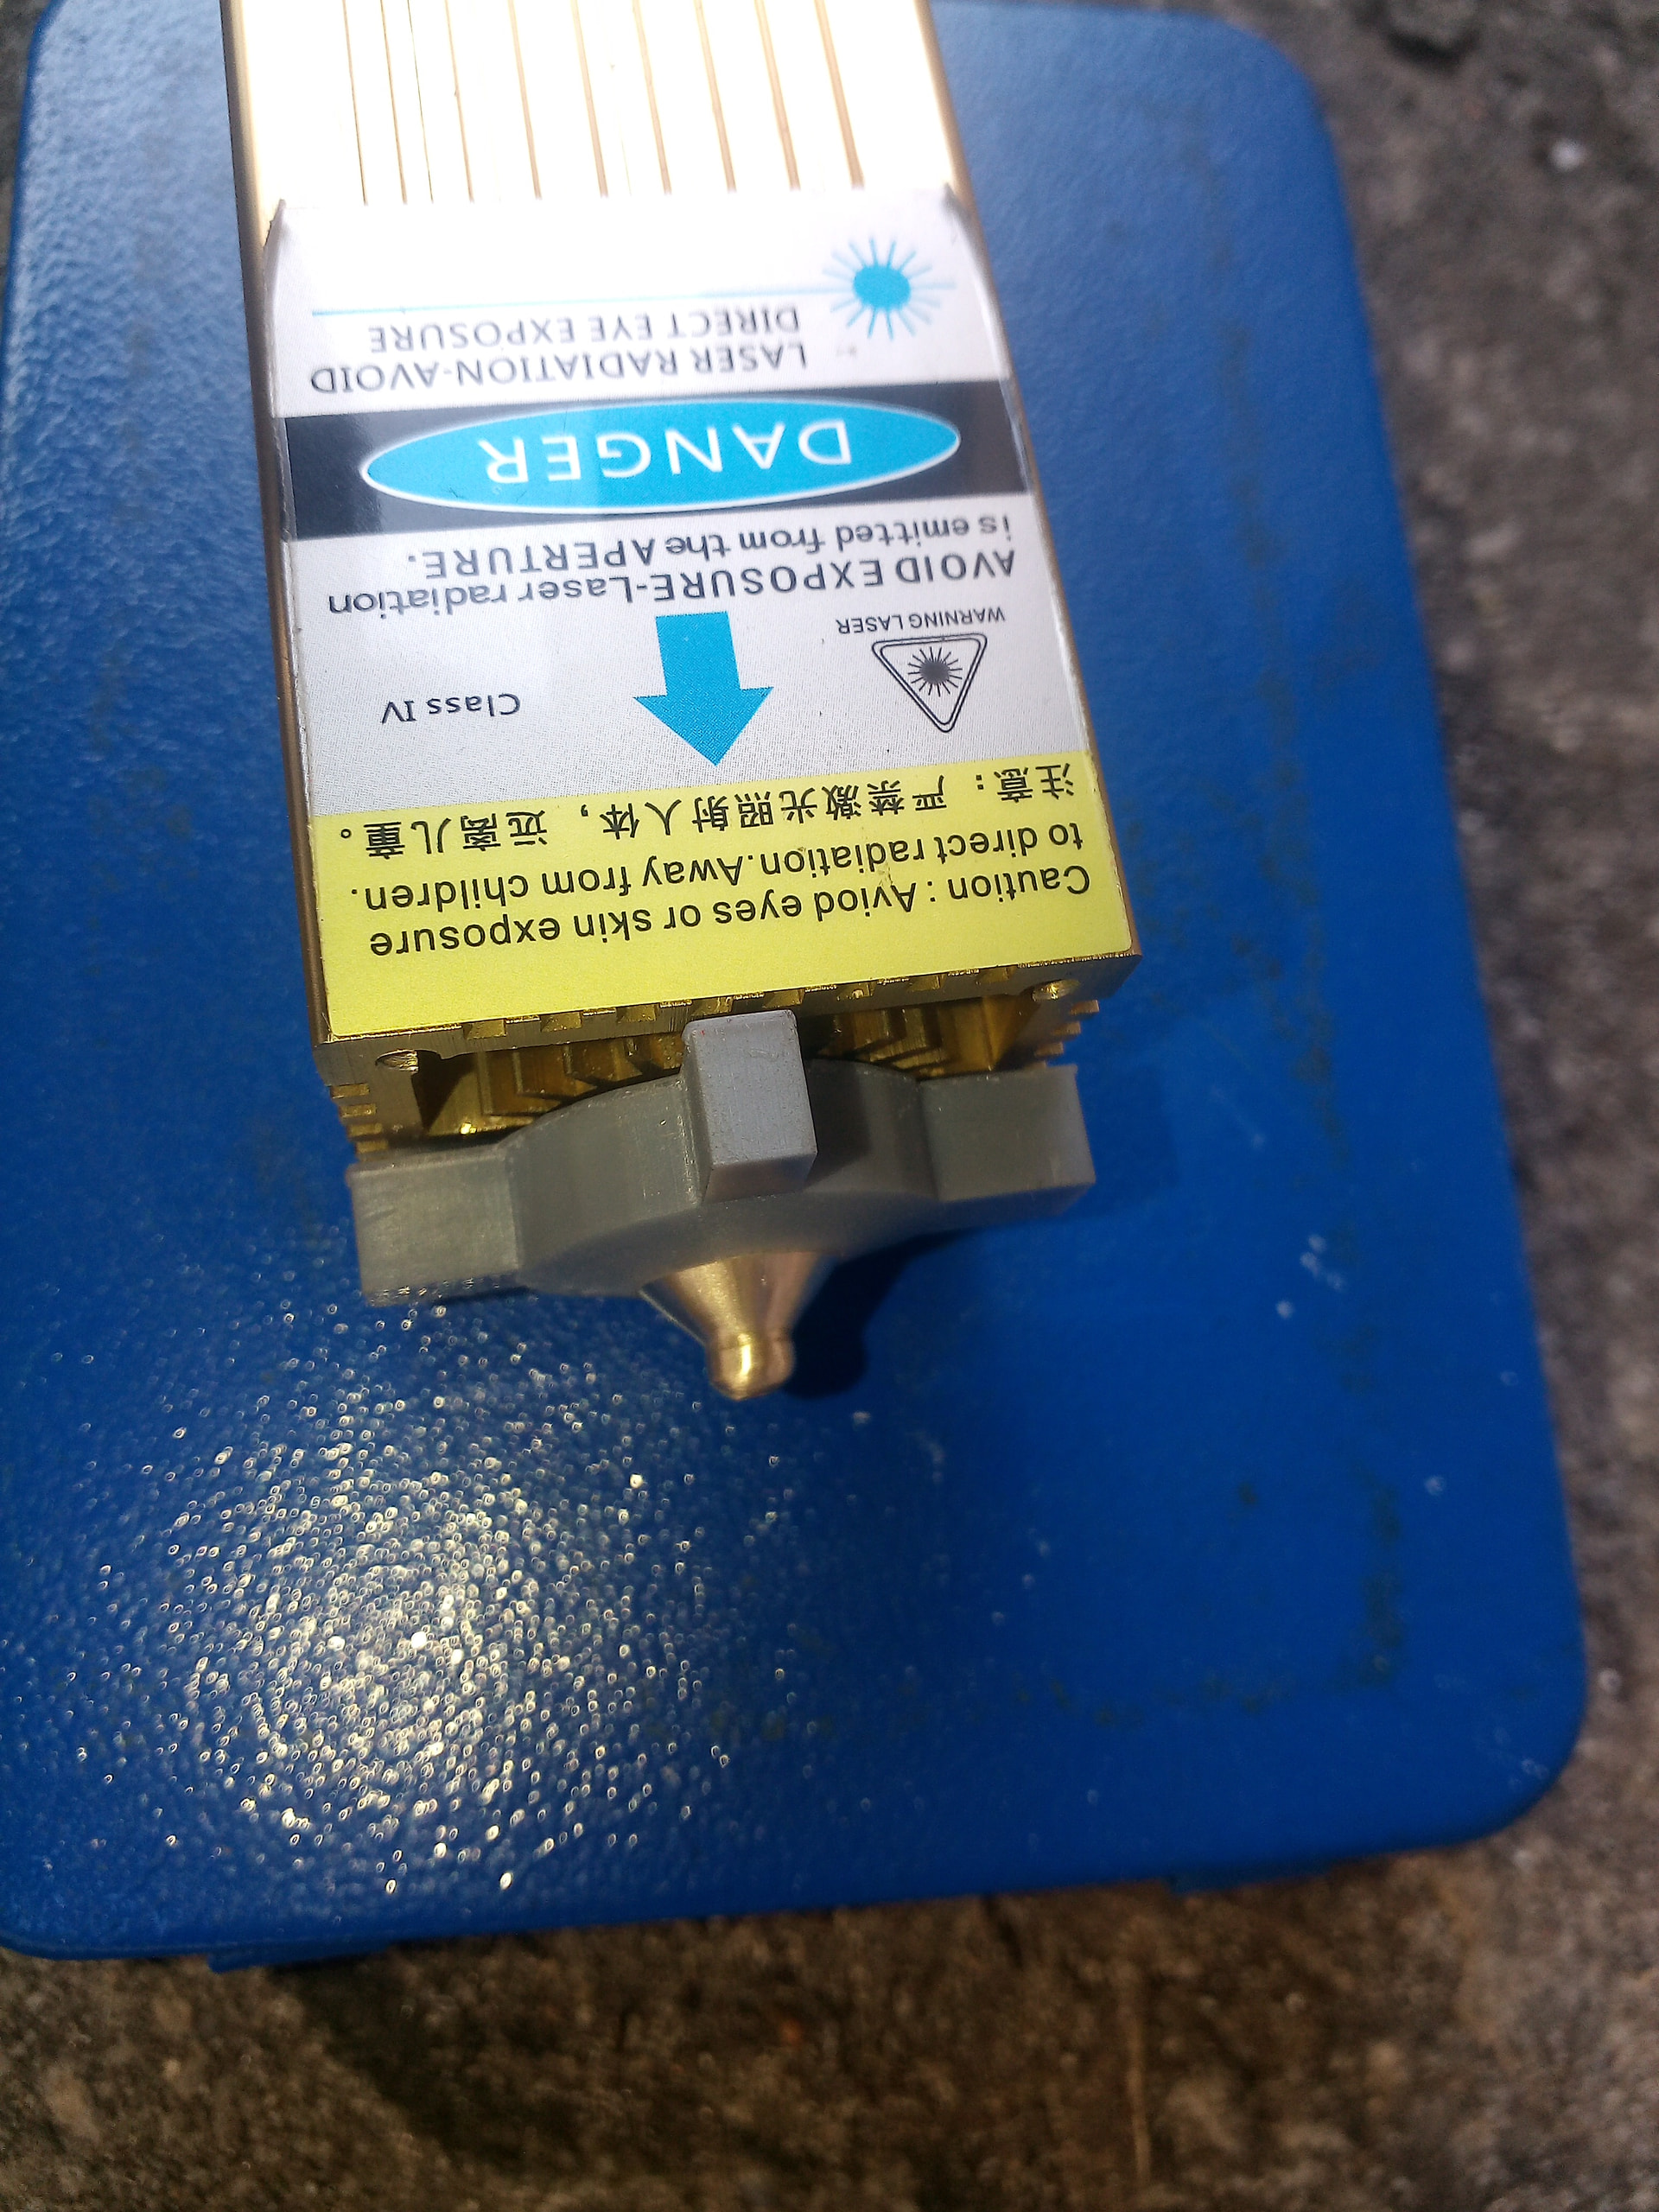
With my chinese cutting laser, the lenses are in a tube that I can’t disassemble…maybe, but I might disadjust sth.
So I will design an add on nozzle and see that the pressure is not too strong.
I think I might install a delay relais for some seconds to prevent smoke getting inside the lenses.
What are the positive effects then - deeper cutting bc the debris or molten material blown out better? Or is there also less burning of the surface with wood?
The KT332N manual says Blow on and Blow off and doesn’t mention the Smoke parameters at all, so finding the delays for your controller (if they exist!) will resemble an Easter Egg hunt.
oi, where is that setting? I tried to work my way through the 6445 menue, but didn’t see sth like that?
And is that an extra output / potential free switch for air assist or where do I have to attach the air assist pump? Right now it’s on the sockets besides the fuse “switch” (another topic to work on…).
The machine is in the workshop and we’re on the run to a concert…
I have a 6442g Ruida, can’t access these values through the console or Lightburn. You can if you have a way to run some certain versions of RDWorks software.
If your machine turns the air on/off when it does/doesn’t lase, you might want to change the blow option. Also the air assist uses what they term Wind on my and your model.
The adjacent Status terminal on CN1.4goes active-low when the controller is running a job, with the Smoke delays bracketing the laser head movement.
Although @jkwilborn and I disagree on the necessity, IMO buffering the controller outputs through solid state relays eliminates the entire discussion starting with “My assist air solenoid valve stopped working …” and ending with “The controller output transistor is dead.”
I’m going to throw this example in the mix. I was recently designing a model cutting MDF. Halfway through I switched from the air assist pump that came with it (neje e80 max) to using my shops compressor. This was to improve cutting depth/speed (which it did) by running 3-5 bar. But I noted as an added bonus, the burn marks were drastically reduced. You can easily see in my example where the change happened. Processing: Screenshot_20260224-090633.png…
The difference is abysmal!!!
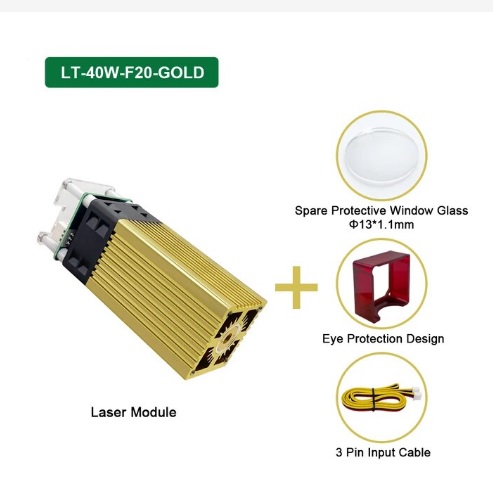
From the research I did, the pump I use for air assist is the same as the one you used previously.
I don’t know if it’s because of the material or the distance of the nozzle from the material that created so much dirt around the cut, but… I’m leaving an image of a recent cut (without subsequent cleaning) with the setup I showed before and the nozzle 1.5mm from the 3.8mm plywood.
Ah, I don’t have one now, but can you specify why? Is the moisture condensating on the lenses inside the nozzle? Or is it affecting the cut negatively?
It could be the “bad type” (dark, water resistant) or close to that which causes a lot of smoke although MDF is not water proof at all, but as it’s the cheapest material they might use any kind of cheap smoking glue.
So if there’s a lot of smoke it makes sense that this is blown away/through the gap with a lot of air. Which would be a general aspect. (which confirms my idea of the on-top-smoke extraction that I have built but not used yet due to other problems).
“During the industrial production of MDF (Medium Density Fibreboard), synthetic resin glues such as urea-formaldehyde (UF) are primarily used. These glues are mixed with wood fibers and wax under high heat and pressure to create a stable and uniform board.”
Otherwise, MDI Methylene diphenyl diisocyanate, which is formaldehyde free, is becoming more and more common in MDF and HDF in the EU.
For outdoor use, there is Melamine-urea-formaldehyde (MUF) glue in the MDF/HDF boards, typically greenish in color.
It is still the 2 types of glue that have the greatest influence on “laser usability”.
The Chinese plywood (packaging material) I was talking about, most often uses exterior glue and coarsely pressed waste material, everything that is lying on the floor, wrapped in 2 outer sheets of slightly more homogeneous material.
The MDF we use is interior glued, finely chopped wood. The homogeneity here is what gives the uniform processing possibility.
What gives all that smoke when laser cutting is, in addition to the glue, the wax that is also added during production.
It is evaporation that takes place when laser cutting MDF and HDF, just like with acrylic. The vapor has only a minor influence on the processing possibilities, it must be removed, but this is not charred material that prevents the function of the laser.
The process can be easily compared and observed when cutting acrylic.
It is the high density of the fibers/material in MDF/HDF that requires a relatively high energy when laser cutting.
MDF has a density of approx. 700kg/m3 (HDF up to 800kg/m3) where pine wood is typically approx. 450kg/m3.
If you want to avoid smoke marks when laser cutting MDF/HDF (and acrylic), you must avoid condensation of the vapors on the material itself. Either very strong and concentrated extraction and/or a lot of compressed air on the material itself around the kerf gives the best results, here in my case.
Liquid water absorbs 10.6 µm light almost perfectly, so droplets explode into steam. If the compressor runs while the laser is off, vaporizing a droplet deposited / condensed on the lens will produce a Bad Outcome.
Water vapor has strong absorption at 10.6 µm, so running a 100 W beam through damp air reduces the power reaching the material while heating the lens & nozzle.
All of those effects depend on many variables, none of which are under anyone’s control, so you can probably use raw compressed air for a long time.