Subject: File size limits and unexpected offset on large photo engraves (OMTech 100W 2028)
Laser: OMTech 100W (20" x 28" bed)
Software: LightBurn
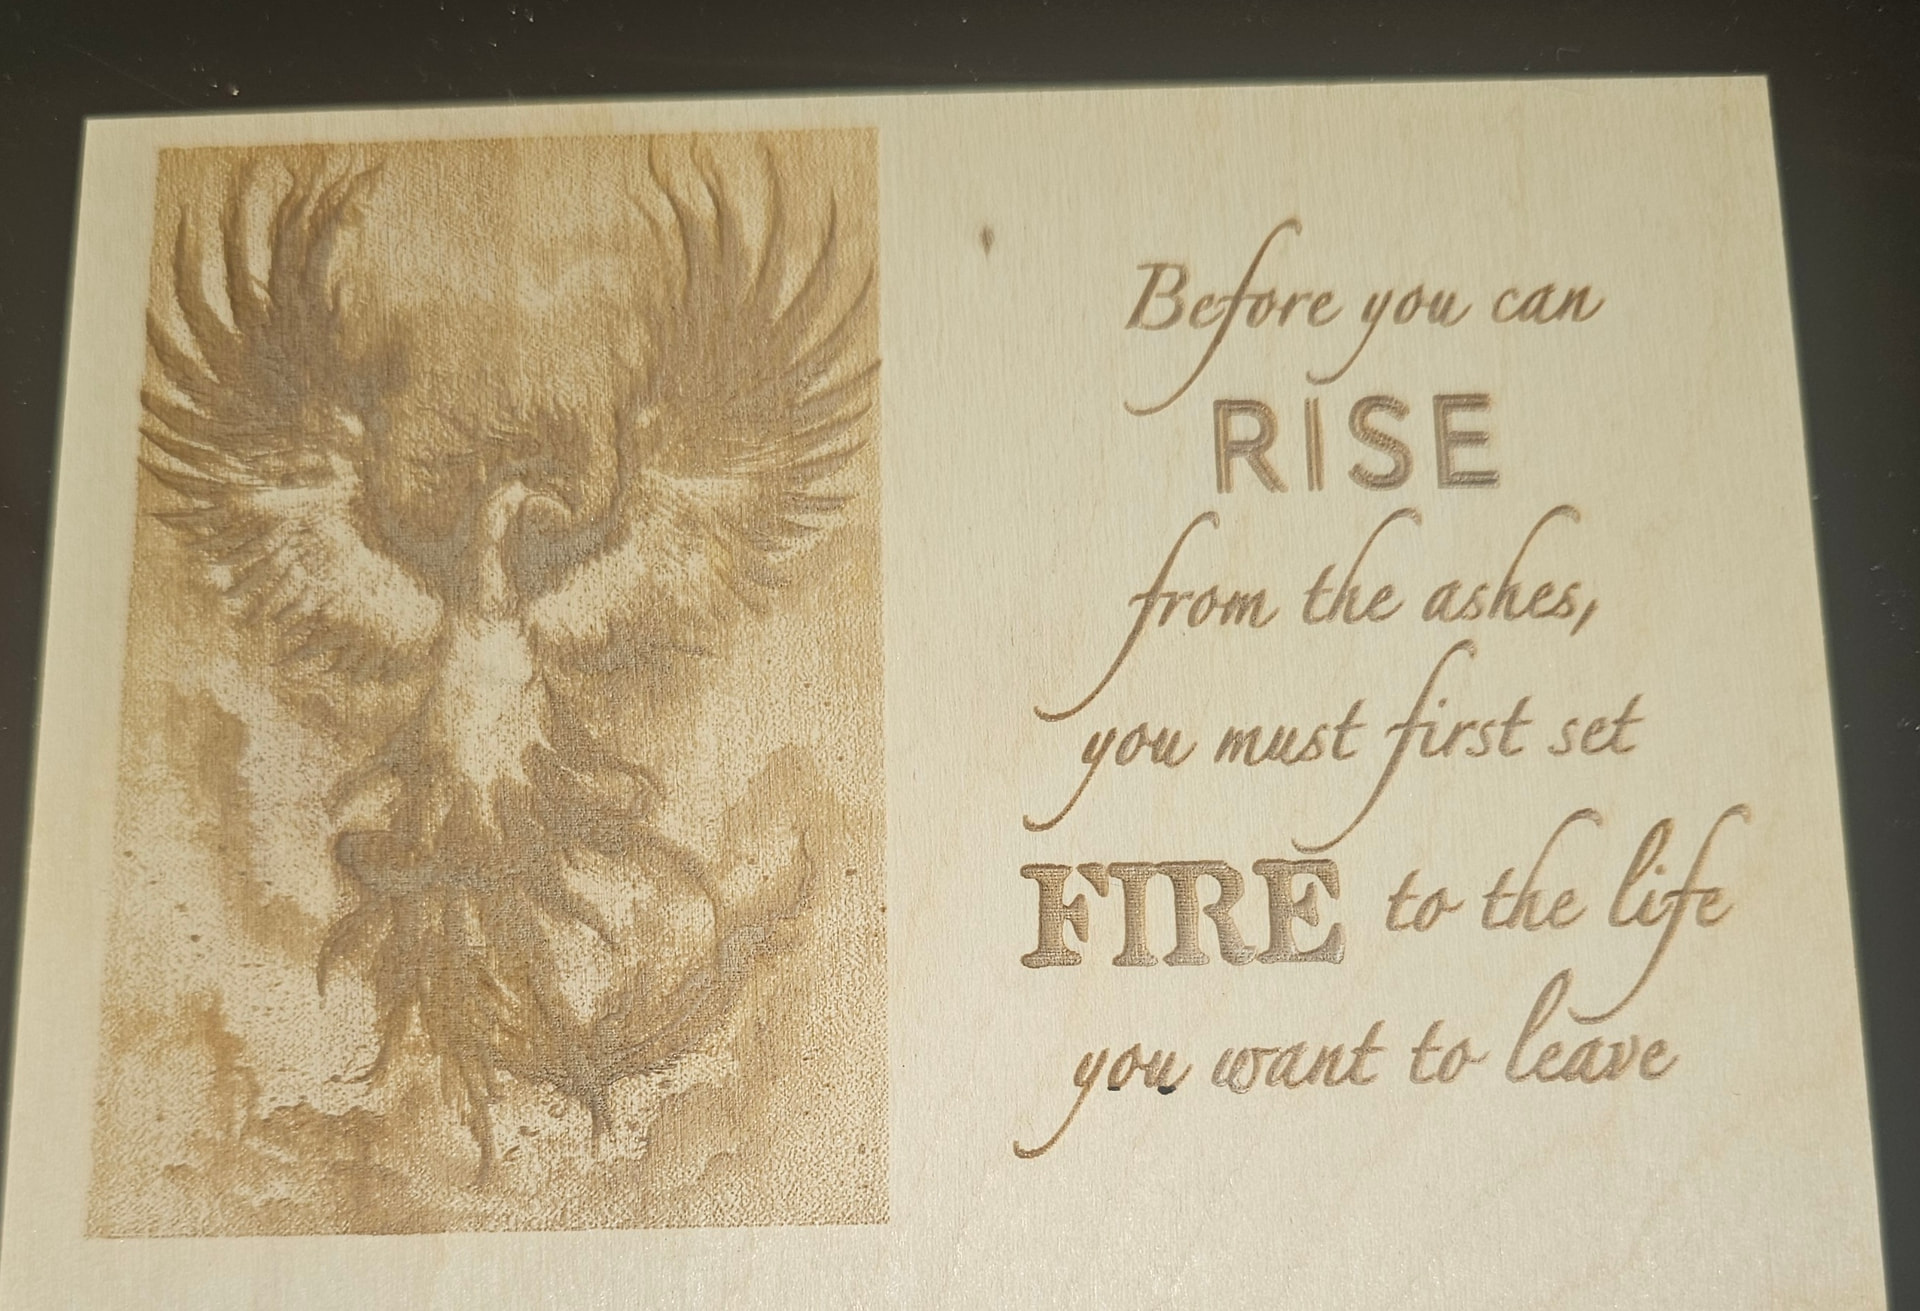
I’m working on a large photo engrave for a friend. I’ve had success with smaller photo engraves measuring 3" x 5.5", but the desired output for this project is much larger—approaching total size of 12" x 20" with the graphi being 6.46" w x 9.67" h.
When I tried sending the file from my computer to the laser, the machine threw an error stating the file size was too large.
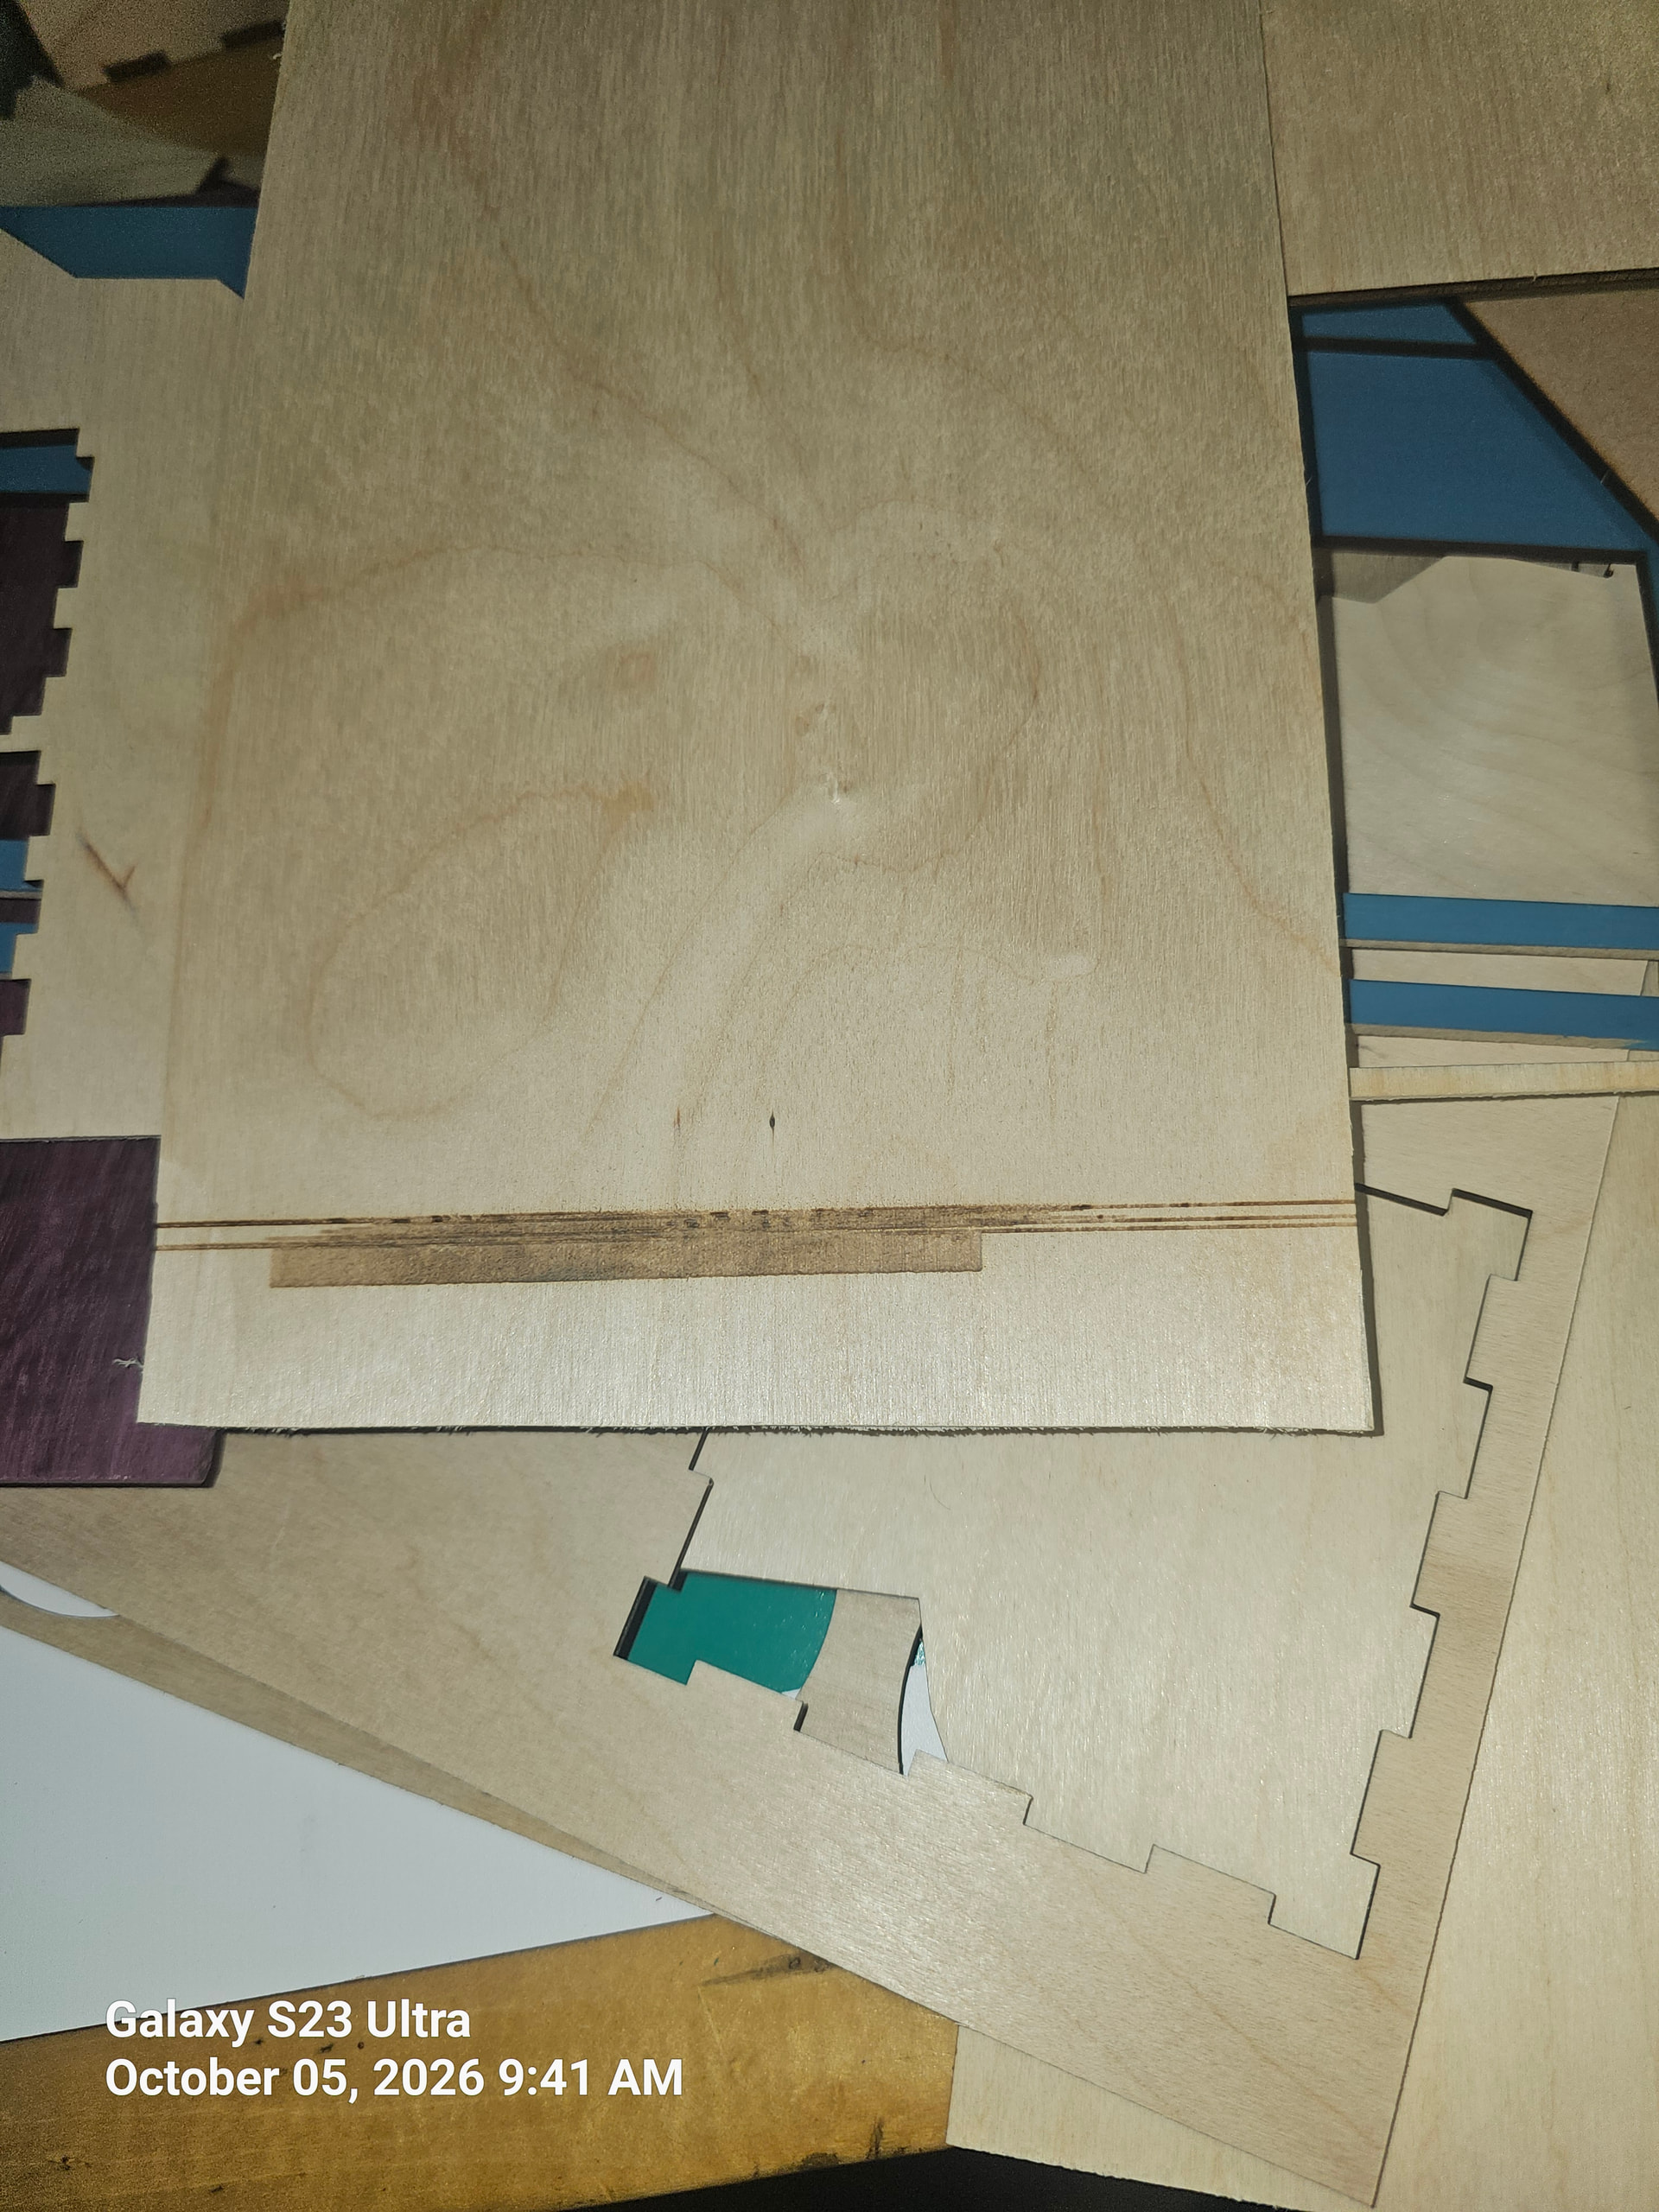
To resolve this, I reduced the image/file size and sent it again. The job started normally, but almost immediately the engrave head drifted and began engraving completely off the board. I scaled it down to an even smaller size to test, but the same issue occurred—it starts fine, then eventually runs off the board. (Images and file attached for reference.)
I’m posting to ask for insight on a few points:
Controller Memory Limit: It seems my controller hit a memory cap receiving the high-DPI image data over the connection. Is there a reliable workaround for this? I usually send and start jobs directly from my computer. I doubt that transferring the job to the controller’s onboard memory first—or running via USB thumb drive—bypass this transmission error? I doubt it becaus the amount of data doesn’t really change depending on the way it is received.
Drifting / Engraving Off the Board: Is the drifting caused by missing steps/buffer overruns from the oversized file, or could it be an origin/overscan issue? (I haven’t re-tested the smallest calibration test piece yet, which ran fine when testing initial contrast, gamma, and enhancement settings.)
Workflow Suggestions: What is the best way to pre-process or stream large raster photo files to prevent controller buffer overruns while maintaining detail across a 12" x 20" piece?
This is not an OMtech problem or a Lightburn problem.
I am guessing that 1270 DPI is your problem. Even if your machine is capable of that resolution (0.02mm dot), the wood is probably not. Try something like 318 DPI (0.08mm interval) and see if you get acceptable results in both the final result and a serious time reduction.
It always helps to know about your spot size. Mine commonly runs over 0.10mm, with a 2" lens, so 0.08mm is just wishful thinking.
Resolution is a combination of spot size and resultant damage to the material. Some materials will allow the detail at the spot size level, with some types of stone it’s different. Of course you have to test it, but one some of the stones I have that 0.10mm spot size leaves a 0.20mm damage to the material. Which ever is largest would be the best possible resolution. Most of the time slate can handle very high detail. Enough detail to use the fiber.
There is are on-line spot size calculator that will give you the answer to spot size and depth of focus (dof). They are as accurate as the data you put in them.
I’m curious about your power setting. When I first started this, I had a 43W tube (Mahoney watt meter) and I know I ran it at about 10 to 15% power or about 6W. But a bit faster, I think it was 250 - 300mm/s. I used a lot of 5mm sub flooring for my jigs. They had creation date, origin and a quick description what they were for.
You’re using 27% power on a 100W tube is about 27W or about 4 times more power and quite a bit slower. Just seems strange to me, that’s all.
BTW, if it’s an image, there is no use for a minimum power setting as the Ruida applies overscan, computed by the hardware, I’m told. It’s generally required on vectors, as they change speed as it’s lasing.

 They are as accurate as the data you put in them.