Hi all, perused the forum and cant seem to find anything that’d help me get an atomstack r8 rotary to work with the gweike g2 pro. They both use a single usb connection but knew it wouldnt be that simple. I updated light burn to “turn on” the rotary and update the setting in the atomstack r8 manual, somehow i knew its impossible for these 2 to be plug and play… anyone have anyluck or will this require me to break these things open and do rewiring?
Both brands are misusing the USB-A port for something it wasn’t designed for, so there’s no standard.
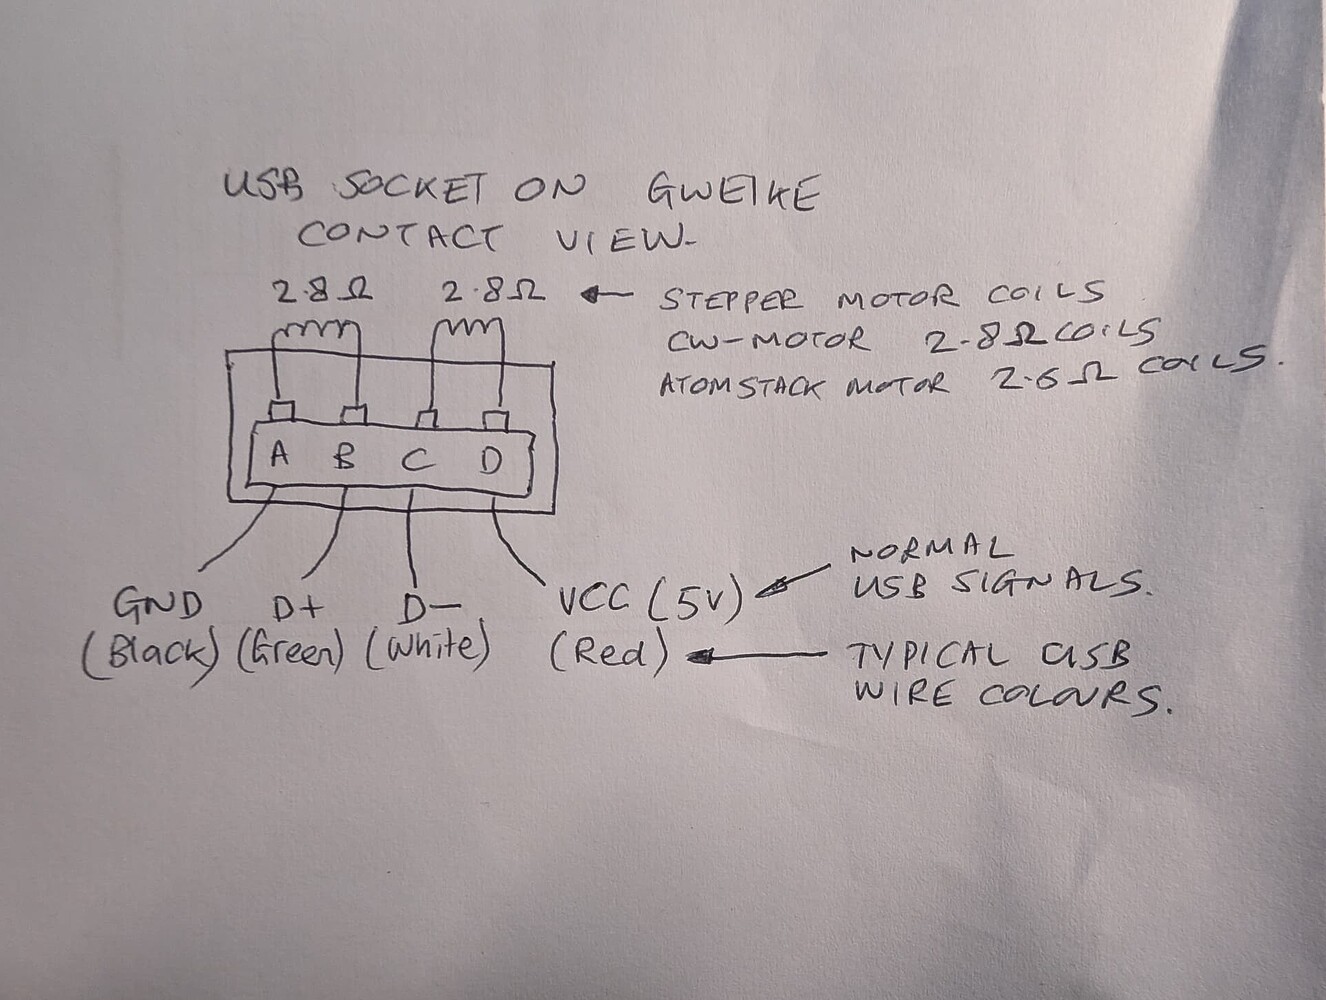
Here’s a great method to find the stepper driver windings:
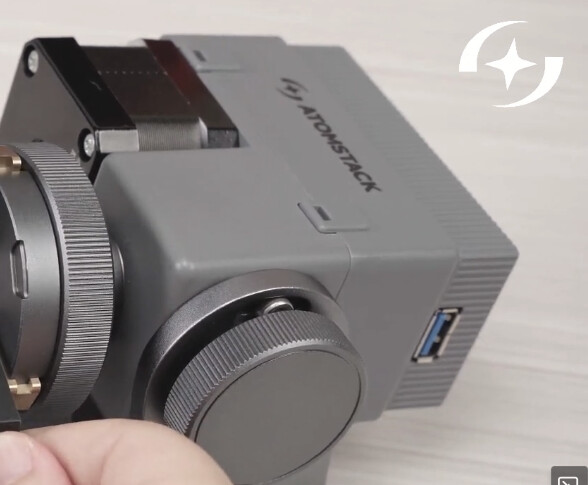
If you have the Gweike rotary, you can plug in the male USB-A into the Atomstack R8 Rotary female USB-A.
Turn one of the motors. If the wiring is the same, the other one will make the same rotation.
The USB-A rotary output of the Gweike G2 is wired 1-2 winding 1, and 3-4 winding 2.
This thread is related:
The Gweike G2 is using a TMC 2208 stepper to drive the external axis.
I’m using this X-axis from a discarded 3D printer as a linear table ![]()

1 Like
thank you! I dont want to over simplify but could you check my understanding?
Assuming the resistance is the same as the linked post, i could:
1 - unplug 4 wires from the atomstack step motor driver (esentially bypassing the atomstack driver)
2 - splice that end into a male usb (either the same as the pic below or the outcome of my resistance resting
3 - plug into gweike g2
4 - update lightburn settings
i noticed that the motors on the r8 are different than the r6. this is a elemnetary question but would this affect the physcial compatiability or lightburn settings?
R8 - 42DNC420B-27D22
R6 - 42DNC420B-18D15
I feel like i may dumbing this down so i greatly appreciate your help!
My assumption is that this blue female USB-A connector goes straight to the stepper motor without a motor driver in between.
We will need to find out how it is wired.
I personally would just take it apart to see ![]() But use one of the other suggested options first.
But use one of the other suggested options first.
- Measure with a multimeter,
- Short the pins and feel the resistance
The stepper driver inside the Gweike will be strong enough to drive either motor. Your R8 looks like it has some gear reduction or at least a redirection mechanism, so you will need to adjust the Steps per Rotation so that the Test button in the Rotary Setup spins the chuck exactly one revolution and back.
breaking it open looked more intimidating than it was but looks like both the r6 and r8 use a stepper motor driver with a femail usb connection.

Am i thinking this thru the right way? Pull out the wire connecting the motor to the driver and insert a new plug i made with one end 4 pin and the other male usb (wired to the diagram above) and hypotetically it should work then?
Oh, interesting! I didn’t expect that ![]()
Yes, absolutely!
The Gweike has the stepper driver inside the laser source, and the USB-A plug on their rotary connects straight to the motor windings.
Let us know when that worked
Hi Aaron, first time poster here. Slightly OT, but your comment about using a linear table intrigues me. I would like to do the same thing but for a Z table. I’ve worked with microcontrollers and the TMC drivers before in FDM printing. I purchased a new Gweike G2 and their rotary chuck (both still in their boxes until Xmas.) I infer the TMC driver is in the main unit and the rotary is a bare motor. I’m assuming I could build a lift stage and use the same four-wire interface to drive the motor as you have done with your linear table. My question is largely about Lightburn software… can the software be told to use a motor connected to the Gweike’s “rotary” plug on the Gweike instead as a Z axis? I’m curious if I can move my workpiece as it is cut/engraved to keep the laser exactly in focus for deeper cuts.
Hi Larry,
LightBurn does not currently support Z-Axis on any galvo.
Did you get the G2 Pro with the motorised Z-Axis? If you did: the z-Axis can only be controlled with the buttons on the left side. As far as I’m aware, these controls are not connected to any of the controller pins which could be used to control it in any software.
How deep? - The depth of field of the laser spot has an effective range of around 2mm. You can cut 2mm sheets with a bit of patience without needing to move the axis down during the cut. (Set the focus halfway into the material)
The TMC stepper driver of the Rotary Axis could theoretically be reassigned to an external motorised z-stage.
Even if LightBurn supported moving the Z-Axis, the problem is that the Field Size / projection also decreases, so you won’t exactly laser in the same spot when you lower the axis.
Here’s a good docs page with the used terminology:
Thanks for the quick reply! Yes, I fully understand the Gweike’s power lift can only be controlled via the buttons. My plan was to build a workpiece platform from old 3D printer parts, and use the TMC driver in the rotary connector to drive the coils of the platform motor. Yes, I understand the galvo projection cone issue. I’d expect that any practical use with the Gweike-Z would be limited to a sweet spot near the center, where the cosine error would be small. I am also considering changing the field lens to a shorter focal length, which reduces depth of field and makes refocusing more important. Bummer that LightBurn doesn’t support Z-axis on galvo.
The other reason I’m interested in learning about LightBurn’s limitations is that I was considering the same sort of Z-axis modification for a diode laser platform. My Creality Falcon2 can usurp the Y axis to drive a rotary, and like the Gweike the connection is raw coils for the stepper motor. I haven’t torn into the Falcon2 but I’m assuming it doesn’t have a third axis… because if it had third axis control, the user wouldn’t need to unplug the Y axis and move the cable to the rotary. I’m wondering if LightBurn could control a third GRBL axis that isn’t on the same controller, e.g. simultaneous and coordinated G-code control on two USB connections for a single job? Again, I’m considering using cannibalized 3D printer parts to translate the entire honeycomb up and down as a Z axis, in theory to permit cleaner deep cuts in supported materials.
Were you ever able to get it up and running?
This topic was automatically closed 30 days after the last reply. New replies are no longer allowed.