Hey there! It’s my first post here. I had a K40 machine in the past years, now I finally managed to bring home a brand new chinese 6090 machine, equipped with a Reci W4 tube, Ruida 6445G and finally an adjustable Z axis with autofocus. I successfully set up my machine in LightBurn, did some cuts and some engraves in last days… wood (plywood, mdf) is fine, but mirror acrylic is giving me headaches.
What are your best pratices to obtain clean and clear engraves on it?
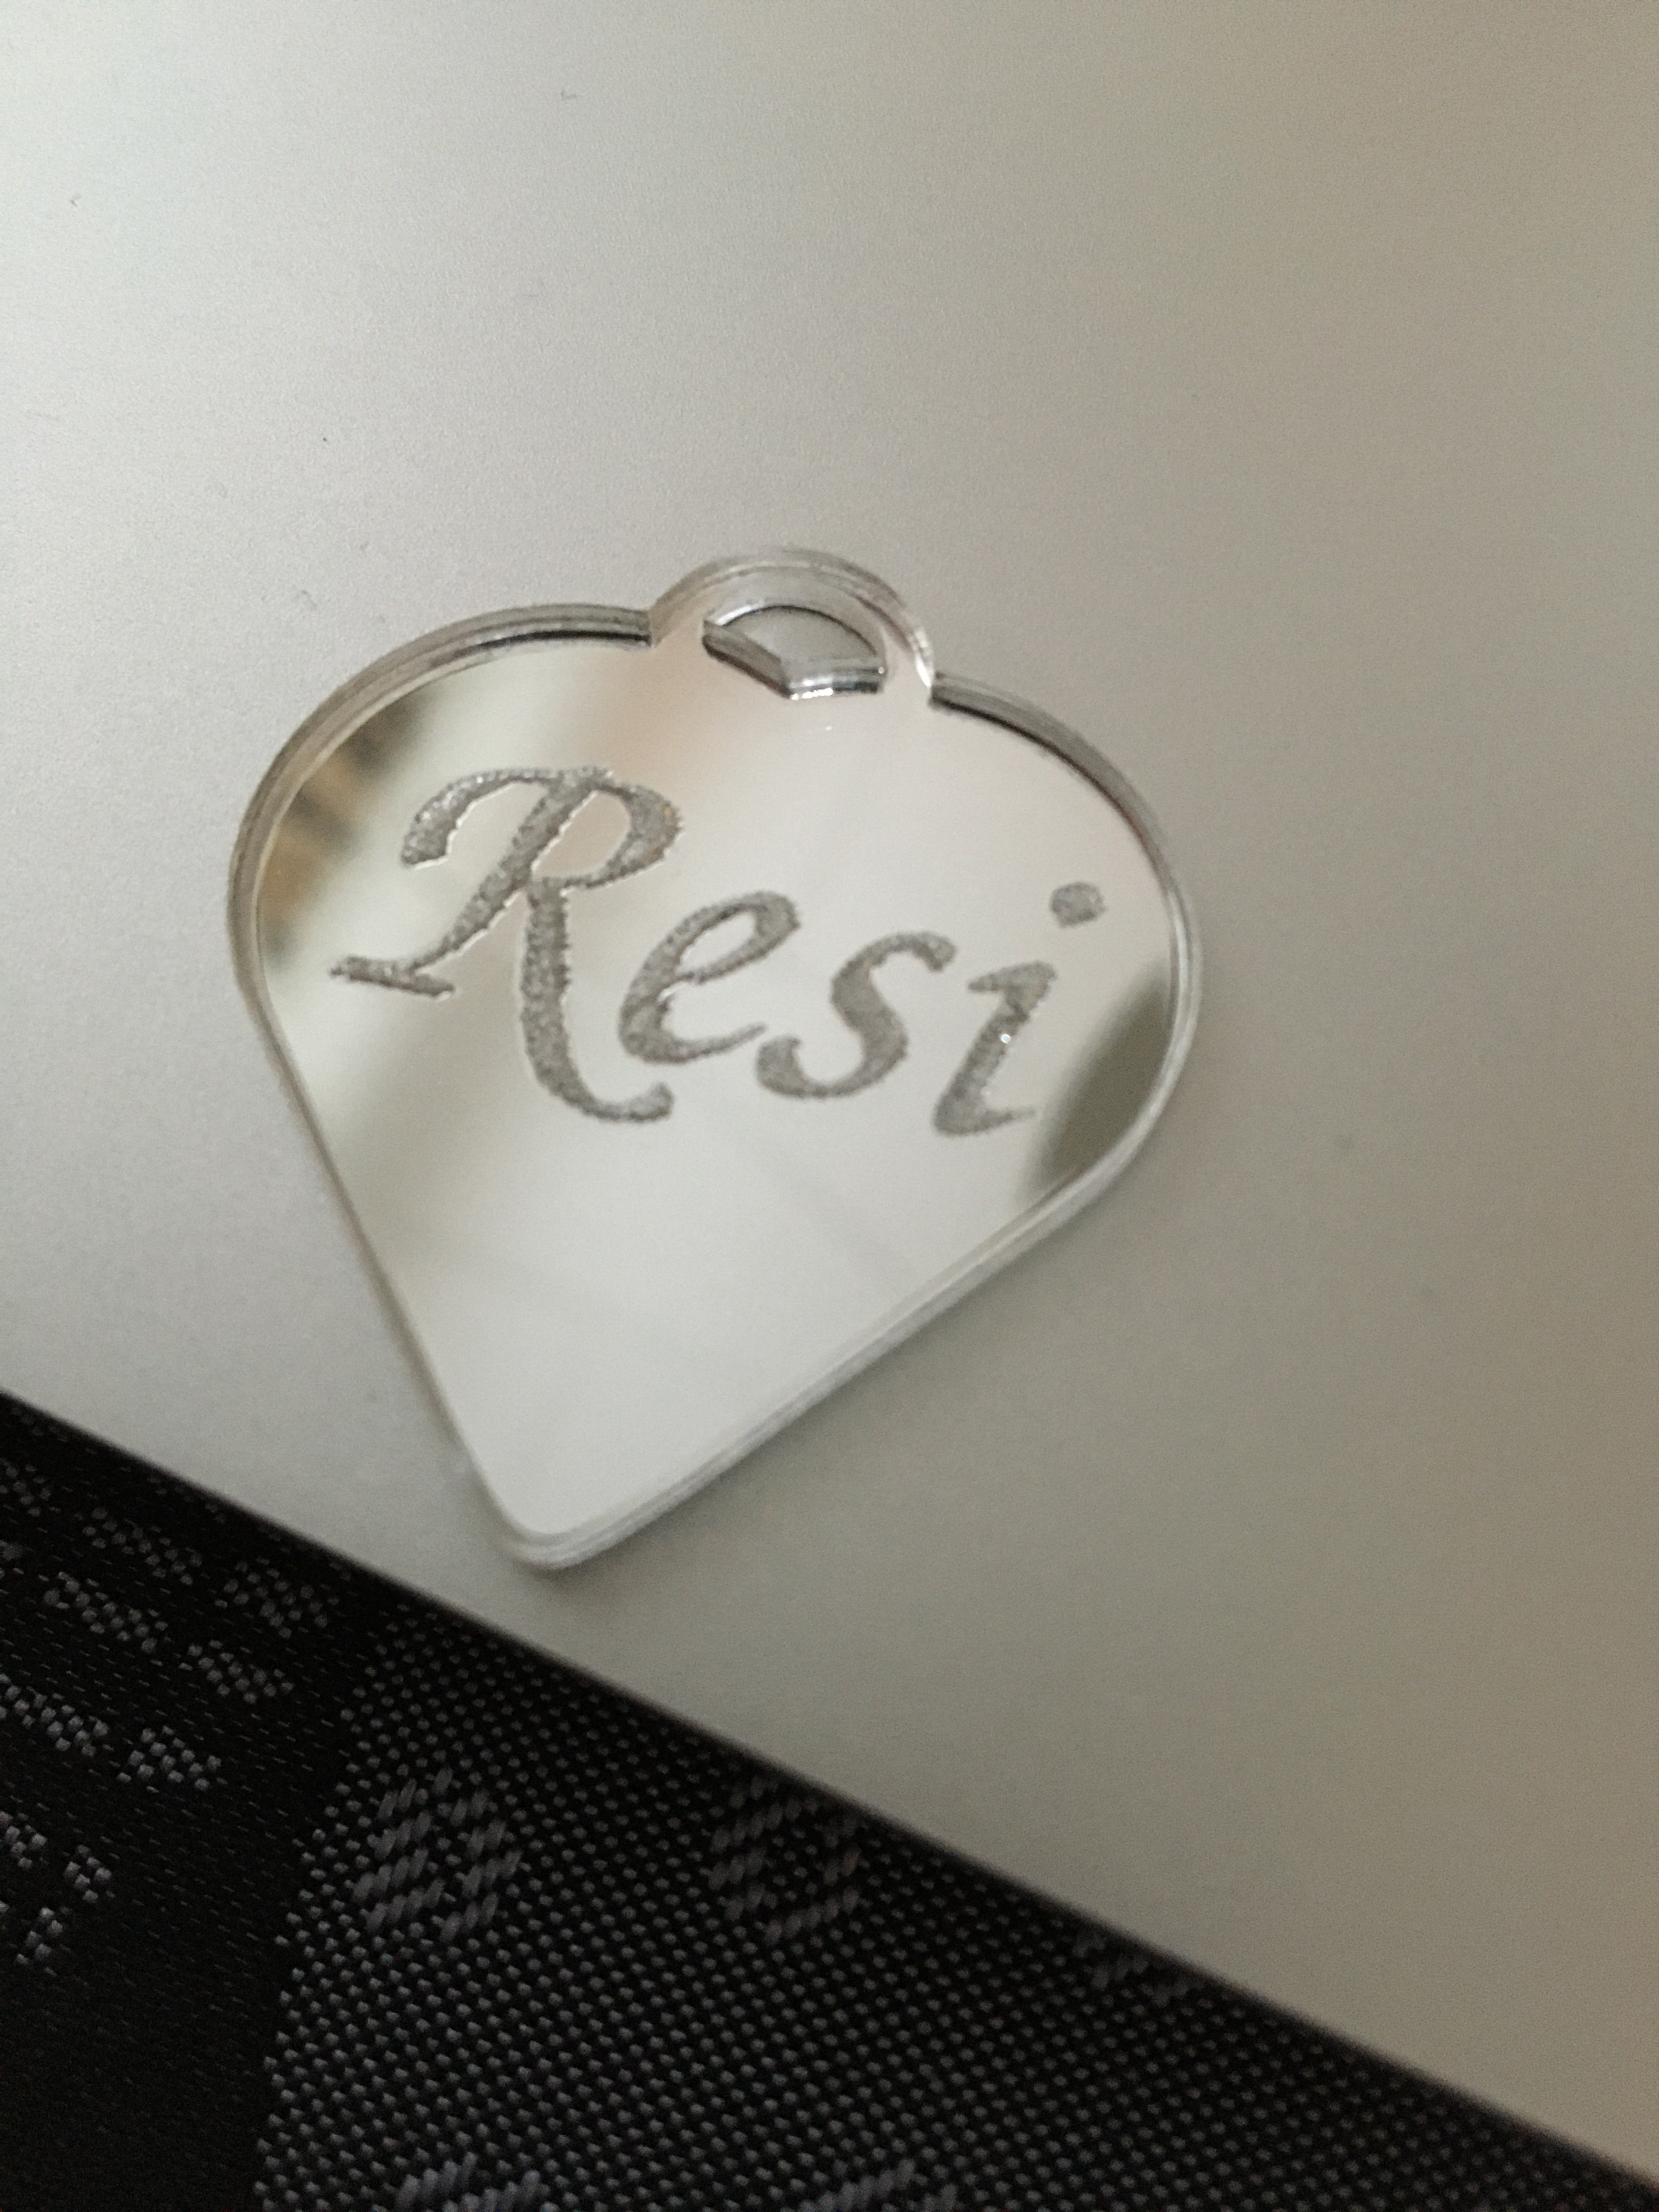
I am engraving it on back, matte side (not with mirror facing up, of course). I am leaving its plastic peel on on reflective side.
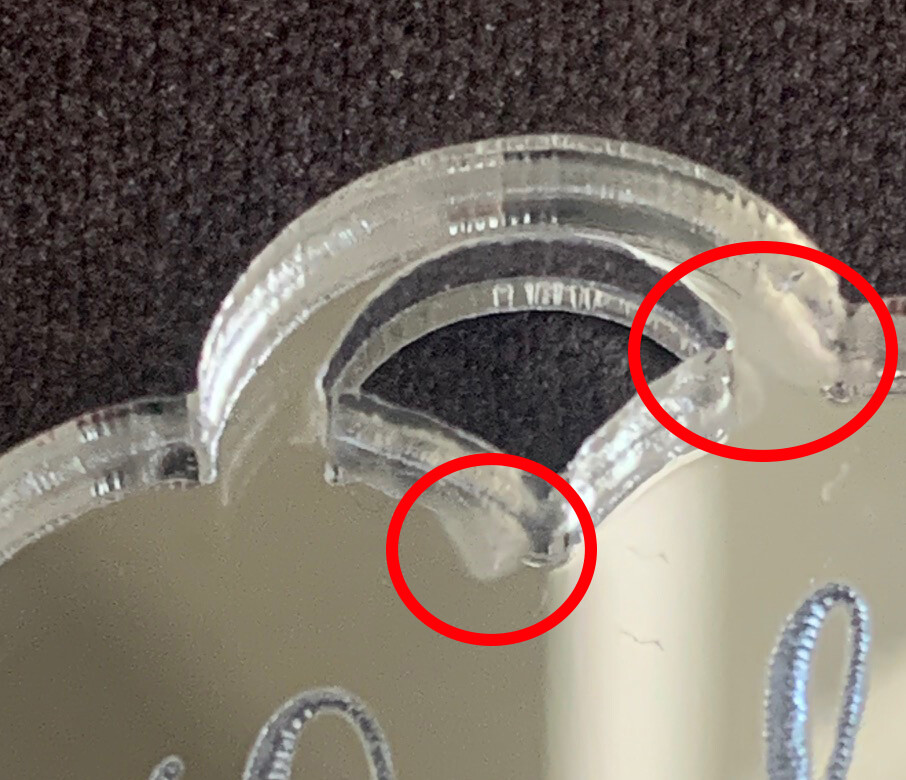
When I cut, I get this “halo” in some parts:
Both cut and engrave are performed with air assist (ACO-008, should be rated around 100-120L/Min) on.
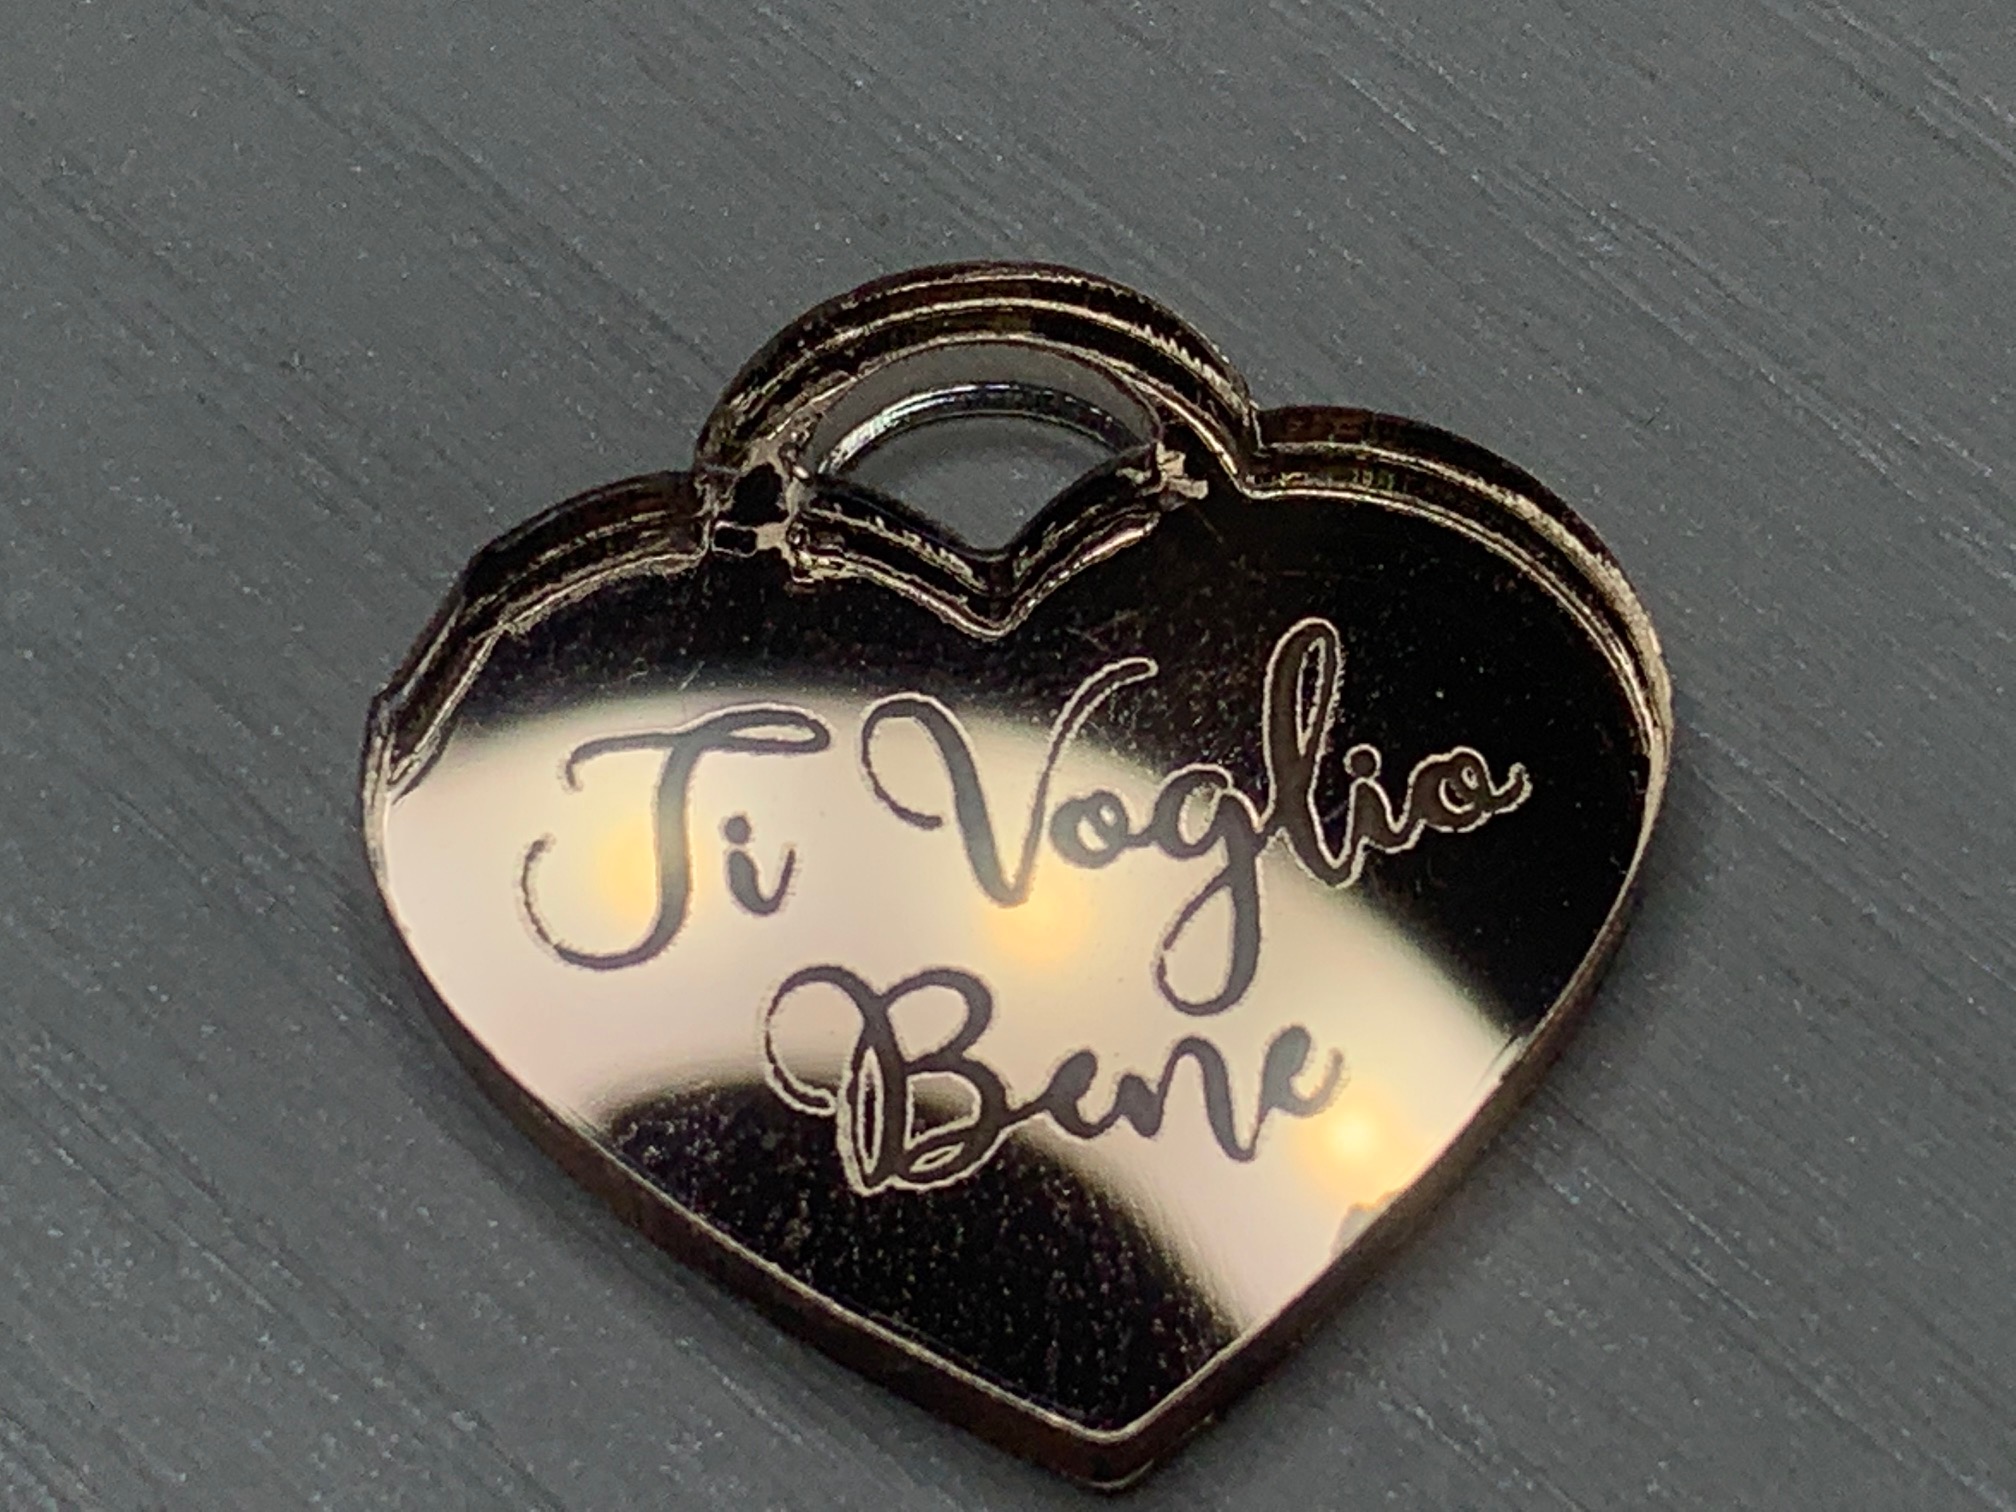
(these are tags around 25x25 mm I am cutting for my girlfriends hobbies).
Thank you for reading
Funny thing is I get this mainly on small hole, and lighter on only one half of the outer cut. The other half is pretty good.
Thank you for your reply, I will try lead in/lead out too, it might make the hole better!
Do you use all that air to cut with ?, acrylic should preferably be run without air assistance, only so much that the lens does not get dirty.
And
What orientation in relation to your extraction has the halo mark? and what are the parameters of the process?
Well, yes. I can turn it off, but can’t lower air output… I will try to engrave (and cut too?) with air assistance off. I also have an ACO-318 (60L/min) around, I was using it with my old K40, will try it too.
About the orientation, what do you mean by extraction? The machine is extracting fumes from top-back and from under the cutting area. I don’t think it’s related to fume extraction its direction, seems pretty random, but I will try again and pay more attention to this!
I mean the machine’s extraction on the back, I have had cases where I could clearly see where the “suction” came from, but it was on a special plywood.
Yes, you should preferably not cool your cut through acrylic, with this material you should not blow any ash or material out of the cut because there is nothing. But of course the lens must be protected and the flames must not occur too much, but with as little air as possible.
Sadly, no. I have a Ruida DSP, I didn’t paid too interest in air assist regulation when seeking a machine to buy, ended up purchasing this coming with an ACO-008, it’s always powered on if plugged in directly to the machine, same for extracting fan… so I plugged them on a switch controlled outlet and power them on manually during cuts. I have this machine since last week, I will try to make the process better in next weeks!
For acrylic you generally want very little air, mostly just enough to keep the lens clean. If your rig doesn’t have an adjustment valve then get thee to a hardware store and come up with something.
I always mask both sides with paper. It keeps the molten acrylic fumes from depositing on the plexi which causes that haze. You need to increase the power a little to cut through tht tape but it works well once you’ve got the right settings.
For reasonably smooth cut edges you need to not go to fast. You want the molten acrylic to have time to kind of flow and smooth out. Too fast makes for more jaggedy edges.
What speed, power, and interval settings are you using for the engrave?
Too close an interval (too many dpi) can make an uglier engrave than too coarse an interval. There’s definitely a “just right” setting.
Okay, thank you for these tips! What kind of masking tape is better? I’m using standard white paper masking tape, I thought its irregular texture (and maybe uneven thickness too) will affect engraving, won’t it? Is it better to use that smoother painter’s tape (that kind coming often in blue or yellow color)?
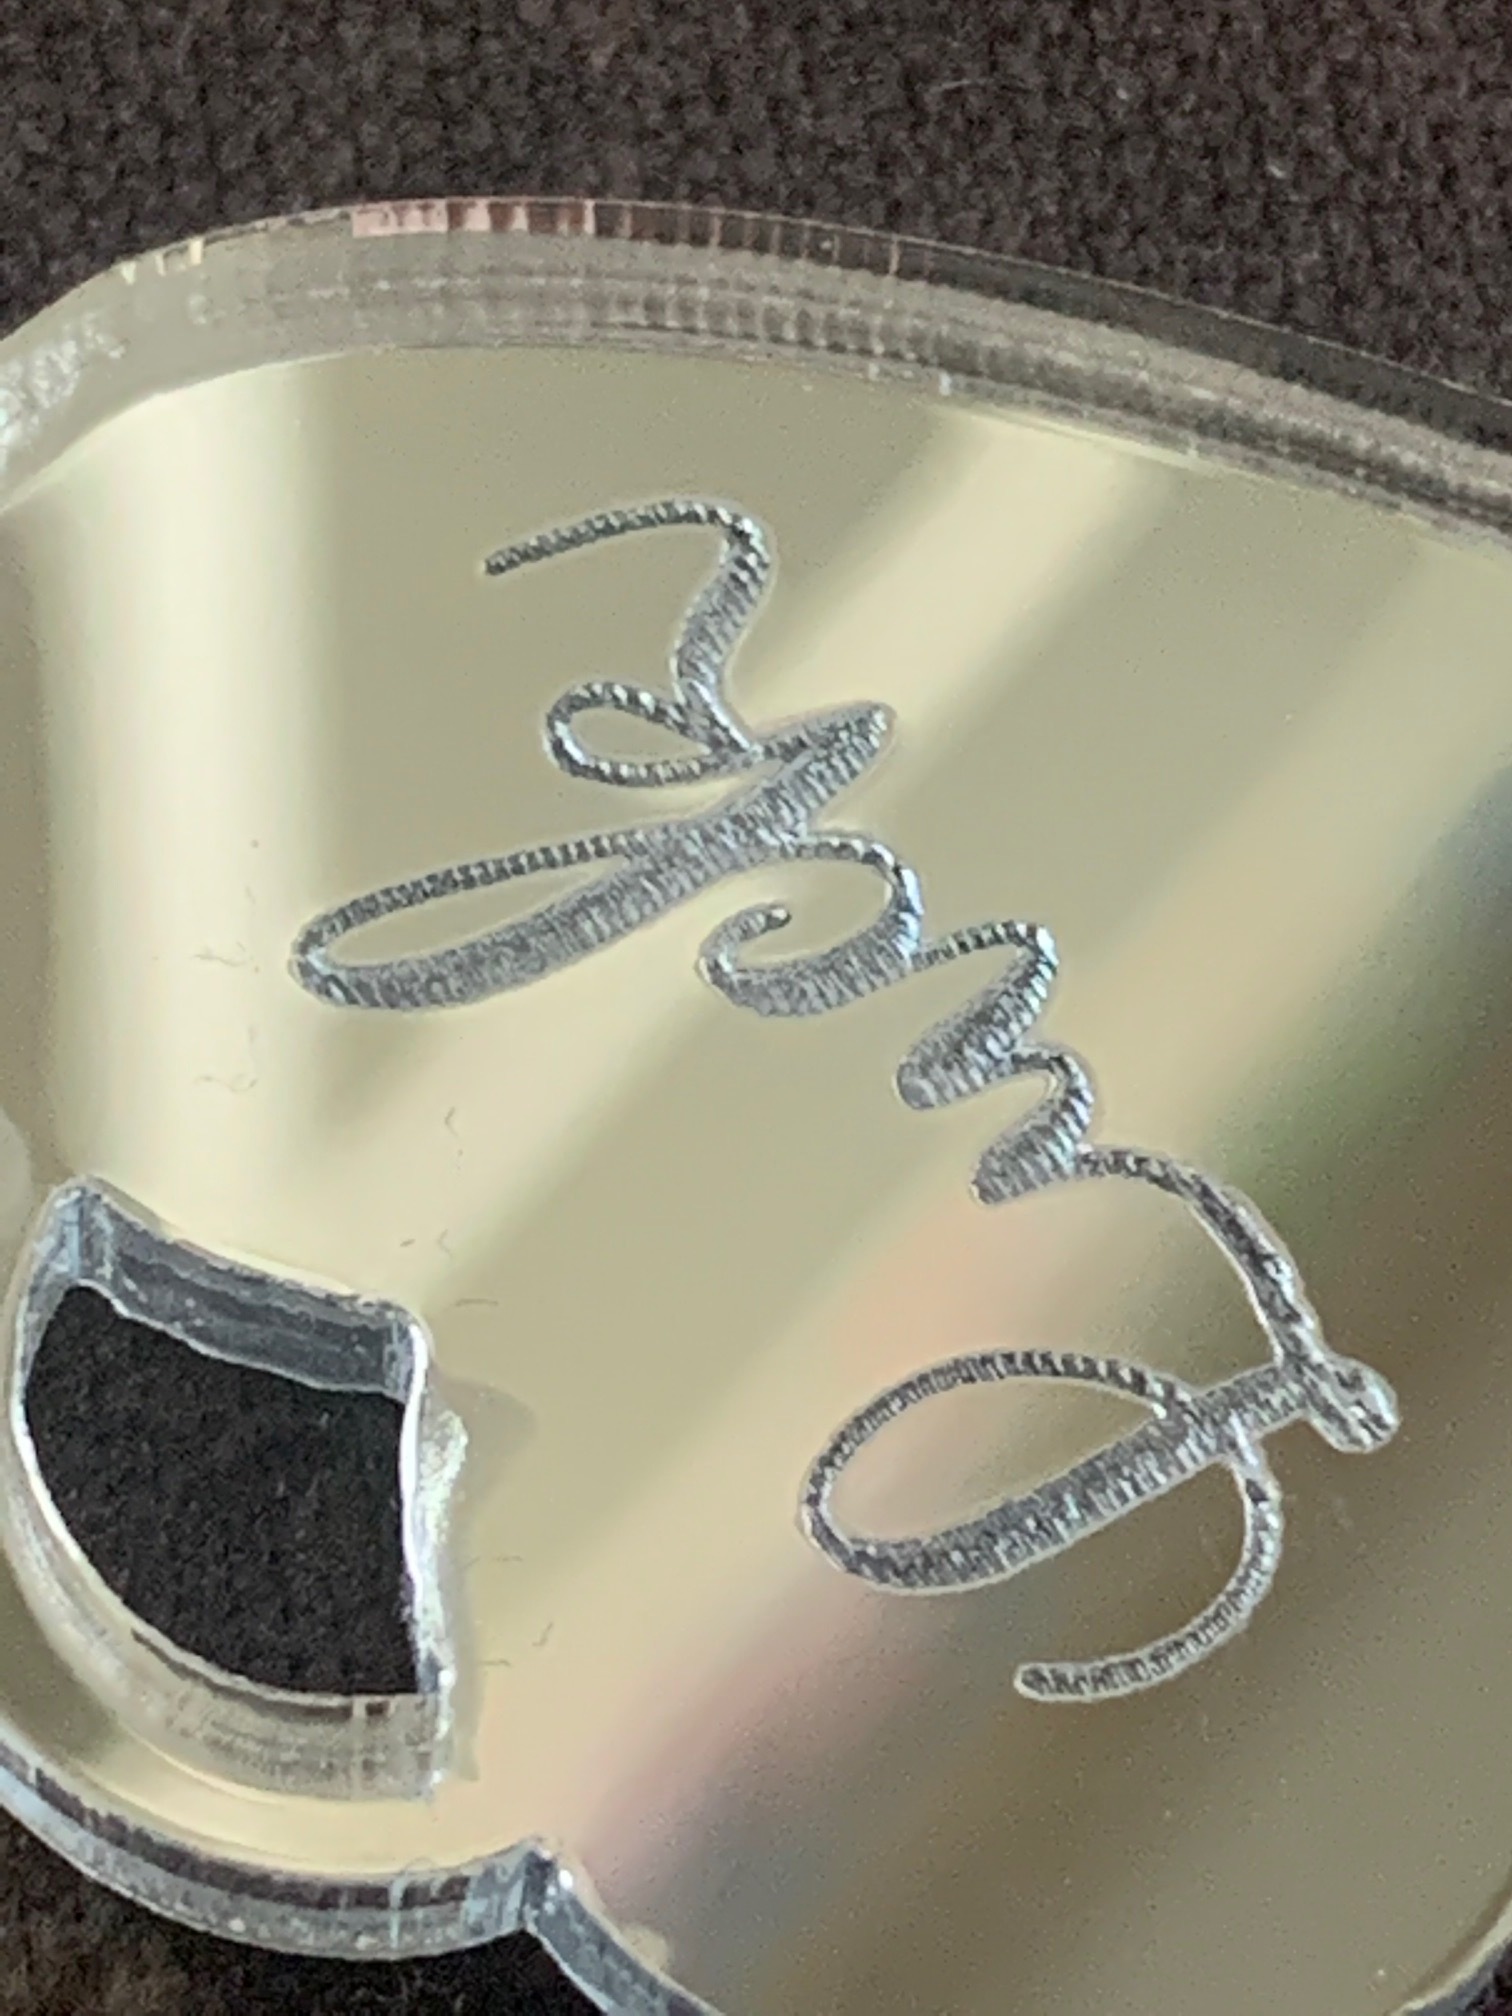
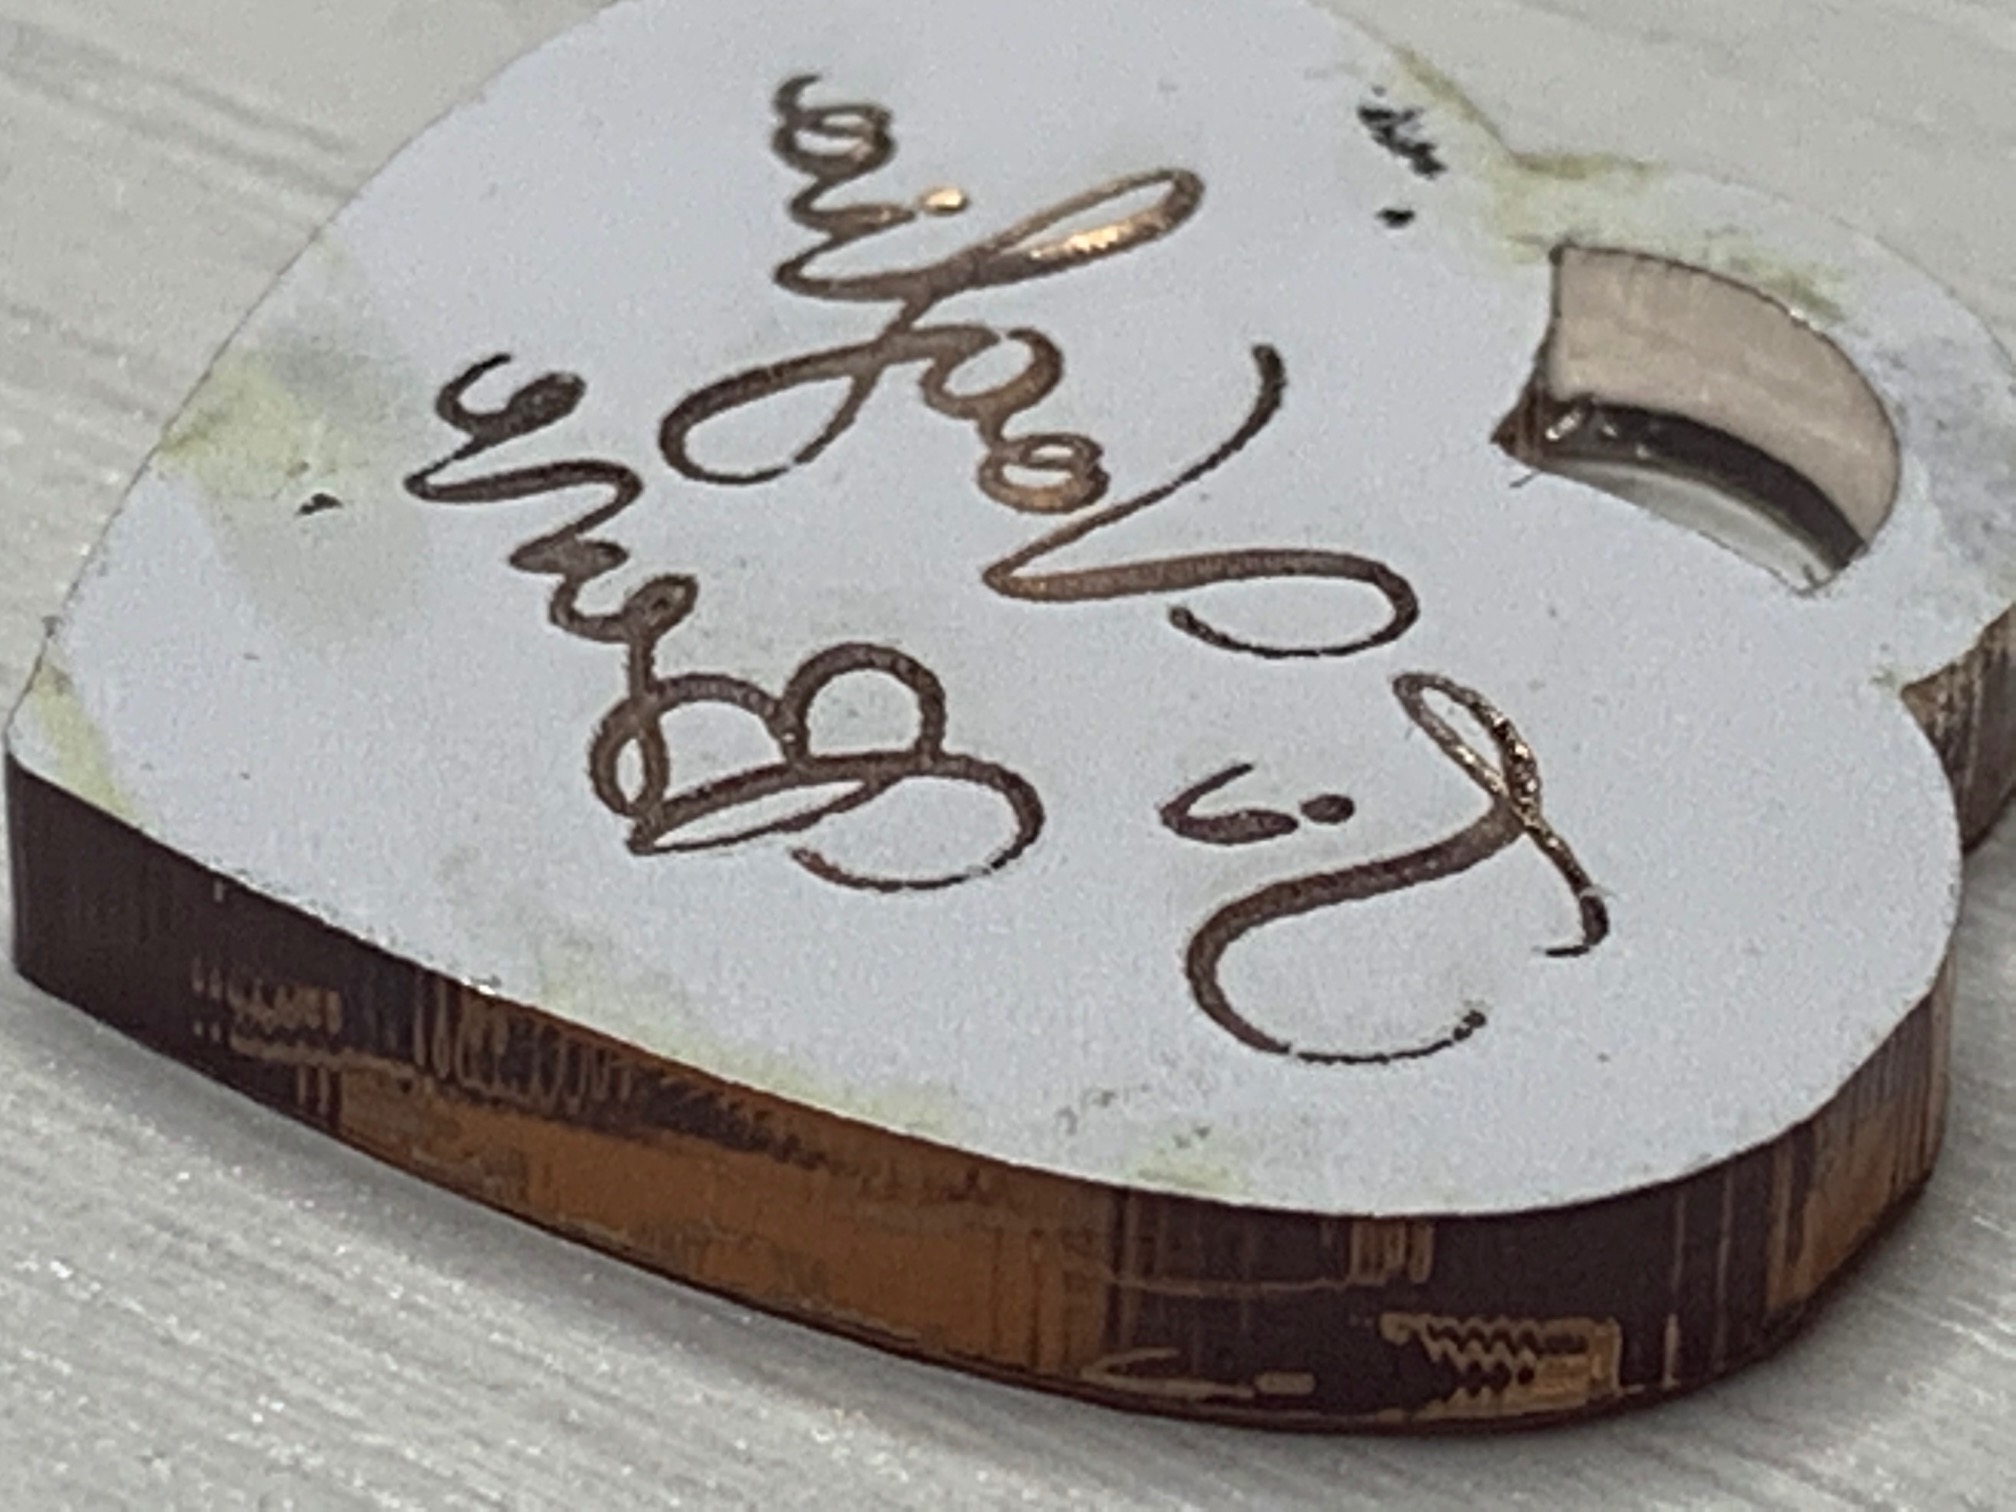
Unsatisfied with the above engraves, I did some tests and now I am engraving (without masking tape) at 400 mm/sec,15% power, 0.055 mm interval, roughly 640 lines per inch.
Photos I posted above were engraved at different settings, this photos are the latest. (please don’t mind all these marks and dirt, it was a scrap piece of rose gold acrylic).
Forgot to mention, the machine is equipped with a FL 63.5mm lens.
Hank hits the spot when he mentions masking. The only result without marks is that with tape on. I use a fairly normal masking tape.
The material is 2mm mirrored acrylic.
640 LPI is WAY too high for your co2 laser. I’d cut that in 1/2 and go from there.
I’d make a bunch of 15-20mm shapes. (stars are nice because you can assess performance in a large open area like the stars center as well as on small features like out at the tips)
Run each one at the same power and speed but only vary the LPI to find the sweet spot. Start low, like 200 dpi and increase maybe 10% at a time until it looks nice. Too low gives obvious lines separated from each other. Once you pass through the sweet spot and go too high you’ll see things start to degrade again.
For masking I’ve always used paper transfer tape for vinyl decals, but it can be a real pain to pick bits of tape out of tiny shapes like the center of letter o or lower case e.
Just recently I’ve been playing with plain paper (like printer paper) and School Glue.
School Glue?, I hear you ask… what the heck is School Glue?
Elmers School Glue is just cheap white glue but it is water soluble even after it dries. (makes it easier to clean up after the 2nd graders)
Once a project is engraved you can just soak it in water for a bit and the masking paper just slides right off with no tedious picking of small bits.
I wet the paper a bit to make it floppy and flexible, smear a little glue on my workpiece then stick the paper down and roll it with a brayer to get all the air bubbles out.
Let it dry and then engrave.
I’ve only used the paper and glue a couple of times but so far I’m liking it.
Thank you for all your suggestions. I will perform tests as you said and will report back for sure.
Remove tiny pieces of masking tape from letters isn’t very difficult to me, I scratch them slightly with my nails and they come away quickly. Nice tip the printer paper + school glue one! You only do this for easier removal of unengraved parts or there are other reasons (for example, overall better quality of the engrave?)
I use the wide paper with adhesive. Last roll I got has 350’ of 12” width.
After engraving I wash the substrate in reasonably hot water using a soft brush such as is used with stained glass. Paper comes right off. No messy glue and no “nit” picking.
The very best outcome for engraving acrylic is achieved by using no air assist and no masking. However, you must also mitigate lens contamination and caking of acrylic on the lens cone.
Highly effective fume extraction is a key element. Even without air assist you still want to have the smallest amount of positive pressure in the lens cone. And I personally use a 4" lens in a 2" position for a wide gap between my lens holder and the material (to prevent caking).
Also keep in mind that engraving acrylic is an art in that speed / power has a sweet spot. The WORST results and haze / halo is usually a result of too fast.
You have a W4, so about 100 watts correct? 400mm is too fast for unmasked. And your line interval is outside of rational parameters. The max you will achieve is upward of 0.0635mm (400 lines per inch). Run the engraving slower. Try 190mm / sec @ 10% power.
And again, if you can do this without air assist (keeping the smallest amount of of air flowing in the cone), you will not need to bother with the masking. I personally do not like how the paper masking affects the engraving.
Another very big consideration here is your acrylic type. Are you using extruded or cast acrylic?