Well, I have good news and “the other” news. Good news is that now, the laser goes to print where the marks are, or I should say, not where the drawing is located in the LB screen. The other news, is that the print is pretty inconsistently shifted from the marks. As a procedure, I am sending the laser to 0,0 before each print. Another tqhing in the good side is that I intentionally changed the angle of the board so that the x-y coordinates for both target marks were different, and it did work as expected, with some shift, but pretty good anyway. I will keep testing to try to find out why the shift. (Before doing the print, I re- enabled the pointer offset, which I think is to let the unit know that the crosshair is shifted from the laser)
I remember now seeing that the D1 used an offset crosshair system. Had forgotten about that. What are you using to do your alignment? The crosshair or the beam from the primary laser? If the cross-hair have you checked that the offset is dead-on between the cross-hair and actual laser?
This should be fine but unnecessary. But just to make sure, you’re not doing this once the print and cut procedure has started, correct? I don’t know what’s actually happening when you press home but for normal homing operations with limit switches this can lead to slight variations in home position. This would screw-up position after you’ve started the procedure.
Also, you don’t actually say what ended up making the difference for the process to largely start working.
I will start from the end. The improvement came from “align output to target”, right as you indicated.
I am using the crosshair, and given the inconsistency of the shift actually, in x and y, for the time being, I discard the possibility that there is an issue in the relative position between the crosshair and the beam. In this regard, that is something I will have to look after because aligning the crosshair is difficult and inaccurate. I think the beam itself is much better. However, the only way I know to activate the laser in the D1 is by going to do the job (start button in LB). Sure enough, I don’t go “home” in the middle of the procedure. What I will do, because seems weird, but would not surprise me, is that all the hell gets messed up if you go to home after target settings. I will right away make a new test doing Start right after I assigned the targets.
Not “homing” before the run seems to improve the accuracy quite a bit. I will run some more tests later.
Definitely, homing before after setting the targets is not a good idea. The inconsistencies I had (not homing before the run) were mainly because of the thickness of the crosshair lines. I measured it at about 1mm thick, and then in lieu of a crosshair, I draw a double crosshair separated by 1mm
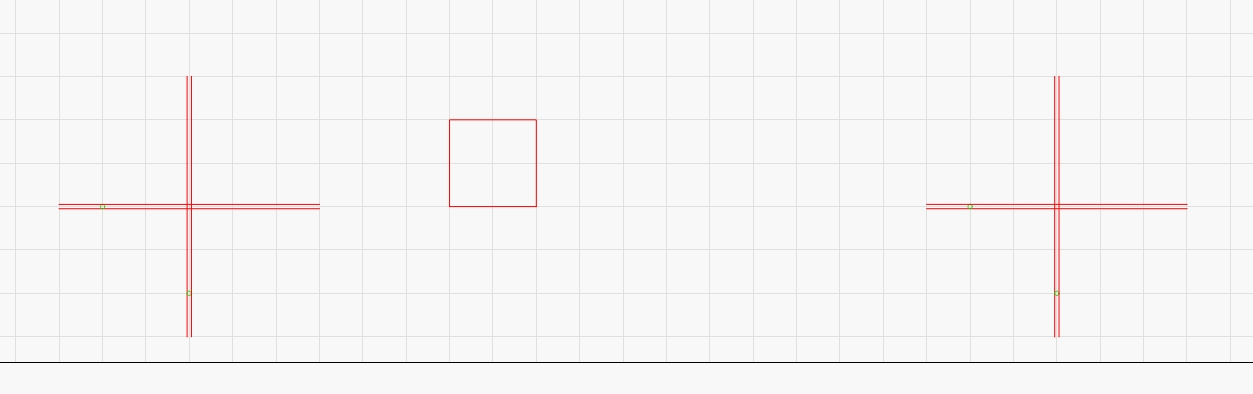
so that the laser ch can be aligned between the cross lines, instead of the center as I tried before. Now, I have a consistent shift of about 1.25 mm in the Y-axis that I can correct with the beam offset in the Device settings.
You can turn on the laser through the Fire button in the Move window. Set the power to the lowest power that allows you to see the light. The less power the less washed out the beam will appear when trying to align to the cross hairs. your double crosshairs are not a bad idea. You could also try a very small circle. If done very carefully you could be able to see a slight difference in the light reflection when you’re on a burnt line vs non-burnt line.
If you haven’t already, you can switch the move distance very small (e.g. 0.1 mm) so help you get very precise alignment.
I expect alignment in print & cut to be within roughly 0.2 - 0.4 mm. I can always tell if I look but perfectly fine for many use cases.
1 mm seems really wide. Are you able to change the intensity of the beam at all? That won’t work well if you want to get within .5 mm.
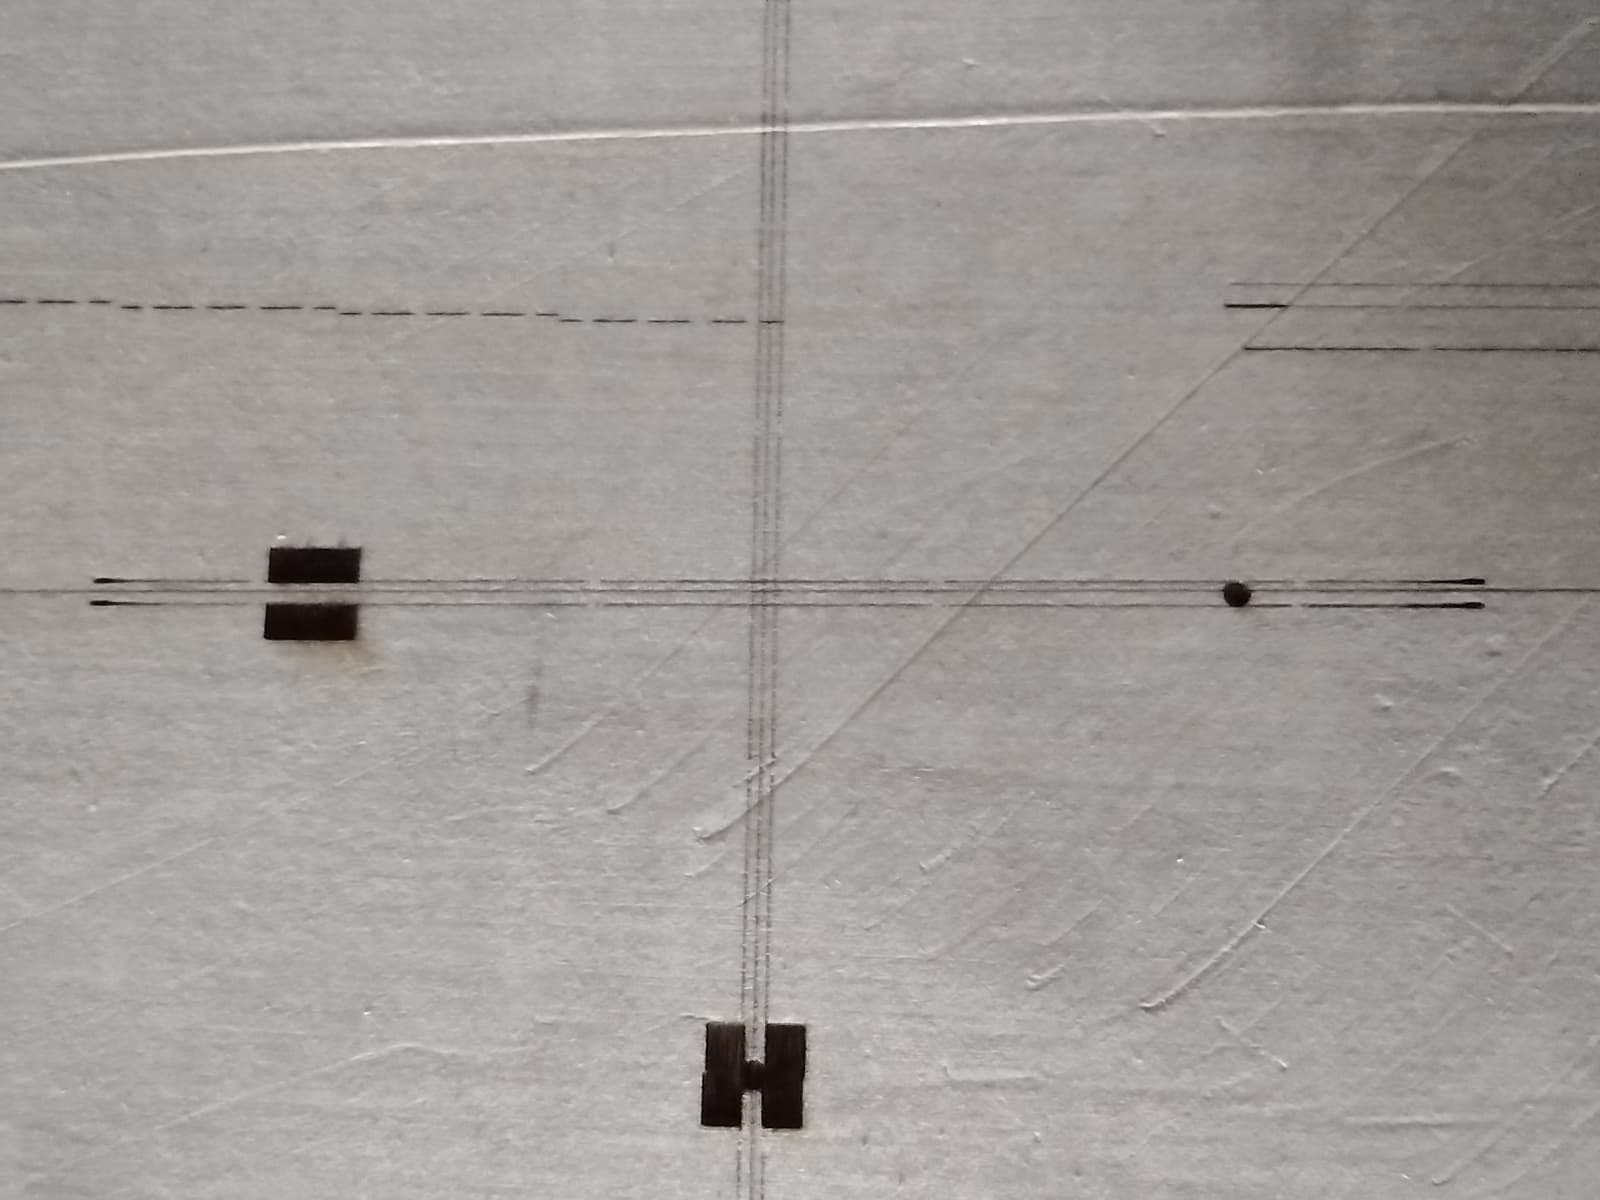
Thank you for the tip about the Fire. As expected, the beam is about 1mm below the horizontal crosshair.
I don’t know if I can change the power of the crosshair laser to make it thinner. I am working the jog at 1mm (+ Shift) for coarse approach and .25 mm for fine-tuning. I will work on the weekend using the beam itself and I guess that will round up this issue. However, given that the laser shade in the D1 is fixed to the head, it’s a bit difficult to see through. I guess that’s why they set a crosshair. I’ll update you when I get some more news.
Are you able to make further refinements to the offset to get this perfect? Although if the cross-hair is too bright might be impossible to get this close enough.
Anyhow, good progress. Sounds like you’re close to a working solution.
Didn’t touch the offset yet. I just draw a template to have a more accurate of how much offset I need to start with, and then I will fine-tune working with the offset itself. It’s a pain in the back to set the targets each time I make a test run. About the use of the cross-hair, setting the laser line between two reference lines I think it will give me a worst-case tolerance of .25mm. And yes, I am close to the working point. Let’s see what I get in the next couple of days.
How about this? I adjusted the offset a couple of times. The center lines are the aligned targets
Anyways, I will try to see if I can align with the laser beam, but this is a closed issue.
Conclusion: Its extremely difficult to center the beam with the target references. Very hard to see the references throught the laser shield. May be using a different target that may work but for the time being I’ll use the crosshair and the double line target. Thank you very much for your help.
This topic was automatically closed 30 days after the last reply. New replies are no longer allowed.