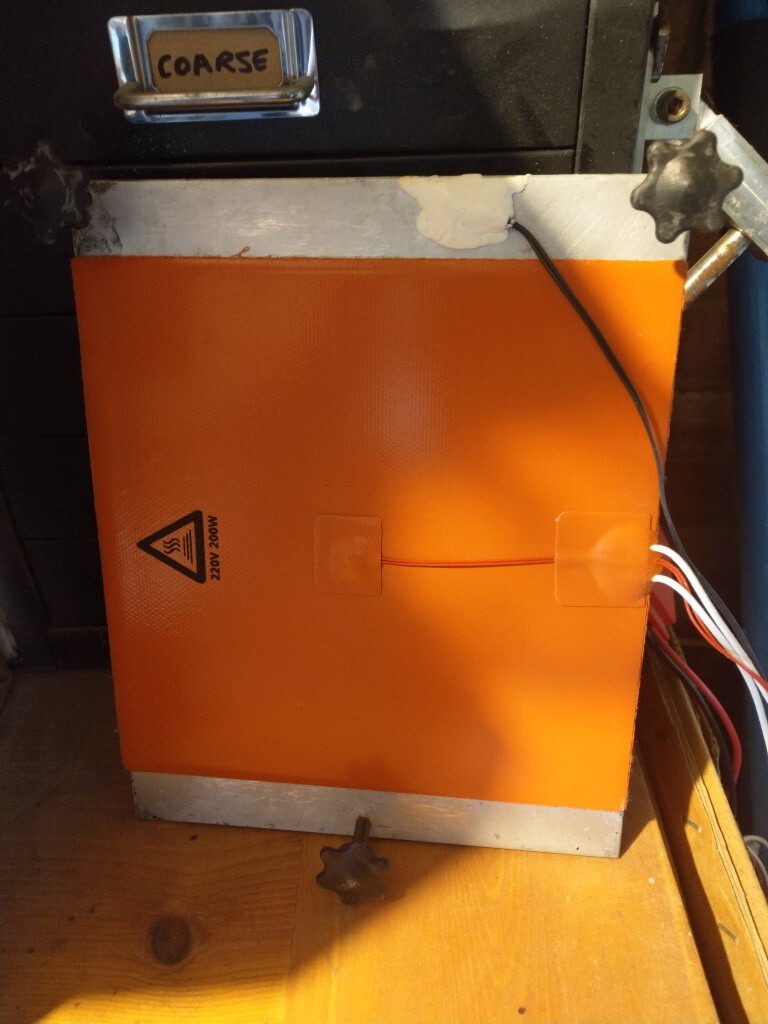
This is a warming plate I made for accelerating the curing of silicone when refurbishing my 3D printer tanks. This is what I would usually use for drying tiles etc.:
Just had a look at the label on my laser head and it states 5w max output. Guess that is why yours is so much faster than mine. My original head was just 2.5w.
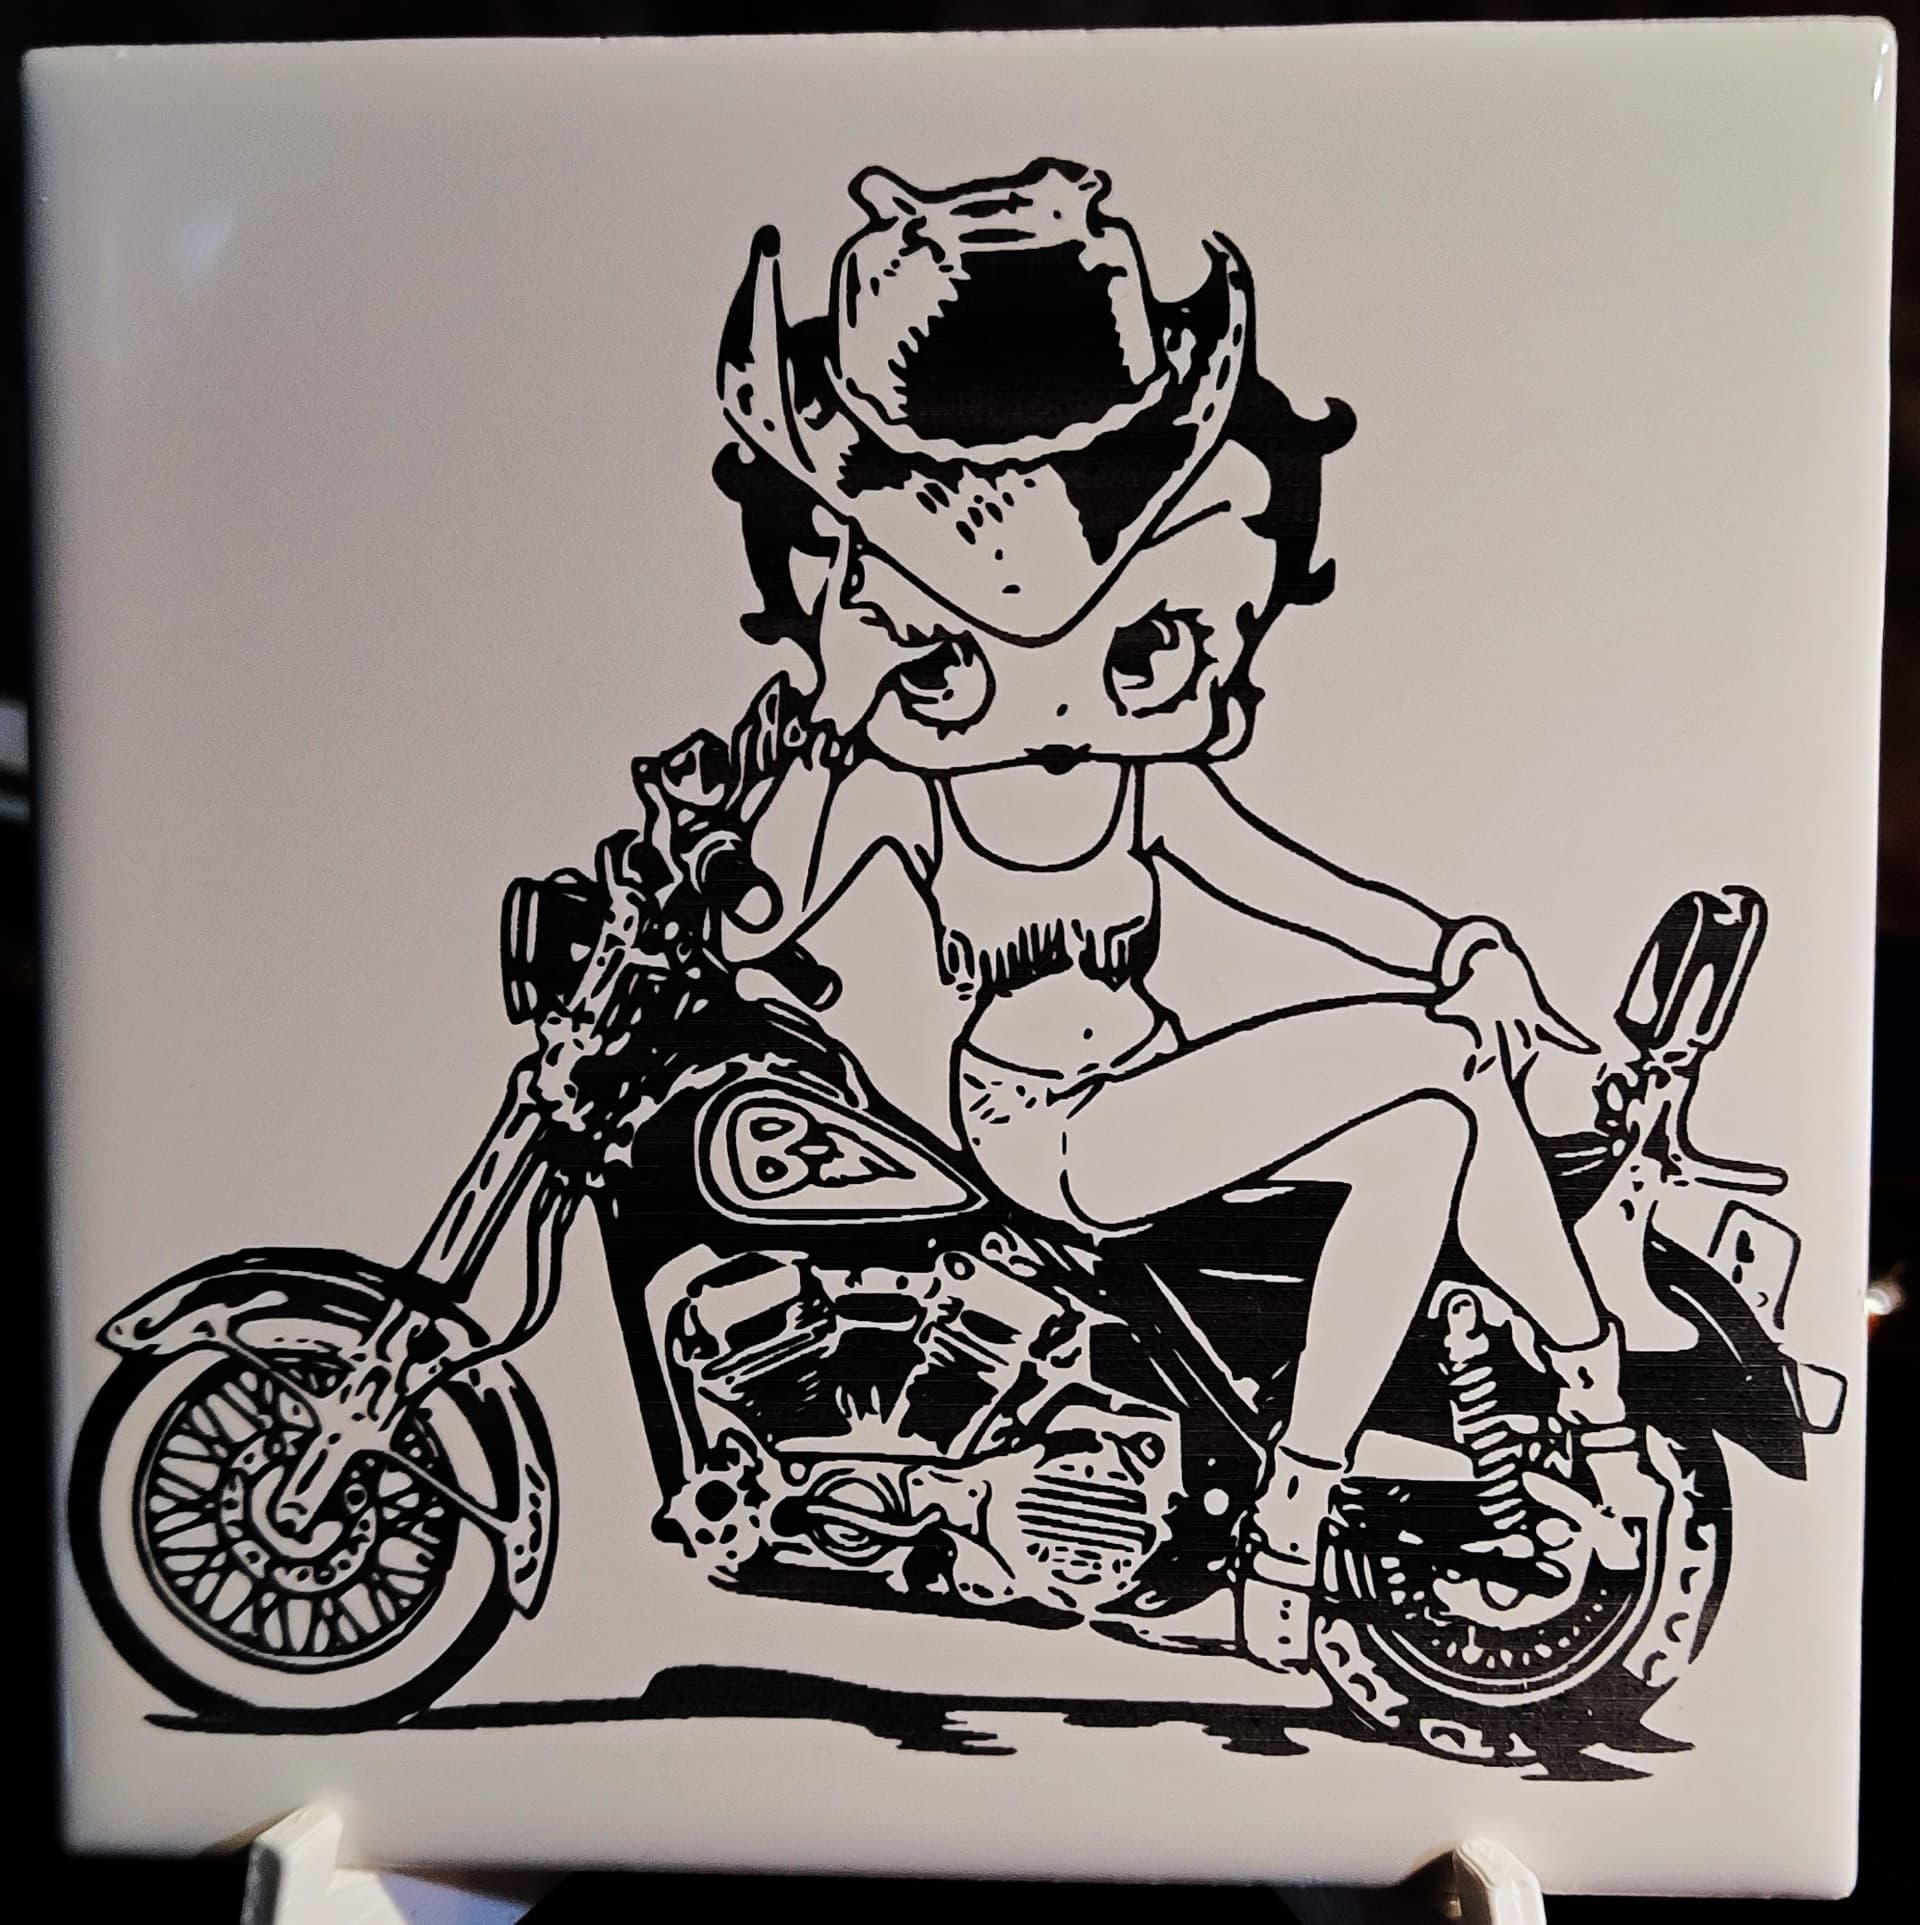
I usually don;t do anything to the tile after burning them.
For pot holders I do put self adhesive felt pads on the bottom so they don’t scratch anything.
Looking forward to the warm weather as well so I can start some wood projects I have been thinking of trying and etching.
For drying the tiles, I have one of those lights that you put the scented wax in the top and the bulb melts it. I took the wax bowl out and put a tile on it. Worked like a charm. Bit slow, so I plan to make one with a higher wattage bulb and see how that works.
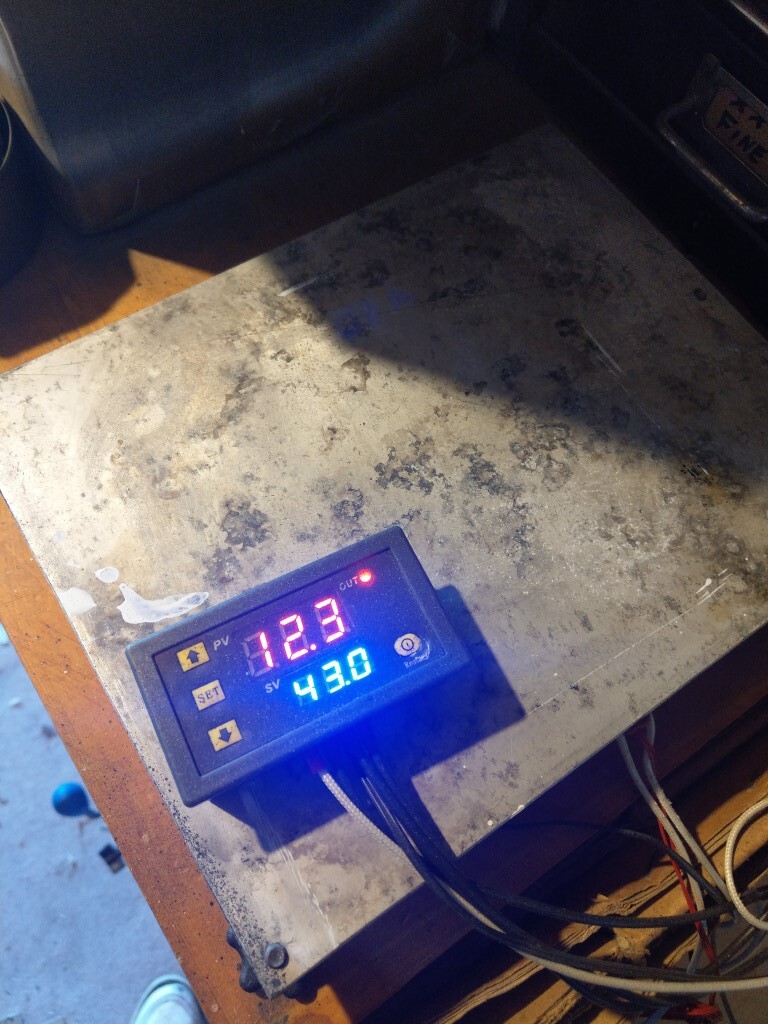
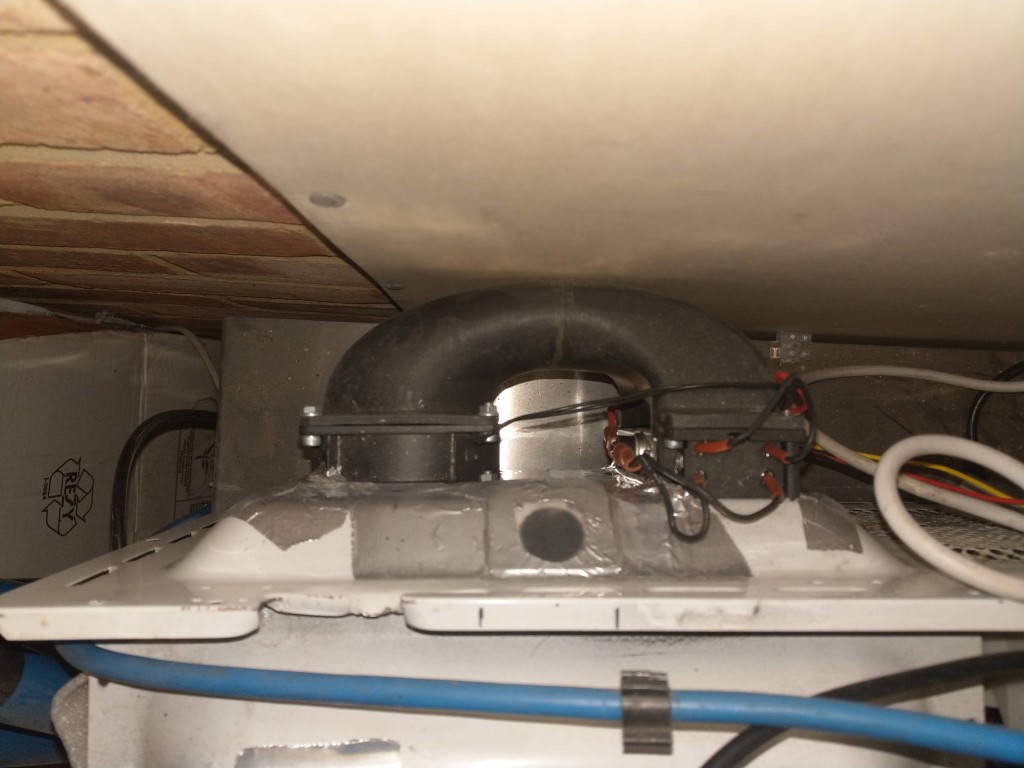
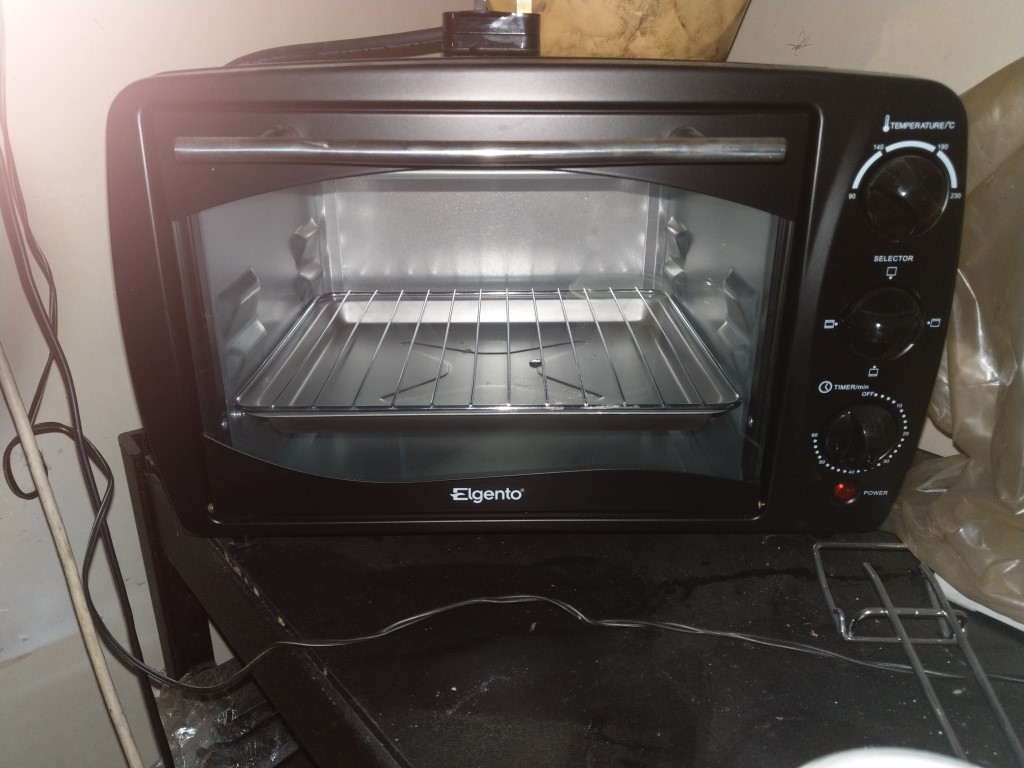
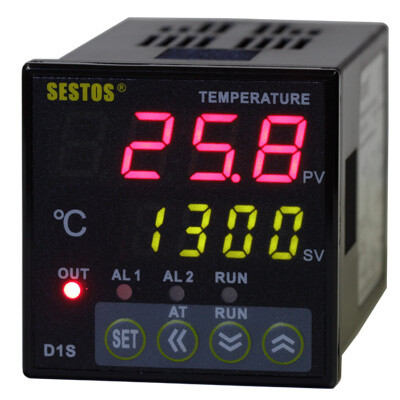
These ovens often have a simple clockwork timer built in so you might want to check your one to see whether it’s got one. Yes temperature is an issue with this type of oven. I plan to add a second temperature controller such as one of these:
That will allow me to control the oven at much lower temperatures.
Sorry Mike I have mislead you. Can I have the original photograph file before uploading and editing in Lightburn. The file I have received contains all the settings made in Lightburn. I would like to start from scratch and use my own editing programme to import into the laser software.
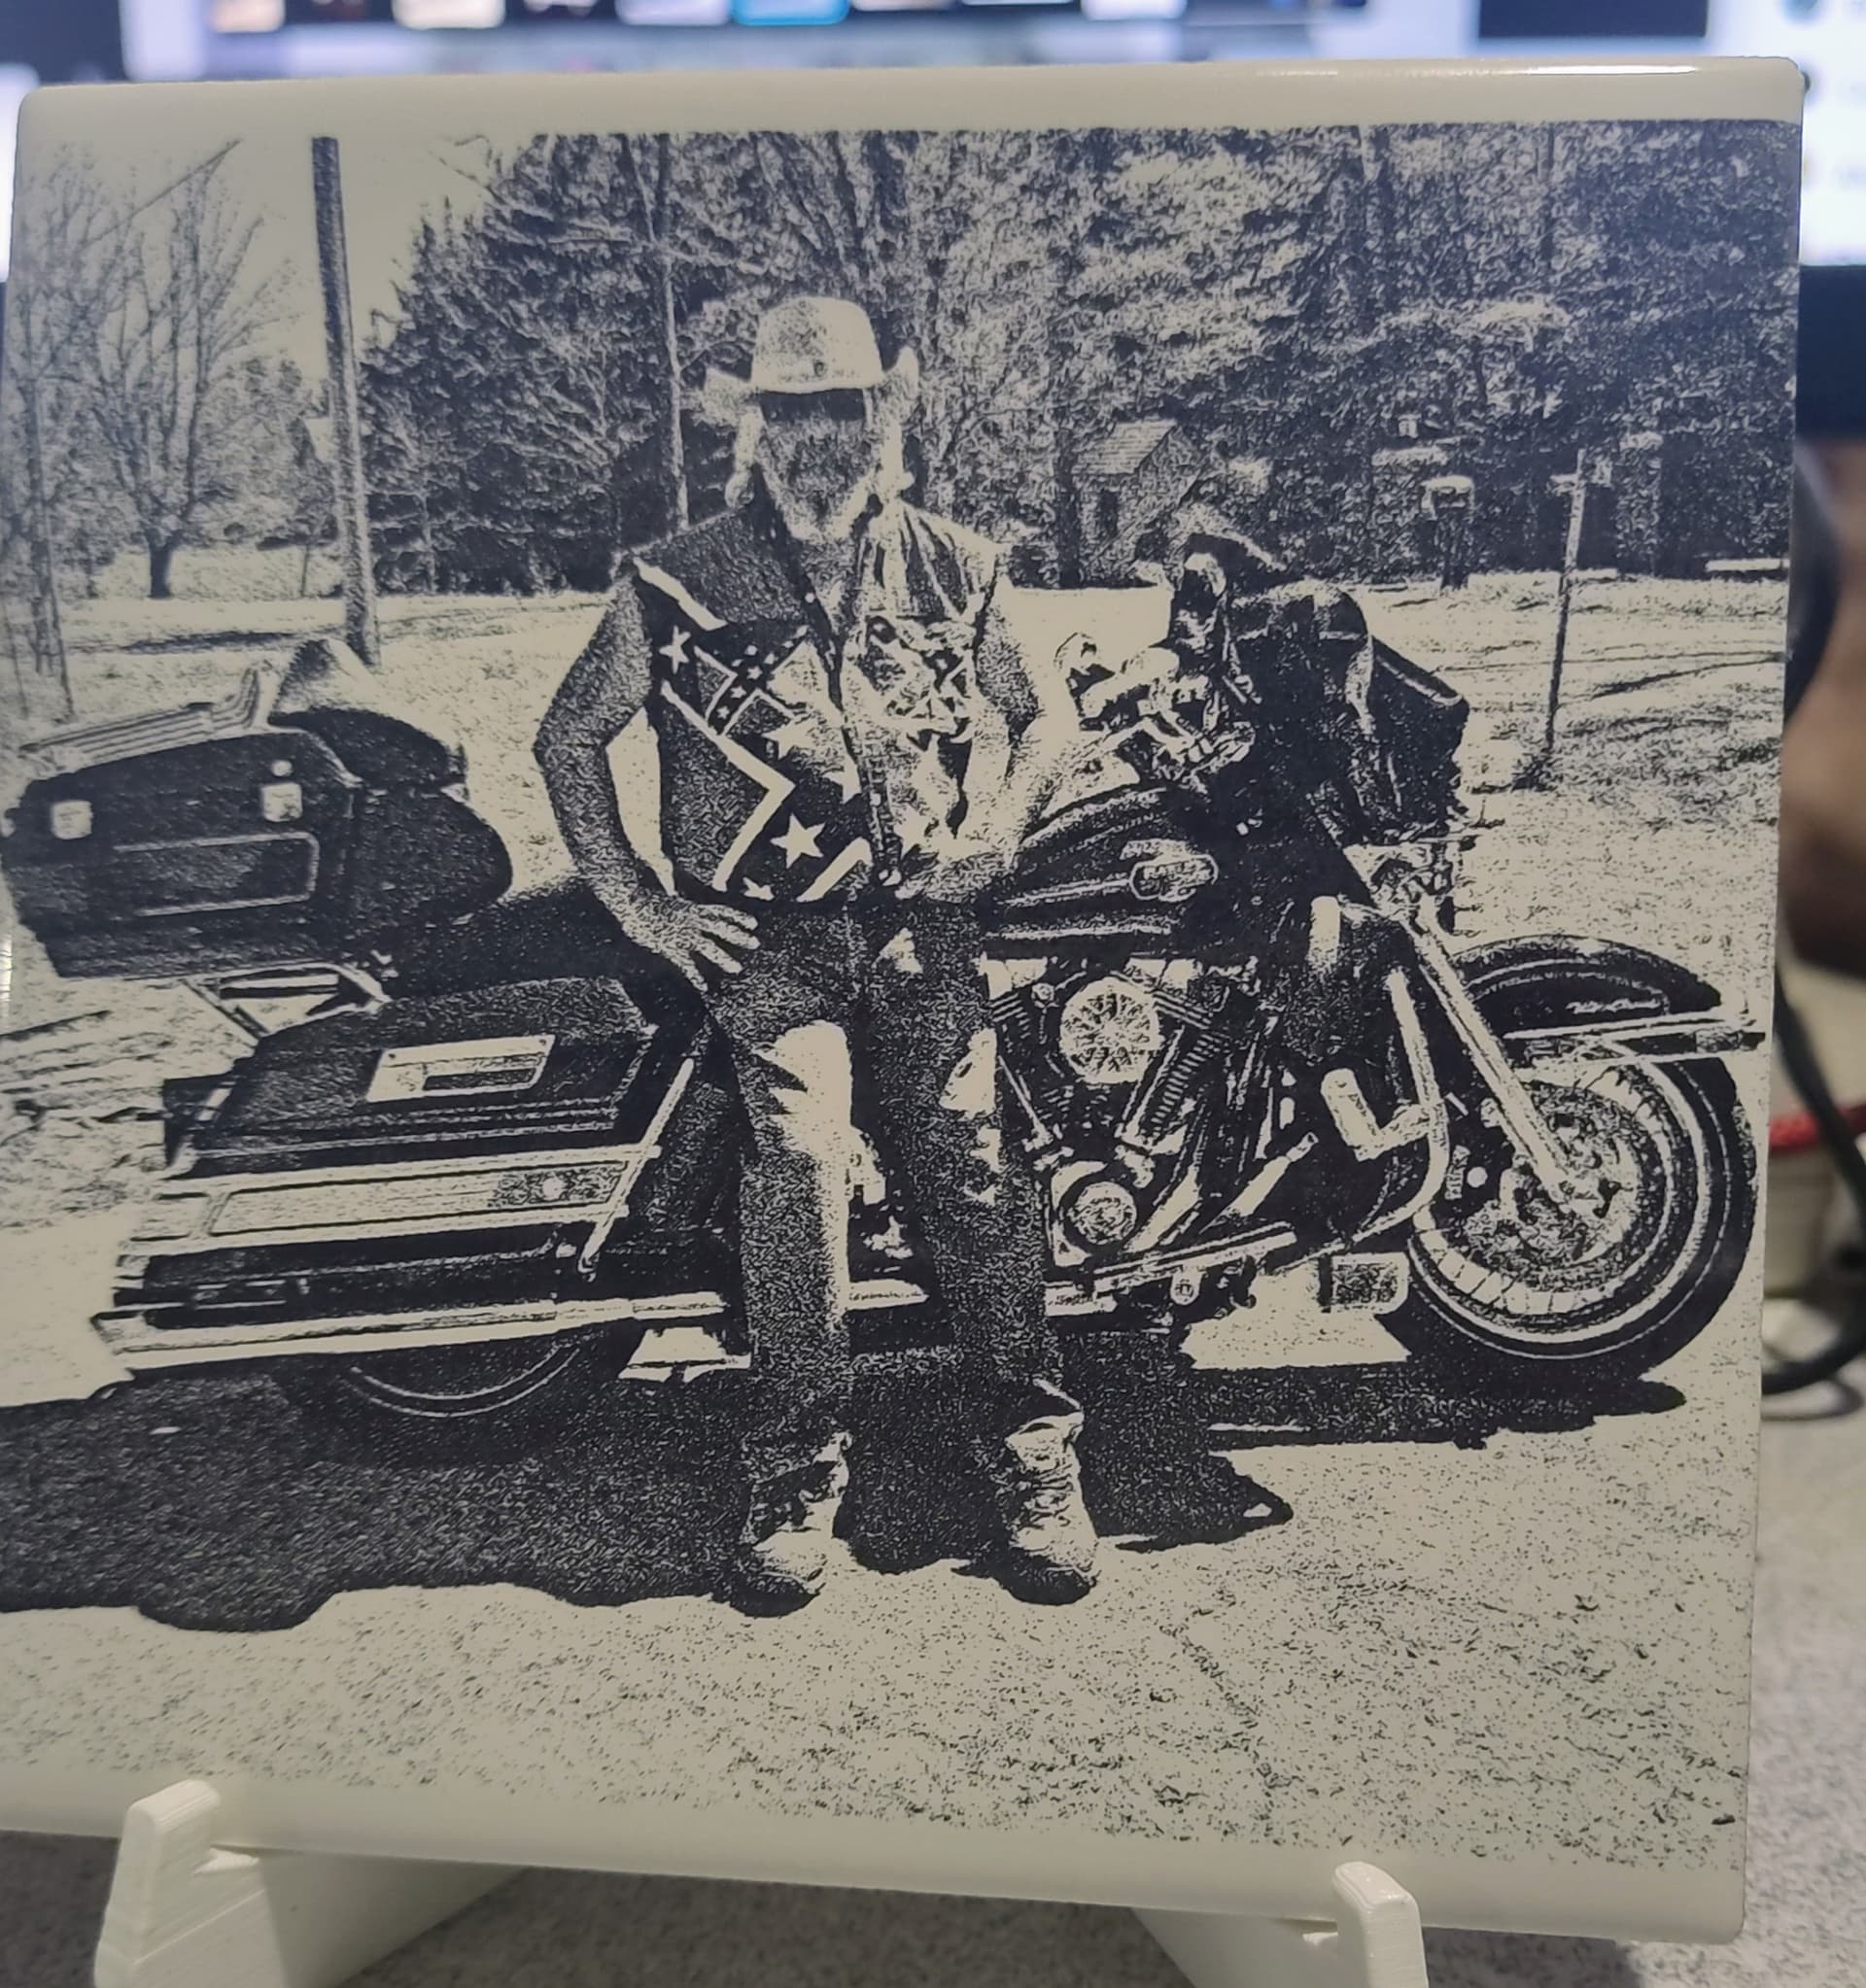
That’s nice Mike. I think the acrylic paint (PVA in my case) is the key to holding, when dry, the Titanium in place while etching. Most importantly is getting it all mixed evenly. Nice solid blacks and fine detail proves the process is a success.
I last messed with Ron’s method a couple of months ago… but could never get even or consistent coatings. However BikeMike’s recipe sounds like it might be more workable than what I last tried… using white acrylic craft paint vs PVA glue. But I have a silly question…
When you said, “mix in 2 1/4 teaspoons (us) titanium dioxide”… is that
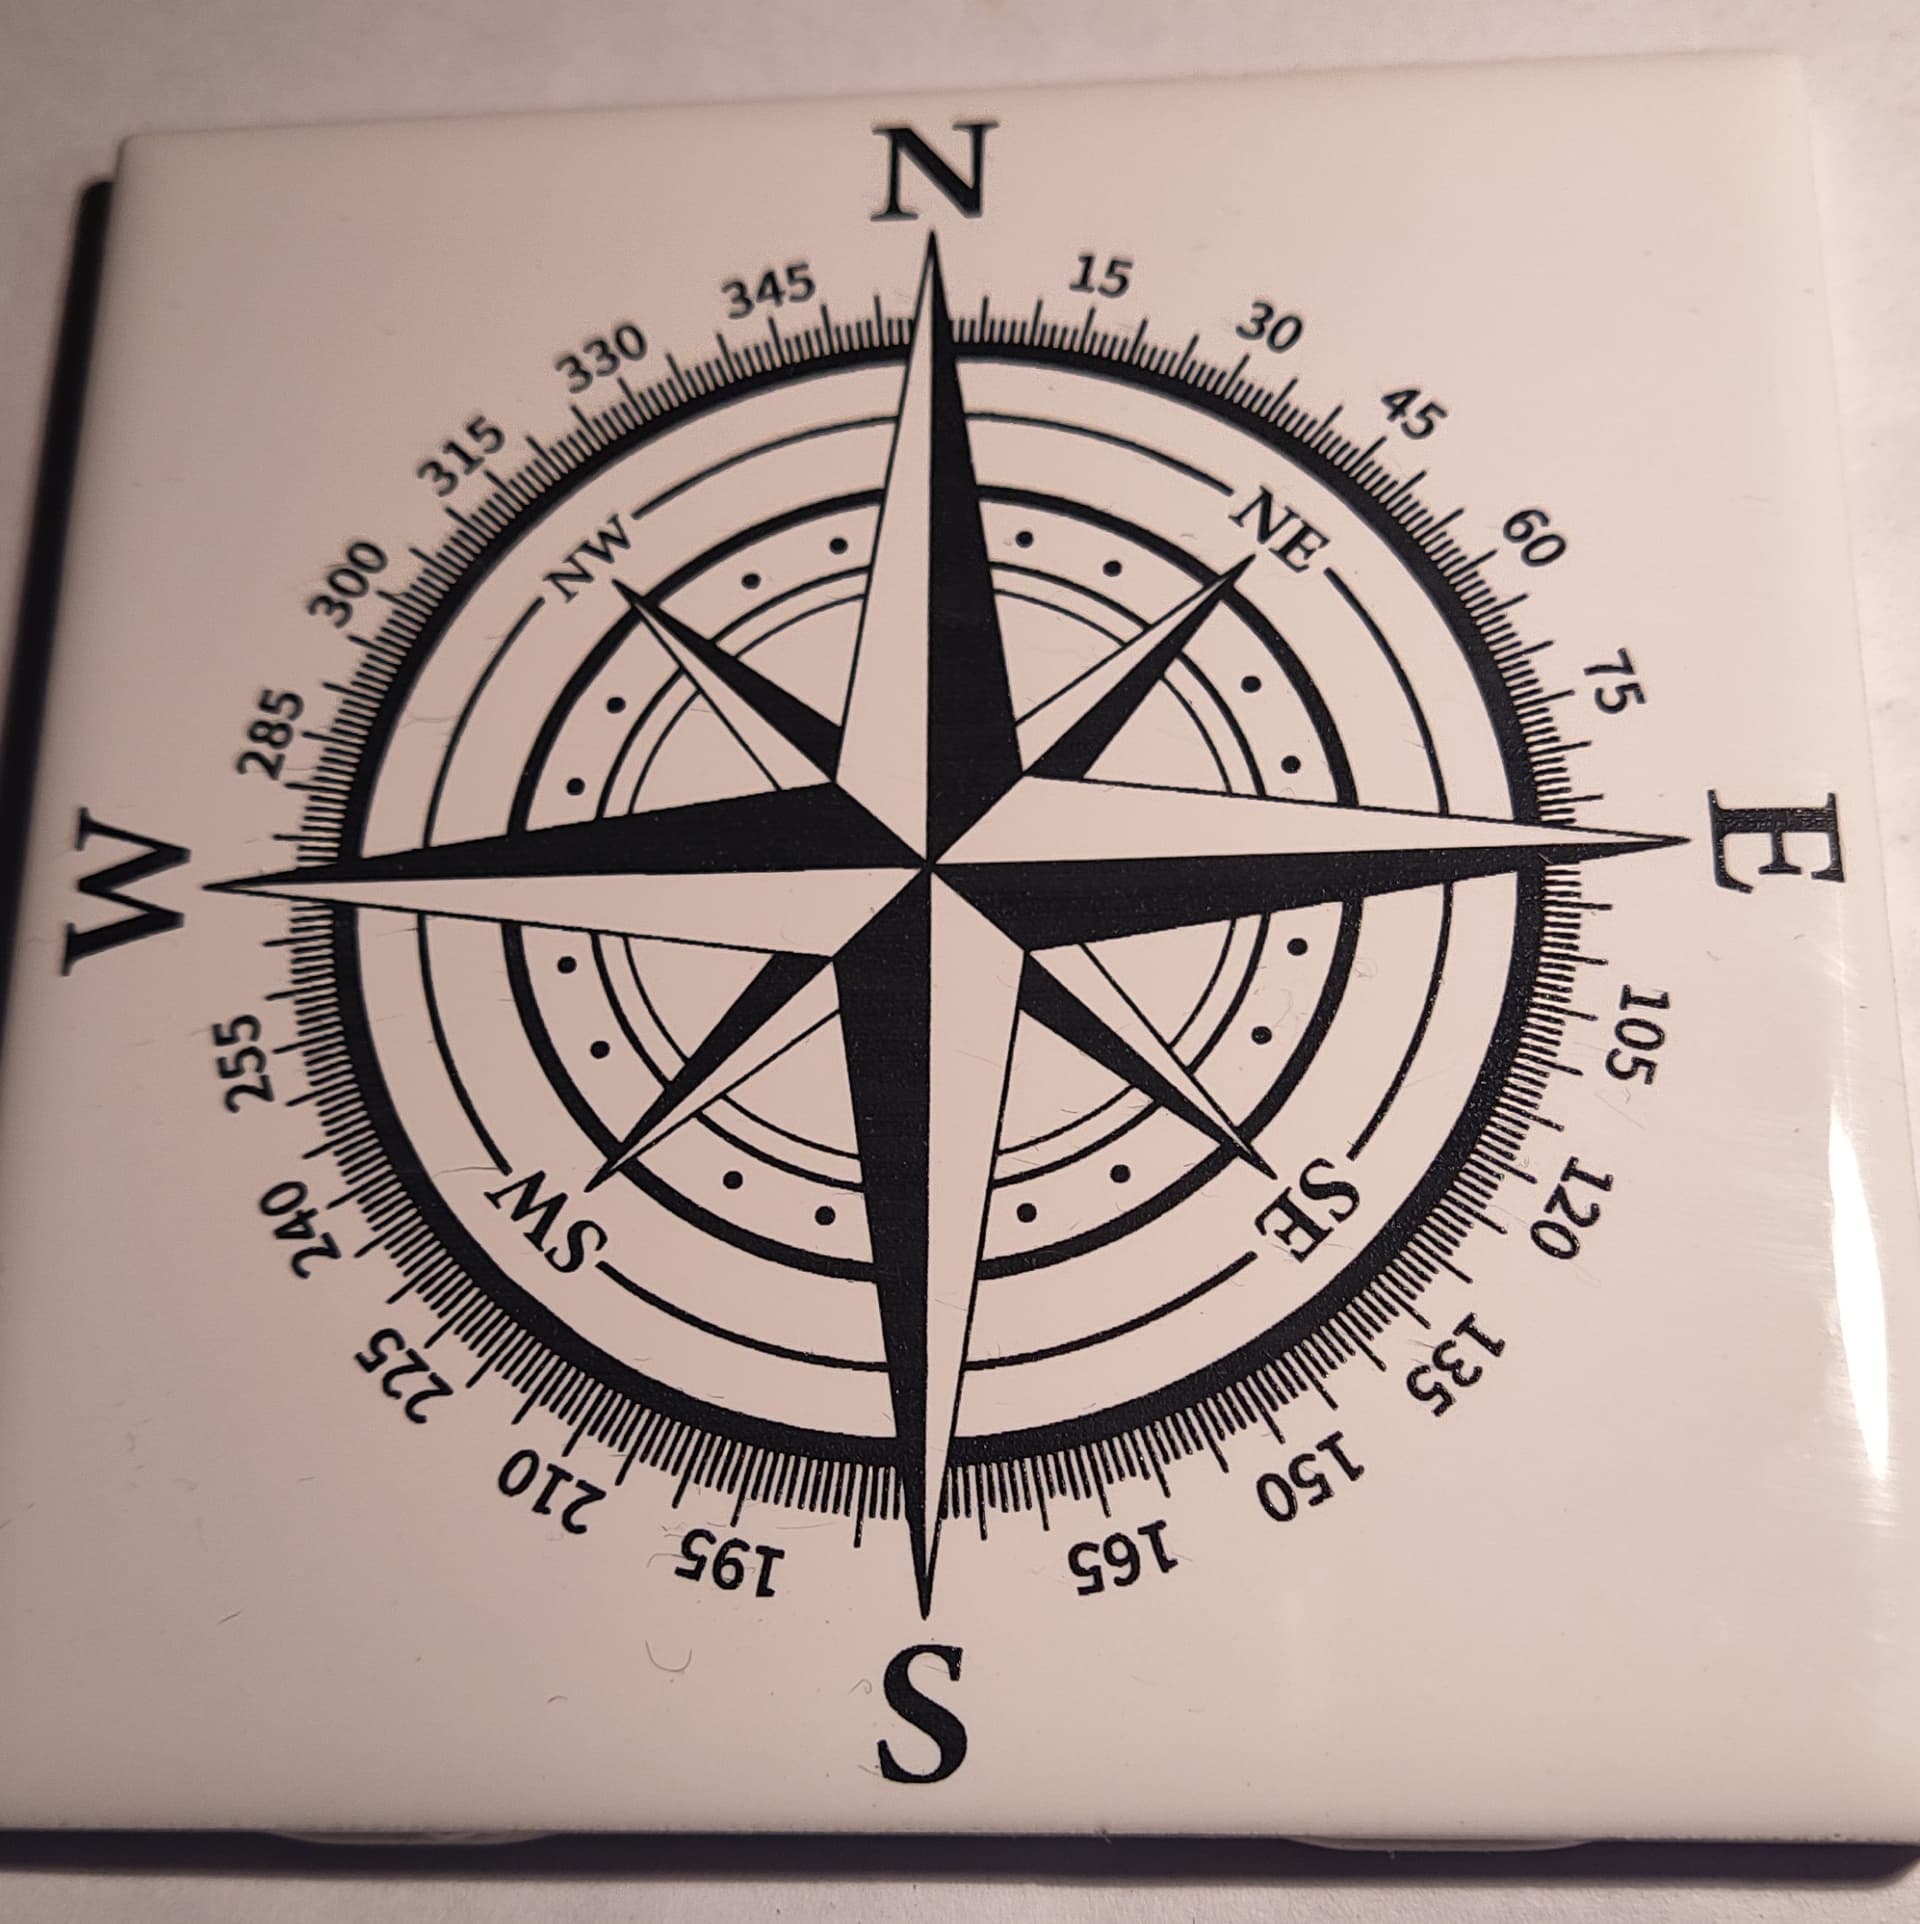
Here is where I am at with this.
The first is the compass I did in fill mode.
The second is in image mode.
They both came out fantastic using my method.
It does take some testing, so don’t be discouraged if it does not work the first time.
You will need to do…
Line interval test.
power and speed test using fill mode.
And a gradient test for power and speed.
They should get you in the ball park.
If you try this, please post pic’s of what you have done.
Hi!
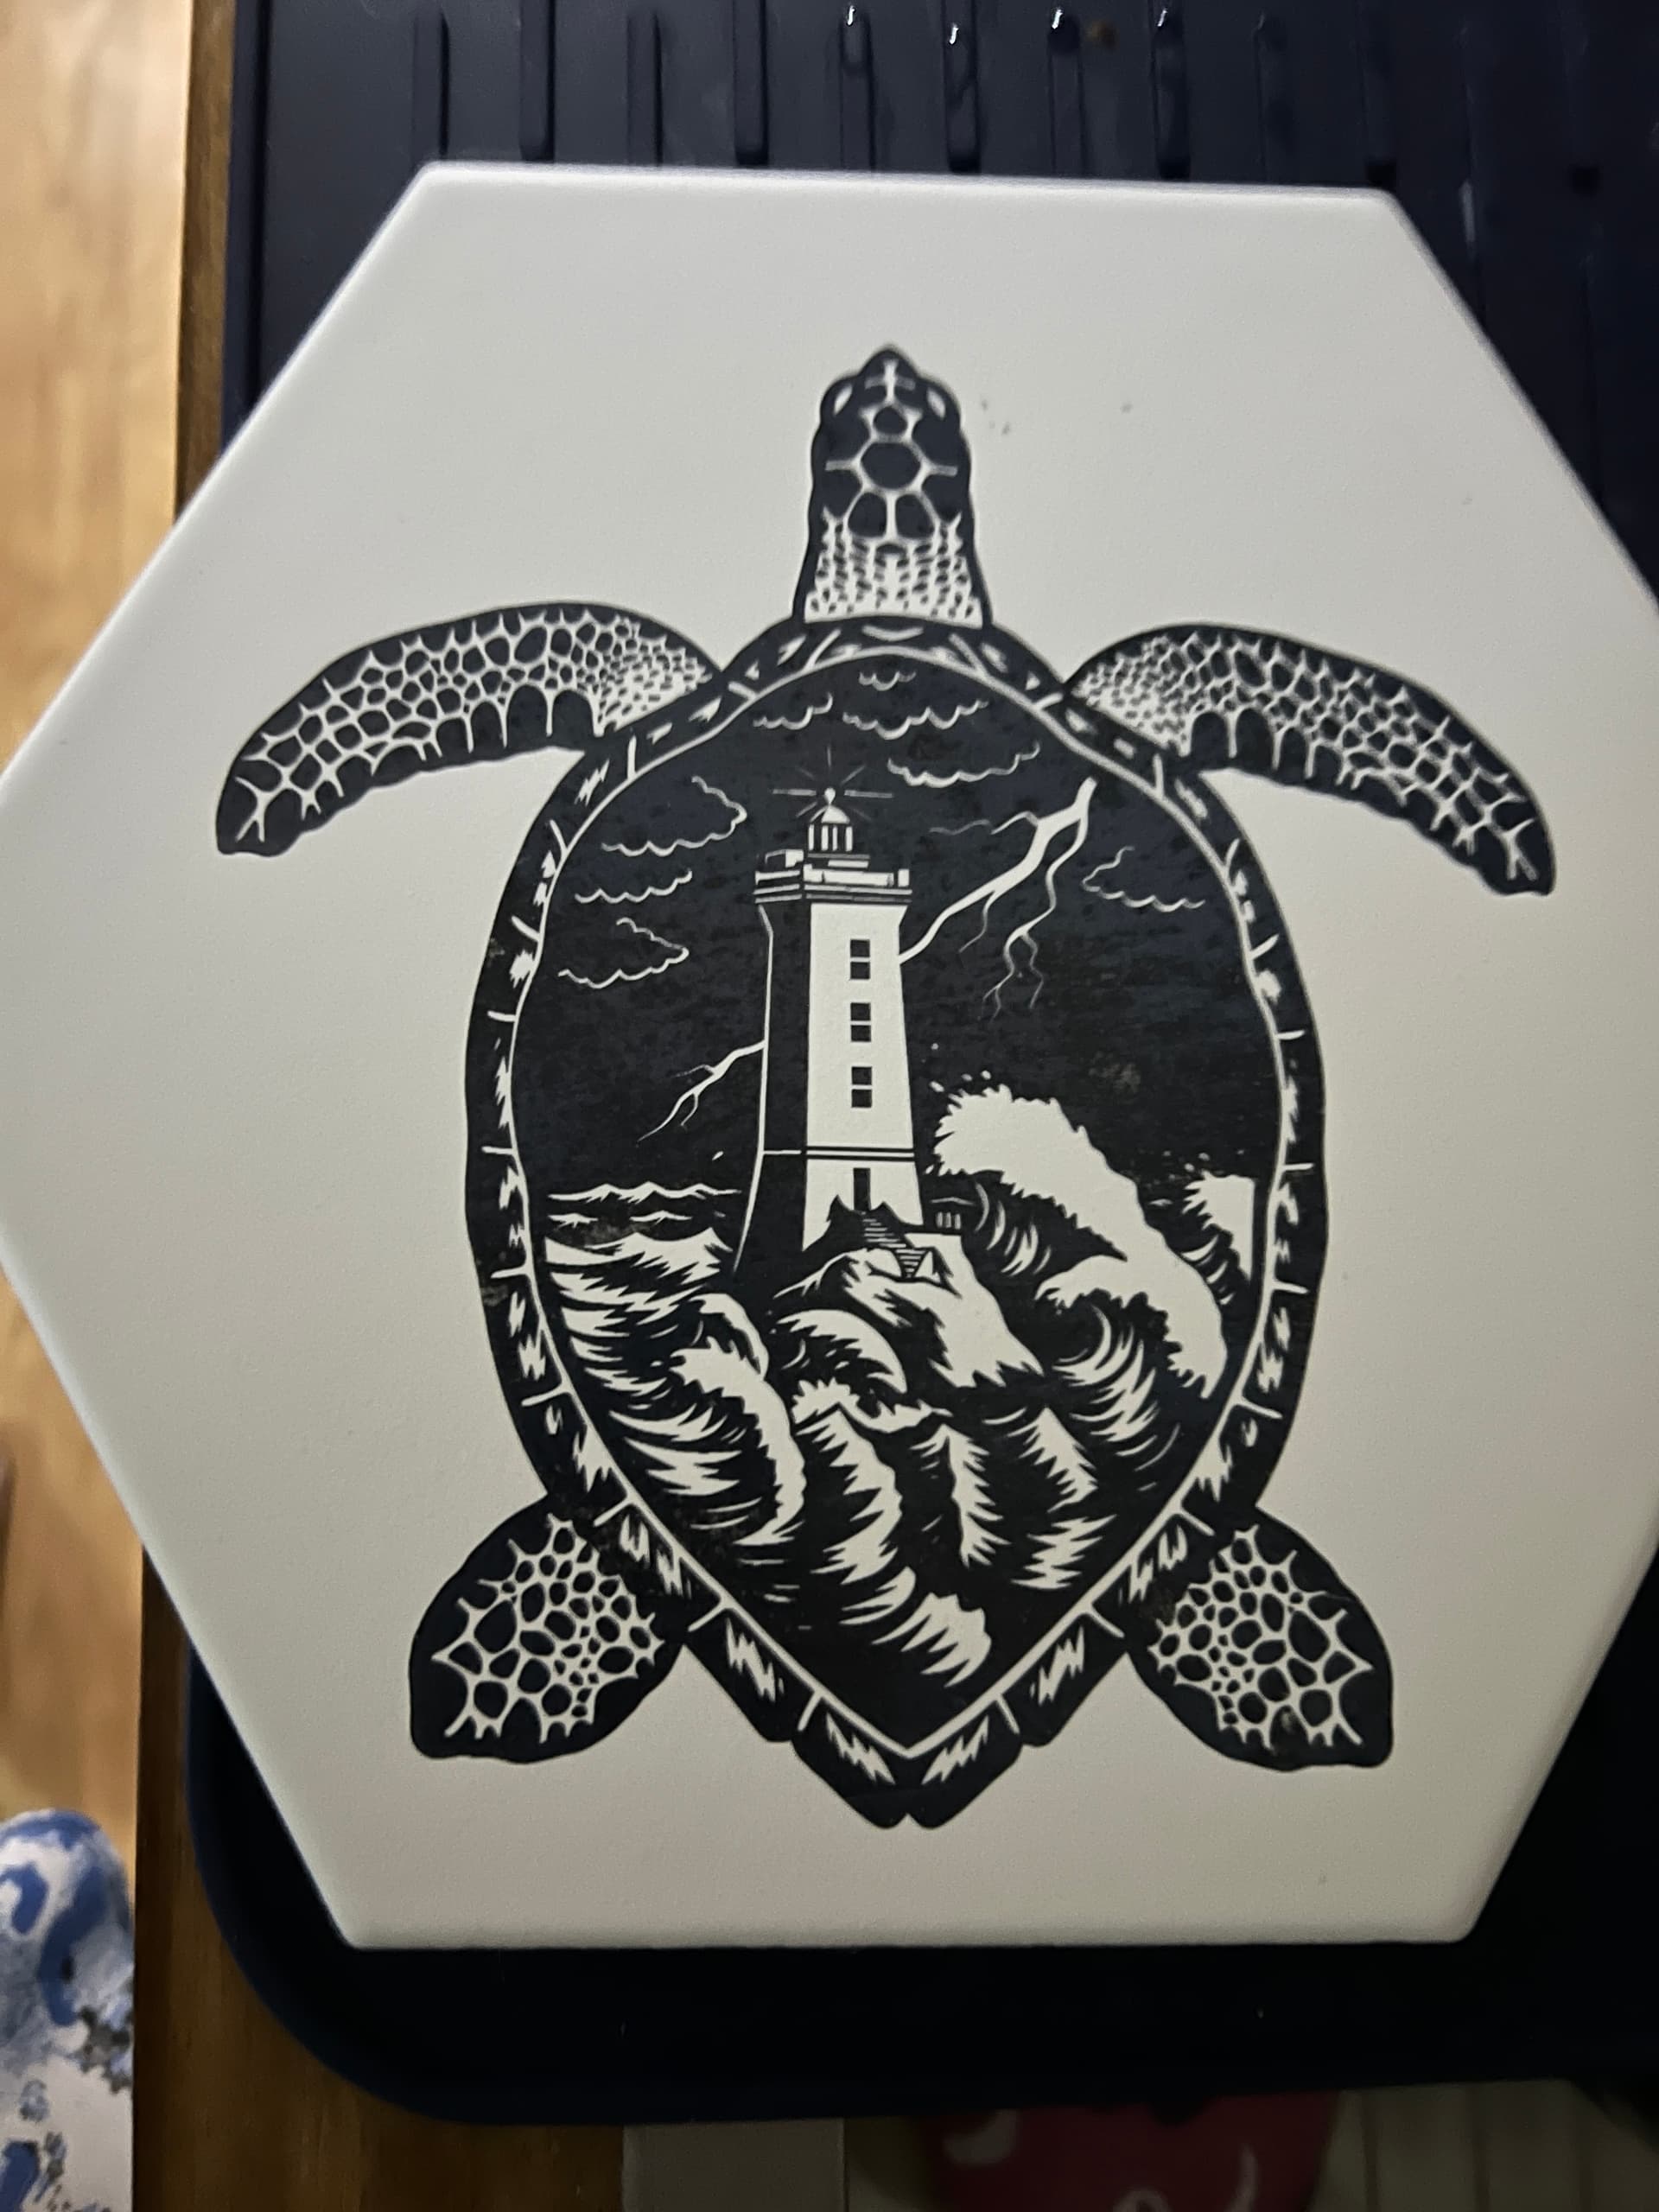
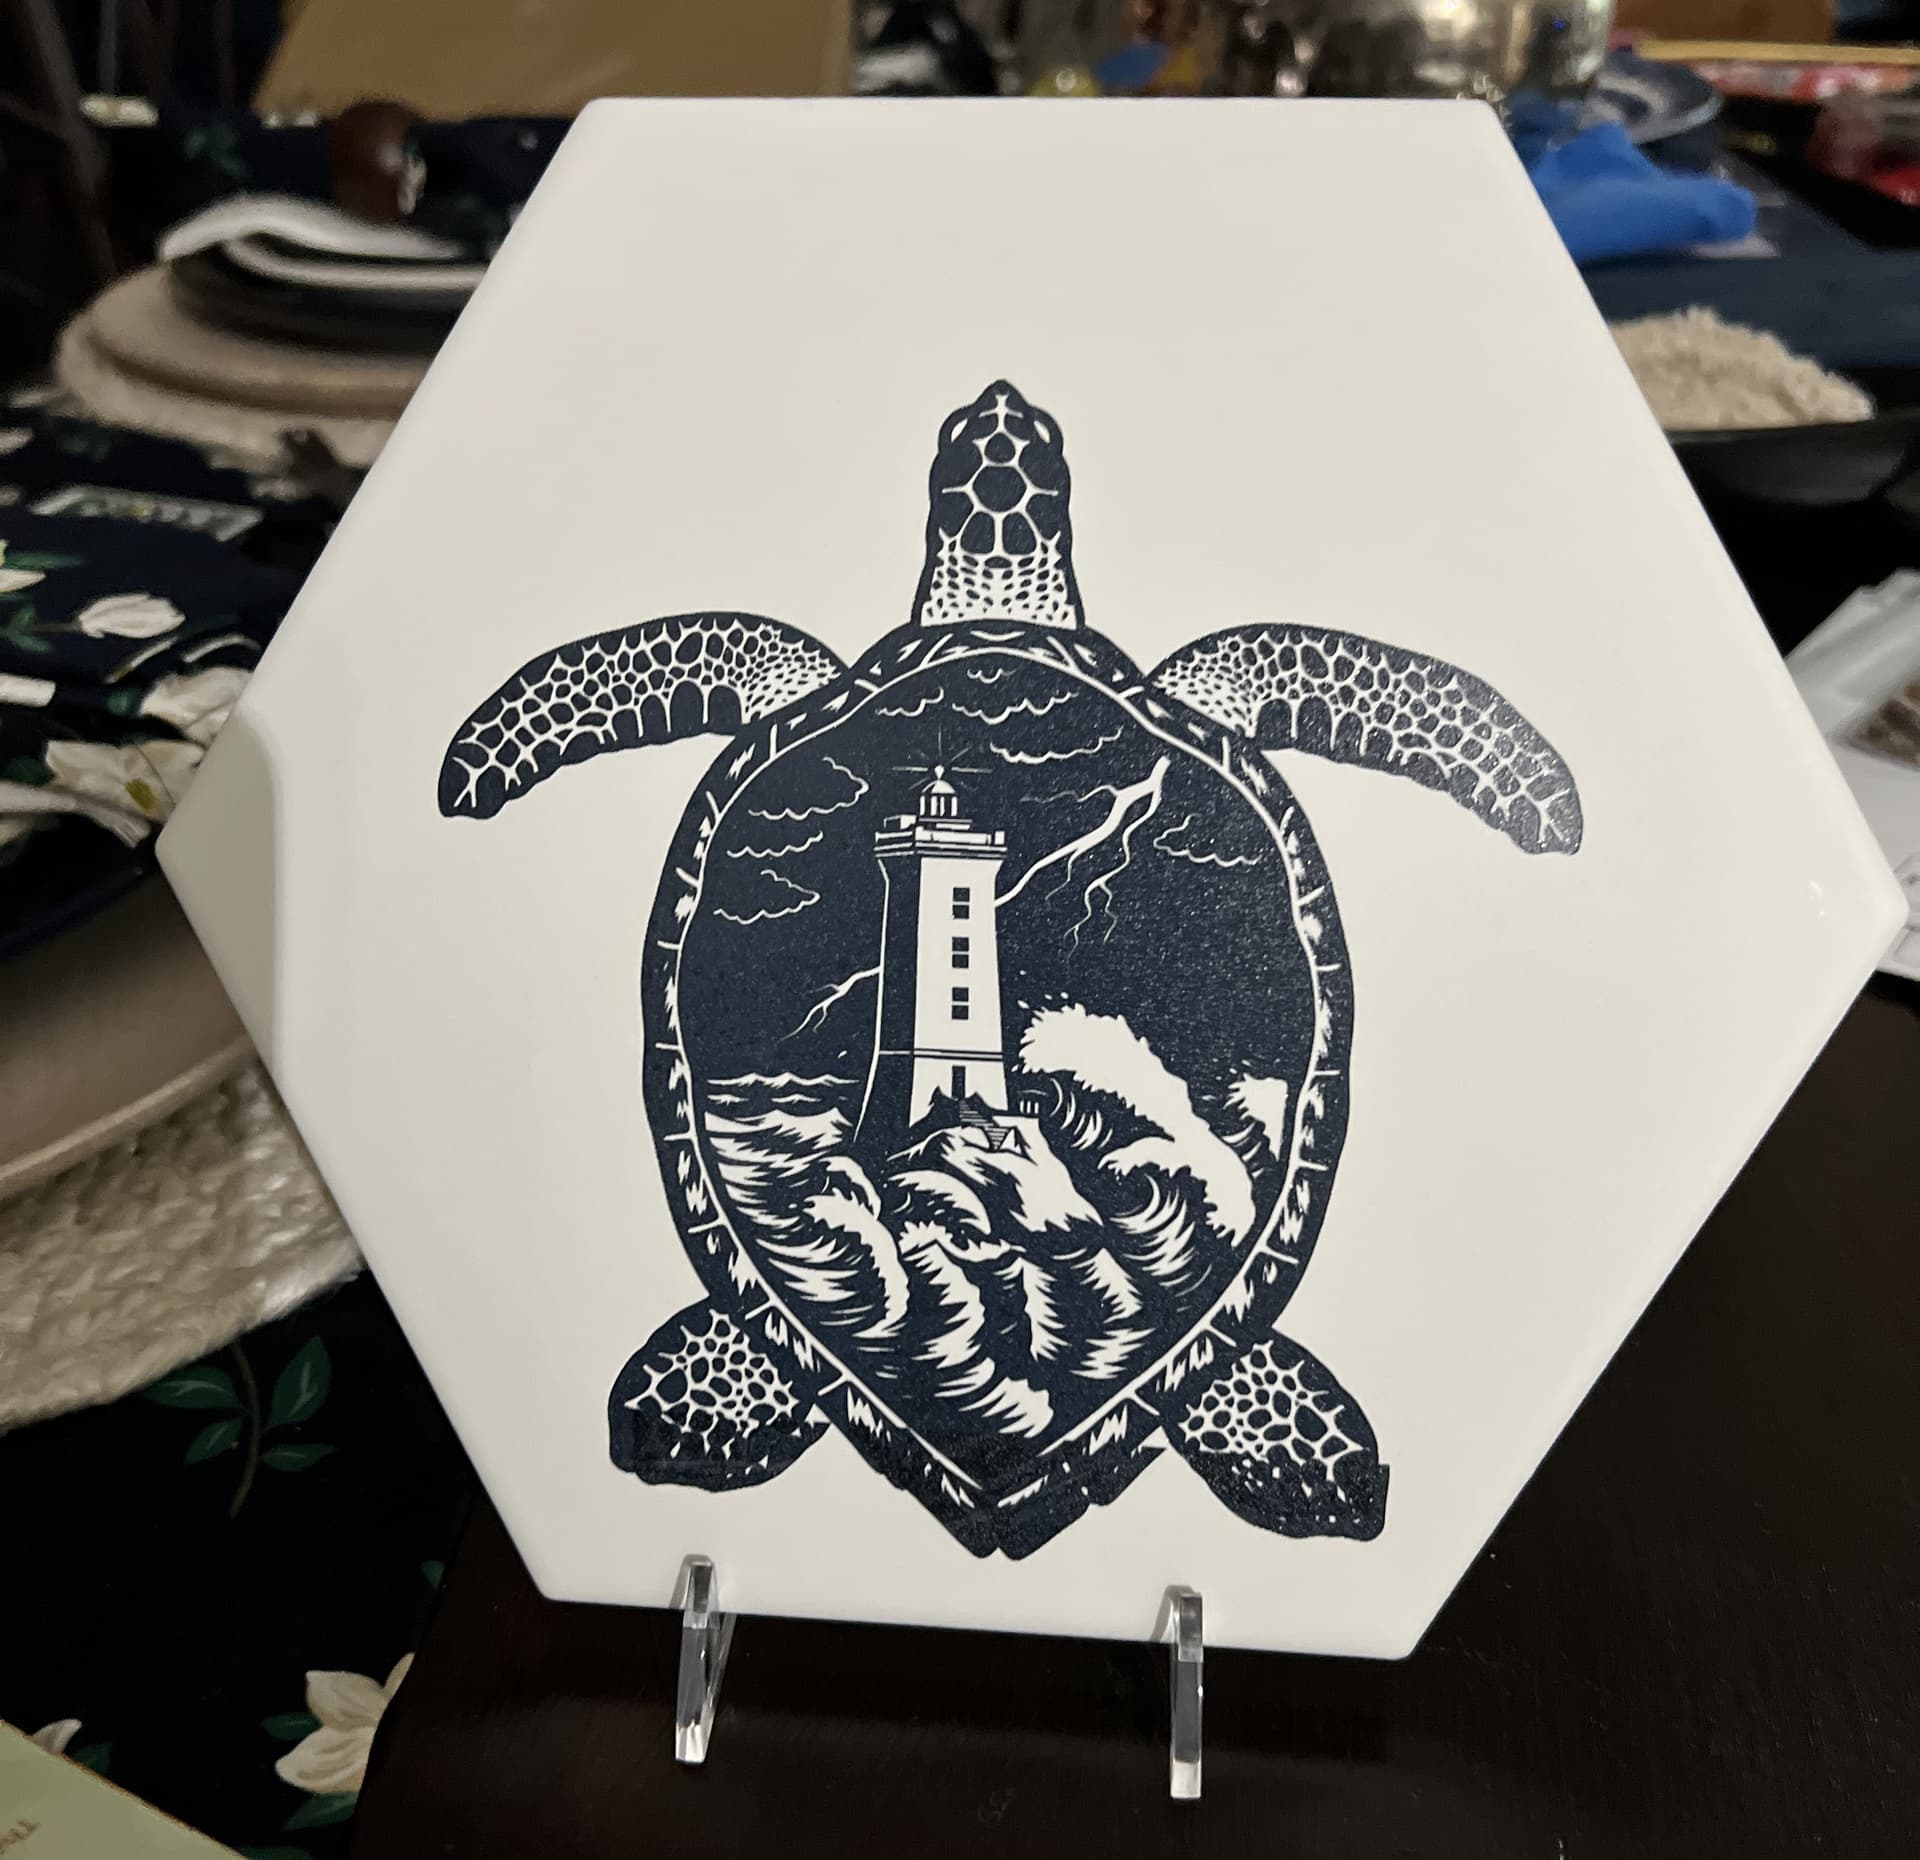
Apologies for intruding! My name is Robin and I paint (not walls } so I am familiar with TD I’ve been following this discussion as tiles are all I have been able to do (my laser dislikes me lol). If the pics come through I would appreciate any advice! The first two should be with TD/ethanol. The next one is something I’ve been playing with.