Hello everyone. Im new to CNC lasers. Im coming from 3D printing.
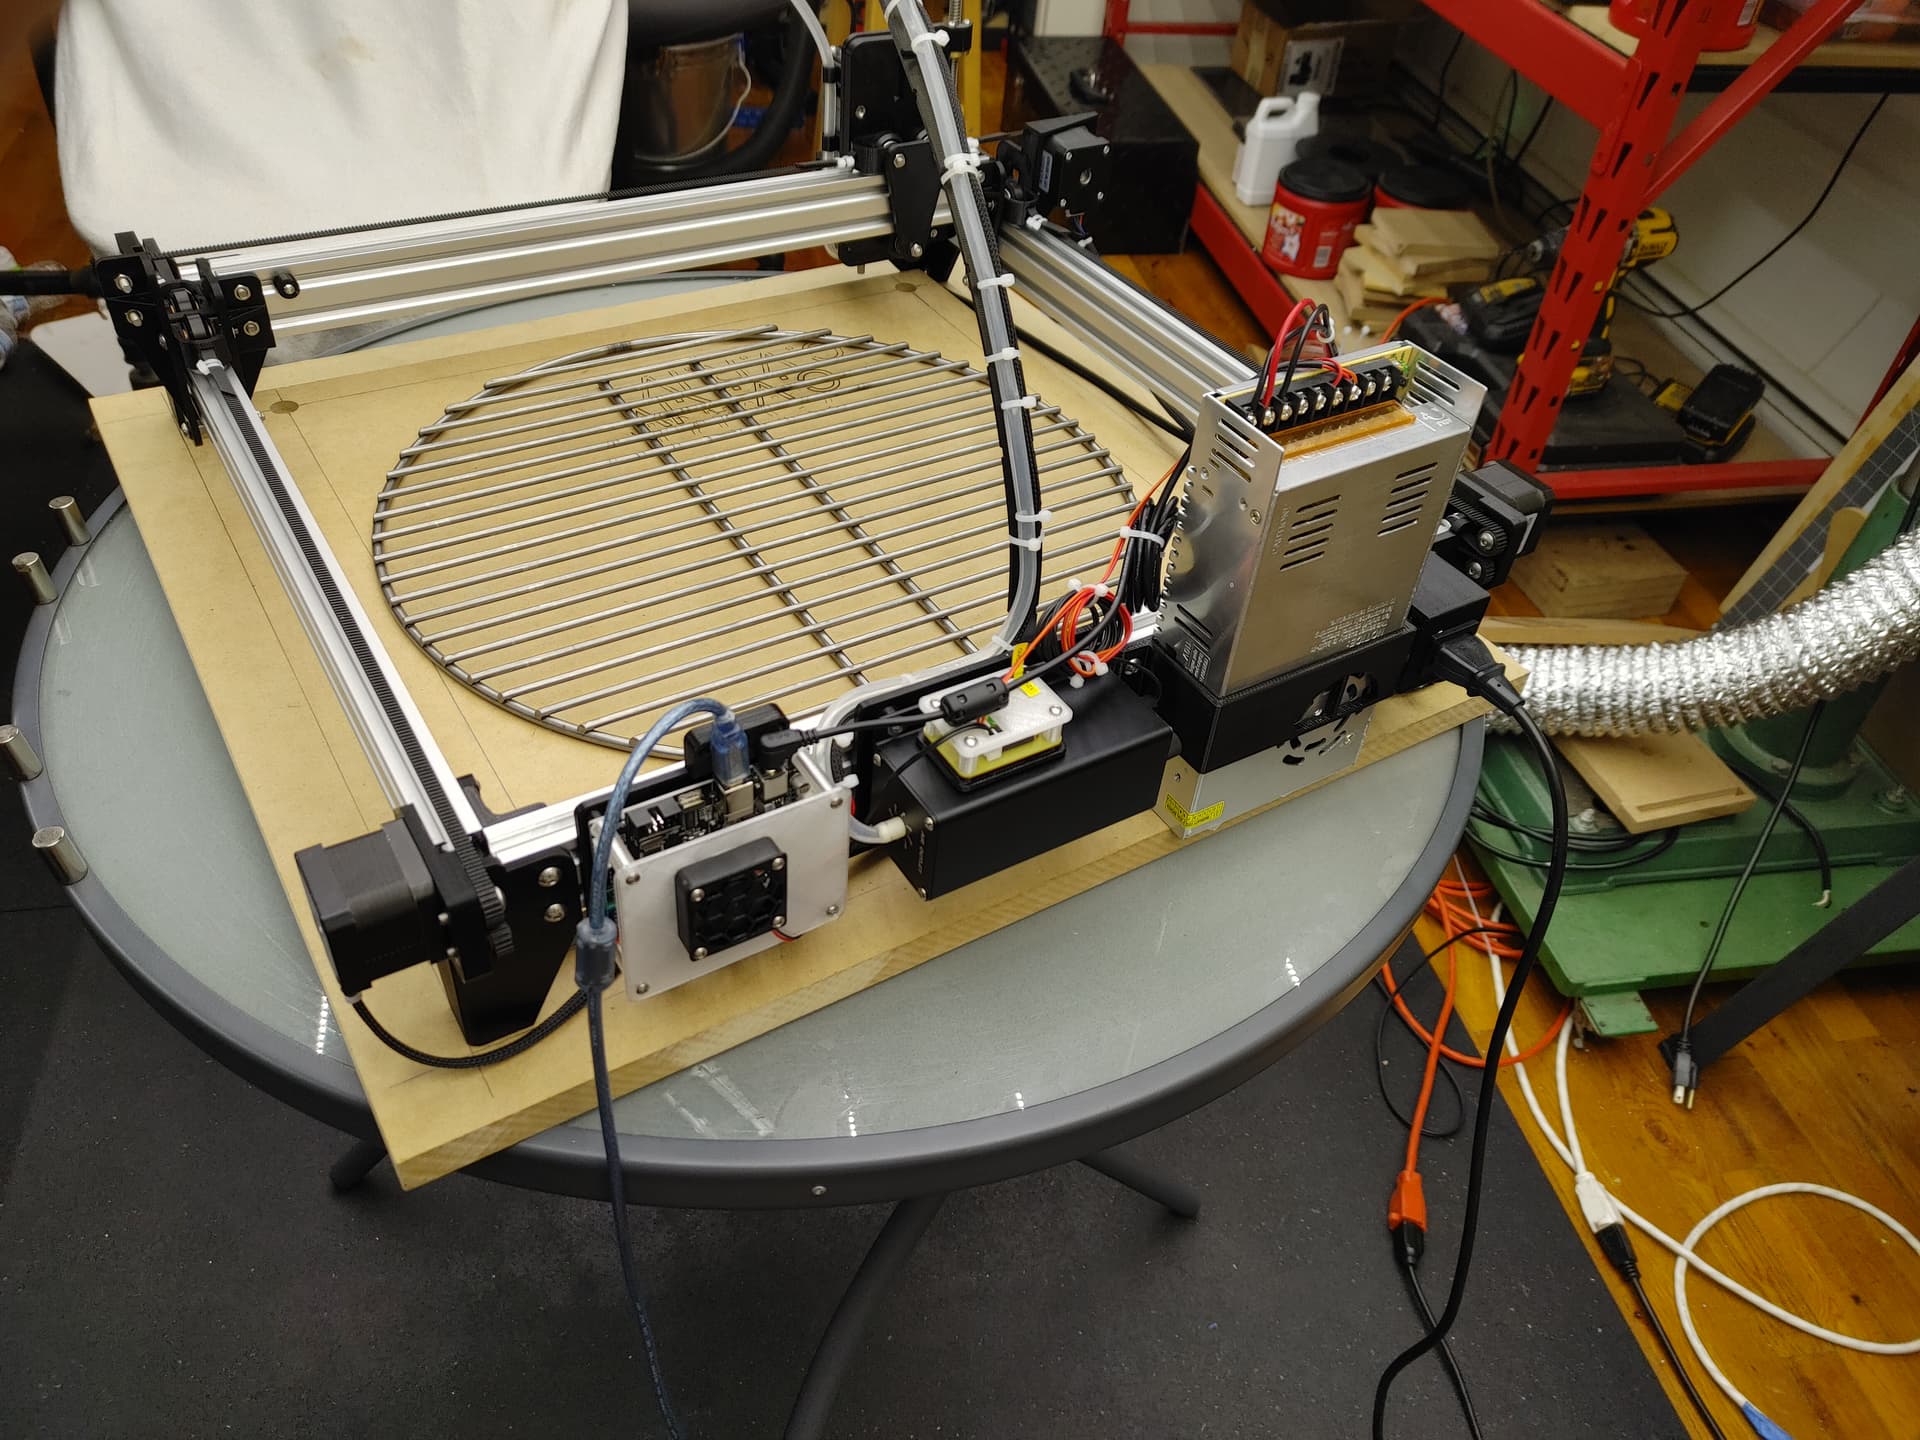
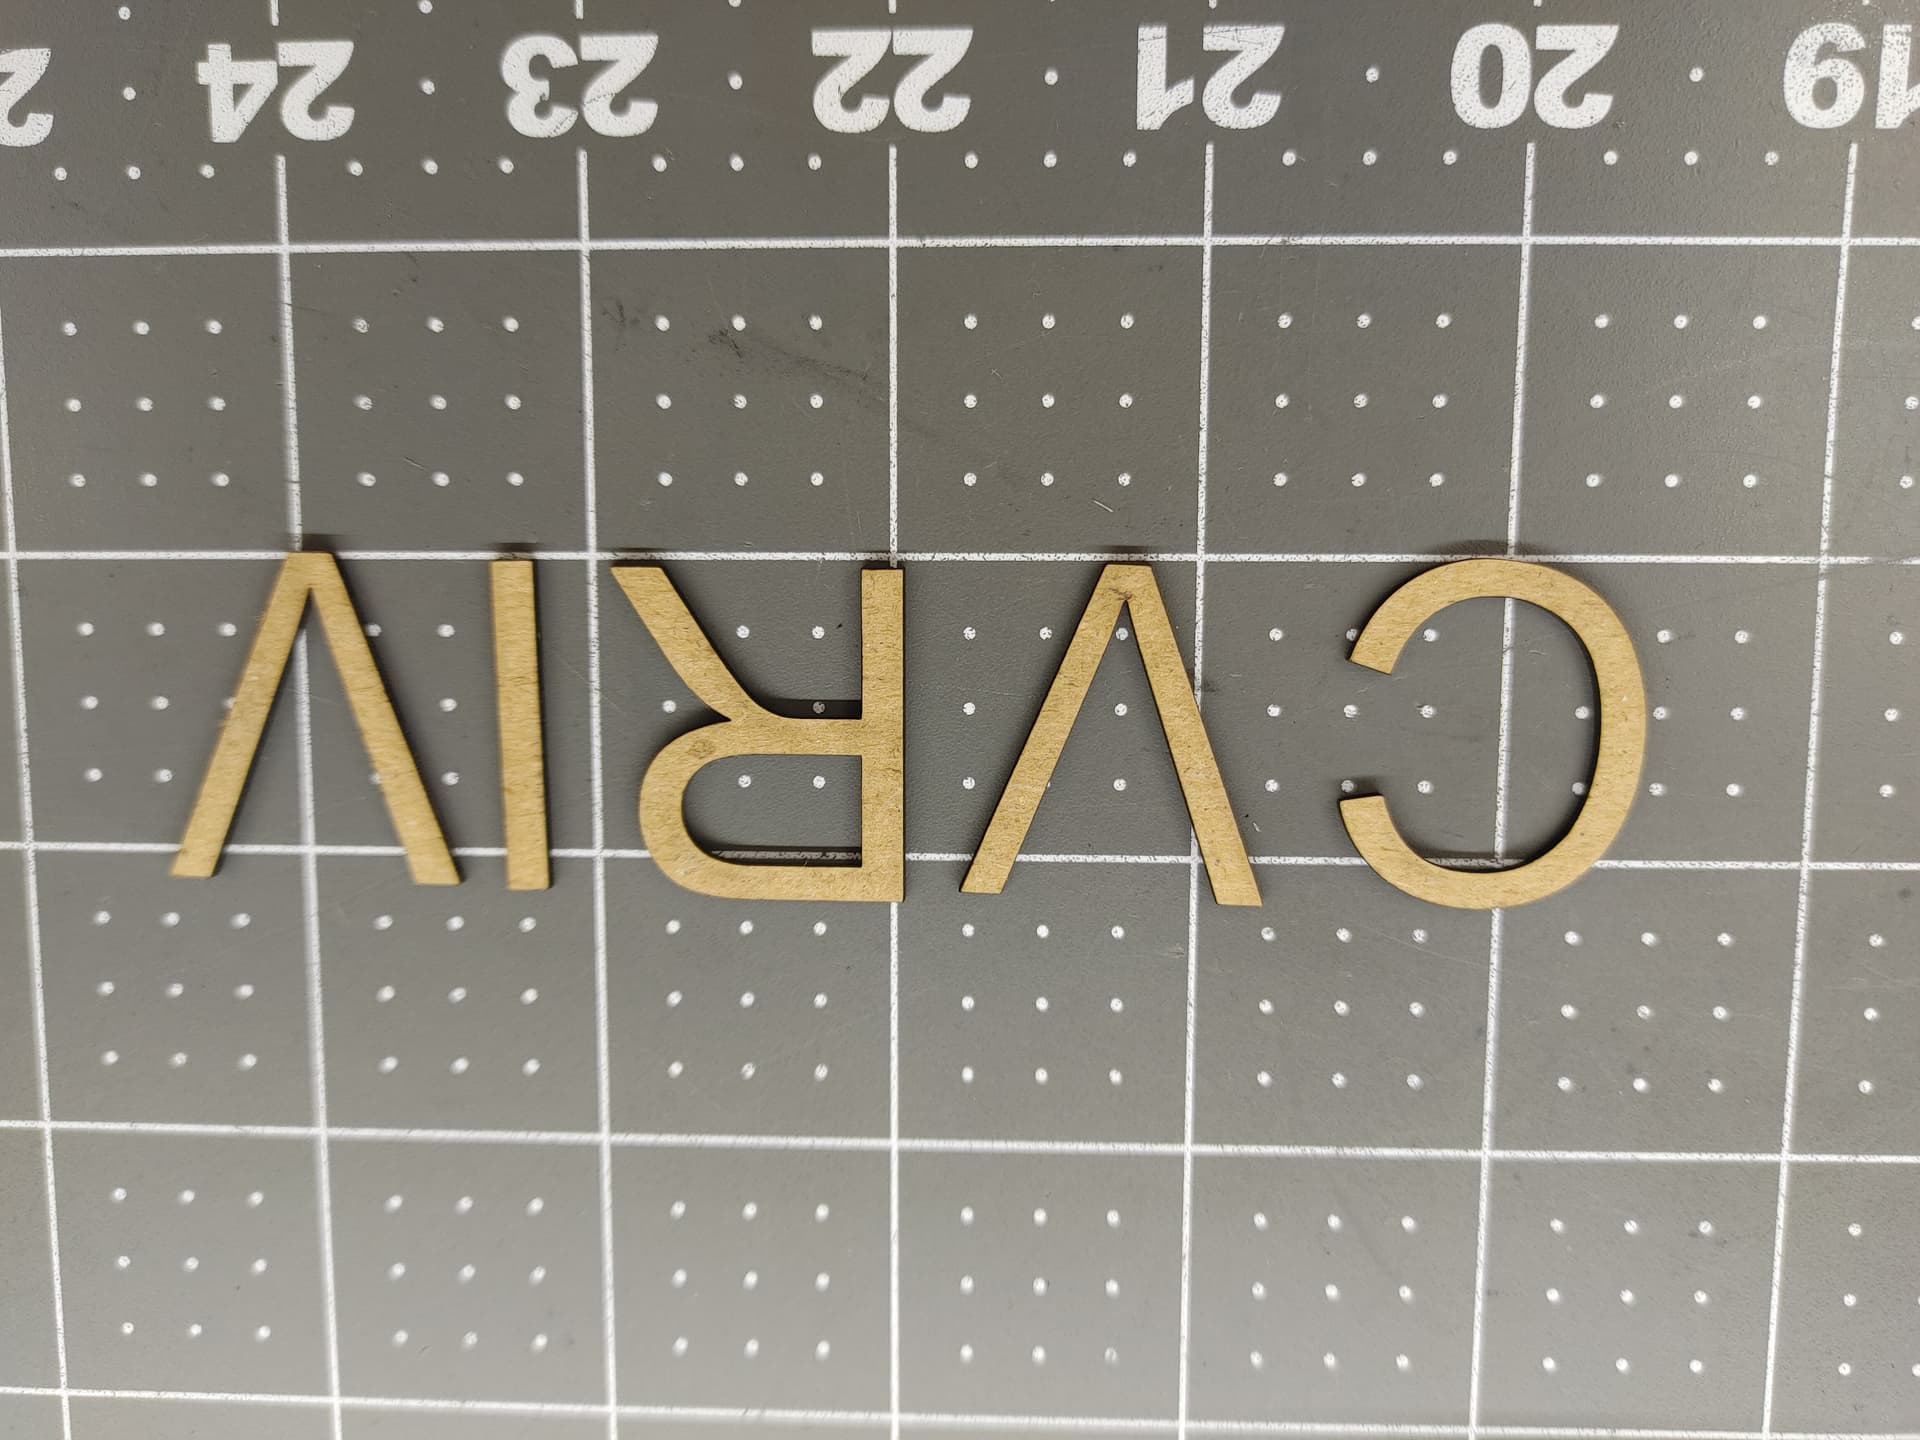
I just got done building my new cnc laser and did some quick cuts early yesterday morning. After figuring out how to use Lightburn, i was able to cut-through some letters of of cardboard.
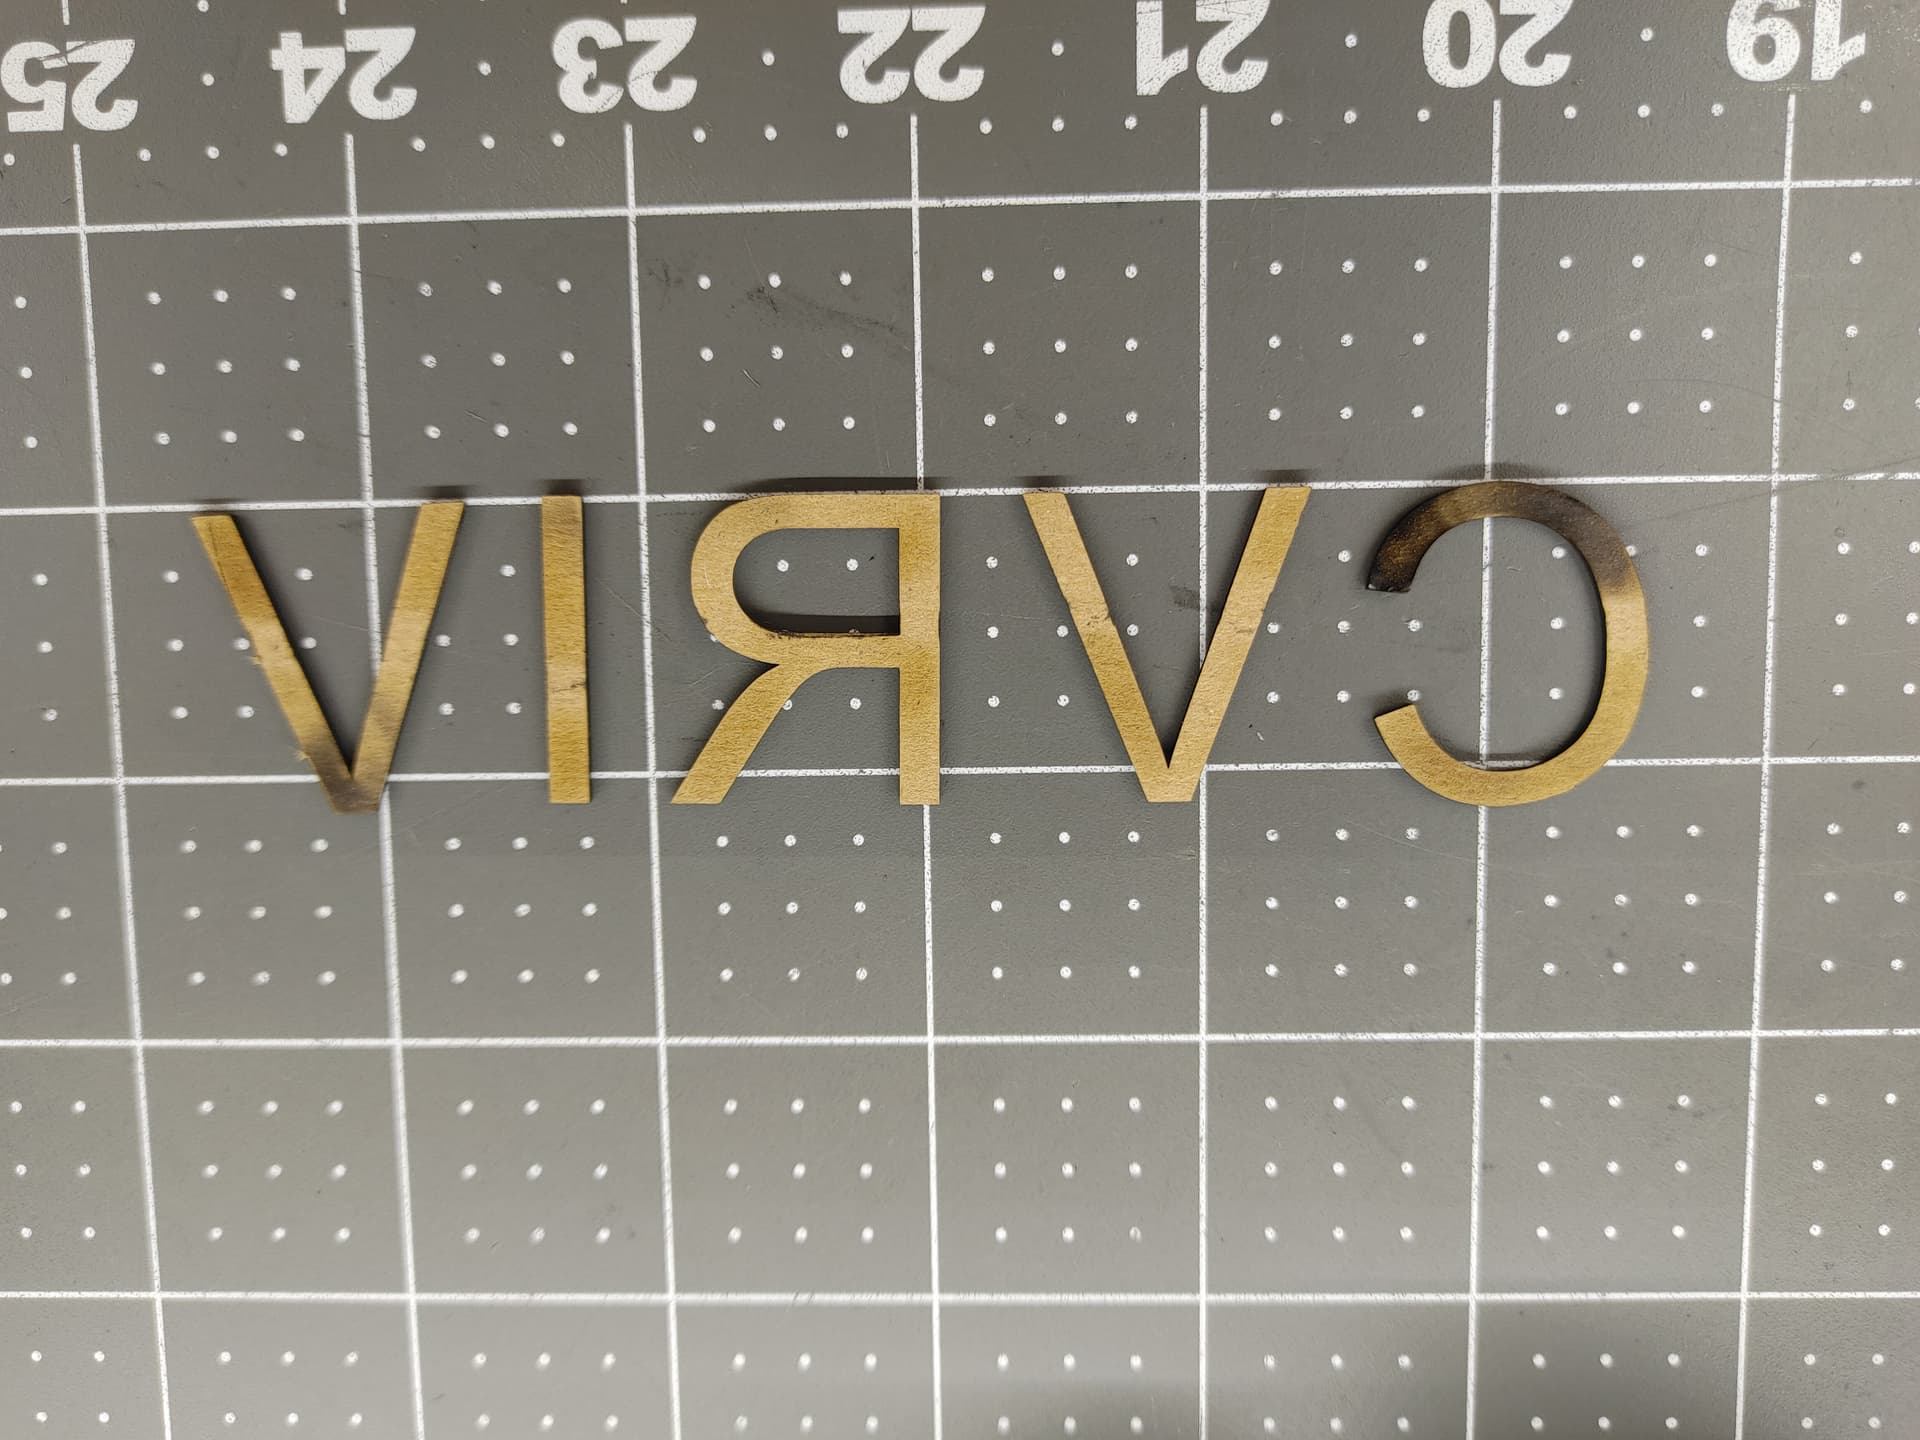
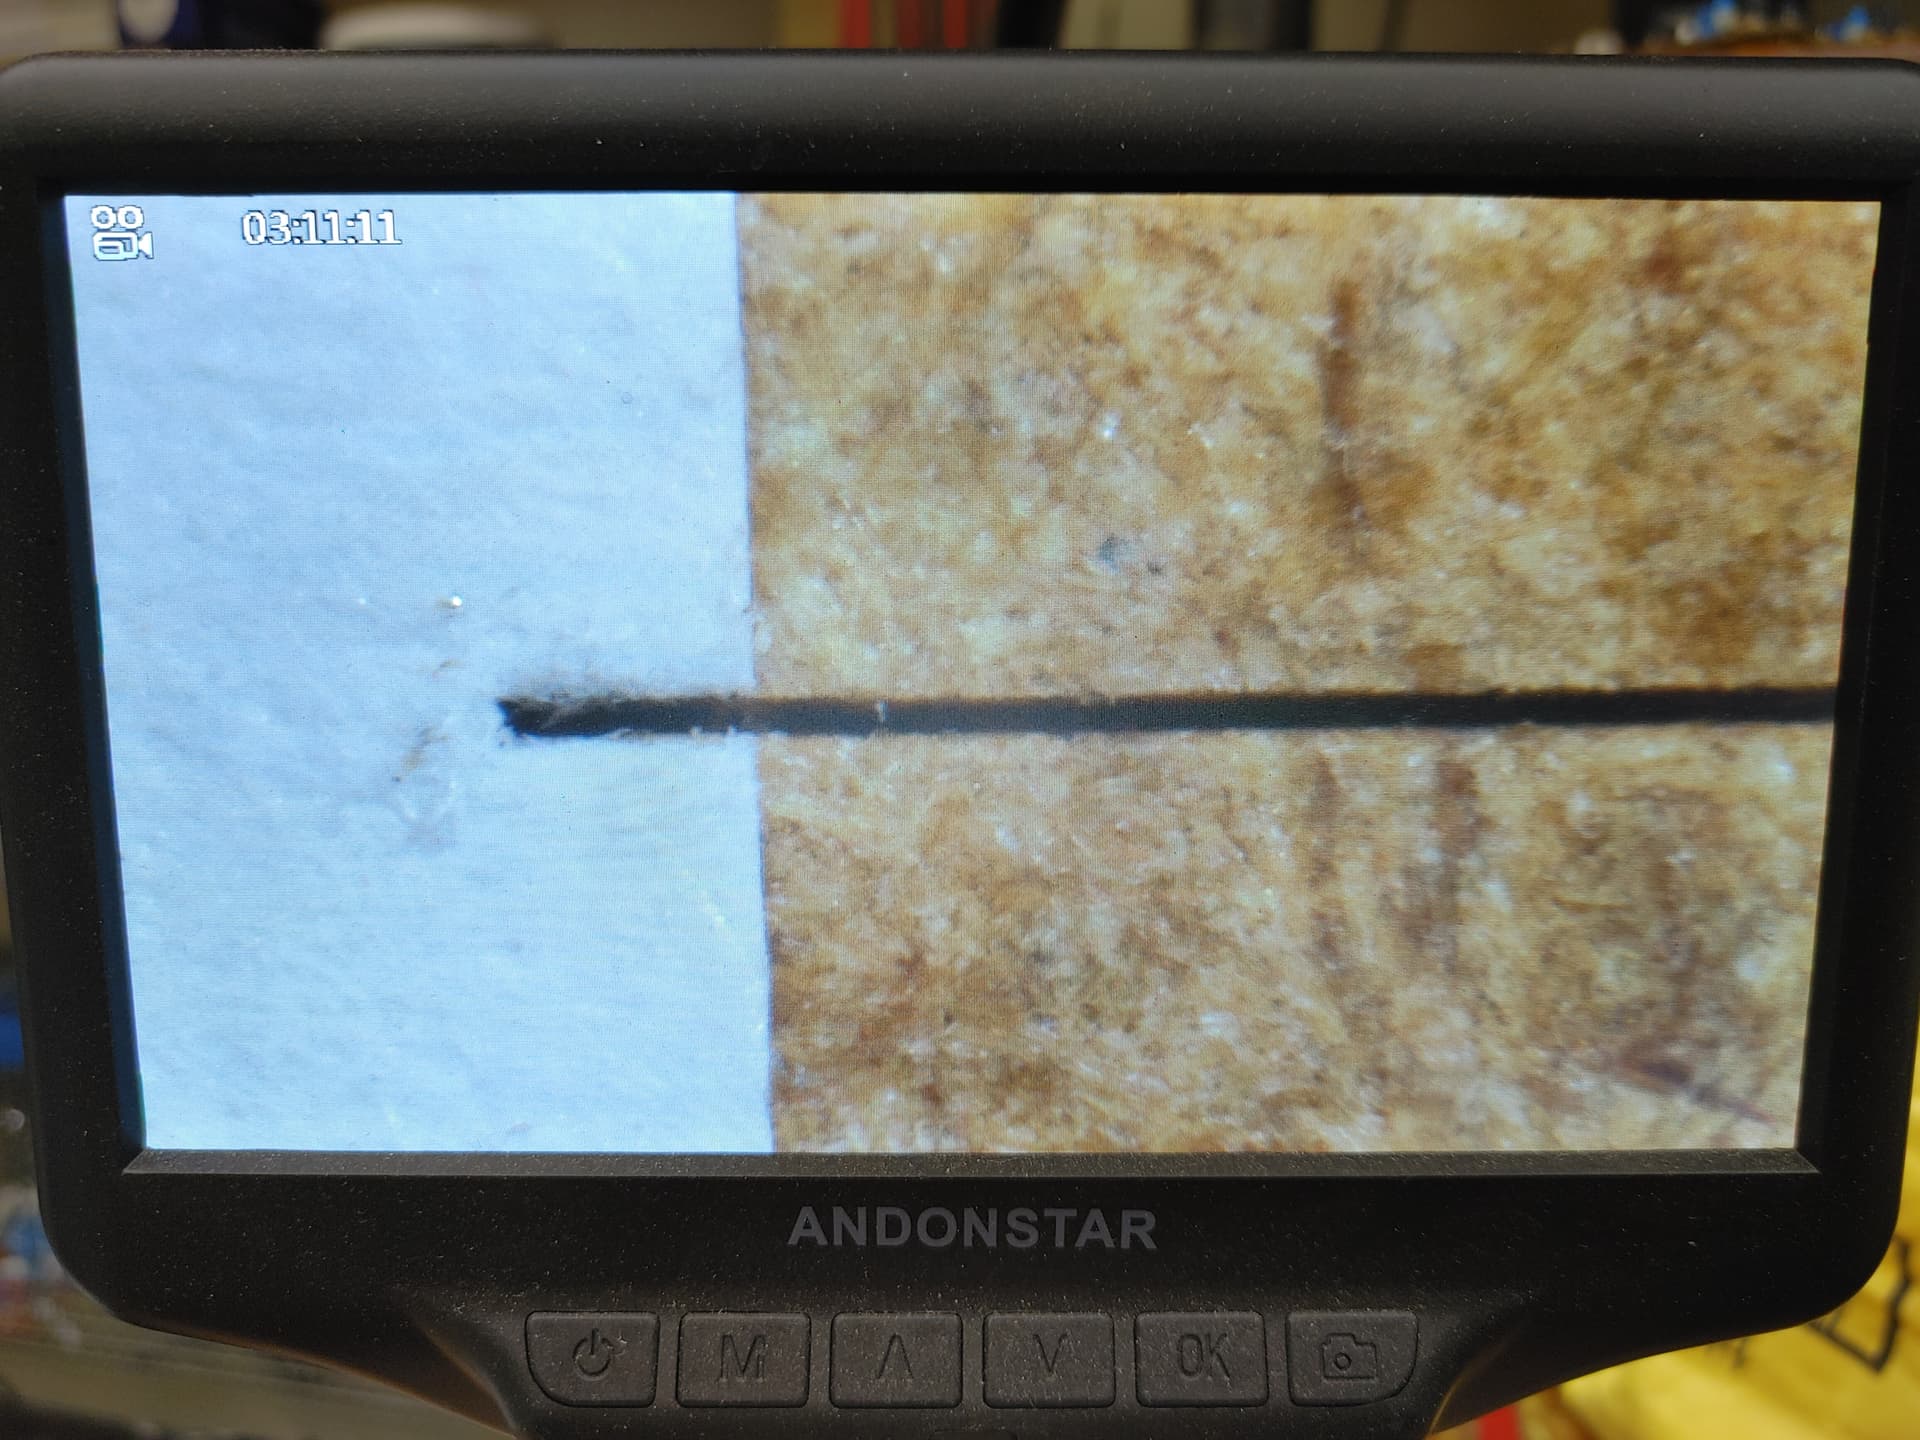
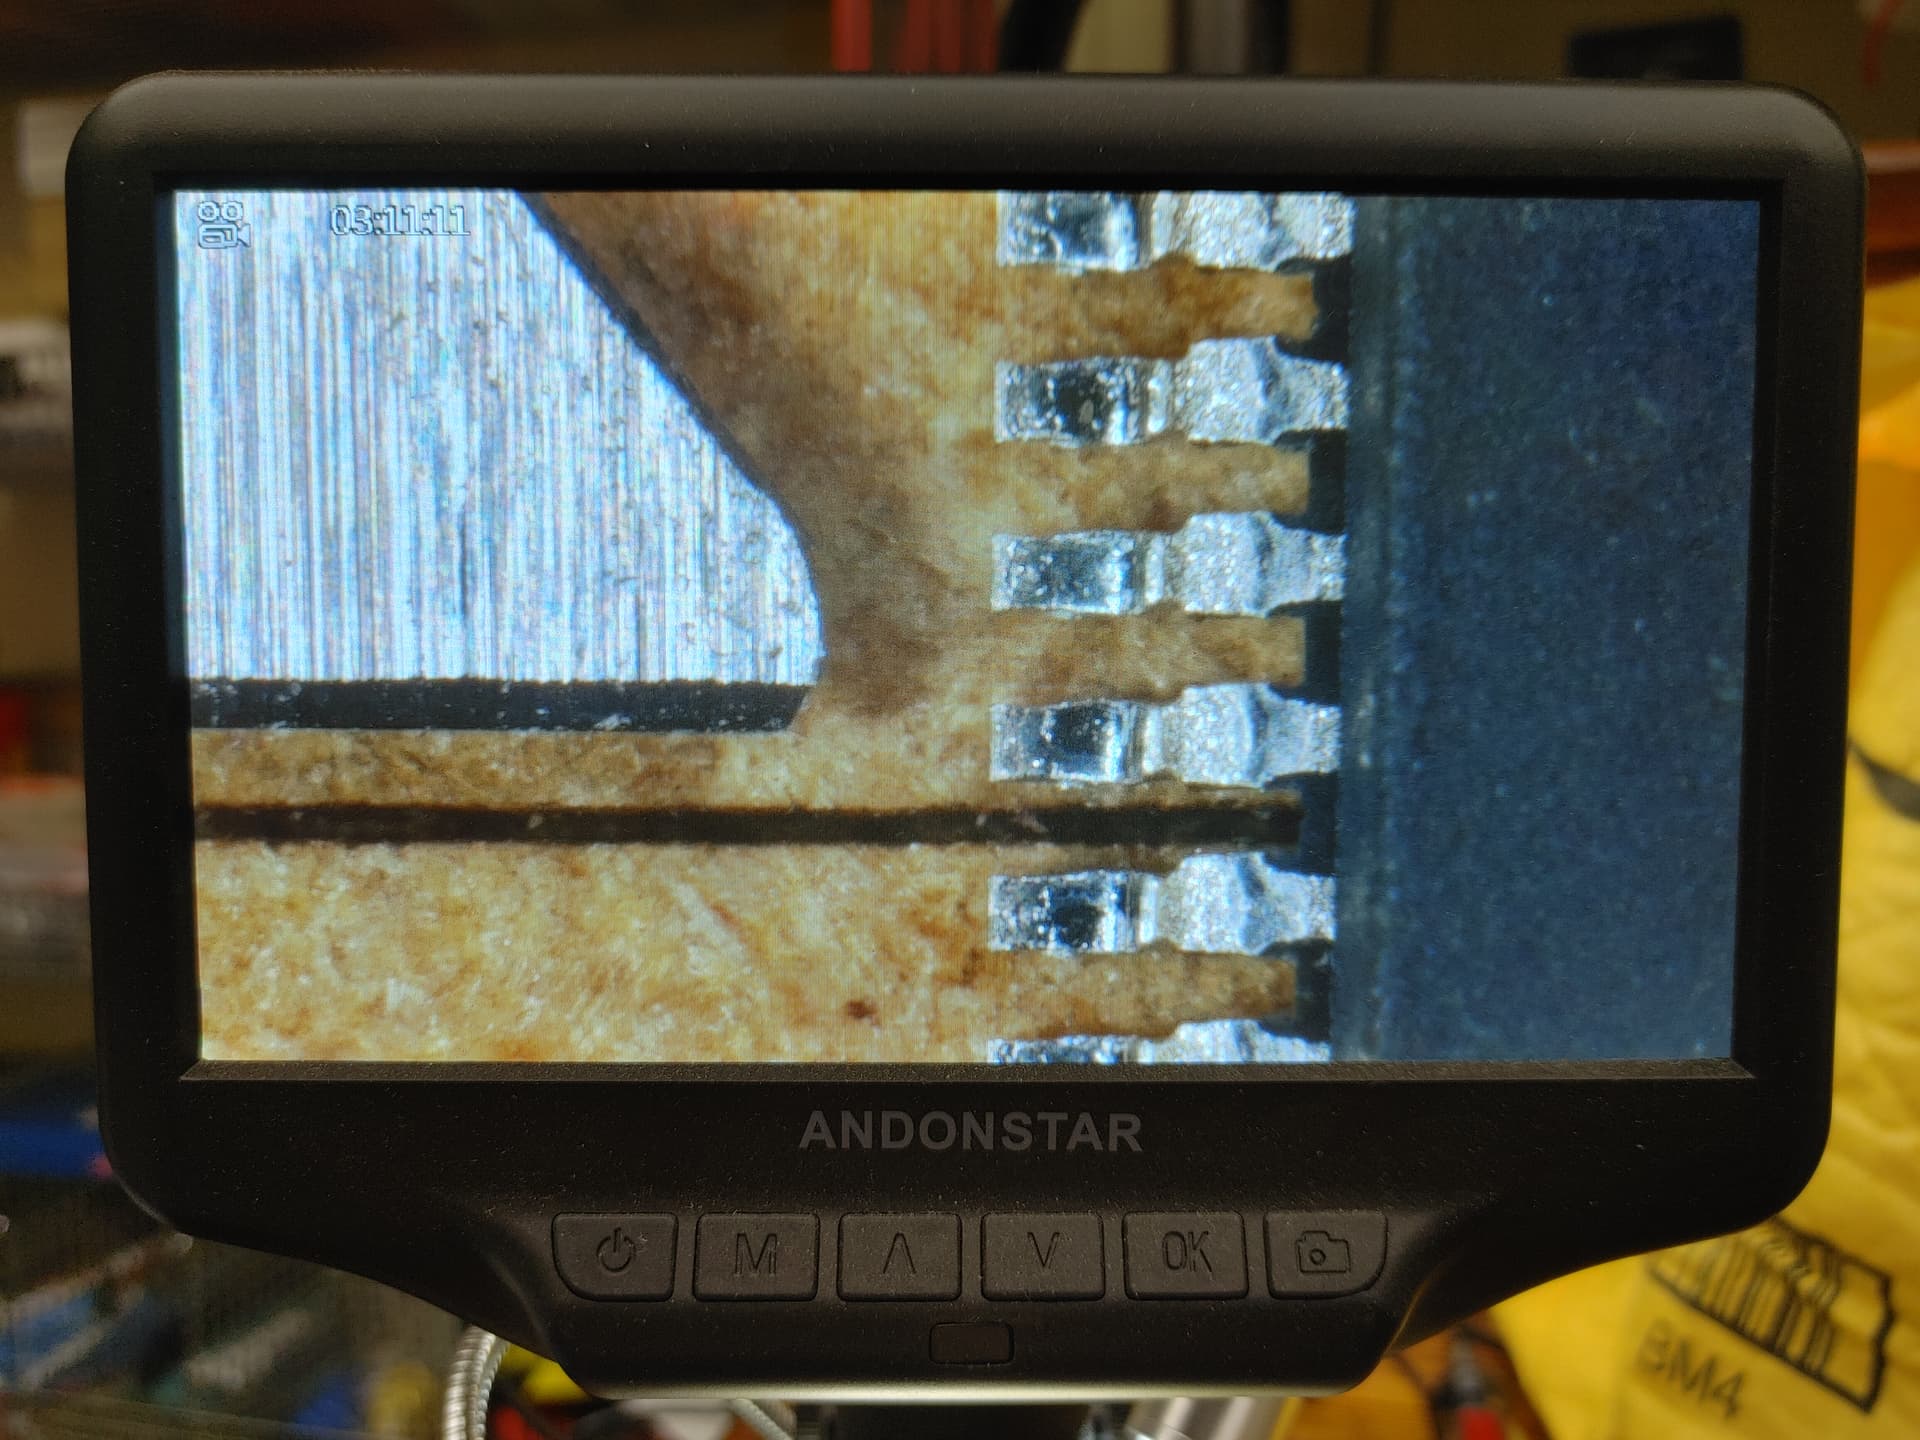
It cut through nicely but I noticed some burning or smoke on the opposite side? I think its burning.
Now im using a grill, made by Weber, to hold up the material. The grill is made with steel round bar @ 4 38mm in diameter and are spaced from each other by 18.78mm.
Do you think maybe its reflected light off the steel round bar?
I havent designed an enclosure yet so that i can exhaust the smoke and there was a lot of smoke underneath the cuts.
EDIT: The pics of the letters are upside down, but you can see what im talking about.
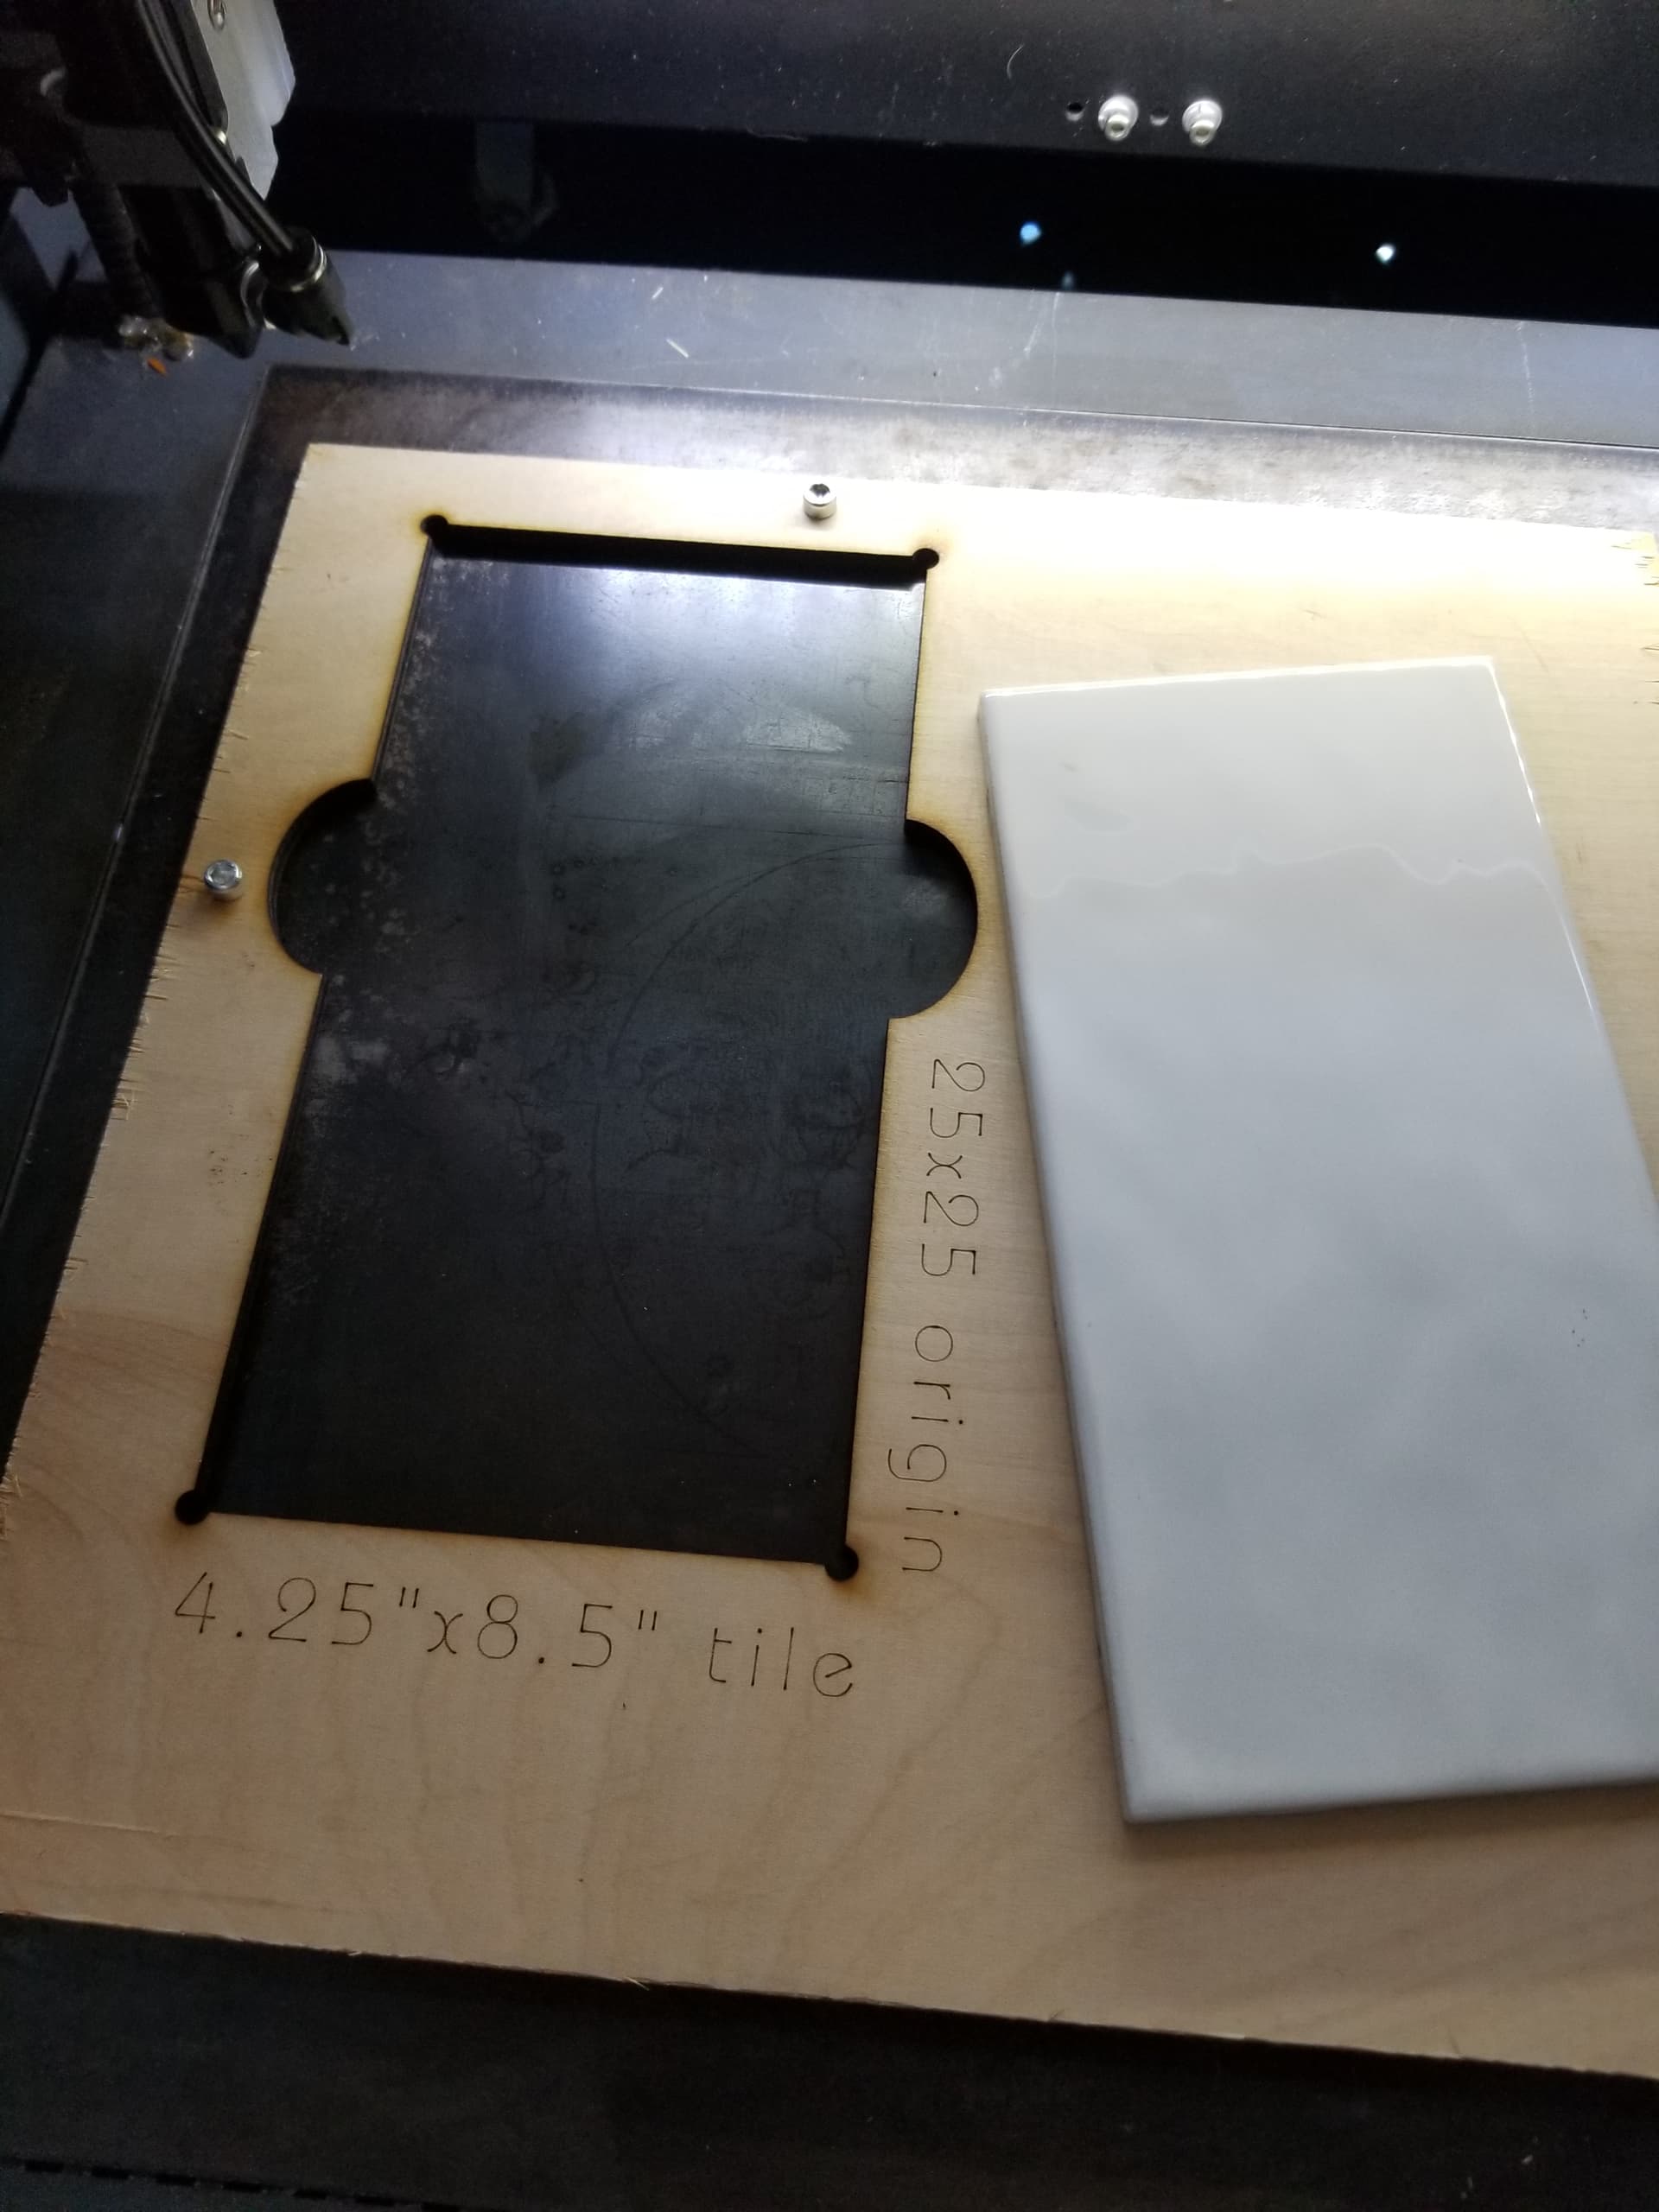
My main goal for this laser is produce PCBs. I need to figureout a way to etch both sides of a copper clad fiberglass. I need a way to do that and then transfer tgat copper clad to my desktop milling machine for drilling. I think i know how to do this. I see what yoyre doing and its interesting.
Right. You cant cut or even etch copper but you can burn away paint and use the left over paint as a mask when etching with Ferric Chloride.
Yea i was thinking id create pin hole gcode that bith machines to use to cut into the table material. I would need to make sure each machine’s steps/ mm were dead on though.
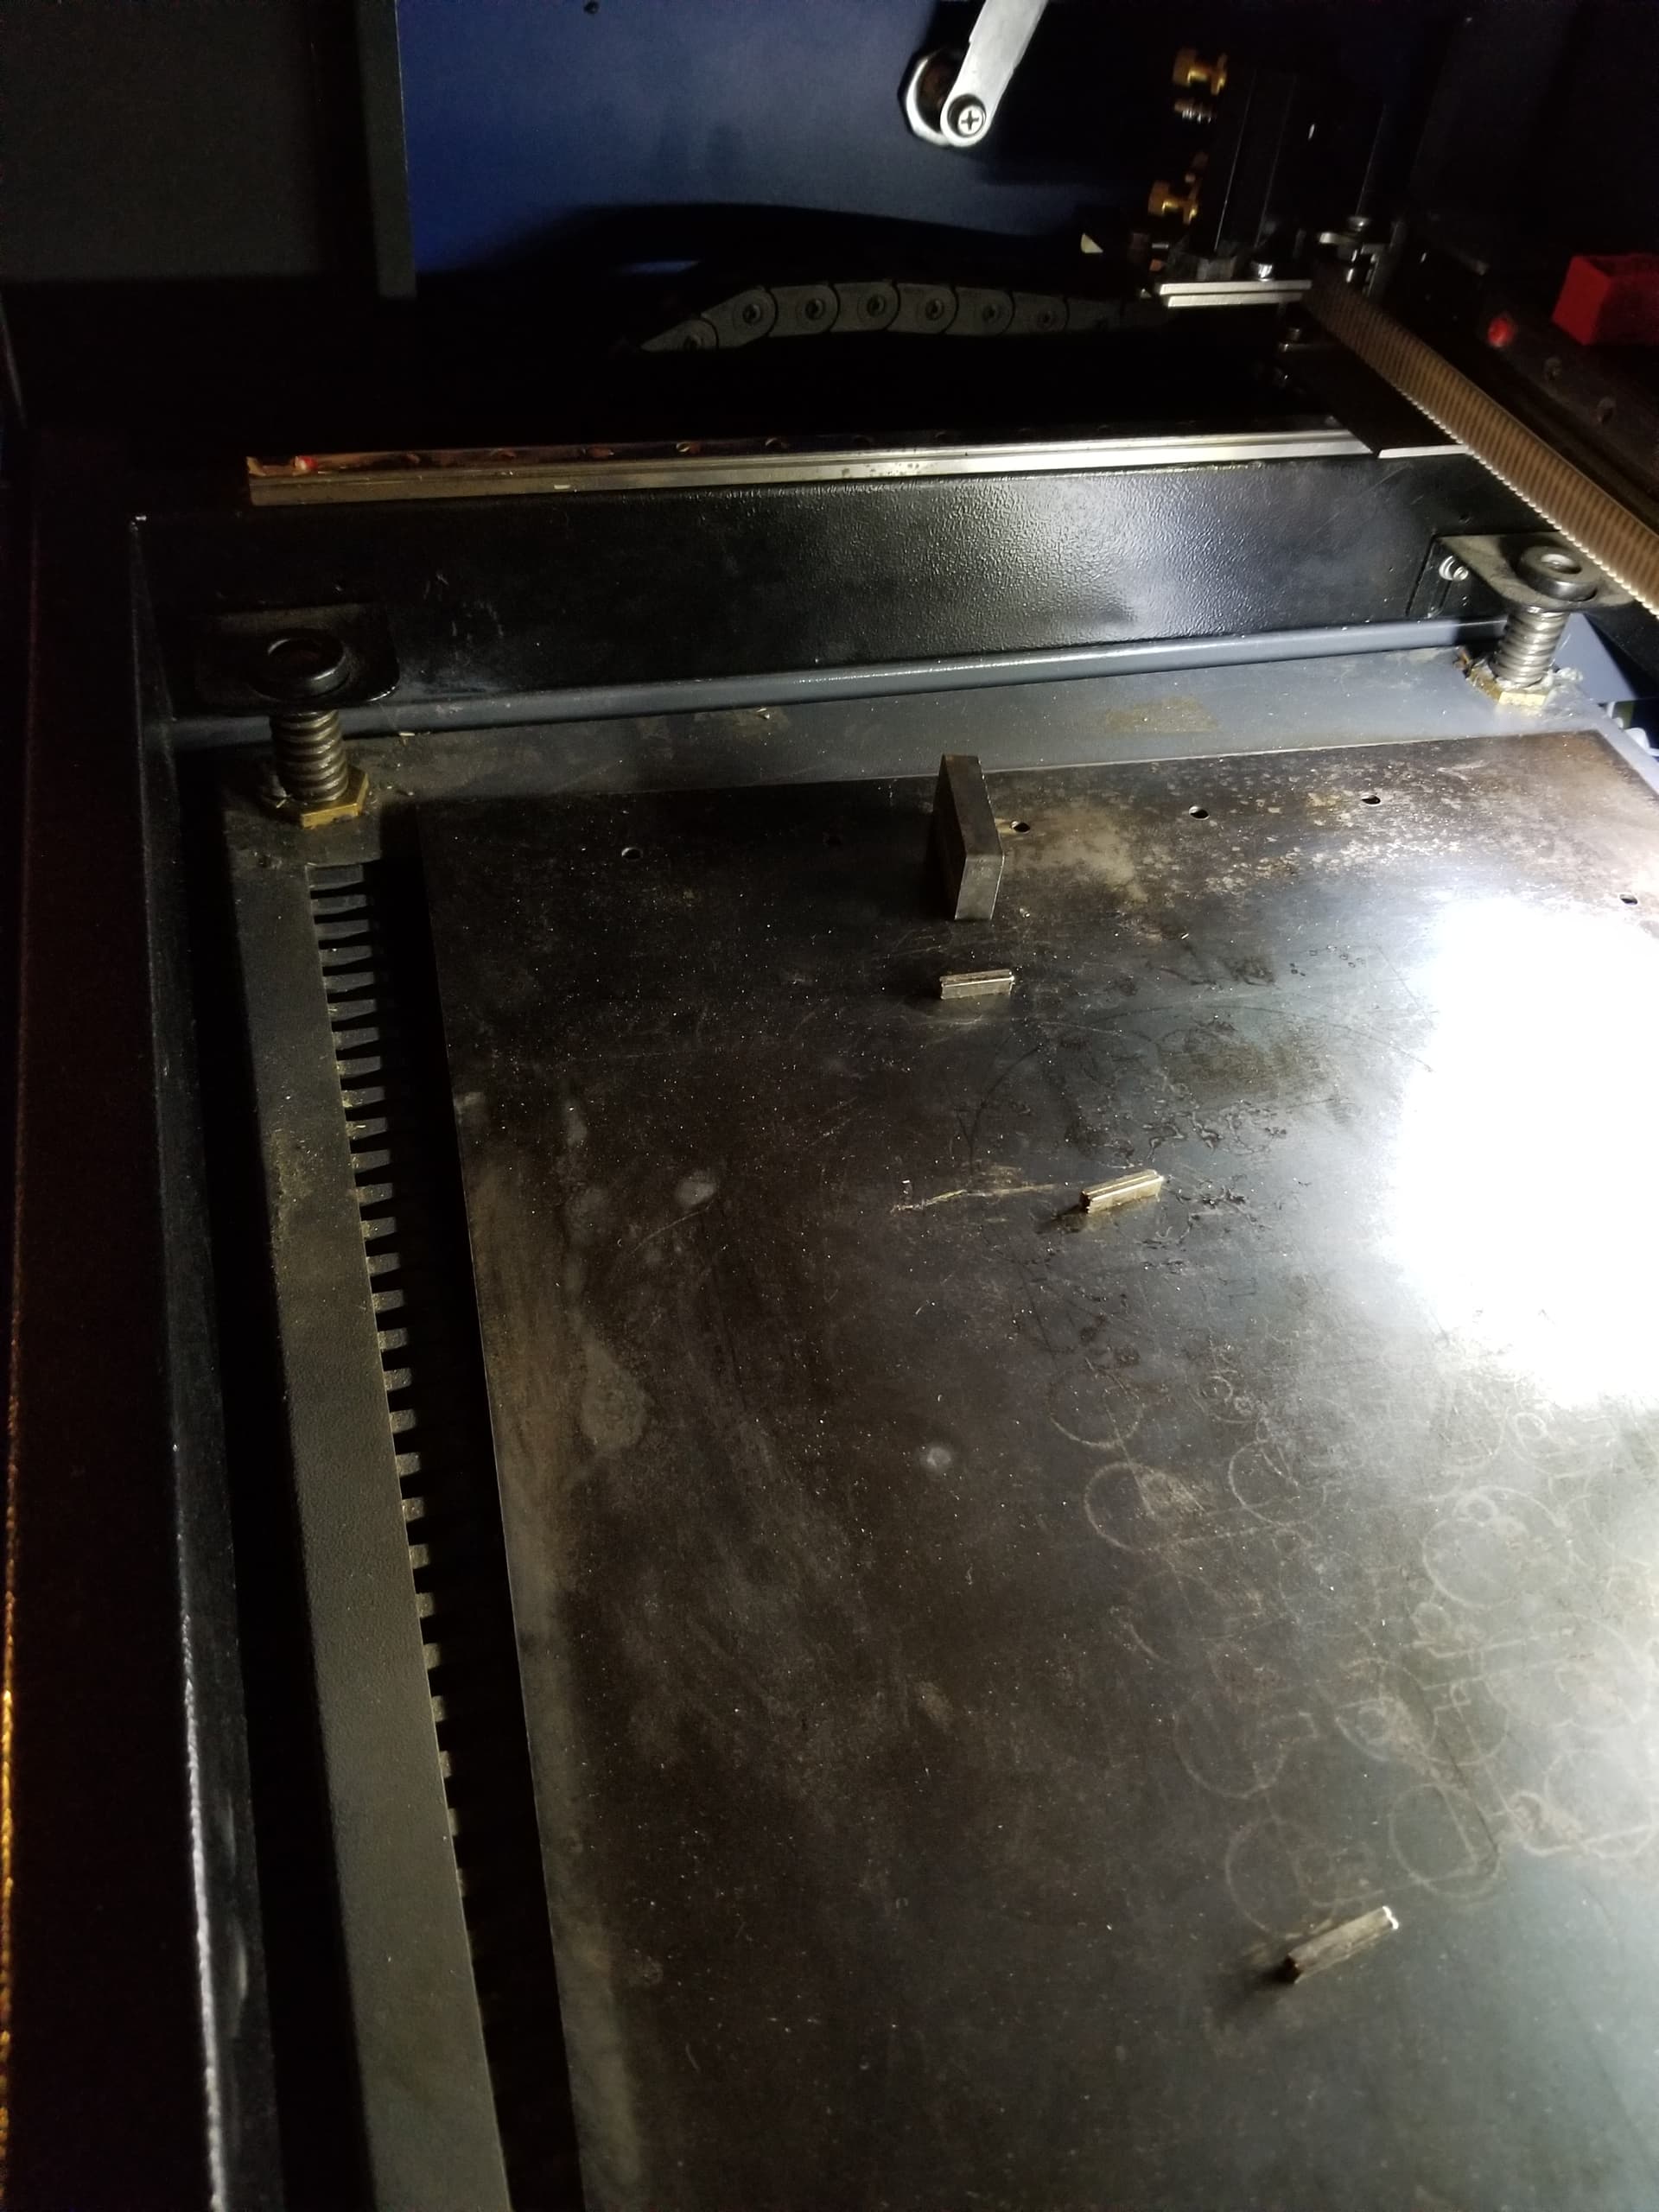
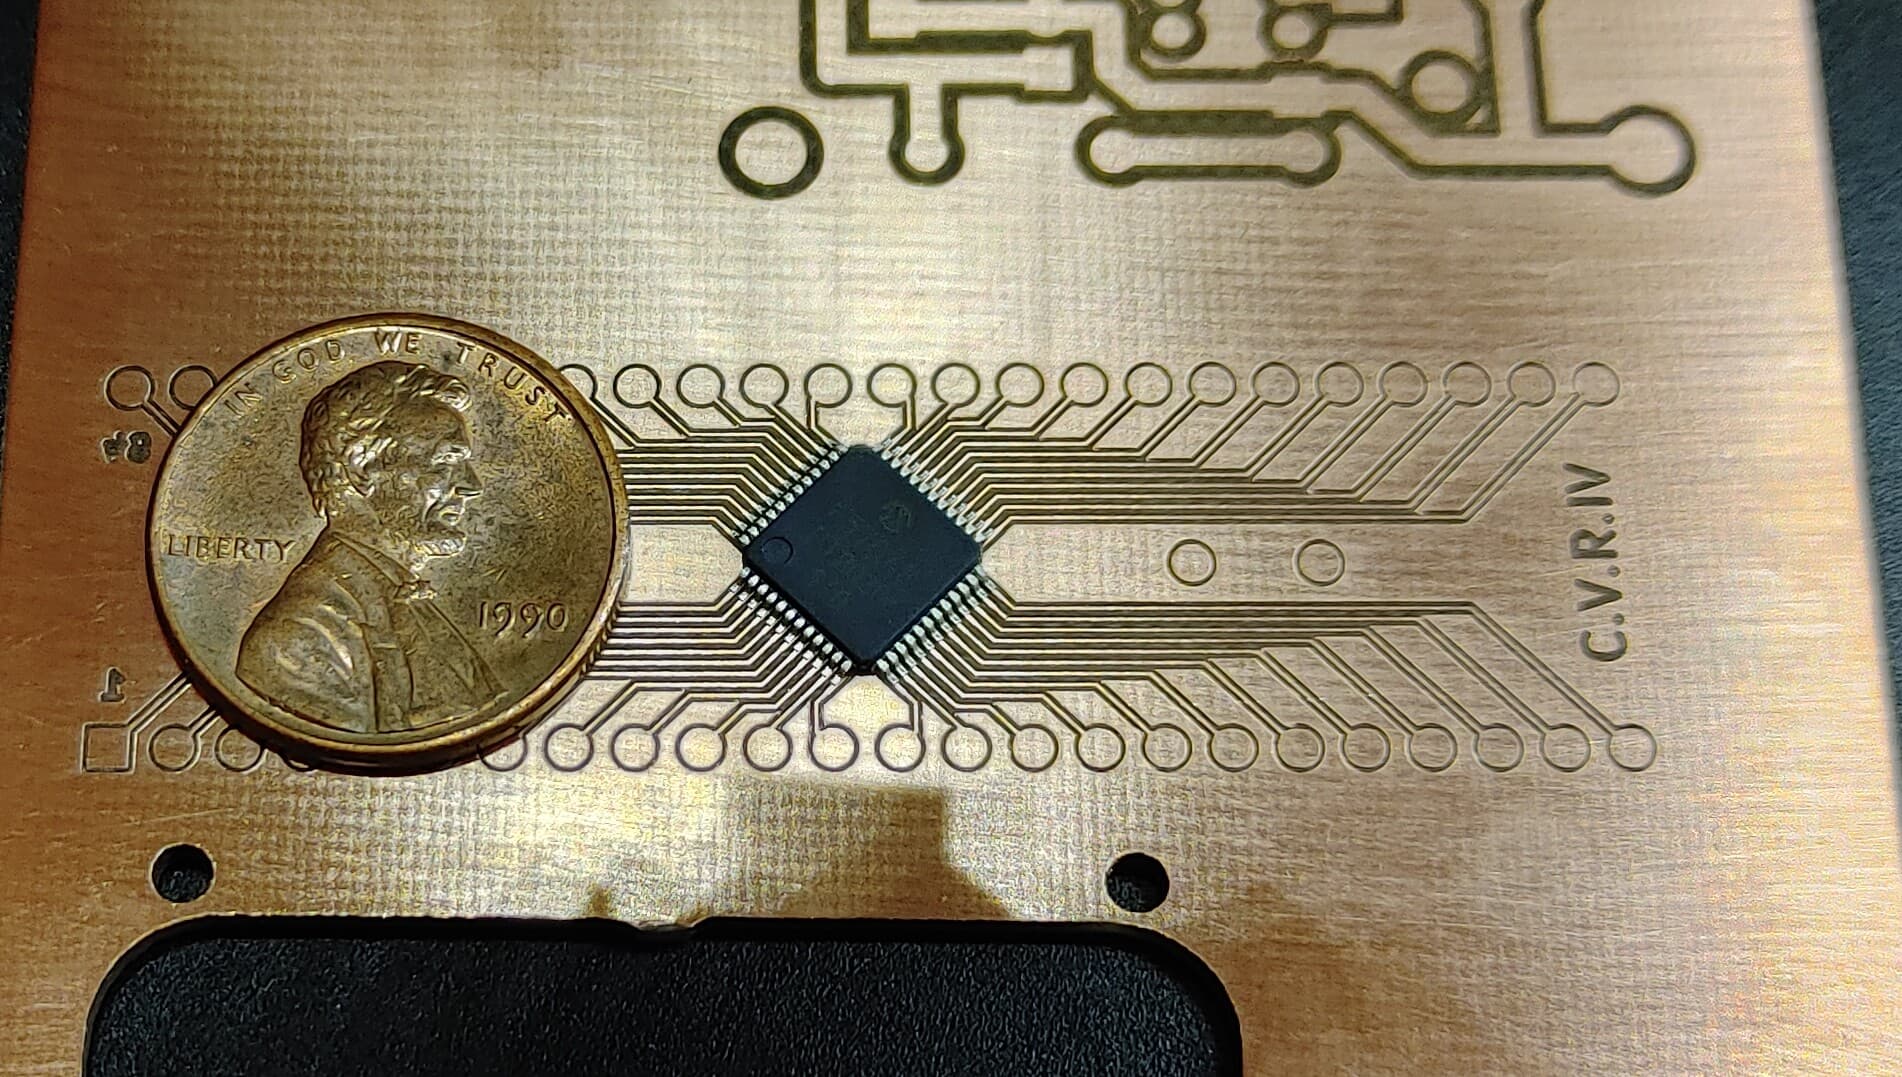
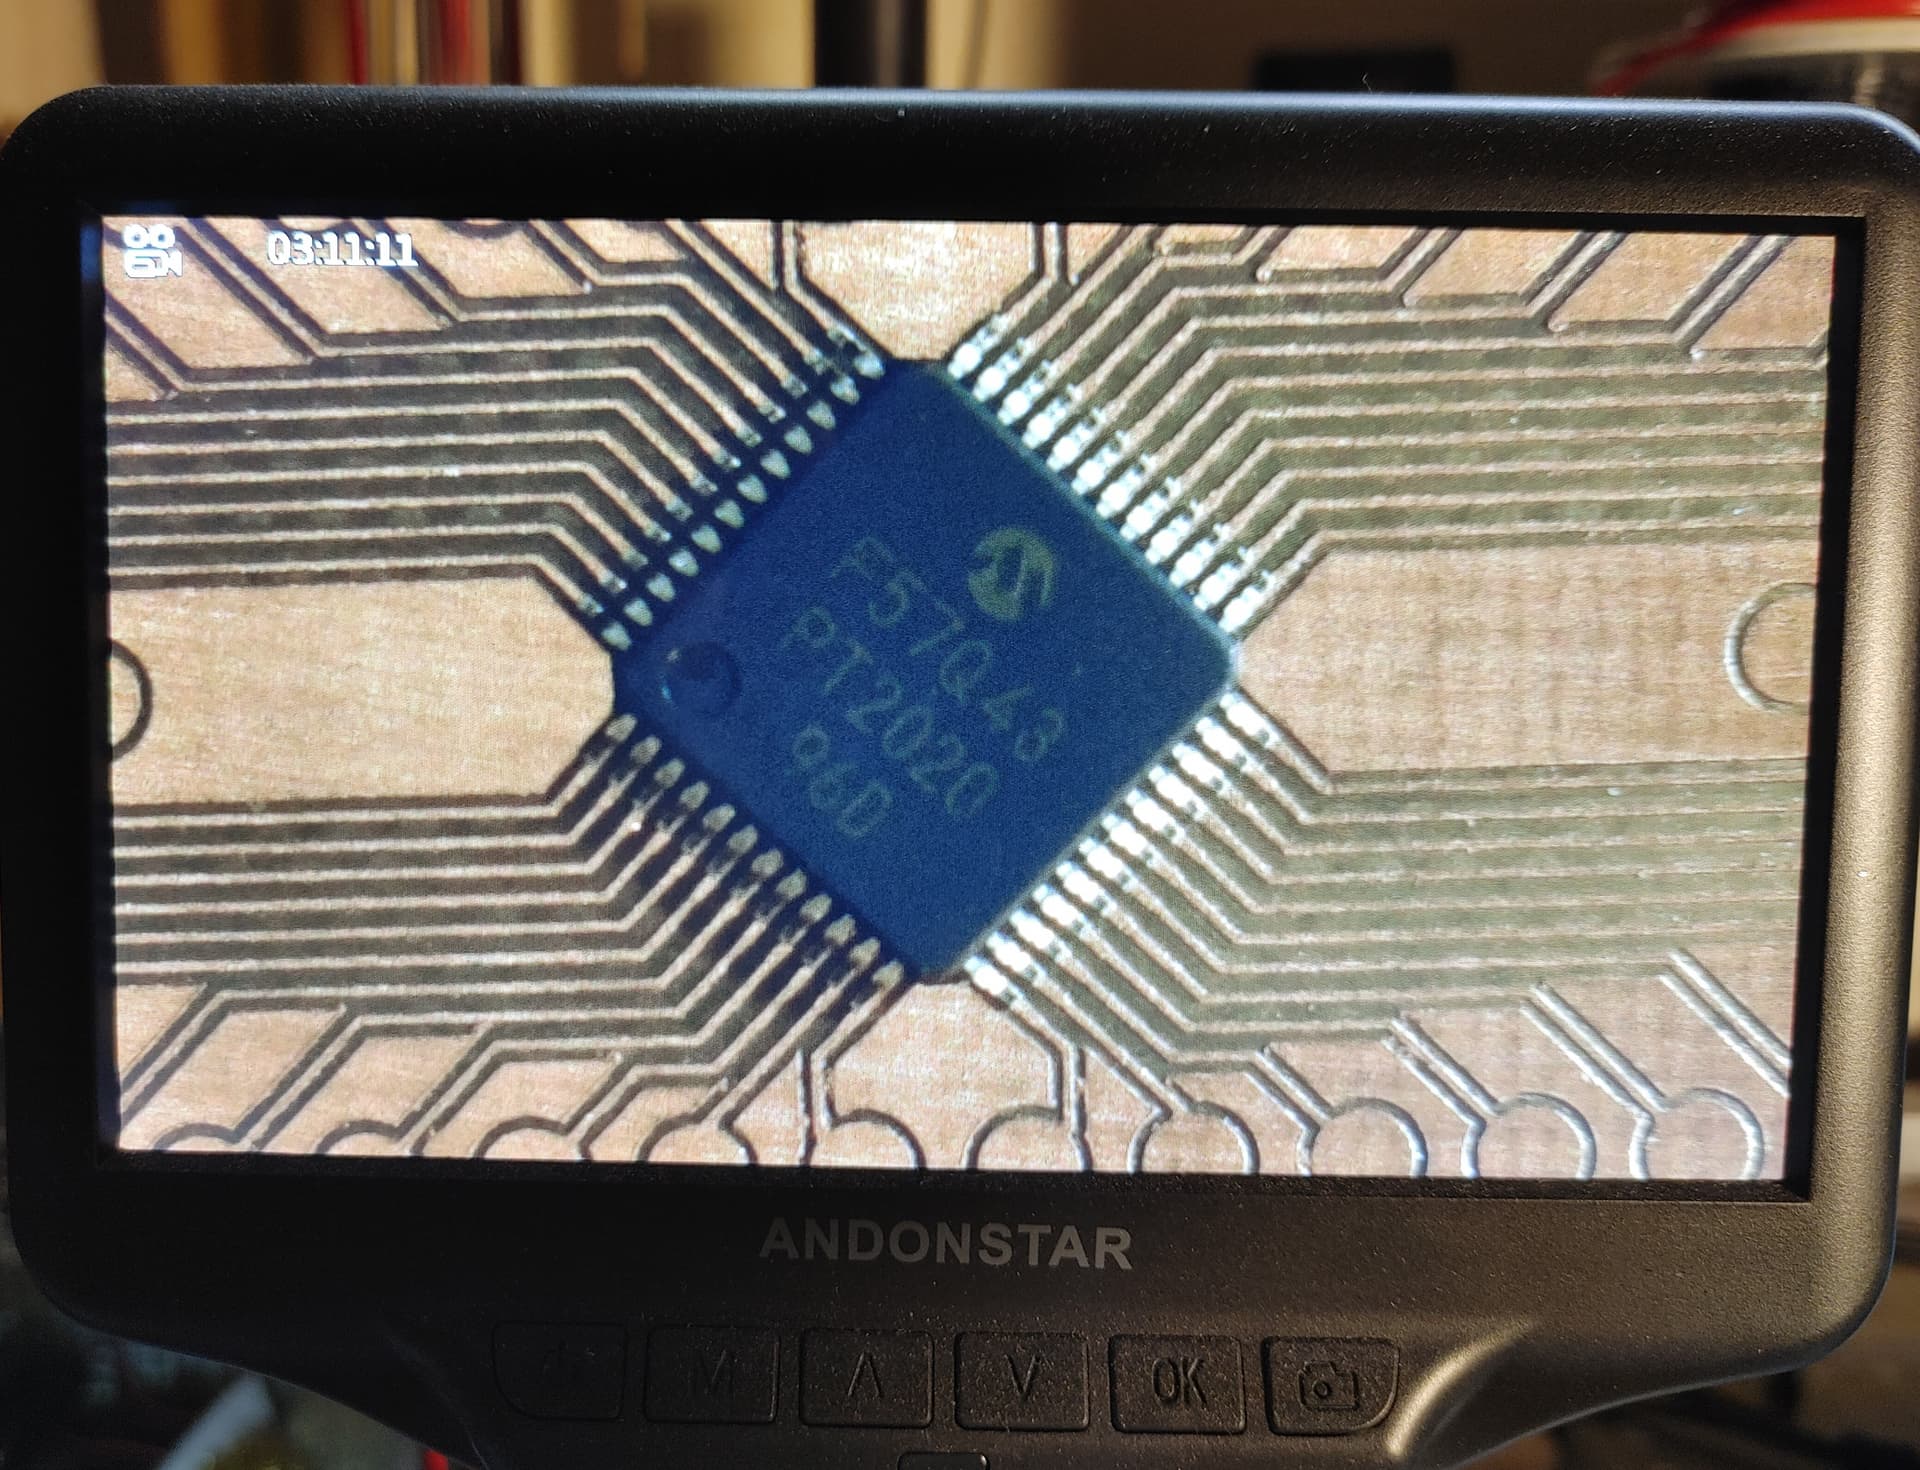
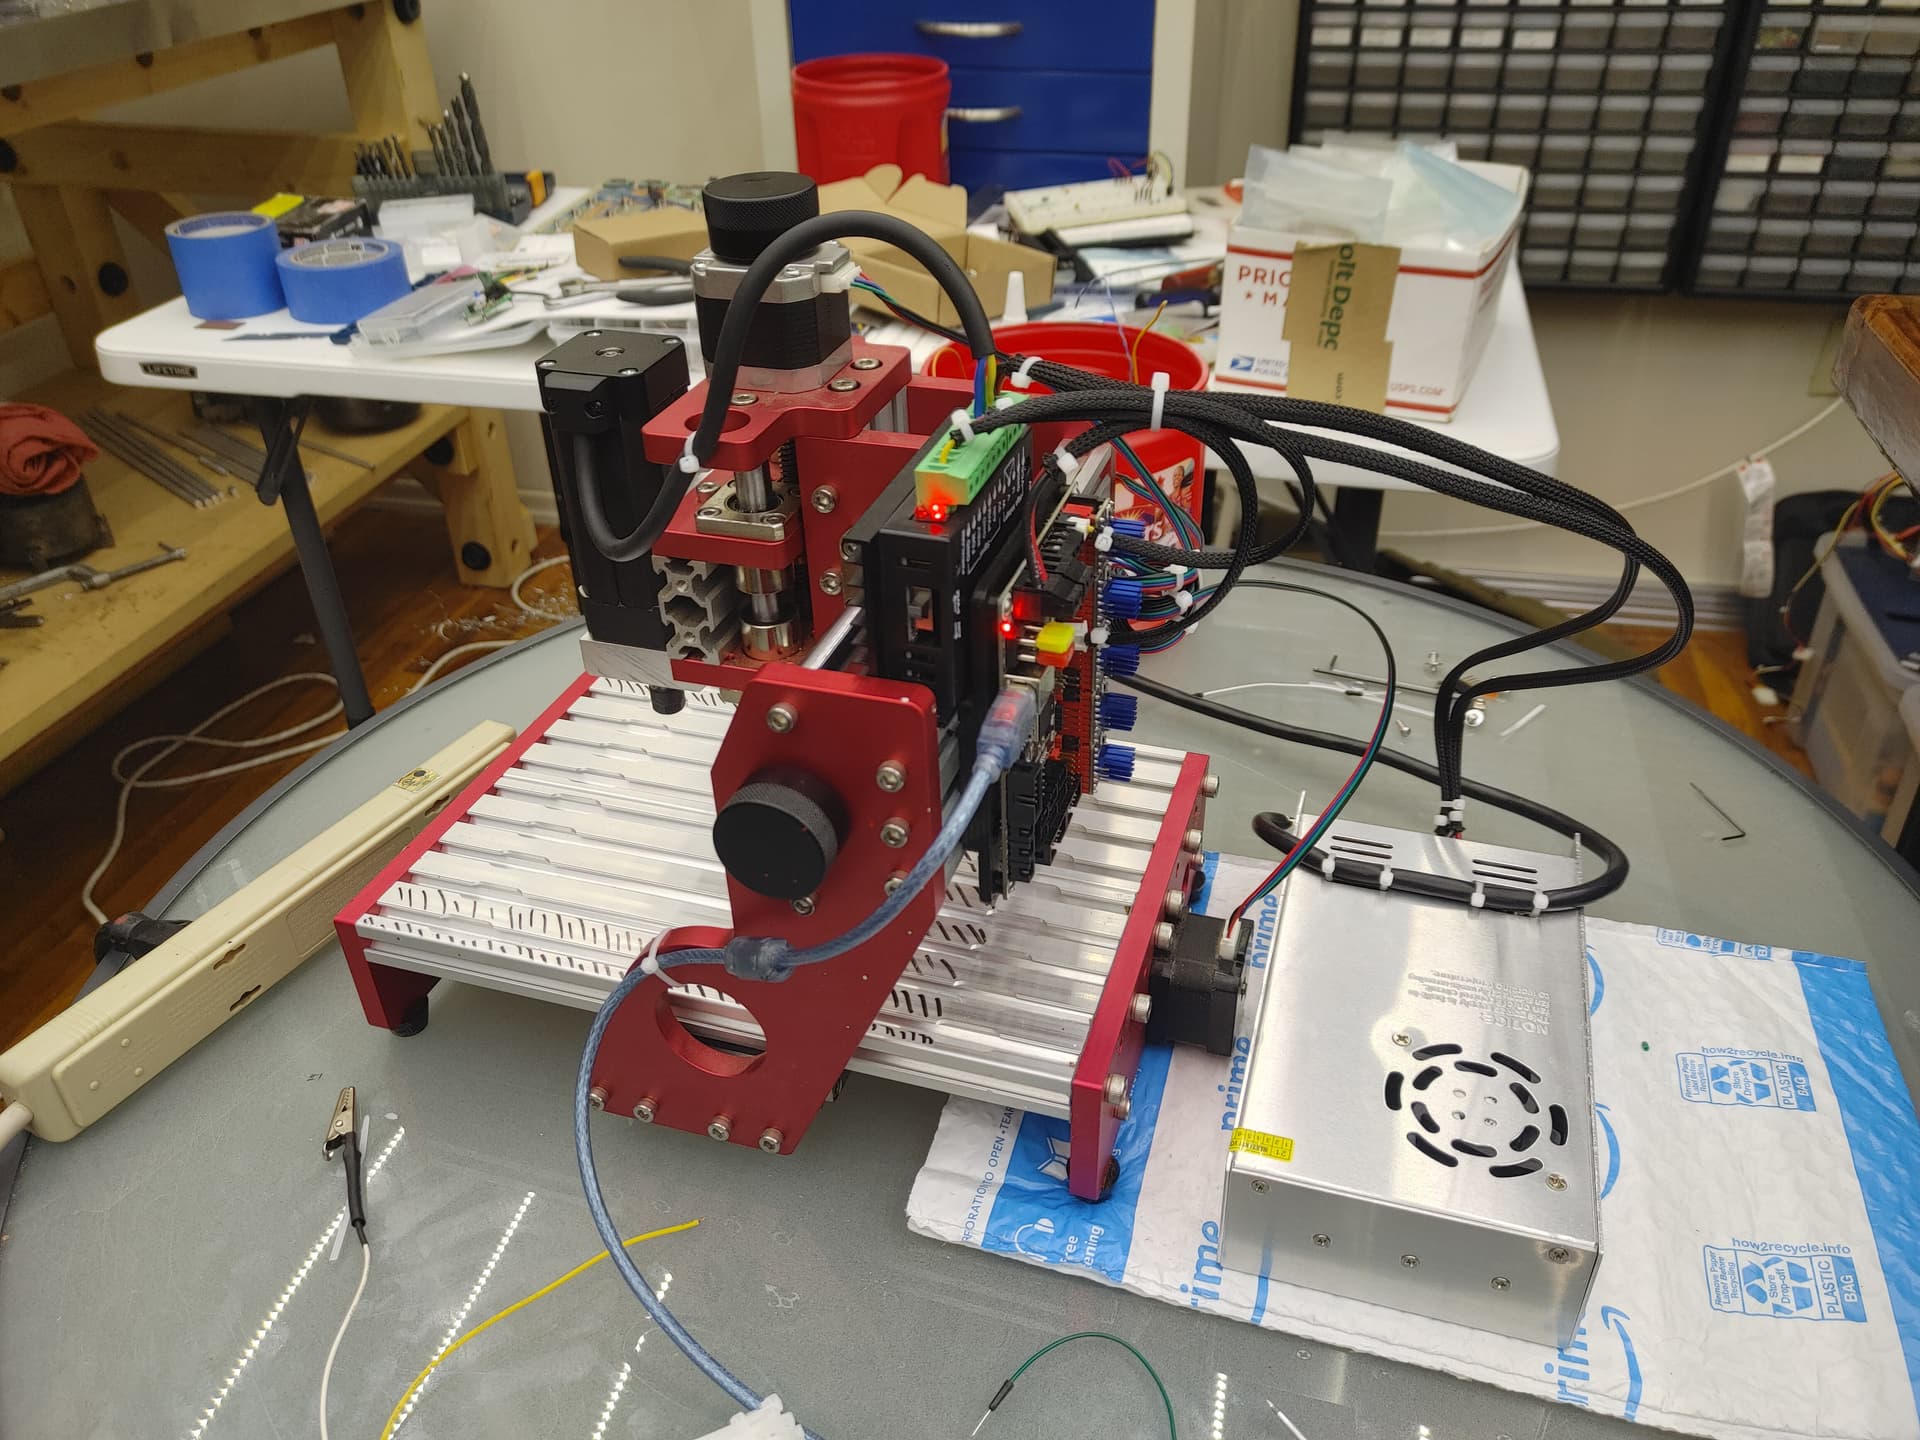
I think I have that mill. Its a red one. There might be newer versions. I just upgraded the spindle on it and wow… I can do some crazy fine cuts with it. Better than i ever thought id be able to do. I recently played around with cutting iso routing for a 48TQFP microprocessor and I nailed it. Amazing.
The laser’s focal spot is only 2/3 the width of the finest cut I can do with the mill. This is why Im doing the whole laser thing now. This is all intriguing to me.
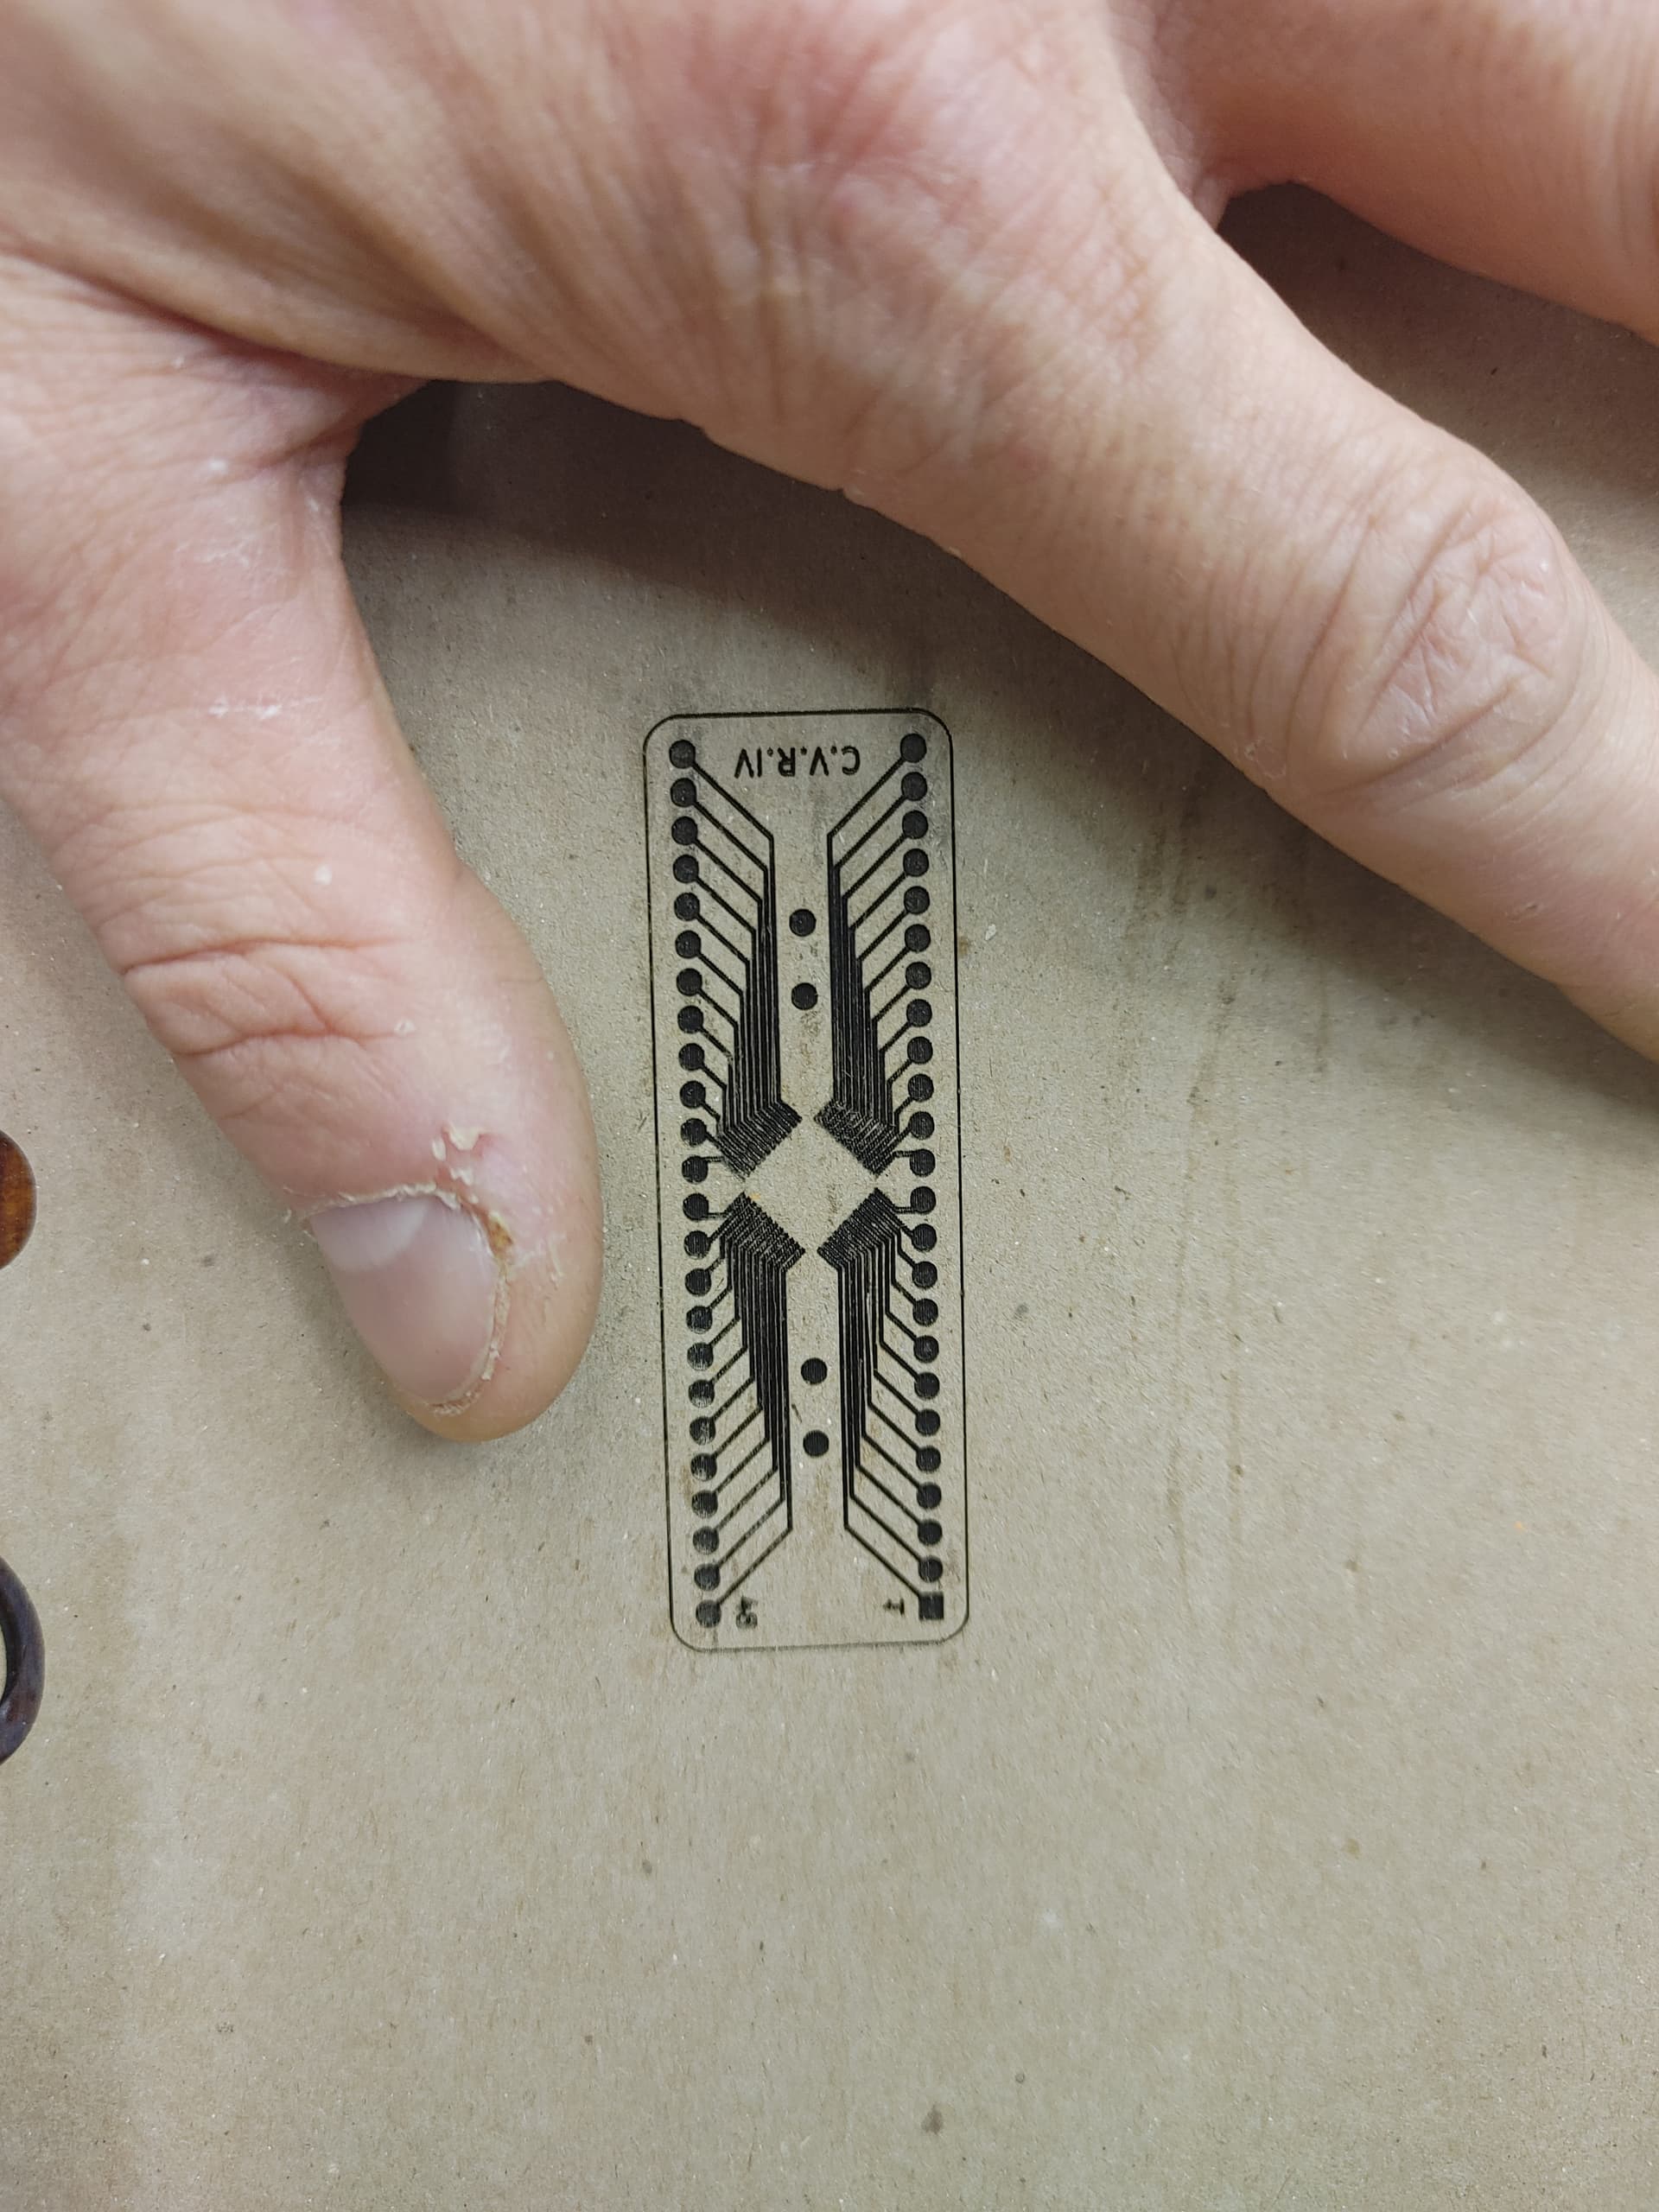
Nice. Those are some pretty fine traces. What are the round pads coming out from each trace? Are you going to through-drill those locations for pin headers?
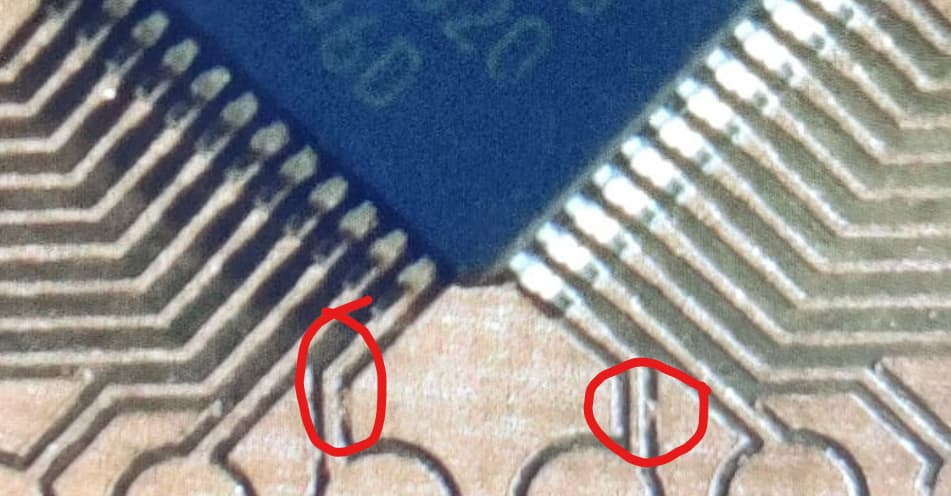
I’m sure you’ve tested it but are these potential shorts to ground in red?
Don’t need to draw up gcode. Let the machines/software do that…
Just draw up the ‘pin’ dimensions in any cad program or I did mine in Lightburn… export it as a dxf file and load it into the milling machines gcode generator and make the holes…
On the laser I marked them, then took the table out and drilled them.
I just screwed up the main shell to ny enclosure, so im a bit pissed off. Im trying to bend this clear polystyrene sheet. Its pretty thick at 3/16" but it doesnt heat up and bend the same way acrylic does. Its breaks so easily. Ill have to result with cutting individual panels to build the box.
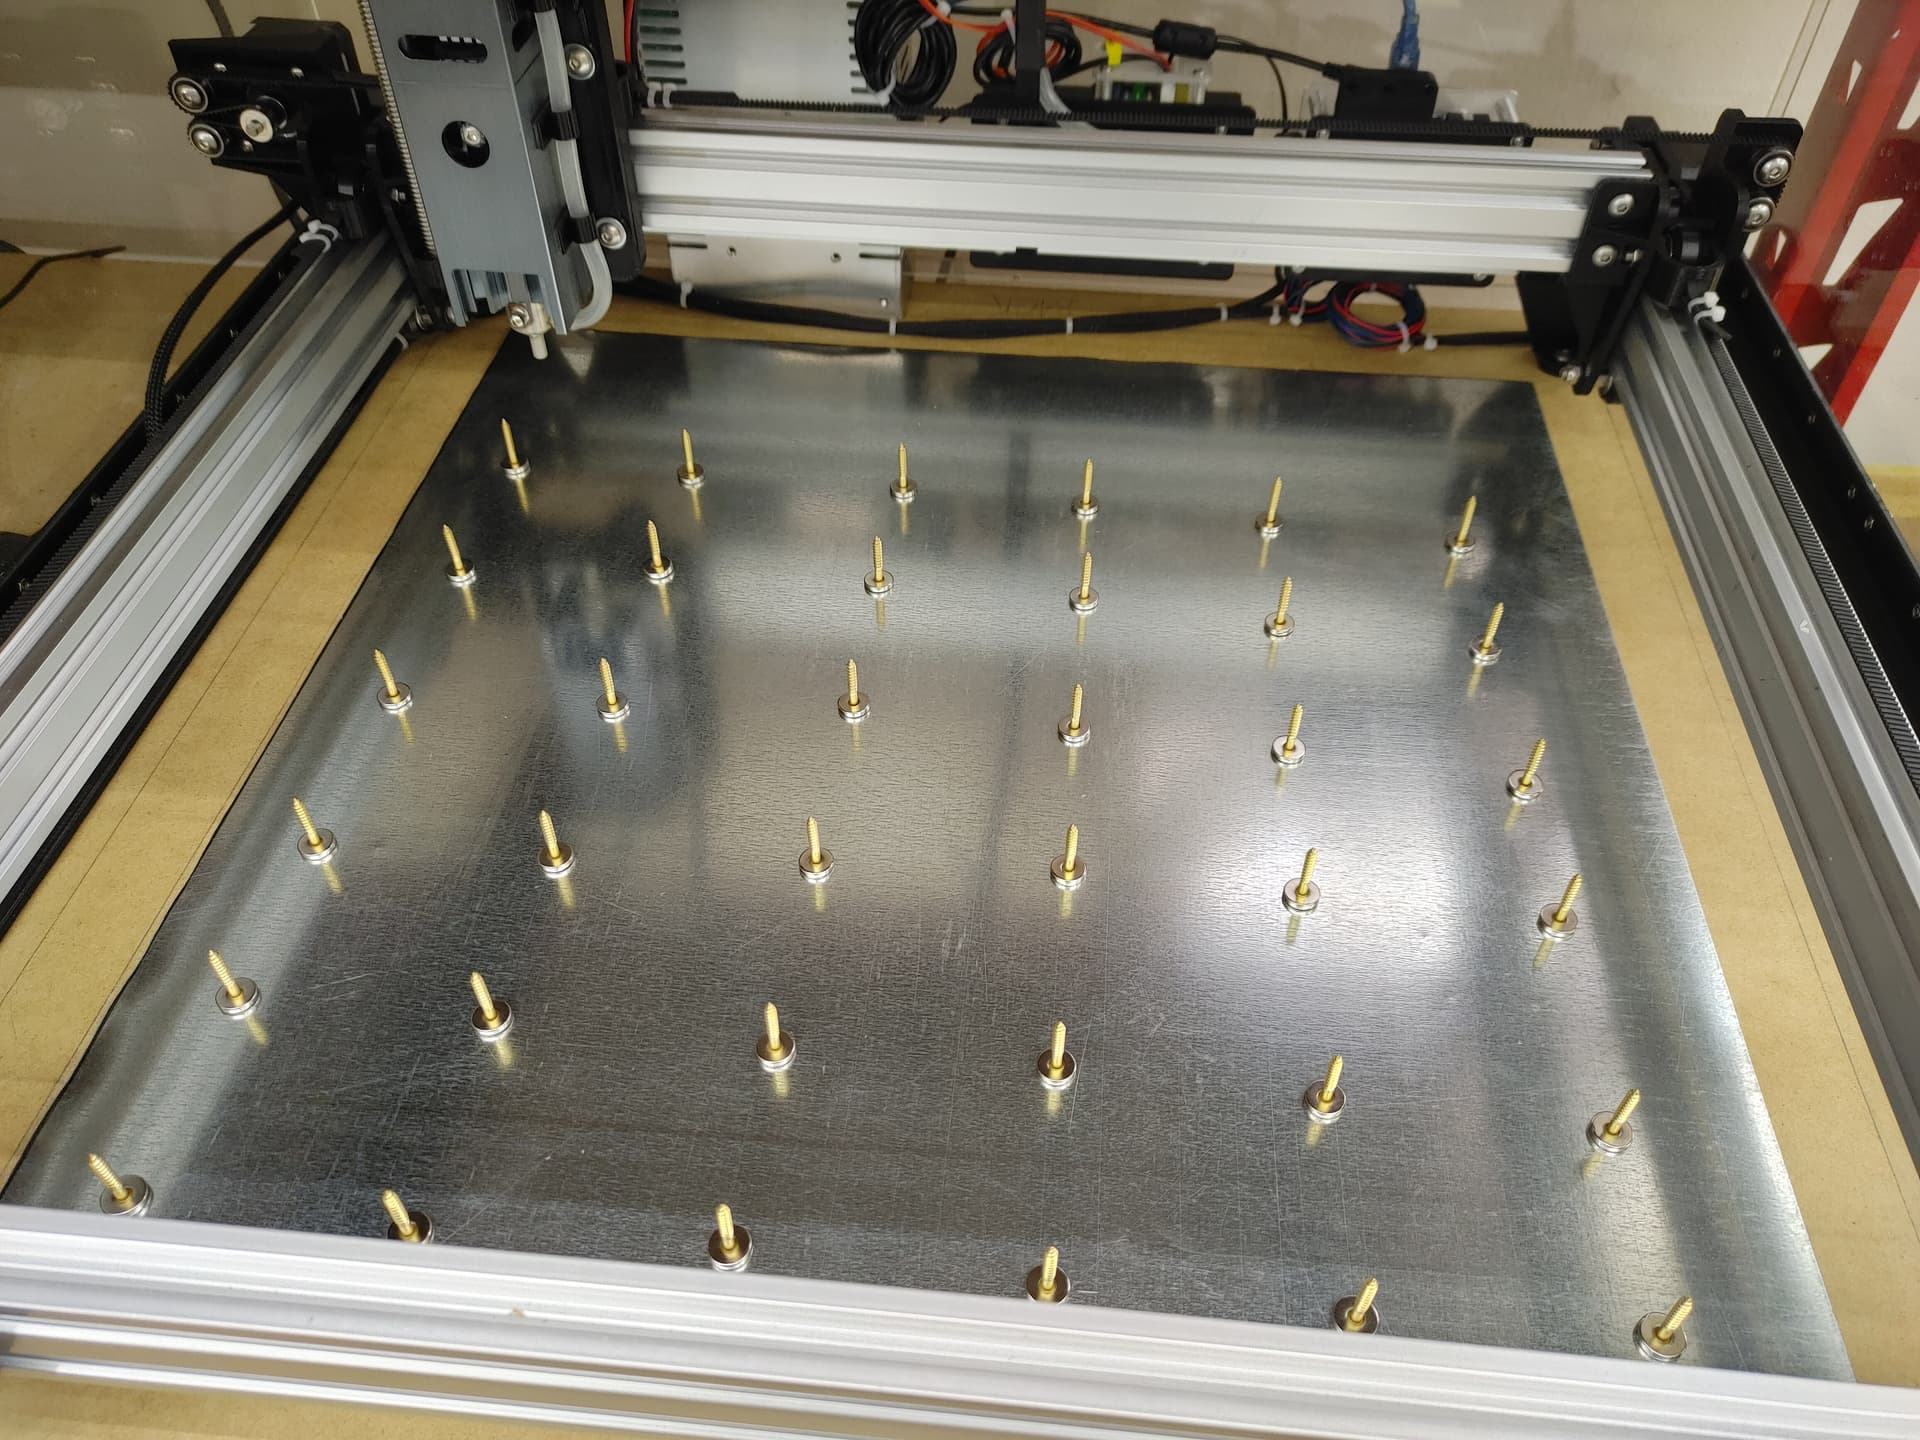
Finished building my enclosure/ exhaust. Works so much better but im still experiencing burning on the reverse side. I got rid of the grill and started using magnents with screws on top. I have smaller magnents coming in the mail today. The burningnonly happens when the laser hits the tip of the screws. I need find the thinnest alternative to the screws to get that to stop.
Burning on the back of a cut is somewhat inevitable, particularly with laminated wood filled with glue. The screw pin bed is awesome, great work with this little machine. I dig it. Now try some etching and see what sort of resolution it can pull off!
Thanks dude. Ill try and figure out how to etch an image later on. Very sure it will do an amazing job. What i really need to figure out is how to get this laser to burn gcode files.
You can also run arbitrary g-code from LightBurn using the “Run Gcode” option in the Laser Window. Keep in mind that LightBurn will do no validation of the gcode when you do that.
So ive mentioned this before that i want to make PCBs with this laser. Flatcam, which is the software i use to creating the tool paths for tge PCBs exports gcode files. Im hoping i can load the gcode files and aee a preview of what im about the cut.
About the air assist… Im us8ng this dinky little air assist pump i bought off amazon. Definitely not going to go with a tank but maybe down the road ill get a better pump. I also might upgrade the exhaust fan motor too.
I literally just upgraded the magnet/ screw stands. So much better. I bought some 12mm counter sunk magnets and some #6 brass wood screws. I cut the screw heads down in my lathe so that they just protruded a tiny bit so magnets hold them down nicely.
Did a quick test. Only had a few minutes to spare. I exported some SVG files via Flatcam and had lightburn fill & line it. I had the power way to high, 100%, for the 4000mm/ min feedrate. It cut away everything i wanted to keep, which i knew was going to happen. I couldnt figureout how to cut away everything between the outline edge and the isolation routing. But it was damn cool watching it go. The machine sounds amazing when running. Sounds better than my 3D printers.