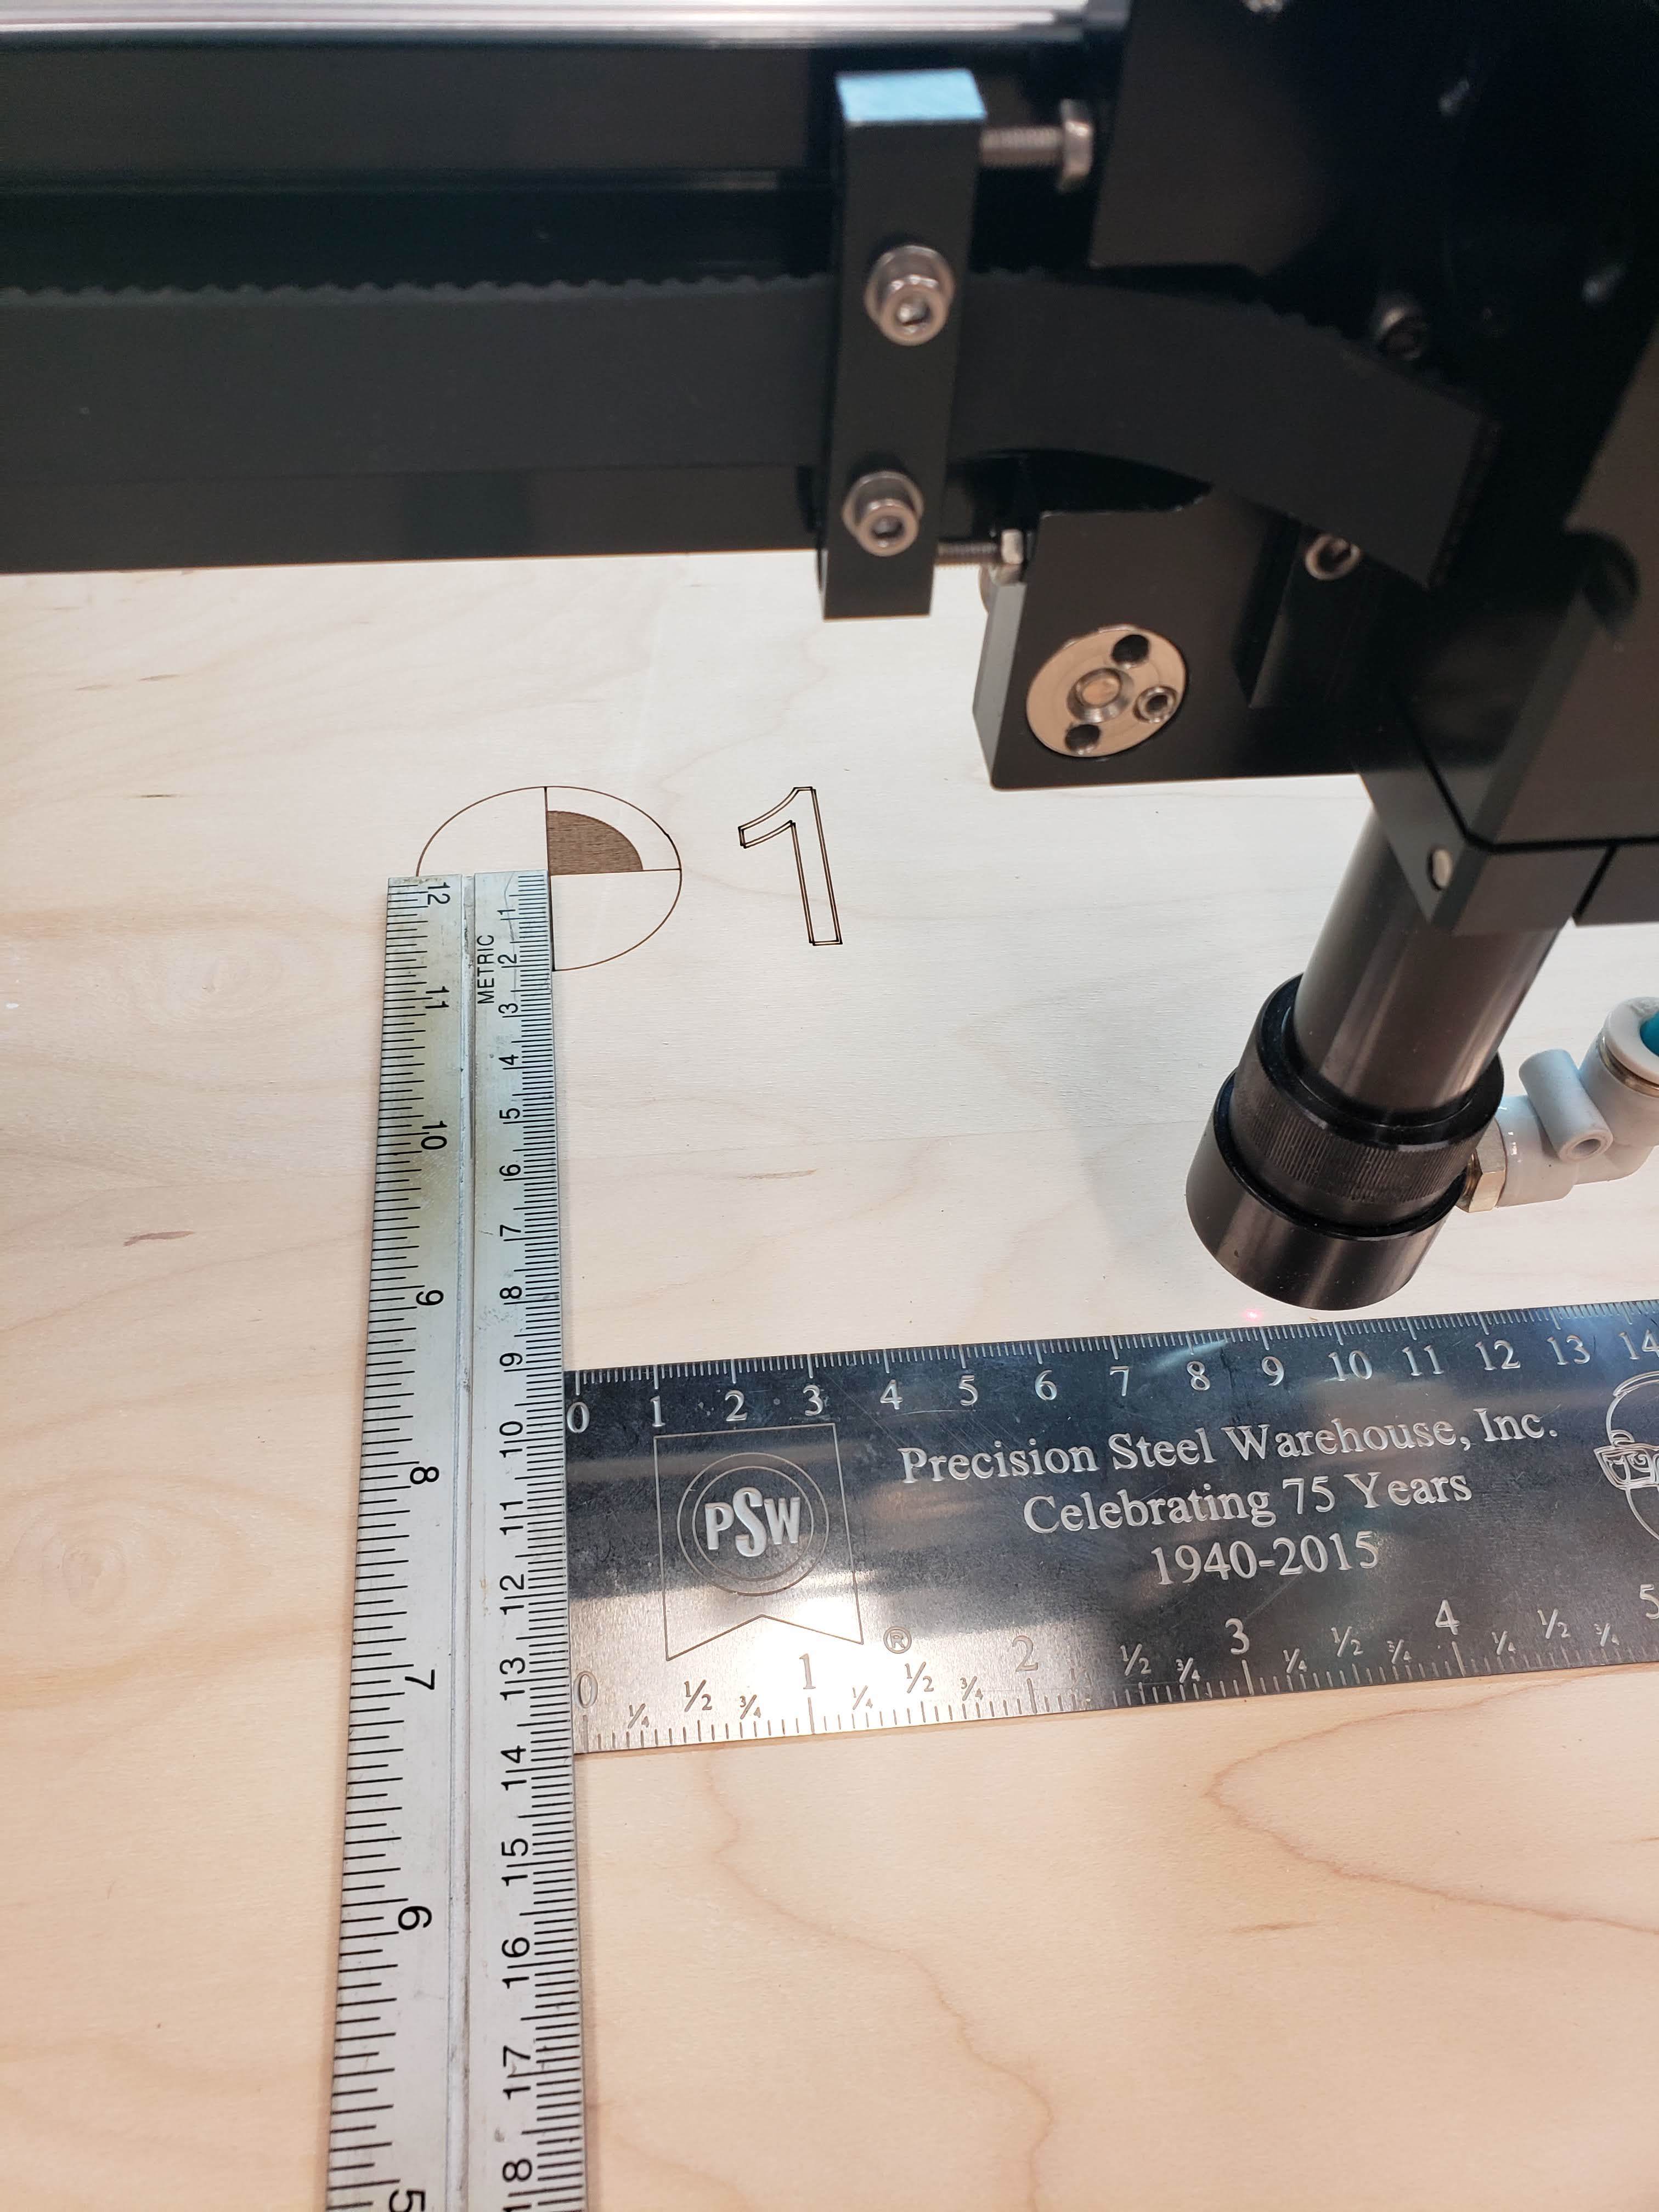
I’m currently using an action cam, with the angle set to 110* (next avail was 70 and it’s too narrow). I have approximately 37" from the bed to the camera.
I followed this video here:
It calibrated fine (I’m surprised I can’t place the print out directly on the bed vs holding it). After doing the calibration, I do the alignment. I opted to do it at 200%.
This is the second time I’ve re-run it and gotten the same results. It’s off by about 90mm in both directions. Any ideas?
You can put the lens calibration image on the bed, but you’d likely have to print it larger for it to be big enough to fill the appropriate amount of the view. The dots need to be distributed across enough of the frame to determine the lens curvature.
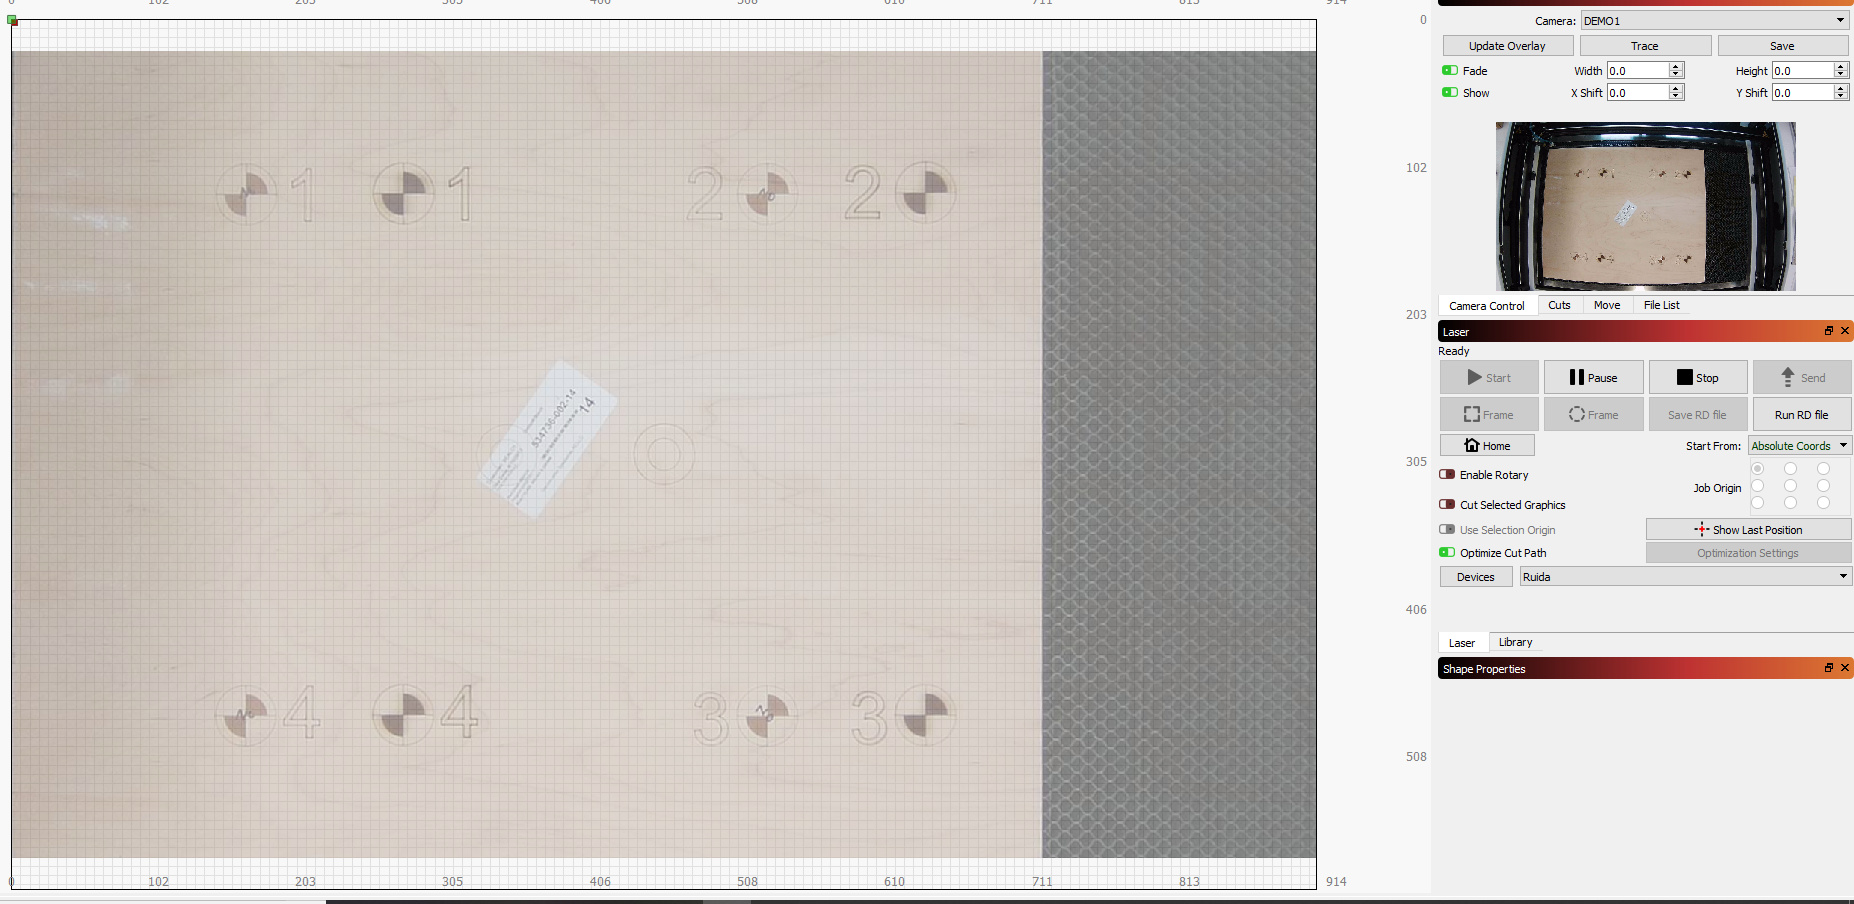
You said that you opted to set the scale to 200%, but eyeballing the background view with the markers in it shows them still at “unscaled size”, and I can clearly see honeycomb on top & bottom. Did you do the marker tagging from that image, or the 2nd, where the scale is clearly larger? The un-scaled version of the marker image is 180mm x 180mm from center to center. If you tagged the original version, then ran it again without re-tagging the markers, you’d be off by exactly 90mm on each corner. Could that be that what’s happened?
I may not have hit update overlay after the first time. That was the first run I did at 100% (there’s no sticker on the ply). I’m re-running it now.
I had to close lightburn completely, when I tried it showed the targets on the screen, but wouldn’t trace and gave an error that there were no objects. Restarting it worked!
Another question though, why isn’t the top/bottom of the screen full for the camera overlay? It is dead accurate now…
I think the bed would be an easier way to align the image. Standing with the image on a clipboard, reaching over to grab the mouse and click makes it hard, especially when it didn’t “see” the image. Is there a way to determine what the image resolution needs to be set when it would be on the bed?
This machine is 900x600, aprox 36" to the camera, 110* angle.
Also, how do you account for a lower z-table height using a different lens?
I aligned it with my 2" lens, but if I switch to the 4" and drop the z-table to focus it, the alignment is off. Would you need separate alignment profiles for different focal lengths?
You don’t even have to have the camera mounted to the machine to do the initial lens calibration - I mention that in the video. It’s only determining the curvature and distortion caused by the lens during that process, so the machine doesn’t need to be involved at all. Some cameras see a much larger image than the bed of the machine, and you’d need to move the calibration image off the bed to get out there into the camera view - I have to handle all of these cases, which is part of what makes getting it right so hard.
The top/bottom are trimmed off because you’re using a camera with a wider aspect ratio than the bed of your laser, and I have a bug. I’m working on fixing that, and when I do, you’ll have to re-do the alignment part, but that’s it.
If you switch to a lens with a different focal length, for the moment you’d need to redo the alignment. This is a relatively rare case, though I’m going to work through the math to allow this in the future. I have to handle it for machines where the laser head raises/lowers instead of the bed, so it needs to get done, but it’s not simple.
I could allow for multiple profiles - that would work for your case, and a number of others. I’ll give that some thought.
On my bed I have permanent rulers mounted (I did this as a project a long time ago) to make repositioning things easier. Would it be possible to use something like this in relation with the alignment grid so I don’t have to re-run the engraving job each time it needs redone? 0,0 is in the top/left corner.
It’s feasible. Any permanent mark on the bed could be tagged as long as I know precisely in machine coordinates where those marks are.
If you were to use a piece of material that butts up against those rulers for the alignment engraving, and you remembered the scale you ran it at, you’d only have to do it once - you can click past the engraving job and go straight to capture and marking already as long as you enter the correct scale value.

 I’m working on fixing that, and when I do, you’ll have to re-do the alignment part, but that’s it.