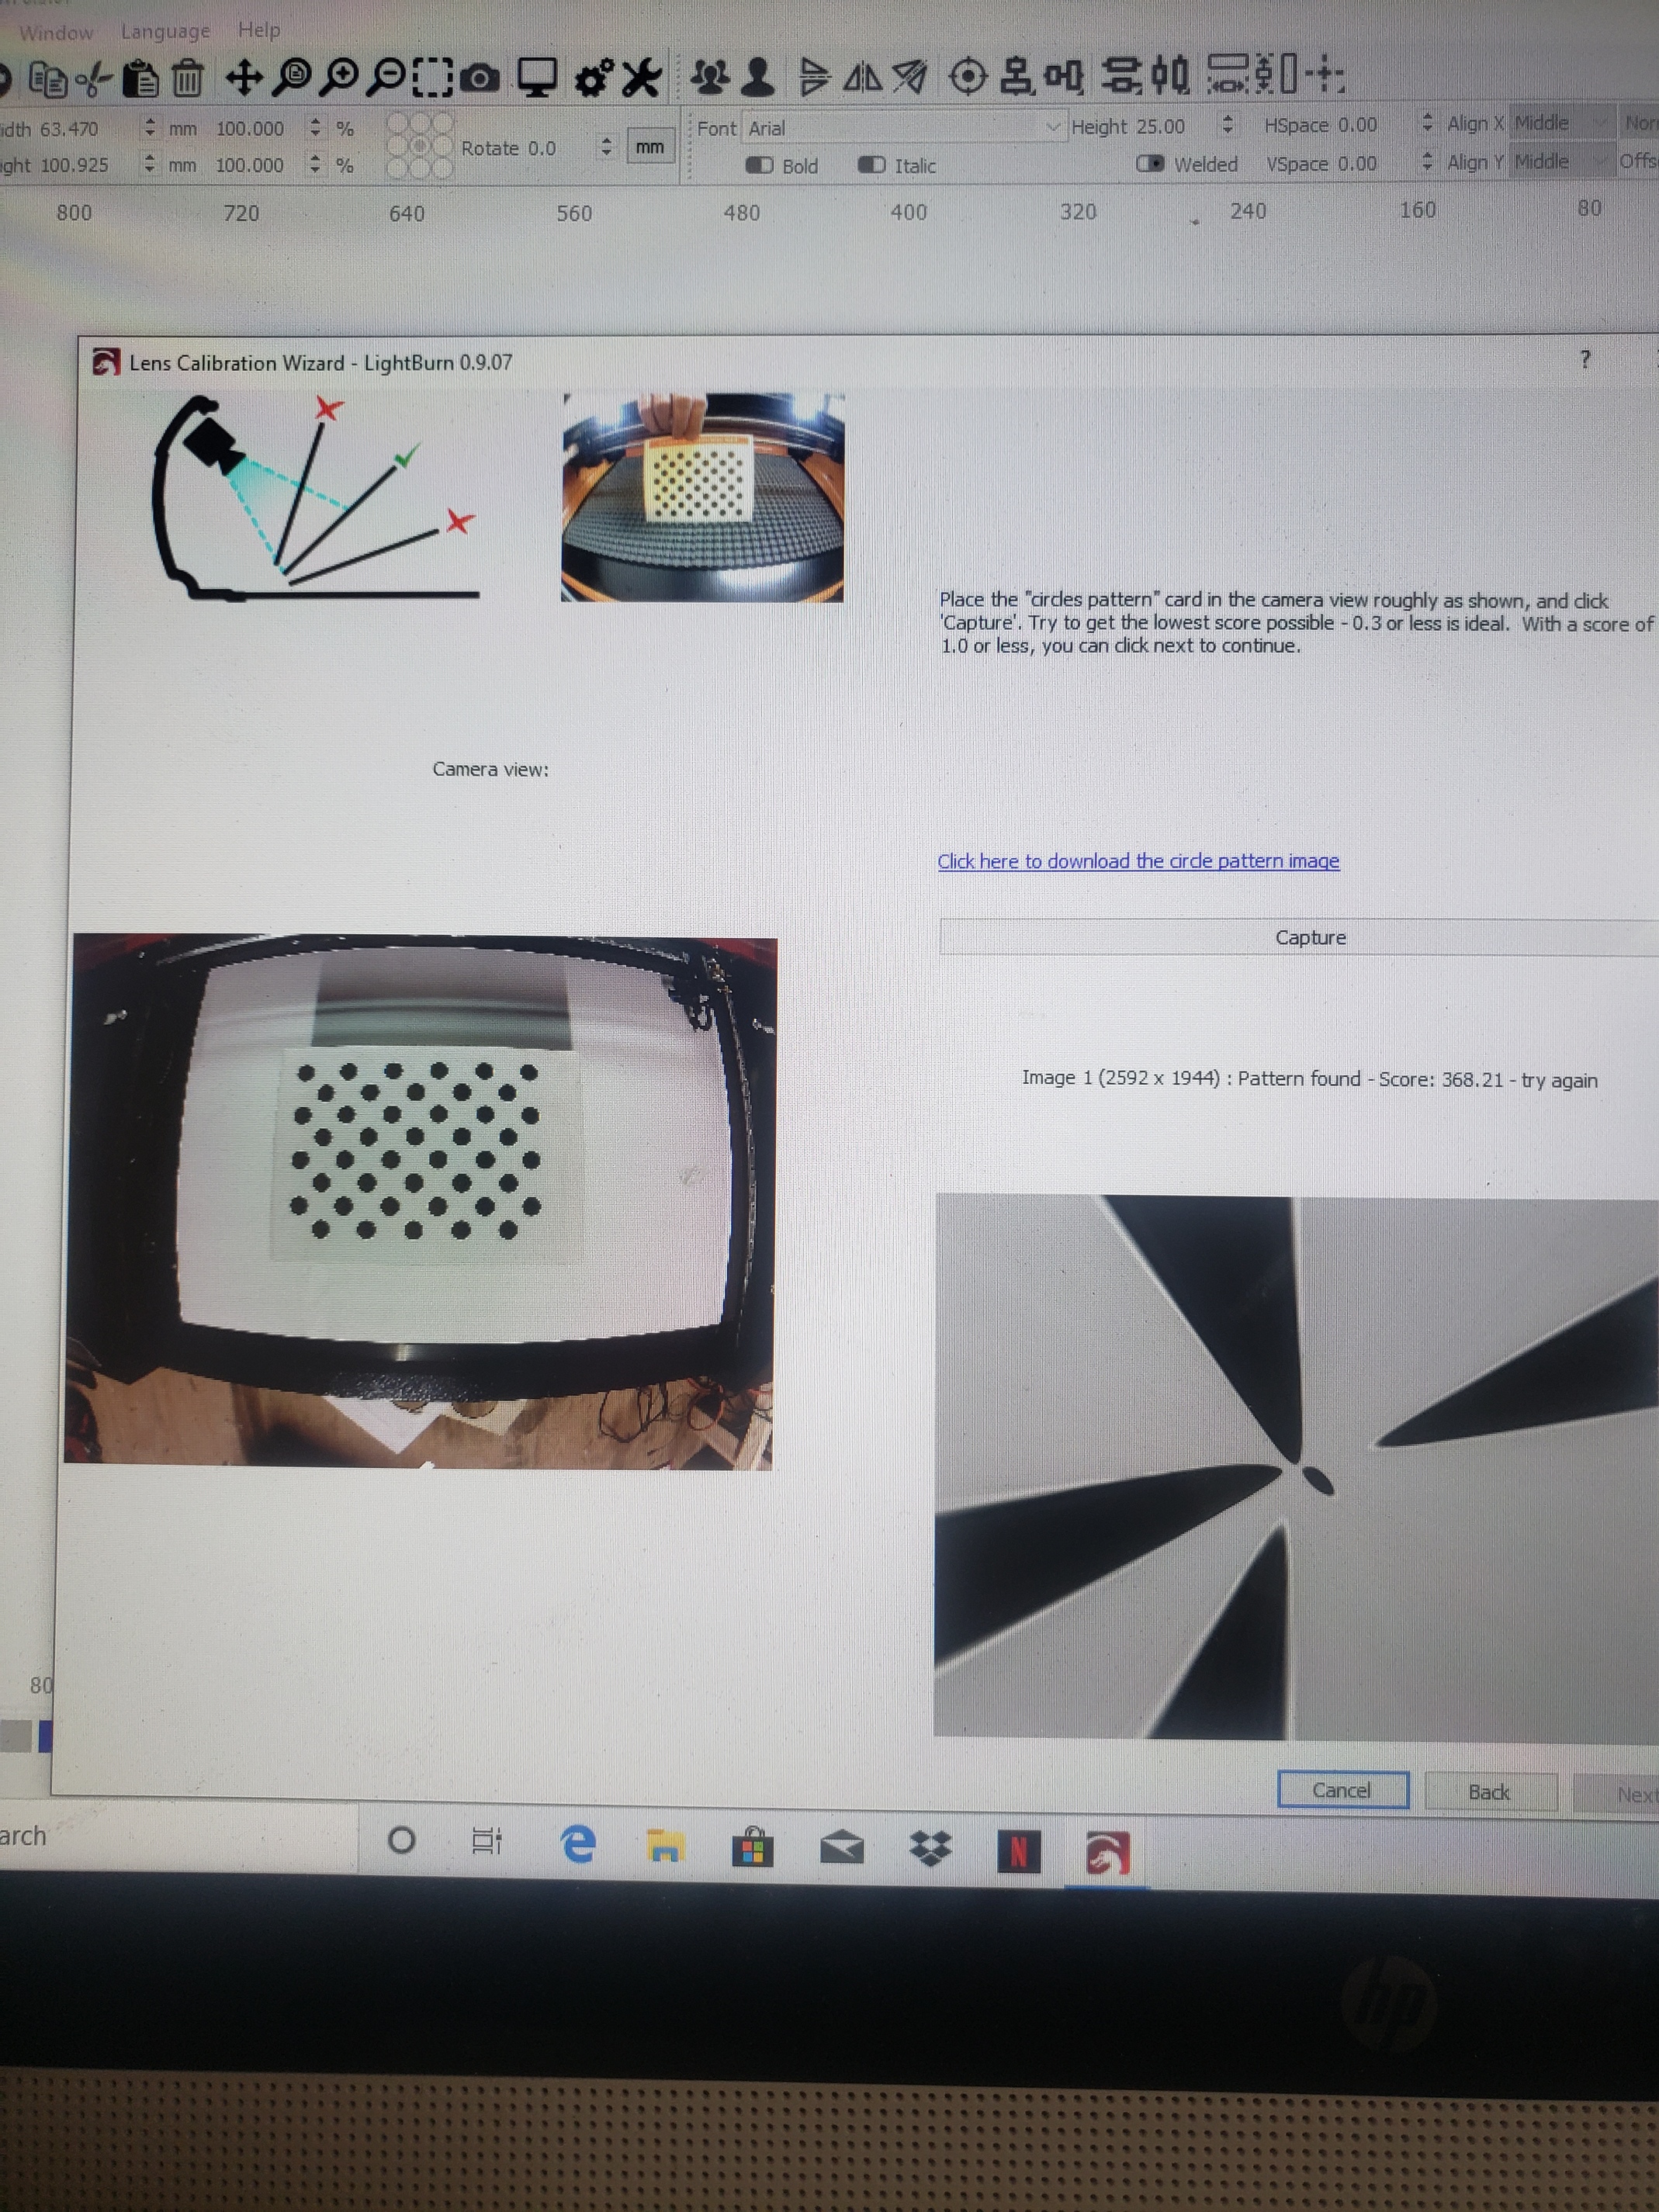
Try elevating the dot pattern so it’s closer to the camera (place it on a cardboard box so it’s level, but larger in the camera view). If it’s too small it can make it more difficult.
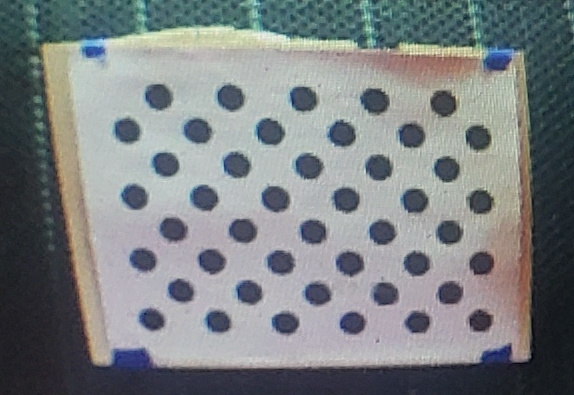
This image shows weird lighting at the upper-right and lower right side of the cards image, like the paper is curled up, or something is shadowing it. That will make it harder too. The images have to be clear, in focus, clean, flat, etc. The software will correct for quite a lot, but it can only do so much.
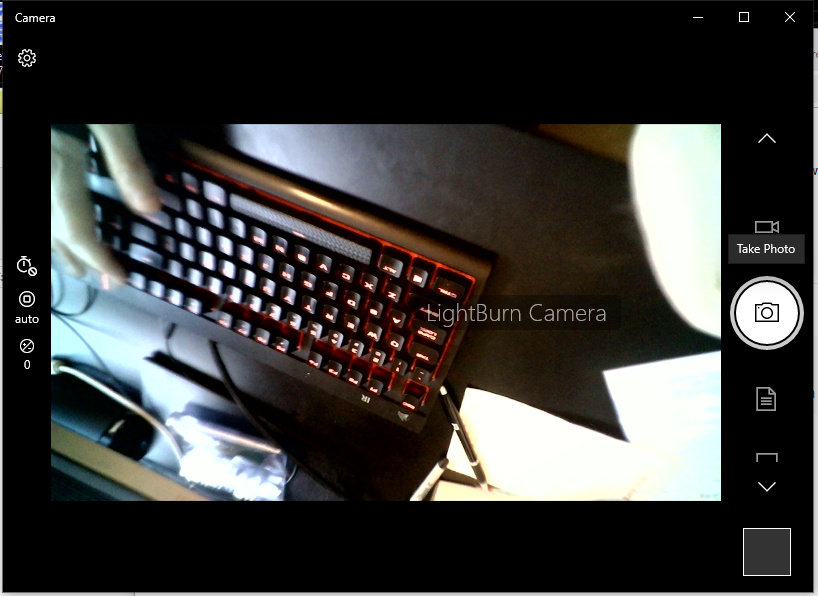
This is the 140, held in my hand, with the card printed and glued to foam board. I used the Microsoft Camera app to view the image full screen first, so I could focus it well. Here’s my first capture:
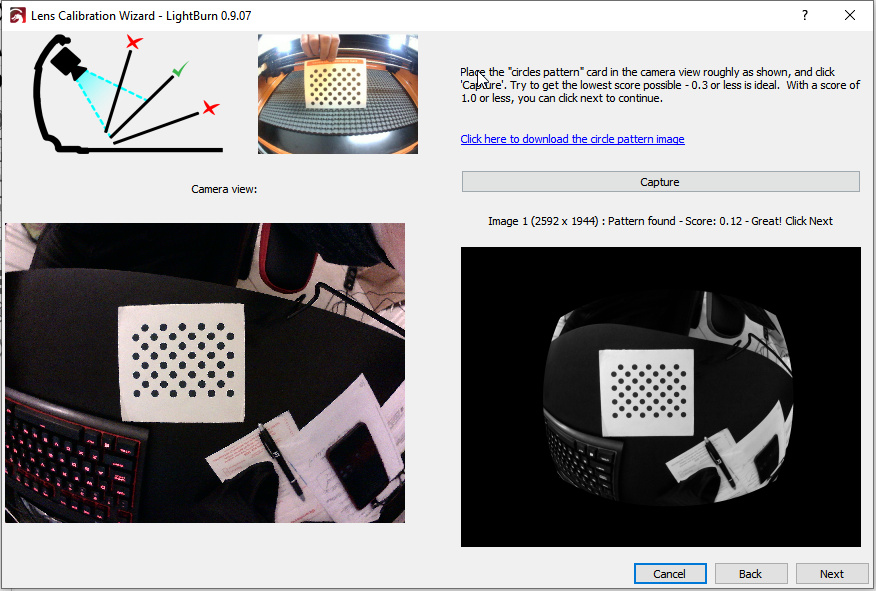
The image of the card in the capture is a little larger than yours, and I have a slightly bigger white border around it (this is needed for the software to easily find the pattern) and the lighting is pretty consistent across the card.
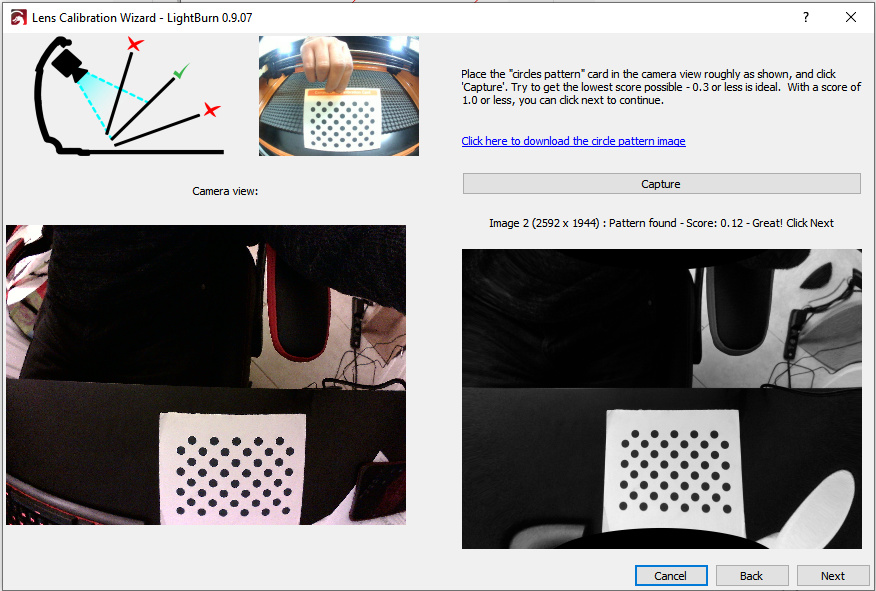
Second capture (still looks weird):
I sent Michael the data from the camera I just calibrated on my desk and it’s working for him. He’s up & running. The next release of LightBurn has the ability to export and import camera calibration data, so I’ll probably start including lens calibration files for the cameras we sell.
4 Likes
Can you explain this passage?
Is it an application to adjust the focus of the camera?
where can I find it?
type in “camera” in the windows search bar.
You can do it with the camera control in LightBurn too, but you have to un-dock it, and drag it out to expand it. An application like Skype, or the Microsoft camera app included with Windows 10 is simpler.

ok, found it, where can i set the focus?
It is manual - You turn the lens, just like old photo cameras.
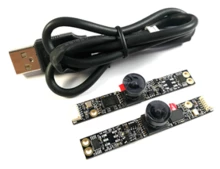
ok so the lens of this camera can rotate? I had tried but it seemed fixed. I’ll try again. Thanks
And also new photo cameras.
They are a little bit stiff, and older ones (purchased before June) have a small glue dot on the threads to hold them. If yours has this, hold the base of the lens assembly (the square bit mounted to the board) and twist the lens to free it. It takes a little force, but it’s not bad. Just enough to make you uncomfortable. 
- Did you snap the capture image first and then move the Z?
- Is the lid in a different place than it was when you captured?
- Have you changed focus lenses or moved the lens?
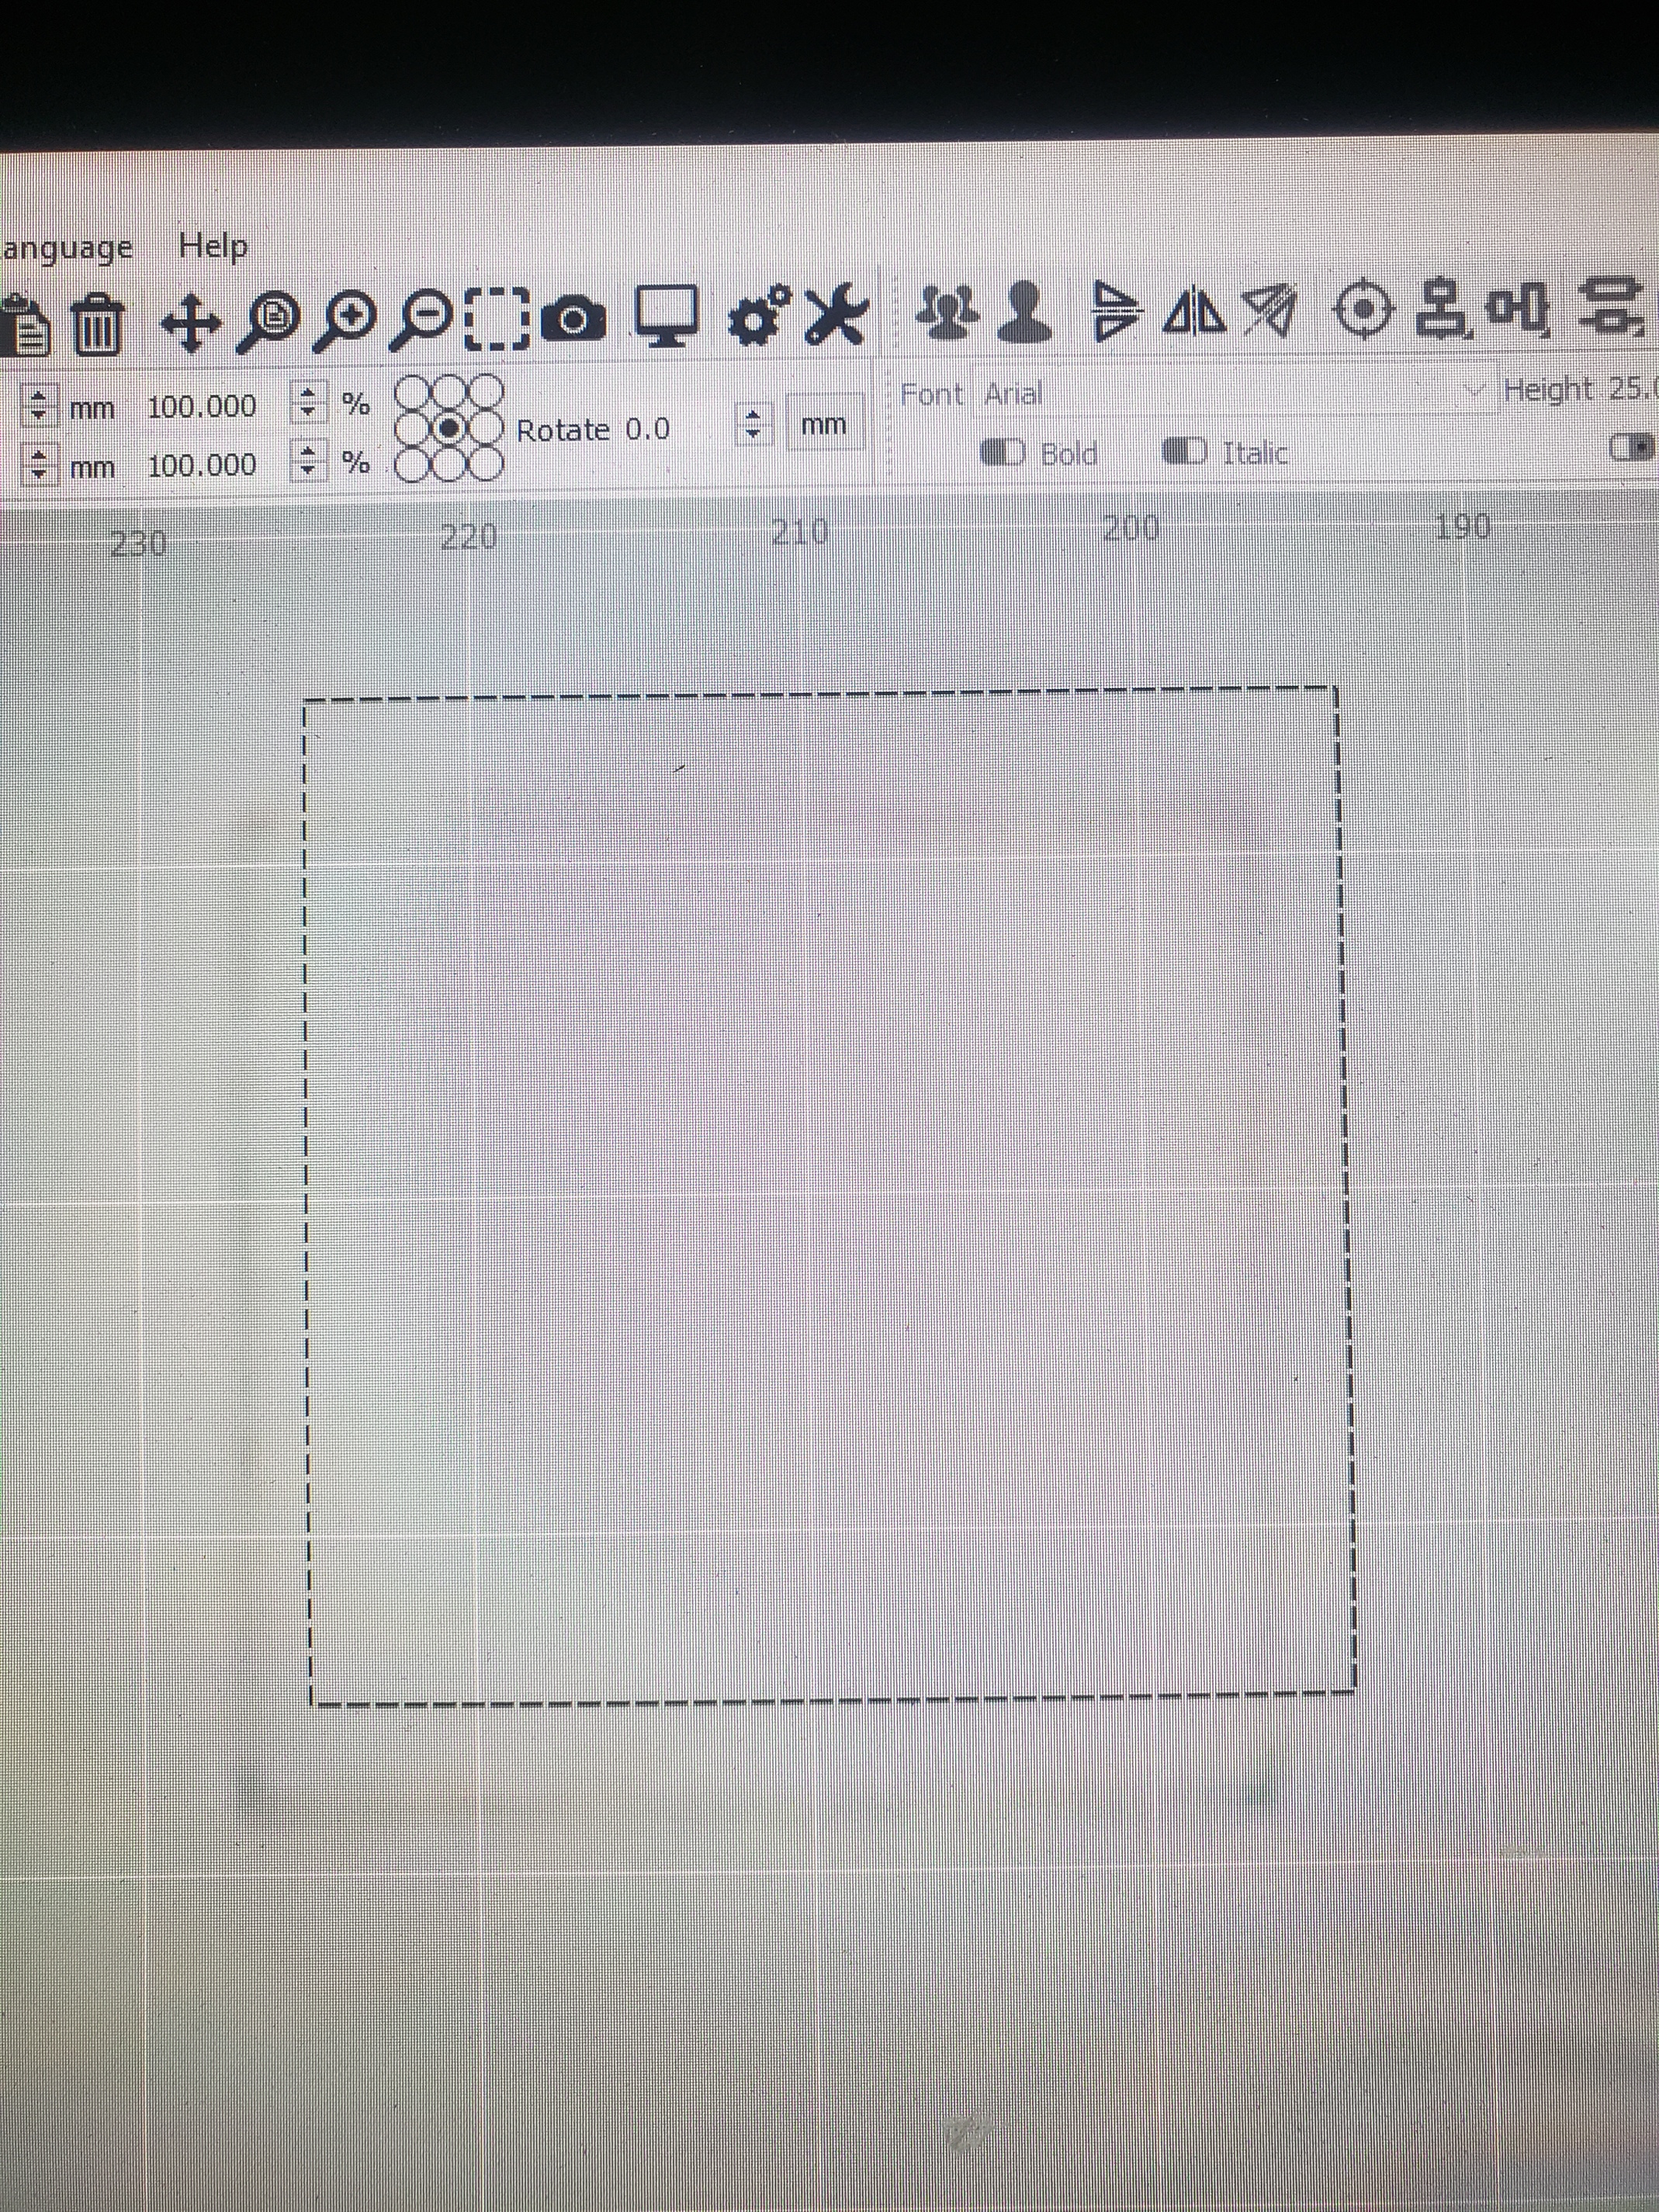
If you haven’t done any of those things, and it’s just always been shifted like that, you can use the X-Shift and Y-Shift values in the camera control window to align it, but you should honestly never need those - if you do, something moved.
James - We don’t do support on Facebook. Start a thread here and I’m happy to help you.
The most common thing people do wrong is capture first, then move the Z table. You have to capture after setting the top of the material to the focus point of the lens, because that’s where the calibration is done. The next release of LightBurn will let you load pre-made lens calibration data, so if you’re having trouble with it you can just use a premade file. It’ll be out soon - hopefully within a couple days.
Interesting your comment about moving the Z table.
I can see how calibration and alignment would work well with a fixed lens where it is the Z table that moves.
What if you have a fixed Z table and it is the lens that moves up and down to focus? This presents a problem for materials of various thicknesses. Not sure how to solve this one. Could you have different alignments for different heights?
HI Oz
is the pre-made lens calibration data available in the latest release.
It can be solved, but the math is really ugly. Effectively, I would need to do marker alignment at multiple known Z heights (probably 3), and then compute the extrapolation for perspective foreshortening for other heights - it won’t be a linear relationship.
1 Like
is the pre-made lens calibration data available?