I am attempting to change the engrave/cut test to suit my machine which the max safe power is 45%.
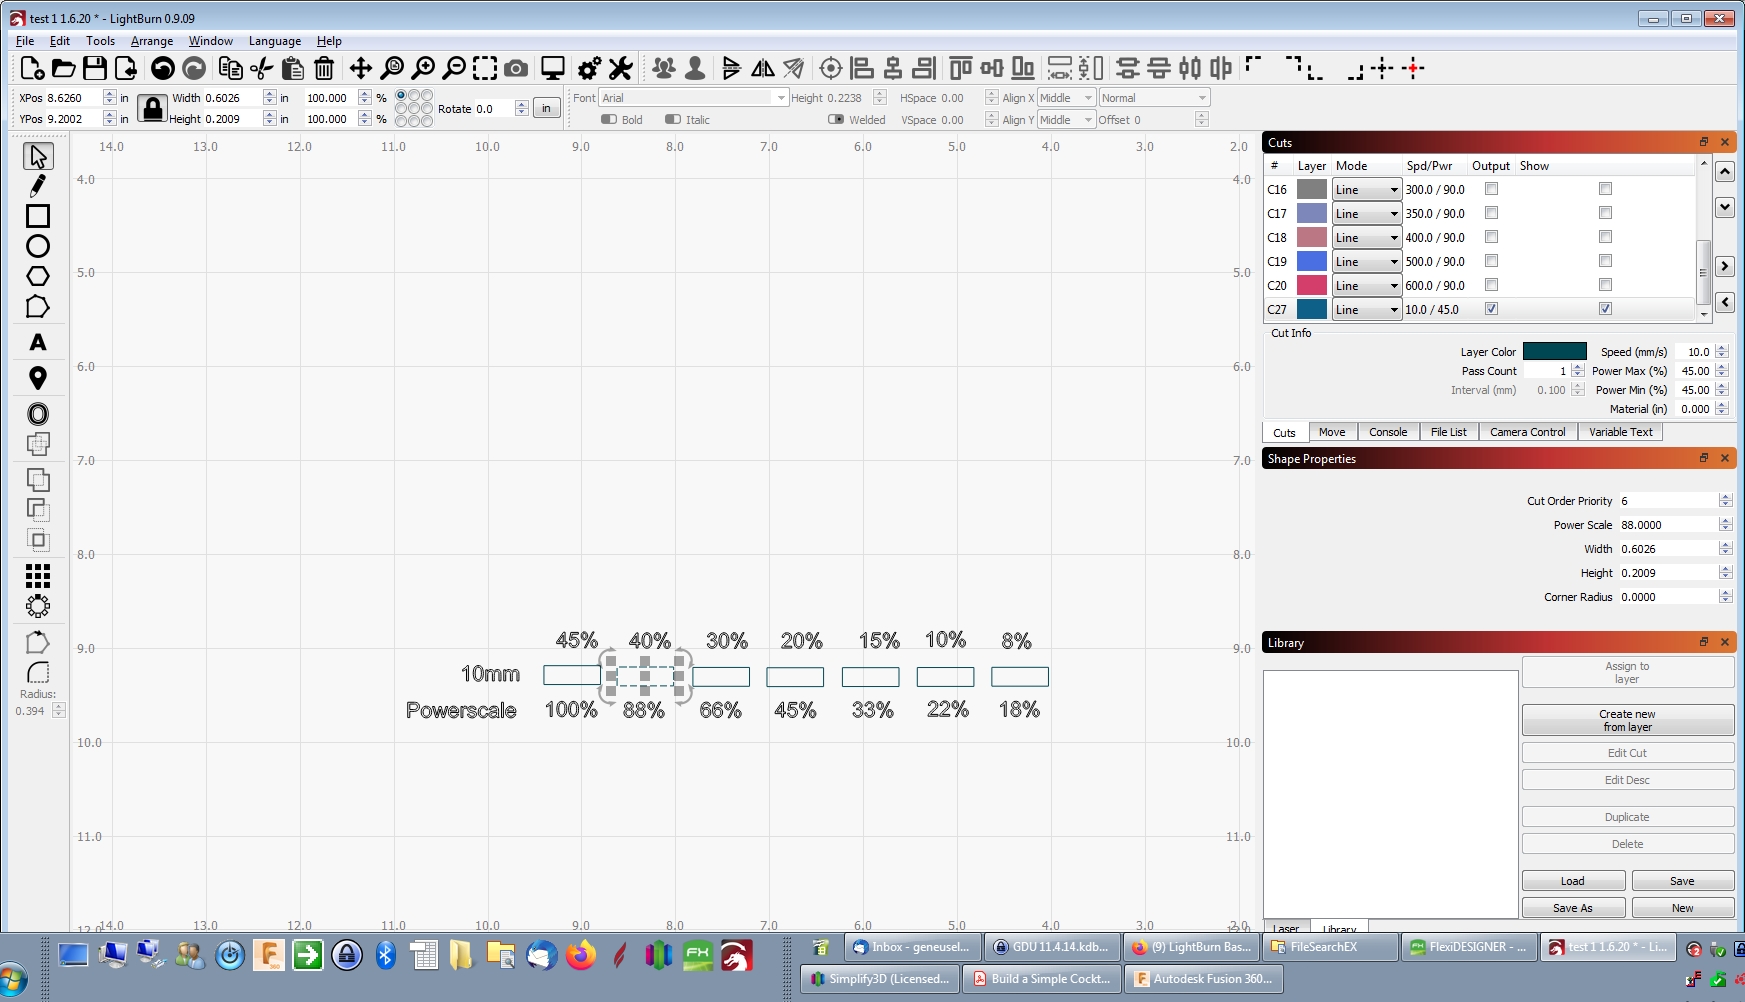
I copied an existing line of the test grid and set my max to 45/45% and changed the Powerscale setting in the Shape Properties to the proper percentage to use the powers I want tested. I watched the youtube video explaining the Powerscale function and saw no special setting to enable it- but all my blocks cut at 45% on the laser panel and all cut thru the plywood at all power settings. How do I enable the Powerscale please. Thanks Gene
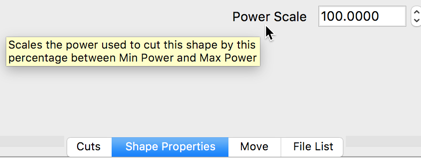
Looking closer at your settings, you said Min AND Max are set the same. That is the issue. Power Scale requires a range to work within. You will need to set a spread between Min and Max for this to work properly. It’s similar to using “Direct Output” in RDWorks with a bitmap - LightBurn uses the same commands to vary the power from min to max, using the Power Scale value as the control.
I also see your speed set for 10mm/s. Just as an FYI, Min power is used when your laser is traveling at or below its ‘Start Speed’ (on Ruida, this is usually 10mm/sec, but it is a parameter you can change).